
This tutorial guides you through submitting an expense claim using HR Planner. You will learn how to add expense items, provide claim details, and submit your claim for approval.
1. Navigate To Expenses Menu
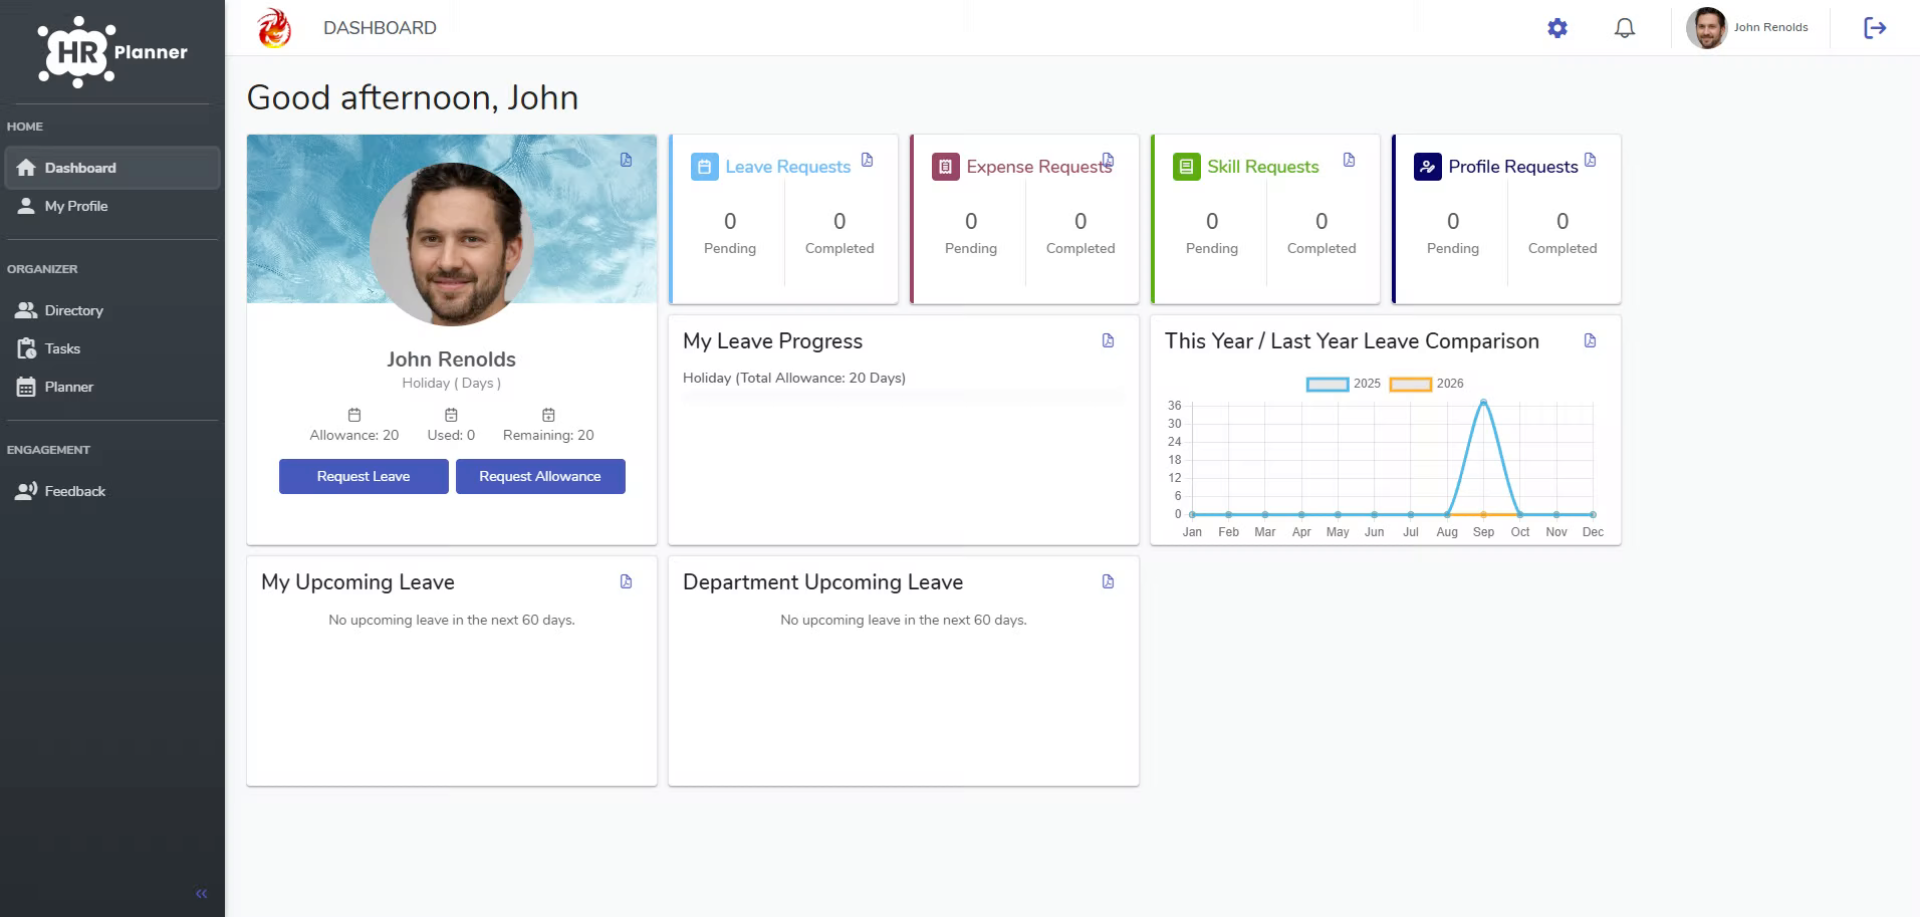
To create a new expense in HR Planner we navigate to the profile page and the expenses menu.
2. Enter Claim Period And Details
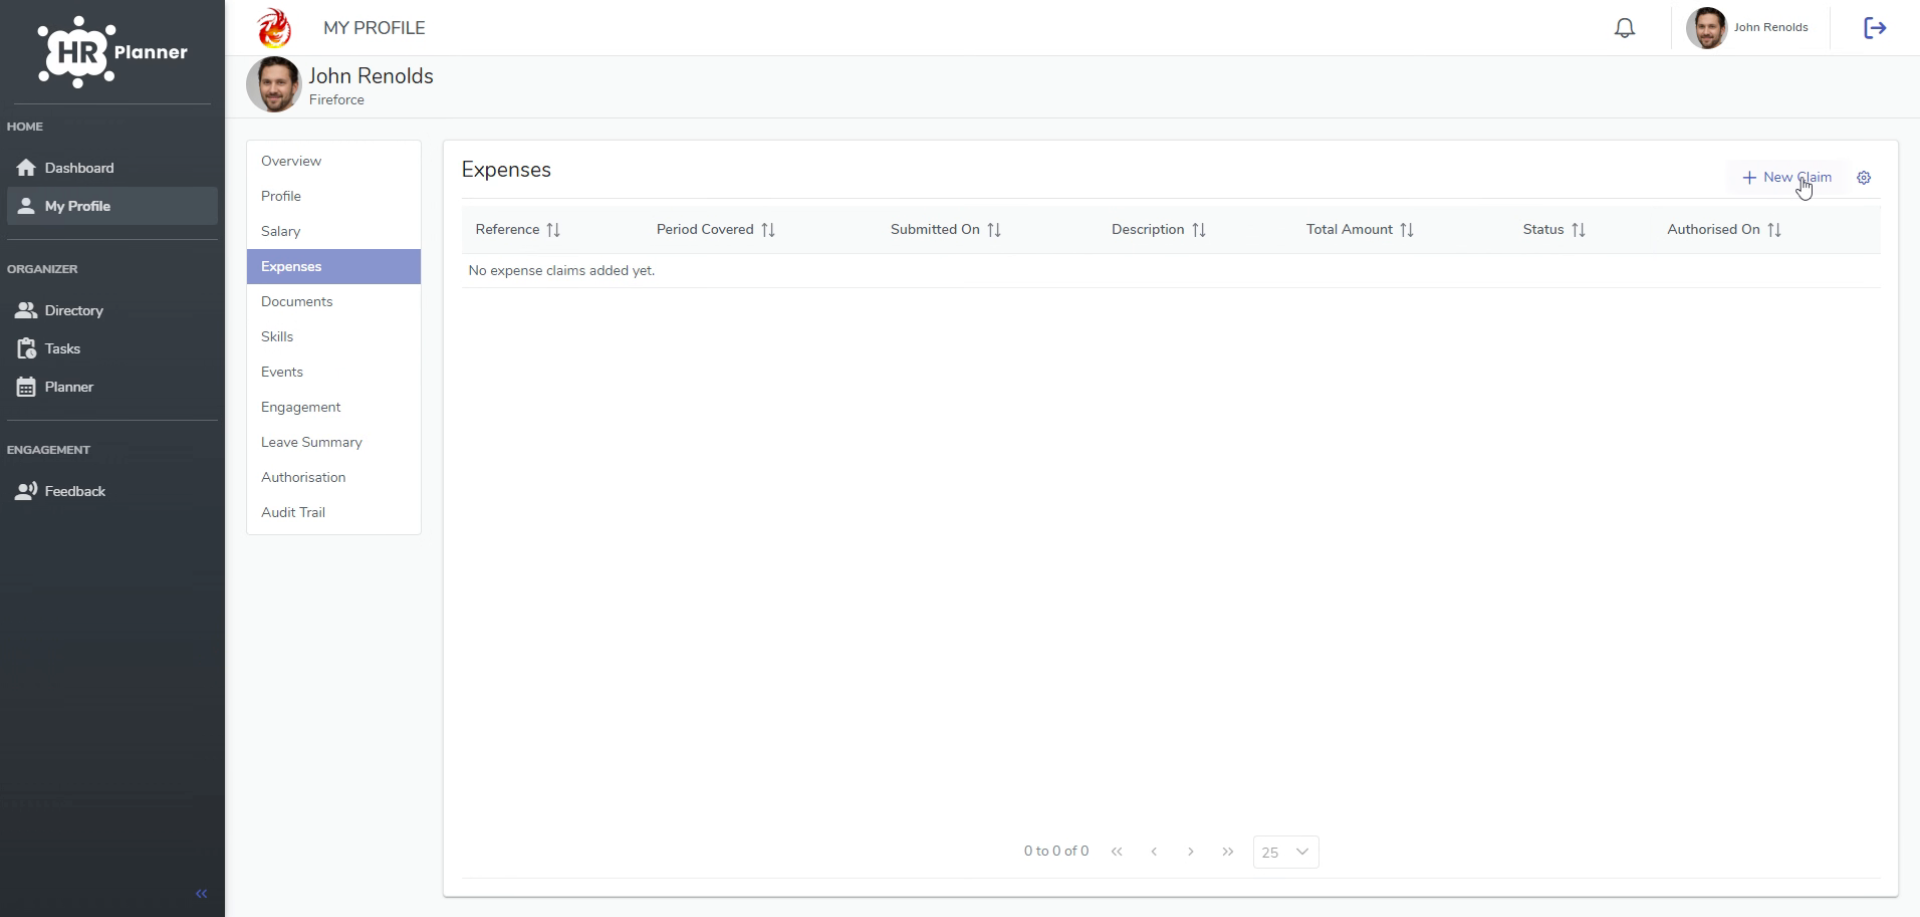
Click on new claim and enter the period start date, this is the date that you are claiming from. The rest of the information that you are asked to provide may differ from what you see in this demo, it will depend on how your organisation has set it up.
3. Add Expense Items And Submit
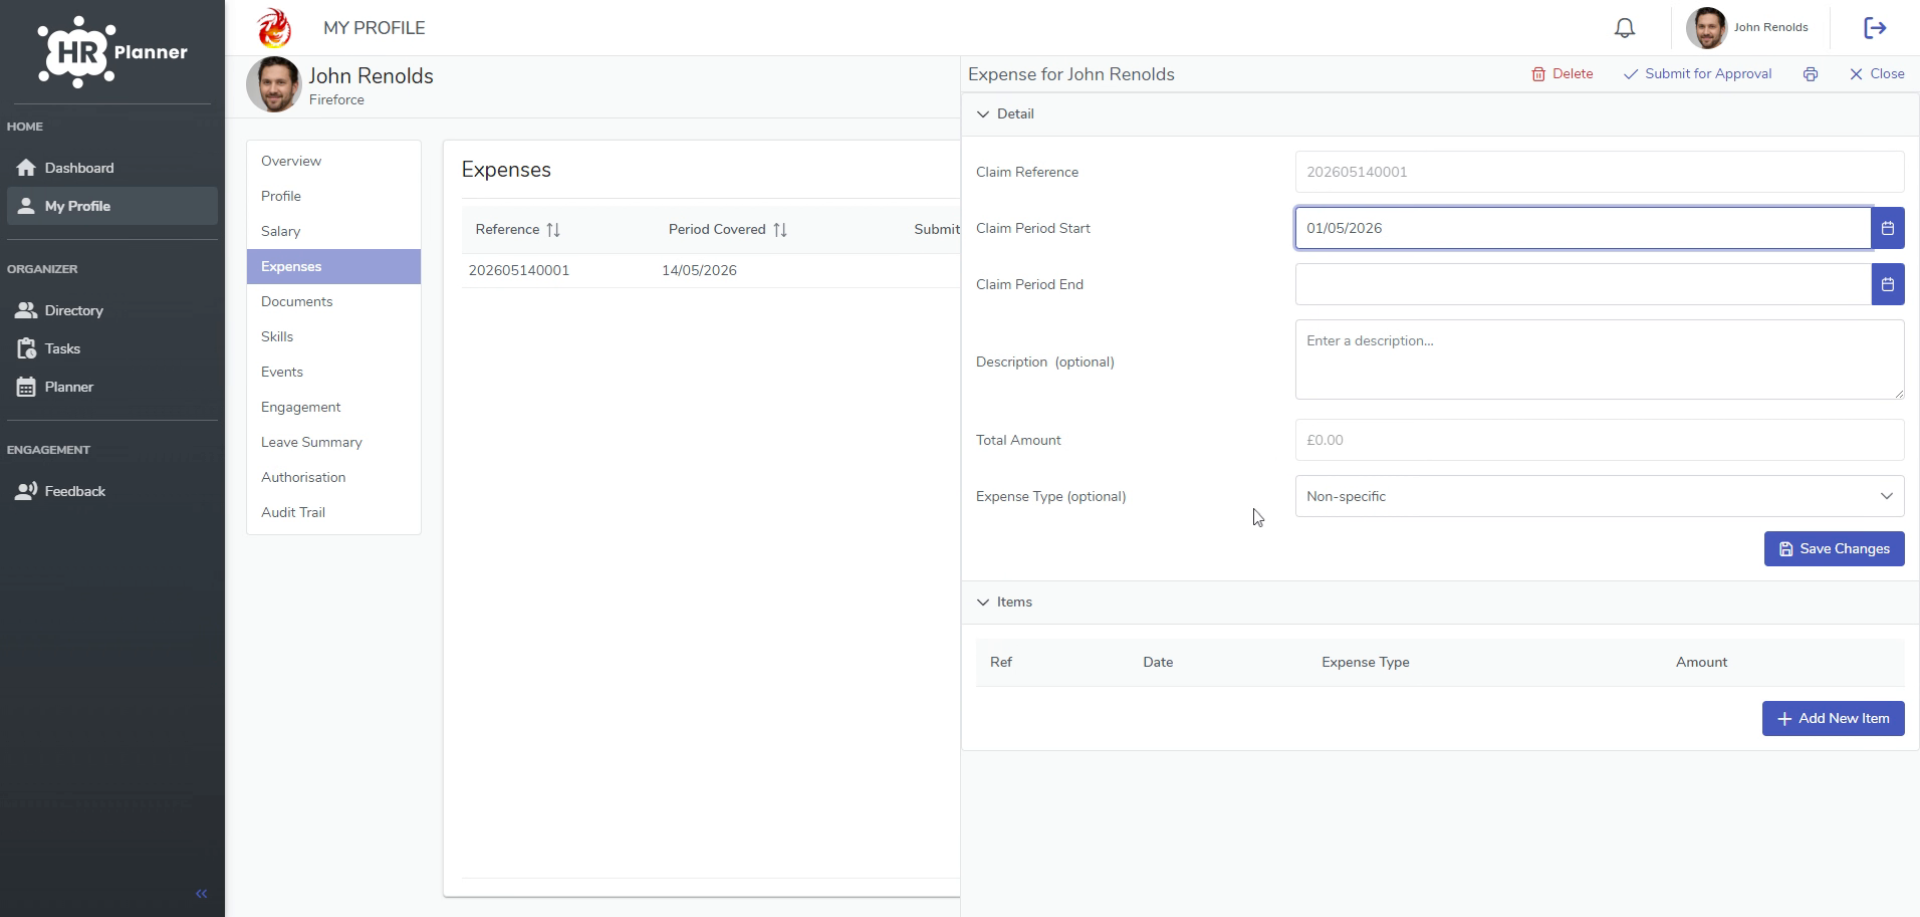
next Add your individual expense items. These can either be added in one go all over the course of days or weeks. You can add as many expense items as you need before submitting the expense for approval.
4. Select Mileage Expense Type
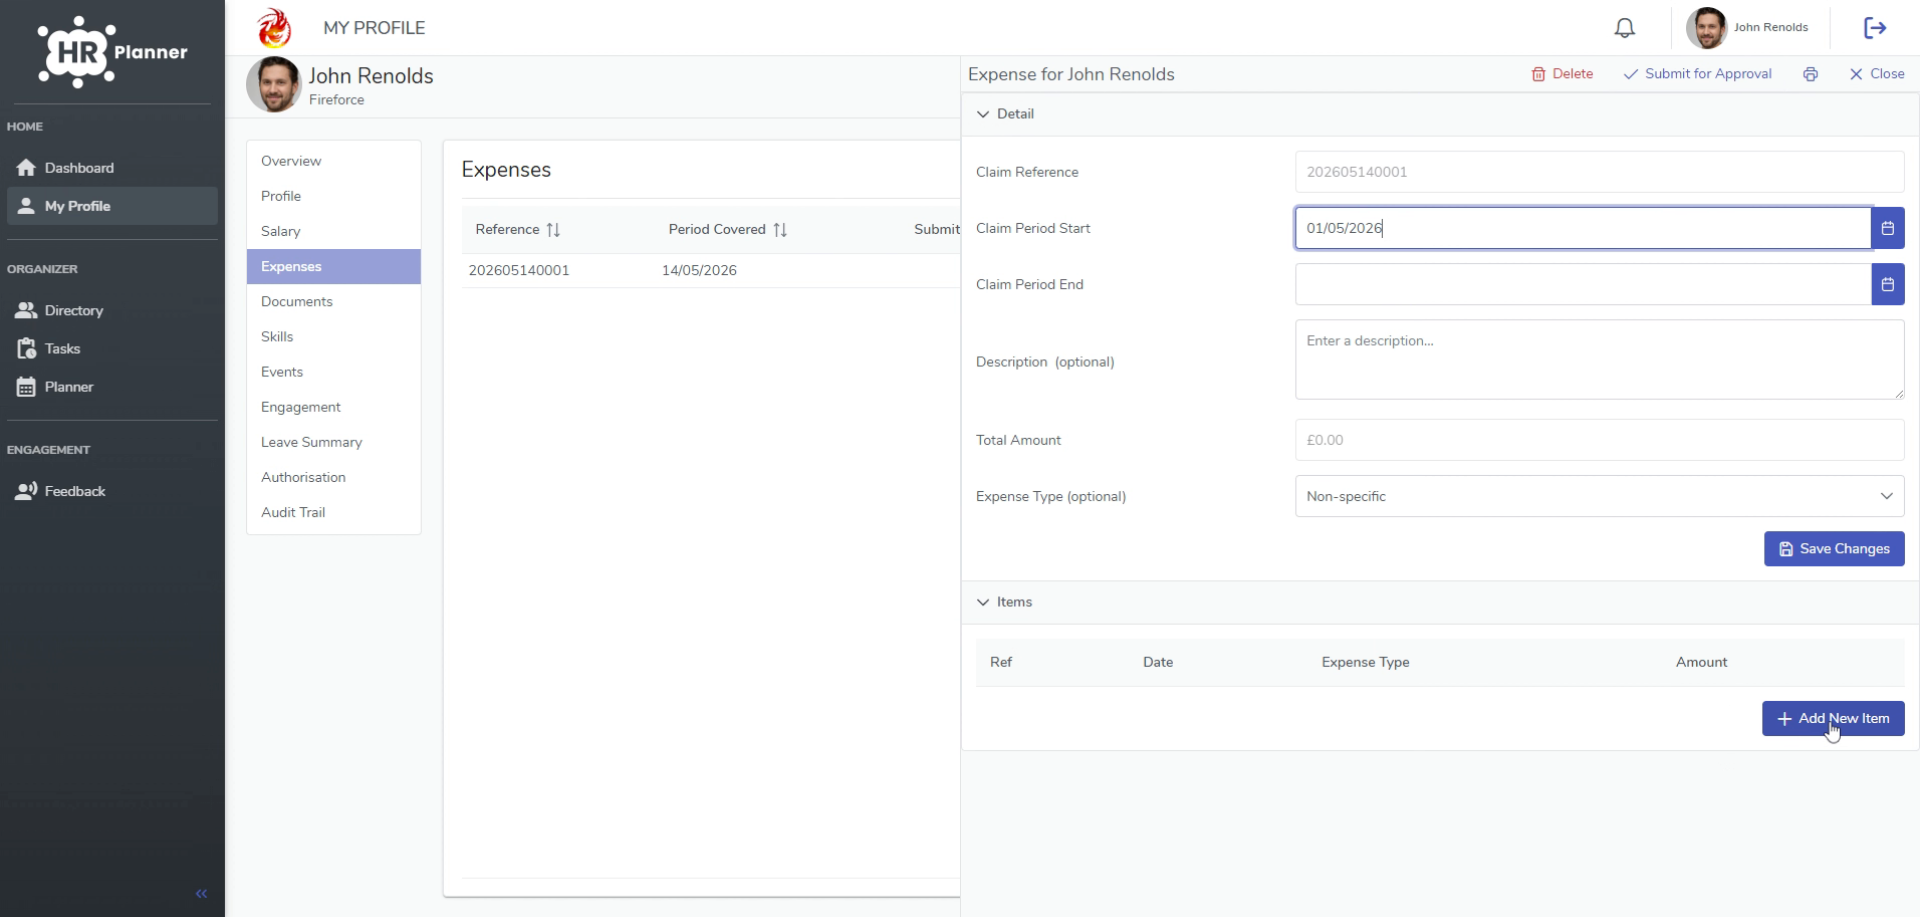
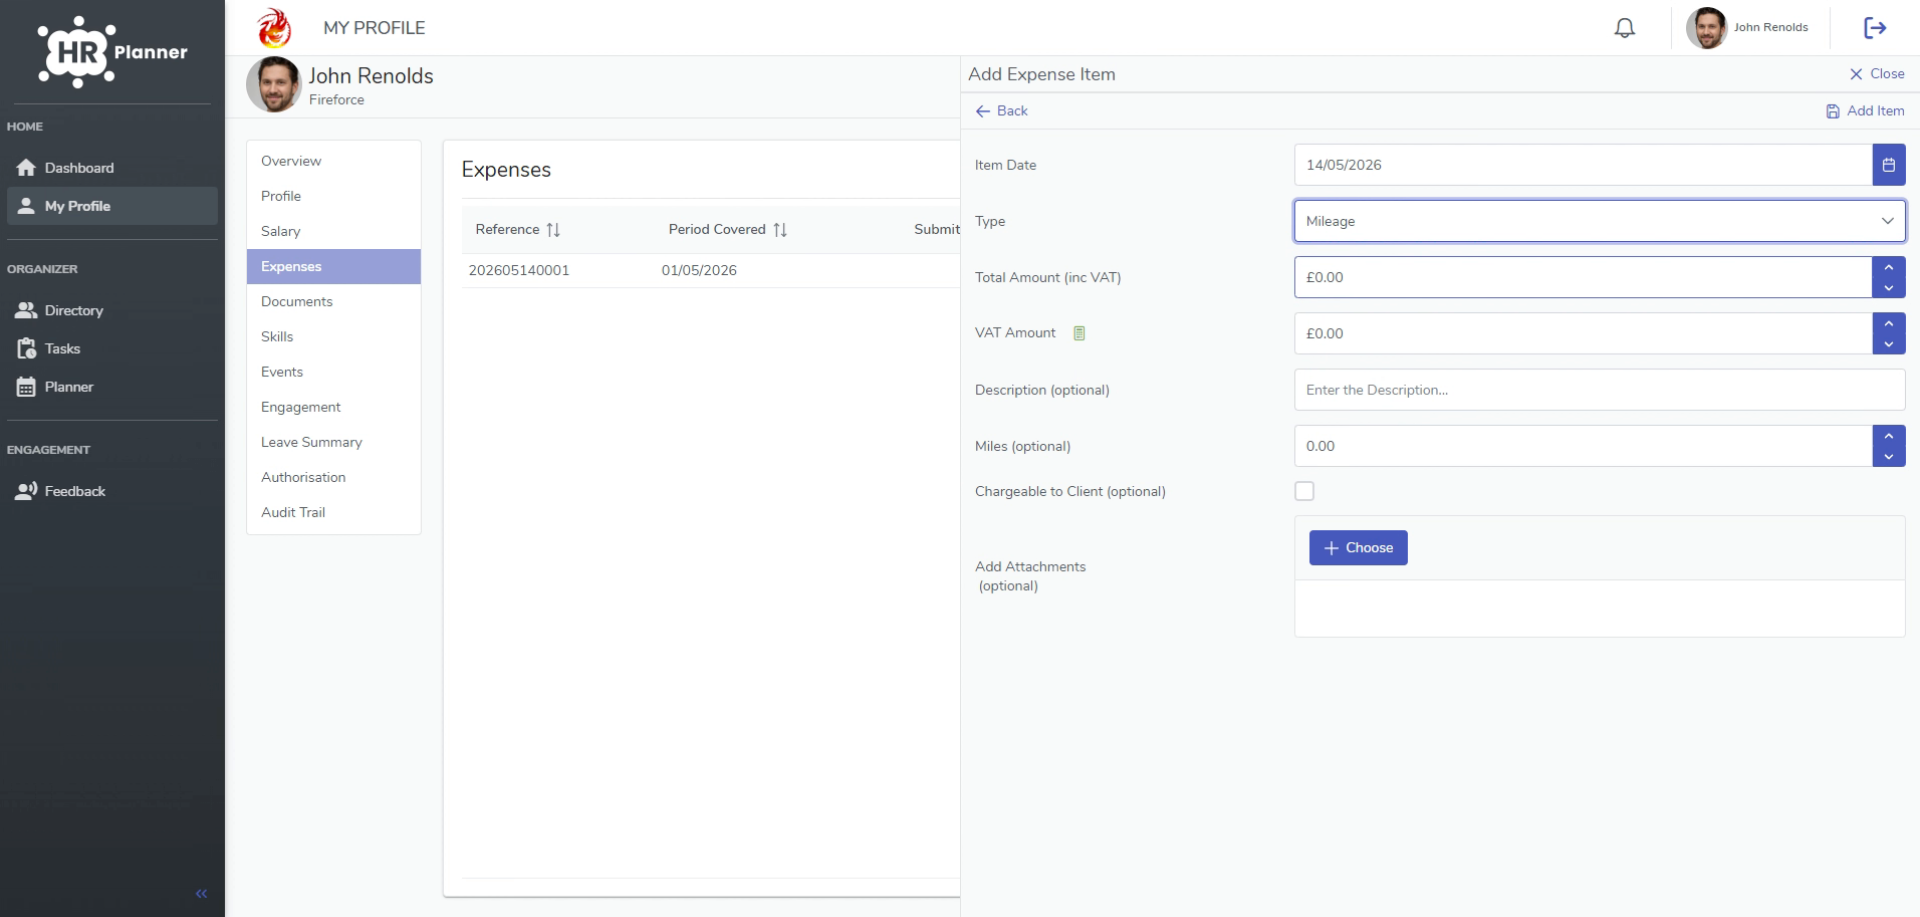
Let’s go ahead and add a mileage claim. Click on the type and choose mileage.
5. Specify Claim Amount And Miles
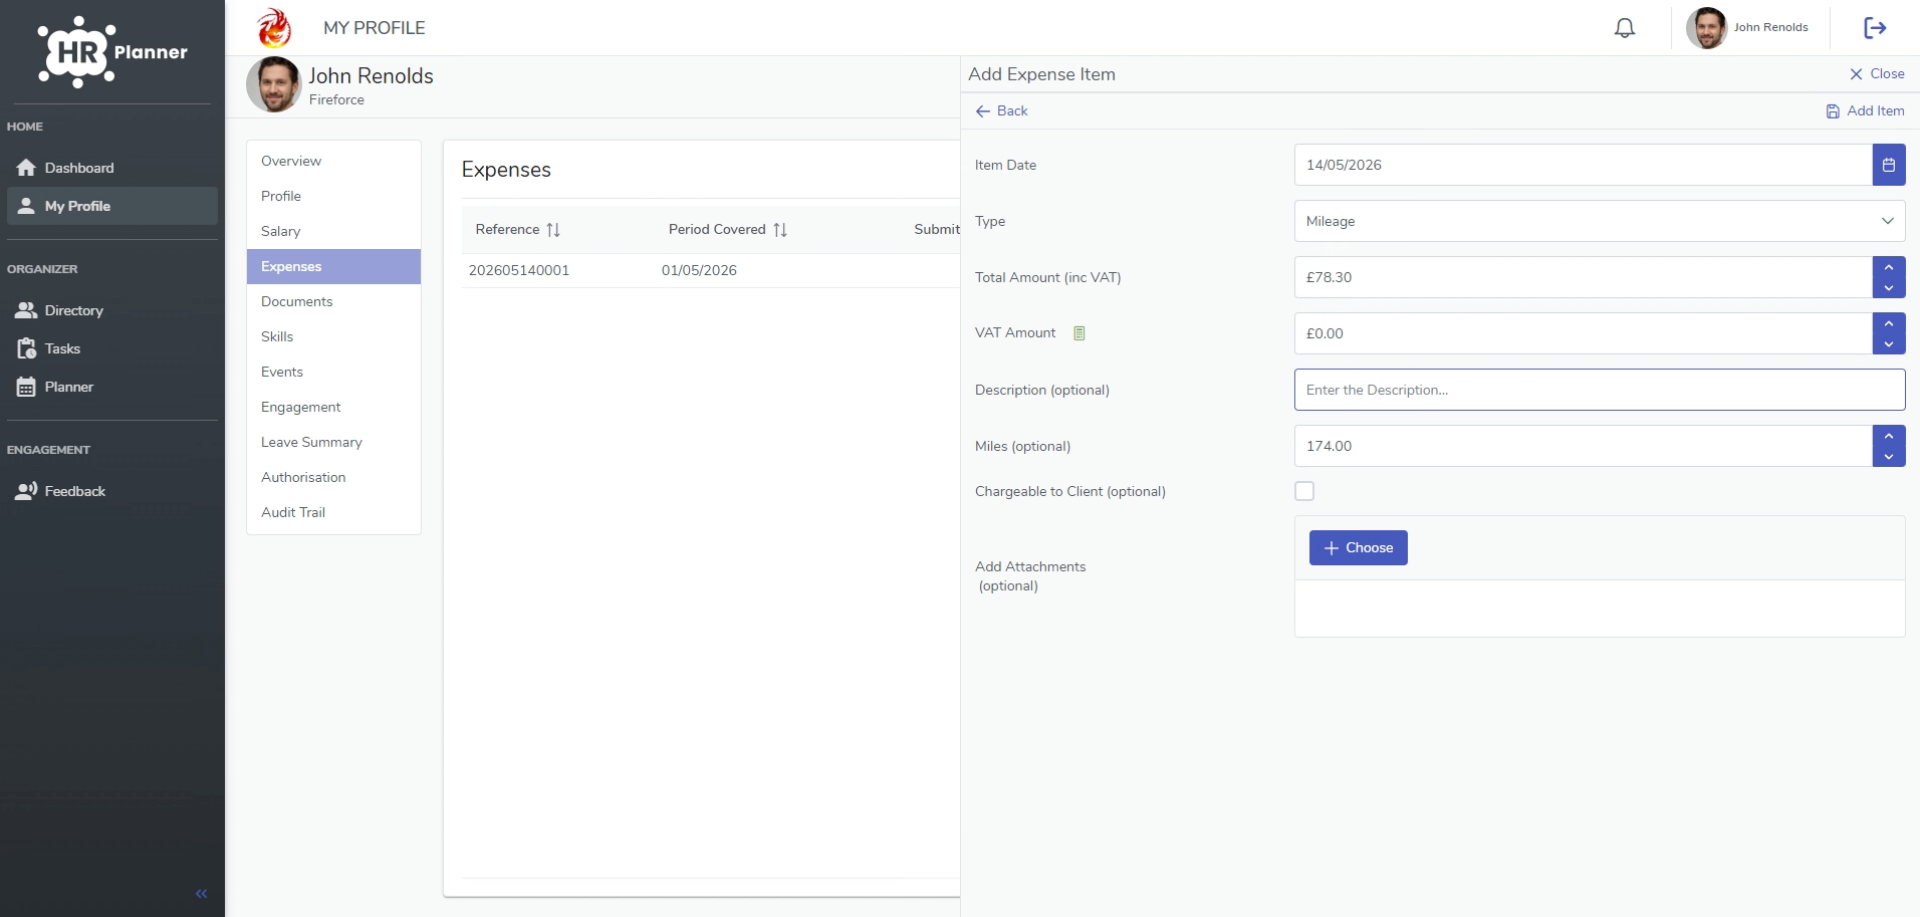
Once again, the information you see, and must provide may differ in your setup as these are all controlled by your Administrator. In this example we will specify the Amount and the Miles.
6. Optional Description Requirements
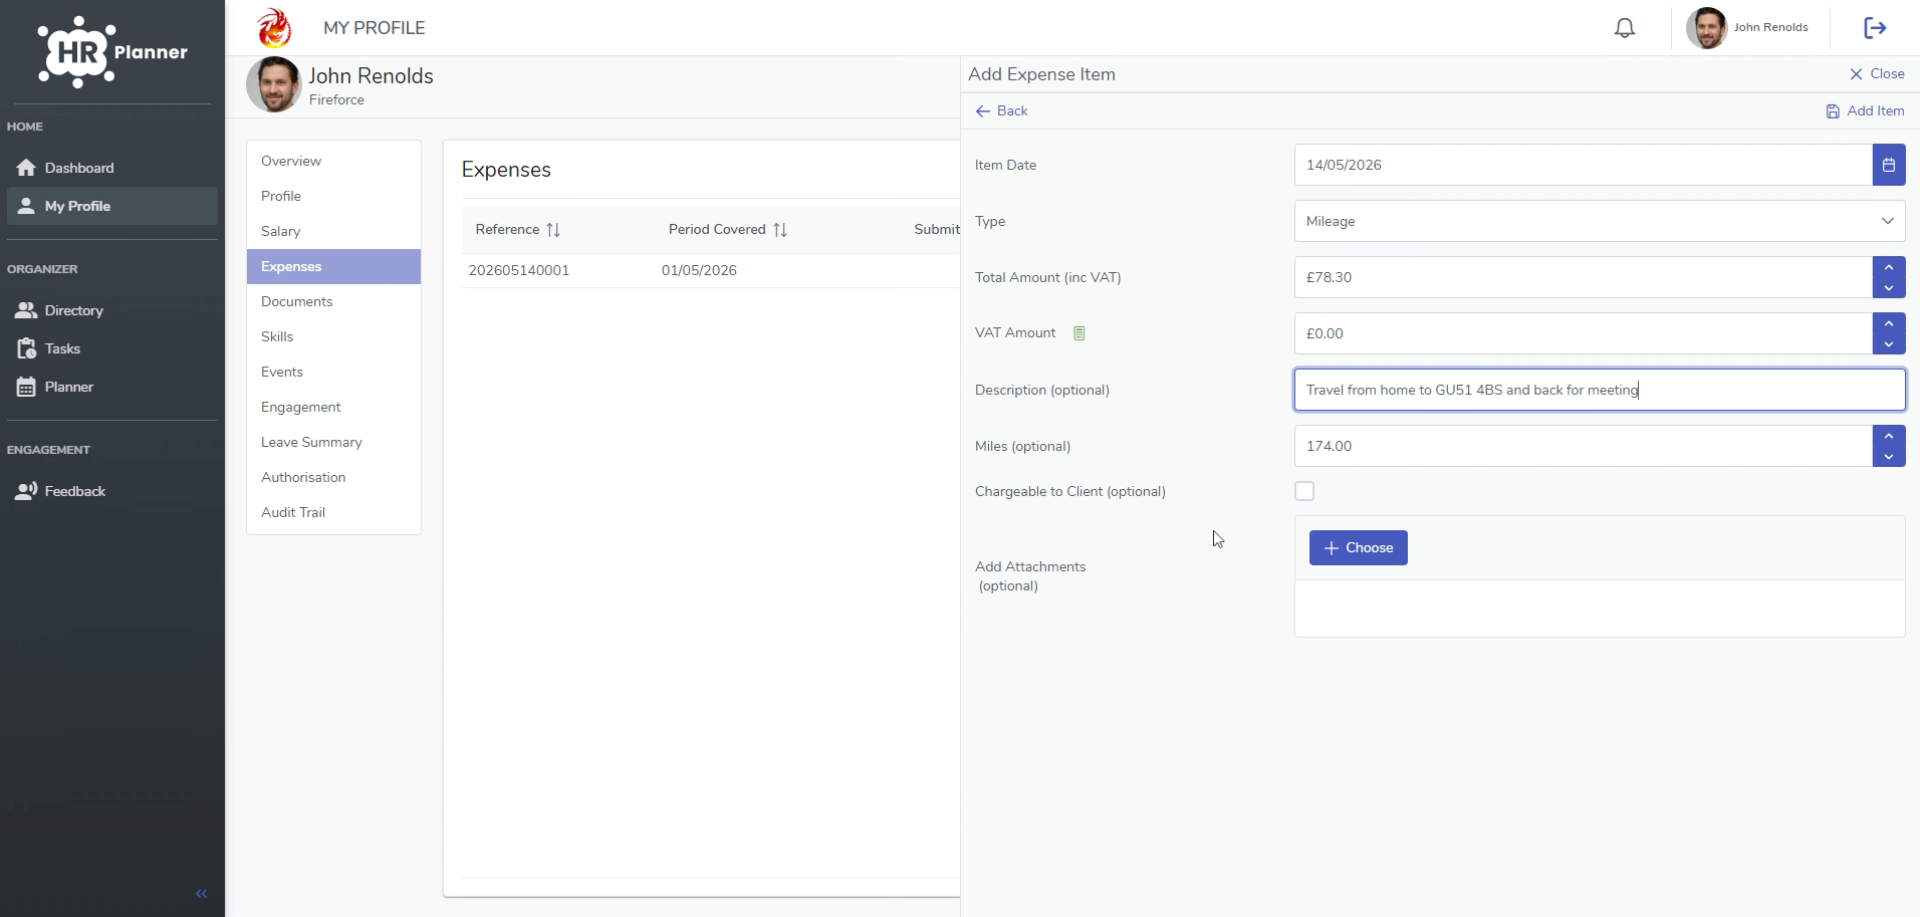
We will add a description. This may or may not be required, depending on your individual setup.
7. Complete Additional Company Fields
If you have extra Fields showing on this screen, then complete them as required before adding the item.
8. Add Expense Item
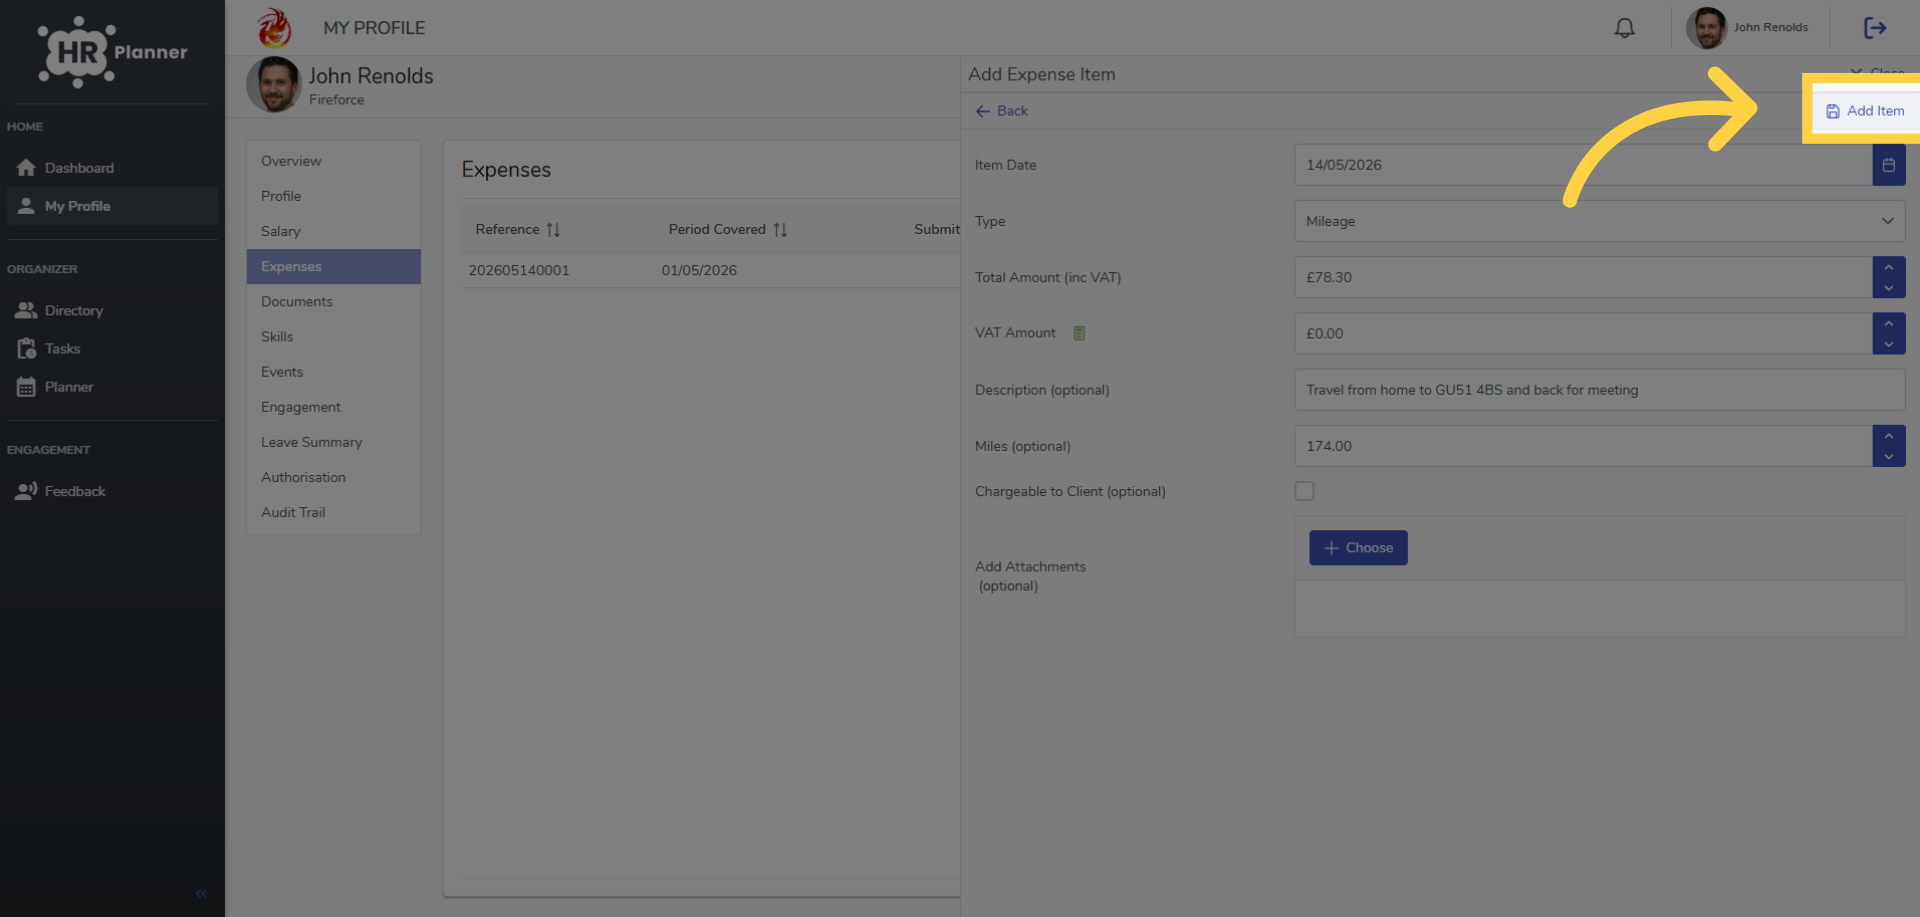
Click Add Item to save the expense entry in your claim.
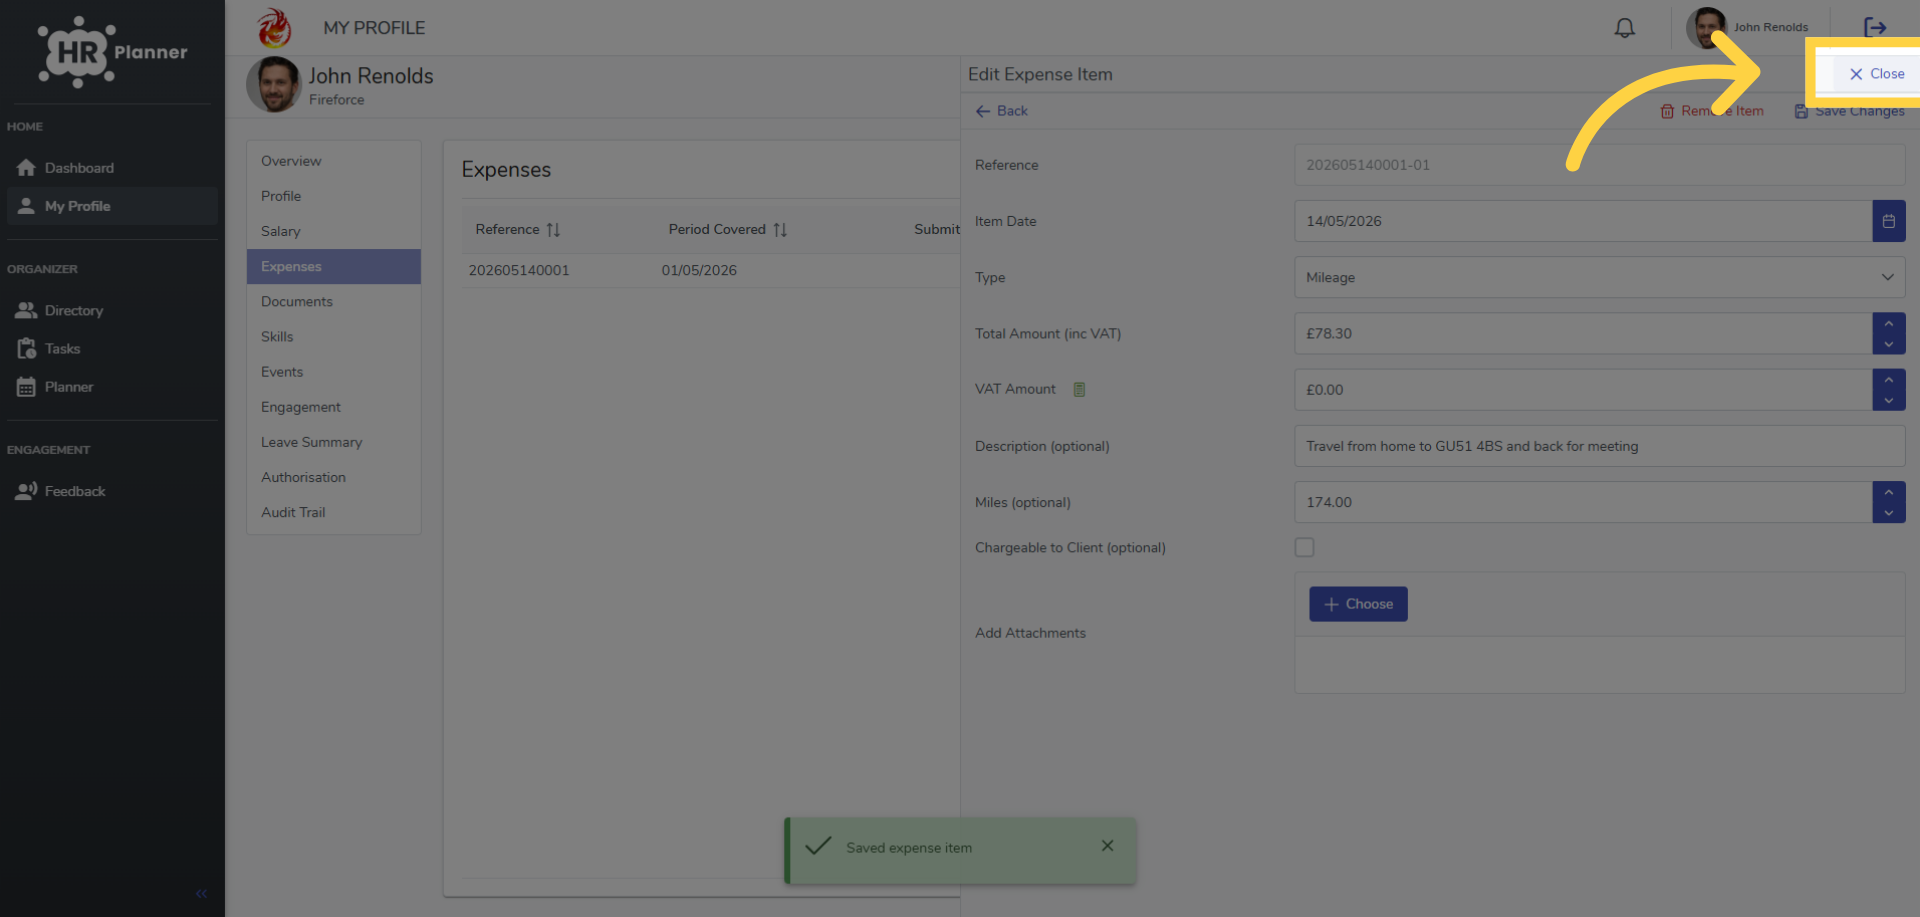
9. Close Expense Entry Window
Now close the entry window to return to the main expenses page.
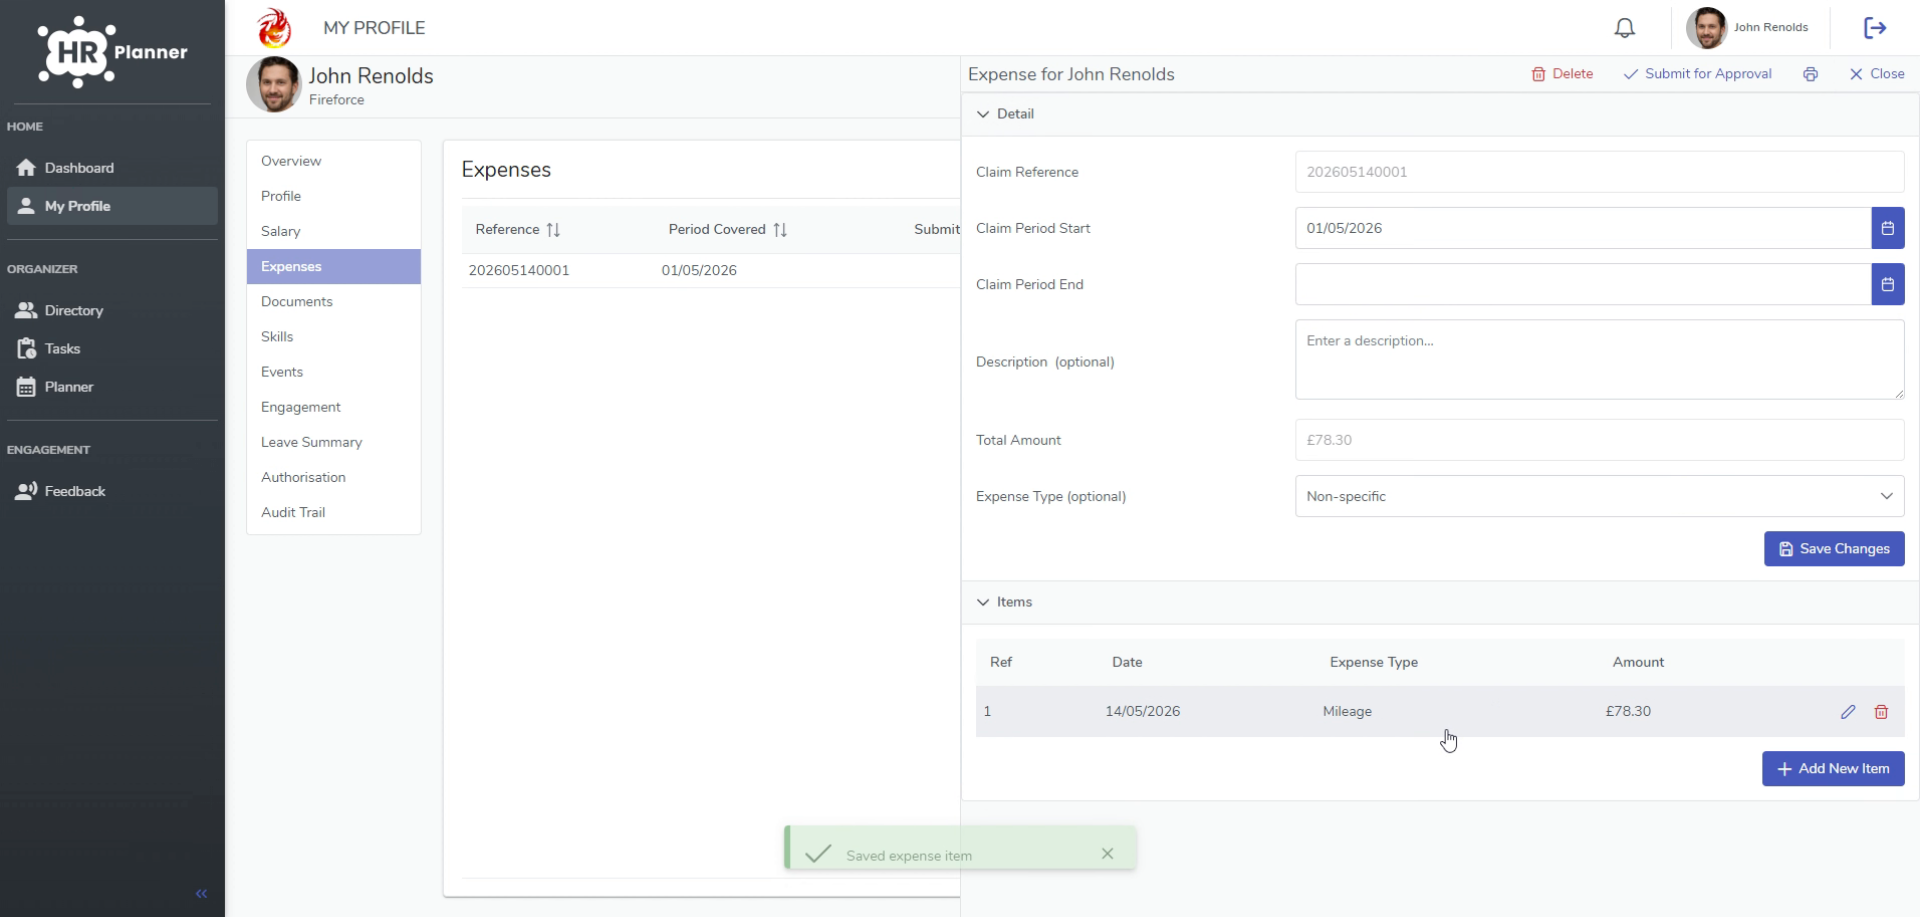
10. Add Entertainment Expense Item
Let’s add another Expense Item, but this time we will upload a receipt.
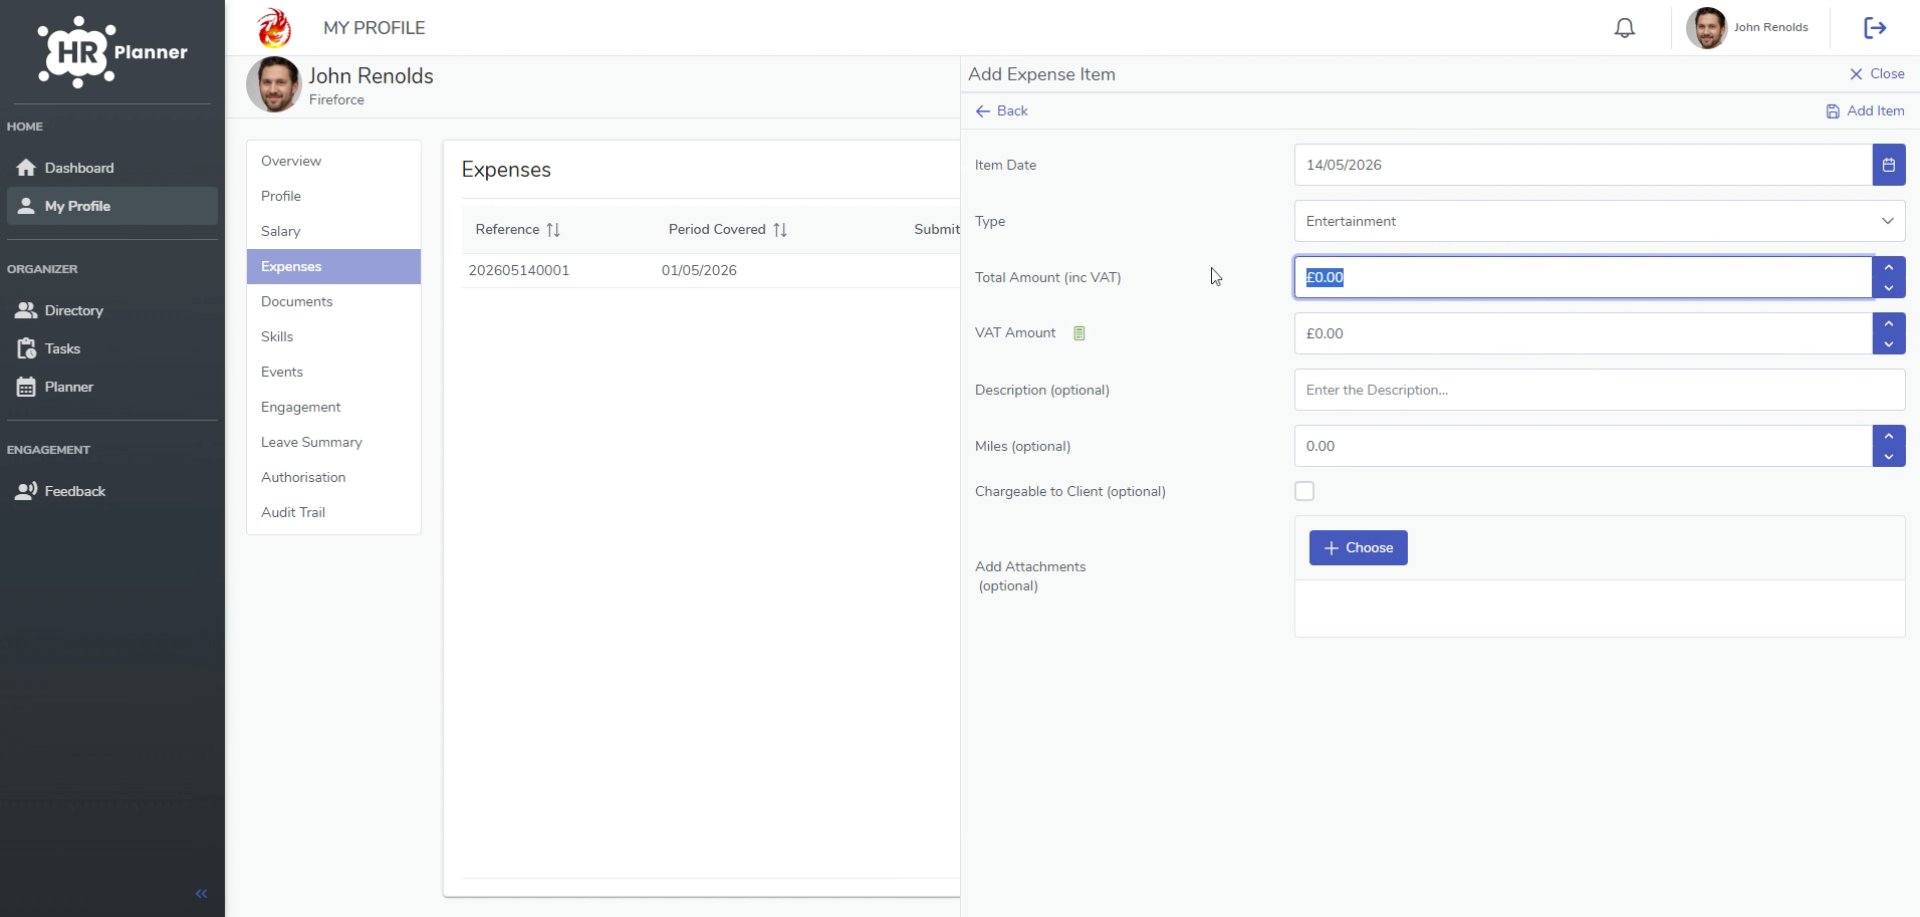
11. Attach Receipt Using Mobile Device
go ahead and complete all of the required Fields then select choose to upload a receipt. If you are on a mobile device, you will have the option to upload a file. Or take a picture with your camera.
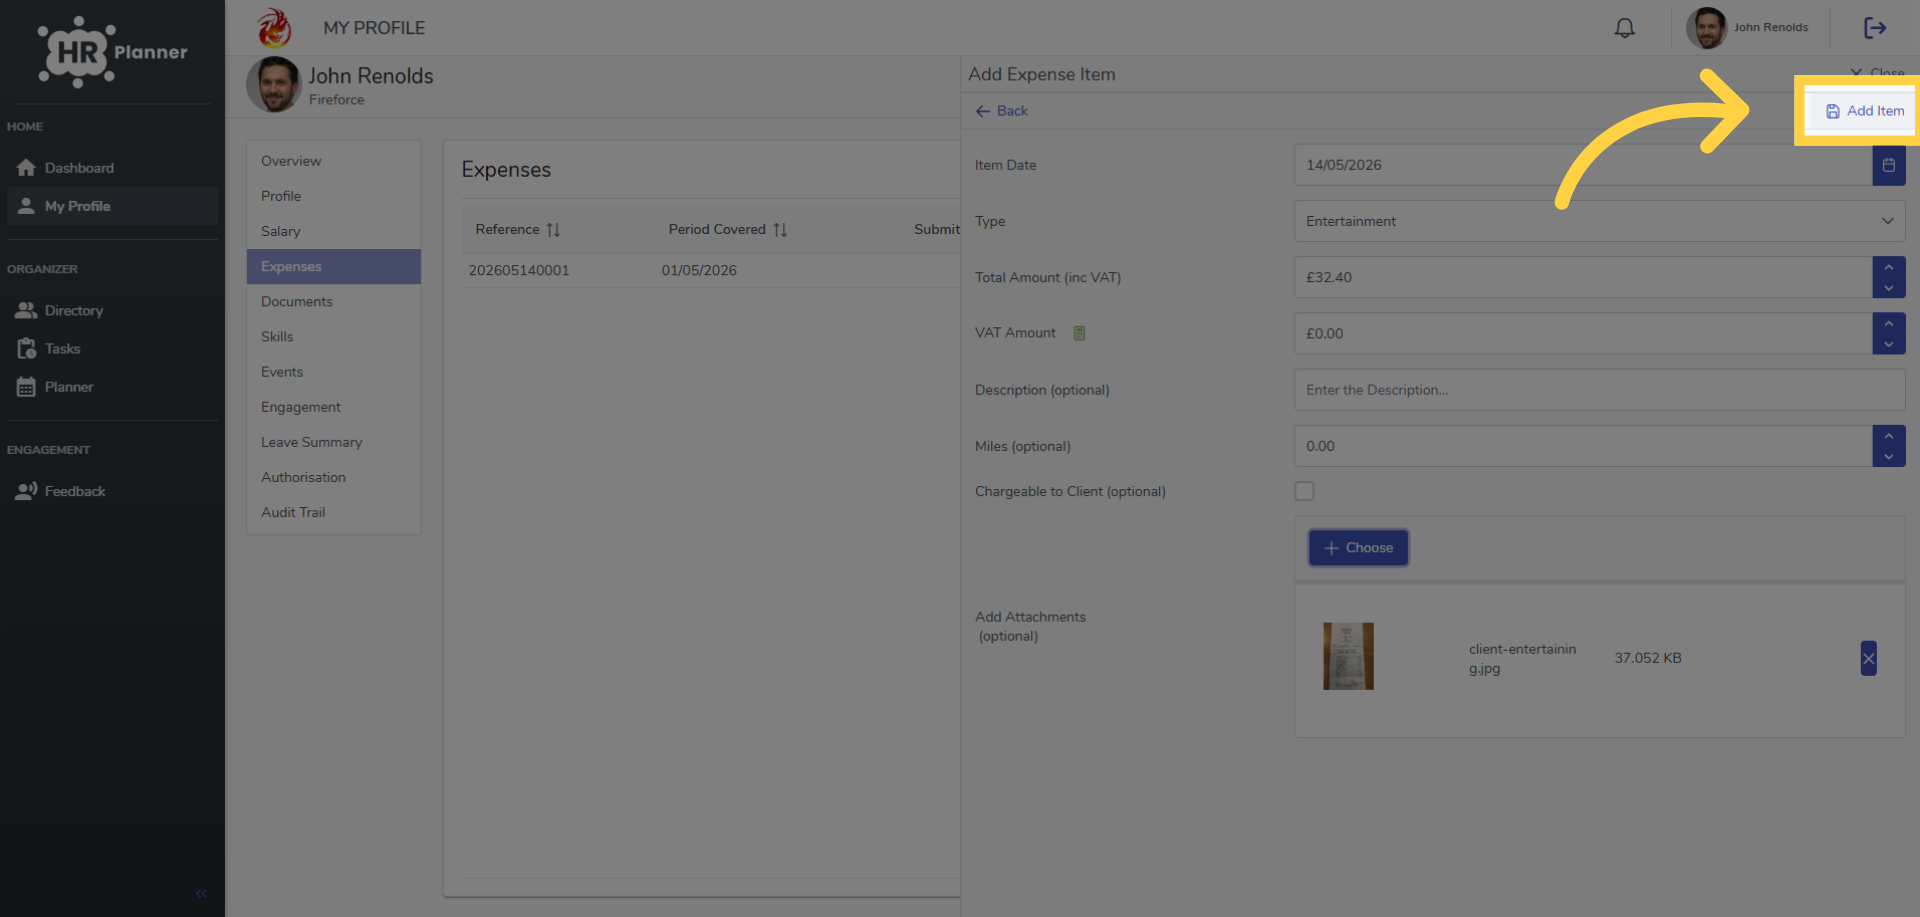
12. Add Expense Item
Click Add Item to include this entertainment expense in your claim.
13. Close Expense Entry Window
Close the expense entry window to return to the main expenses page.
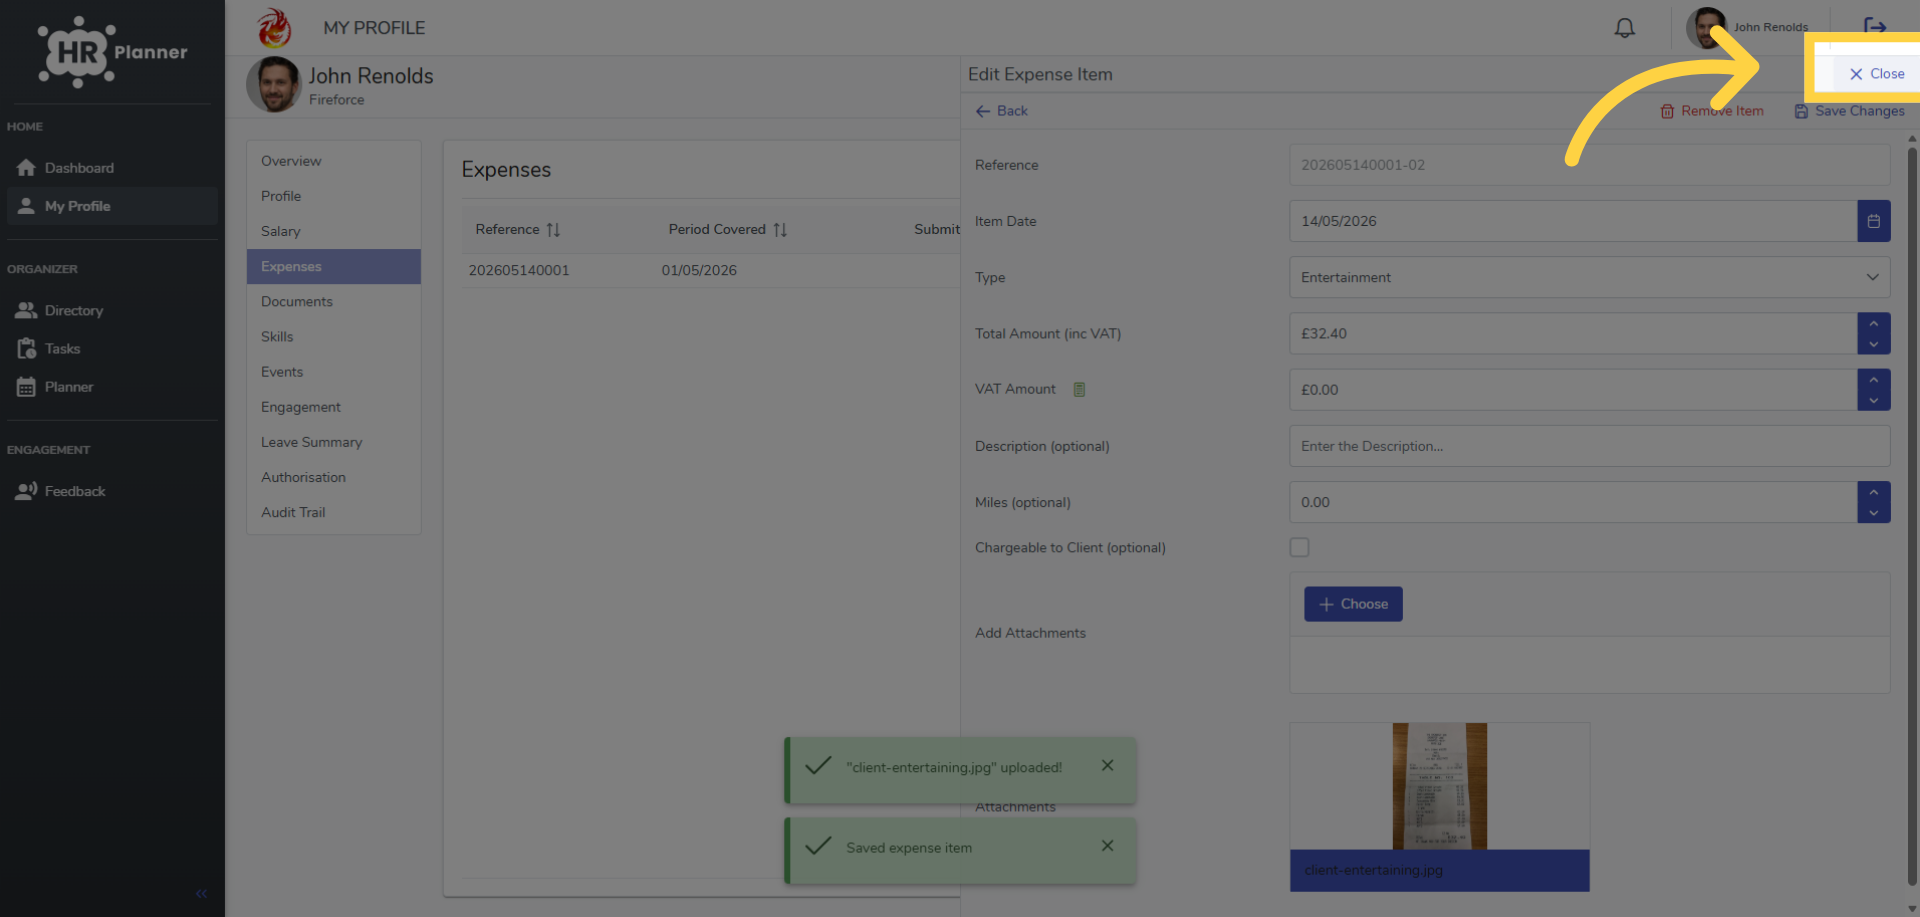
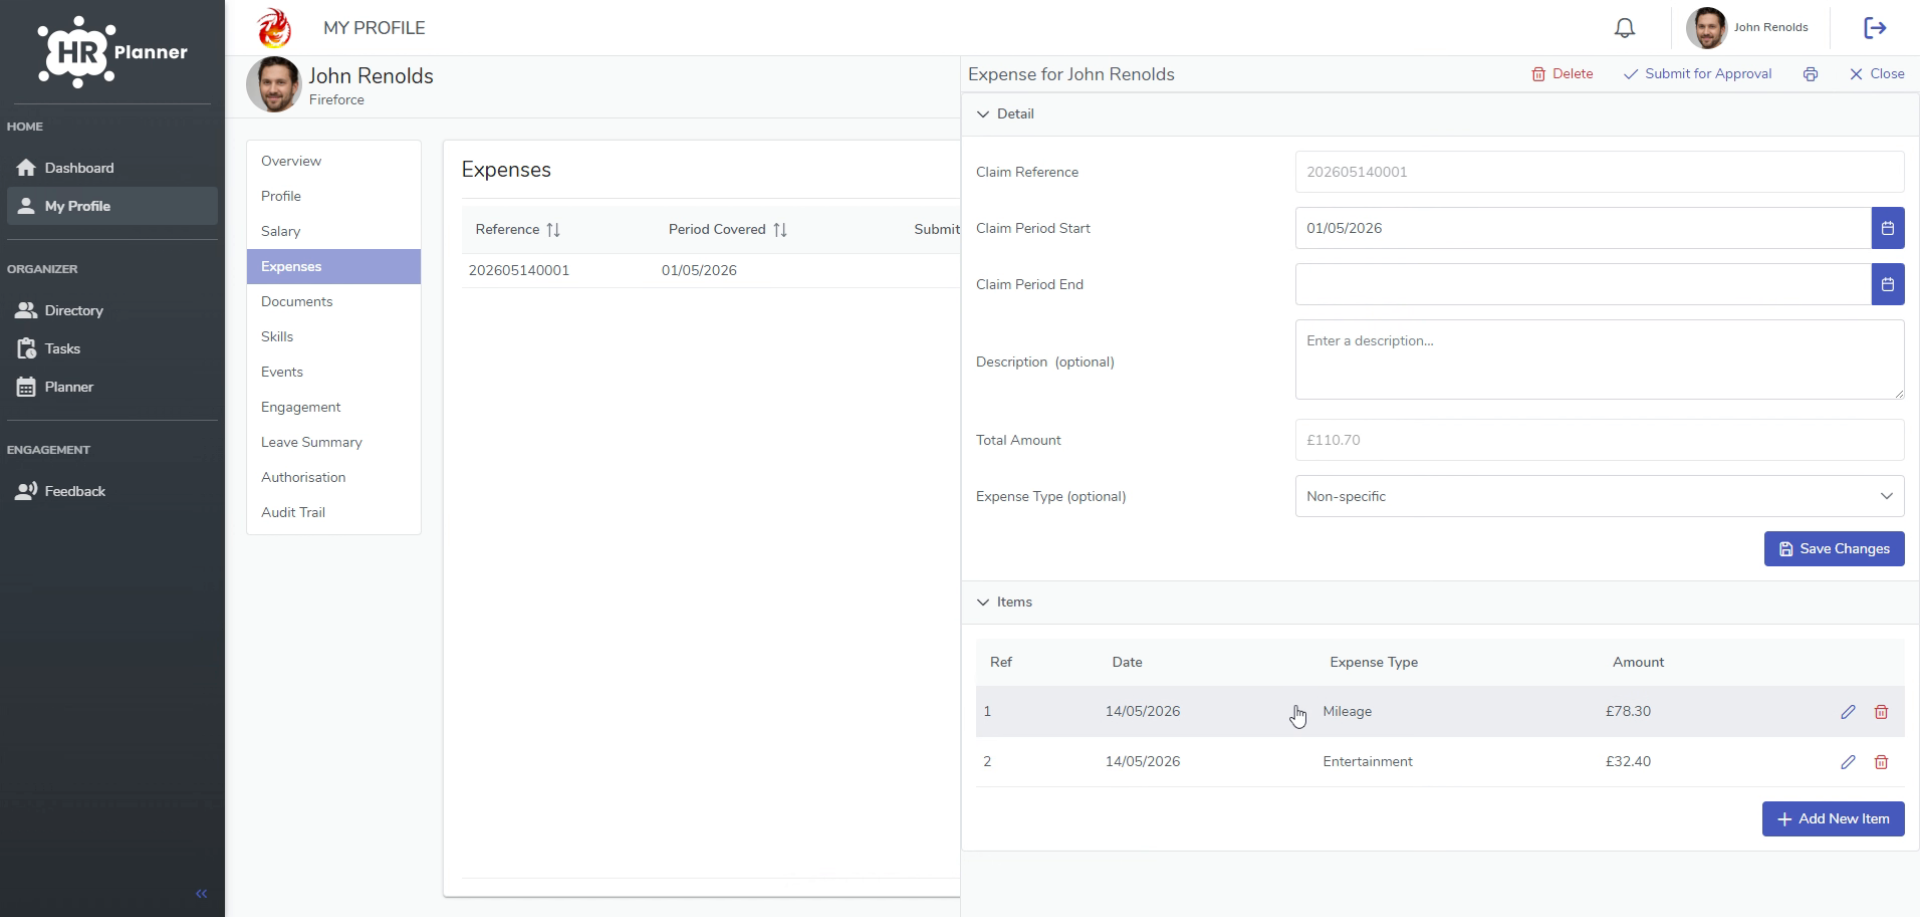
14. Provide Claim End Date And Submit
When you have finished adding all of your expense items it is time to submit the expense for Approval. We must provide the Period End date before we can submit this Expense.
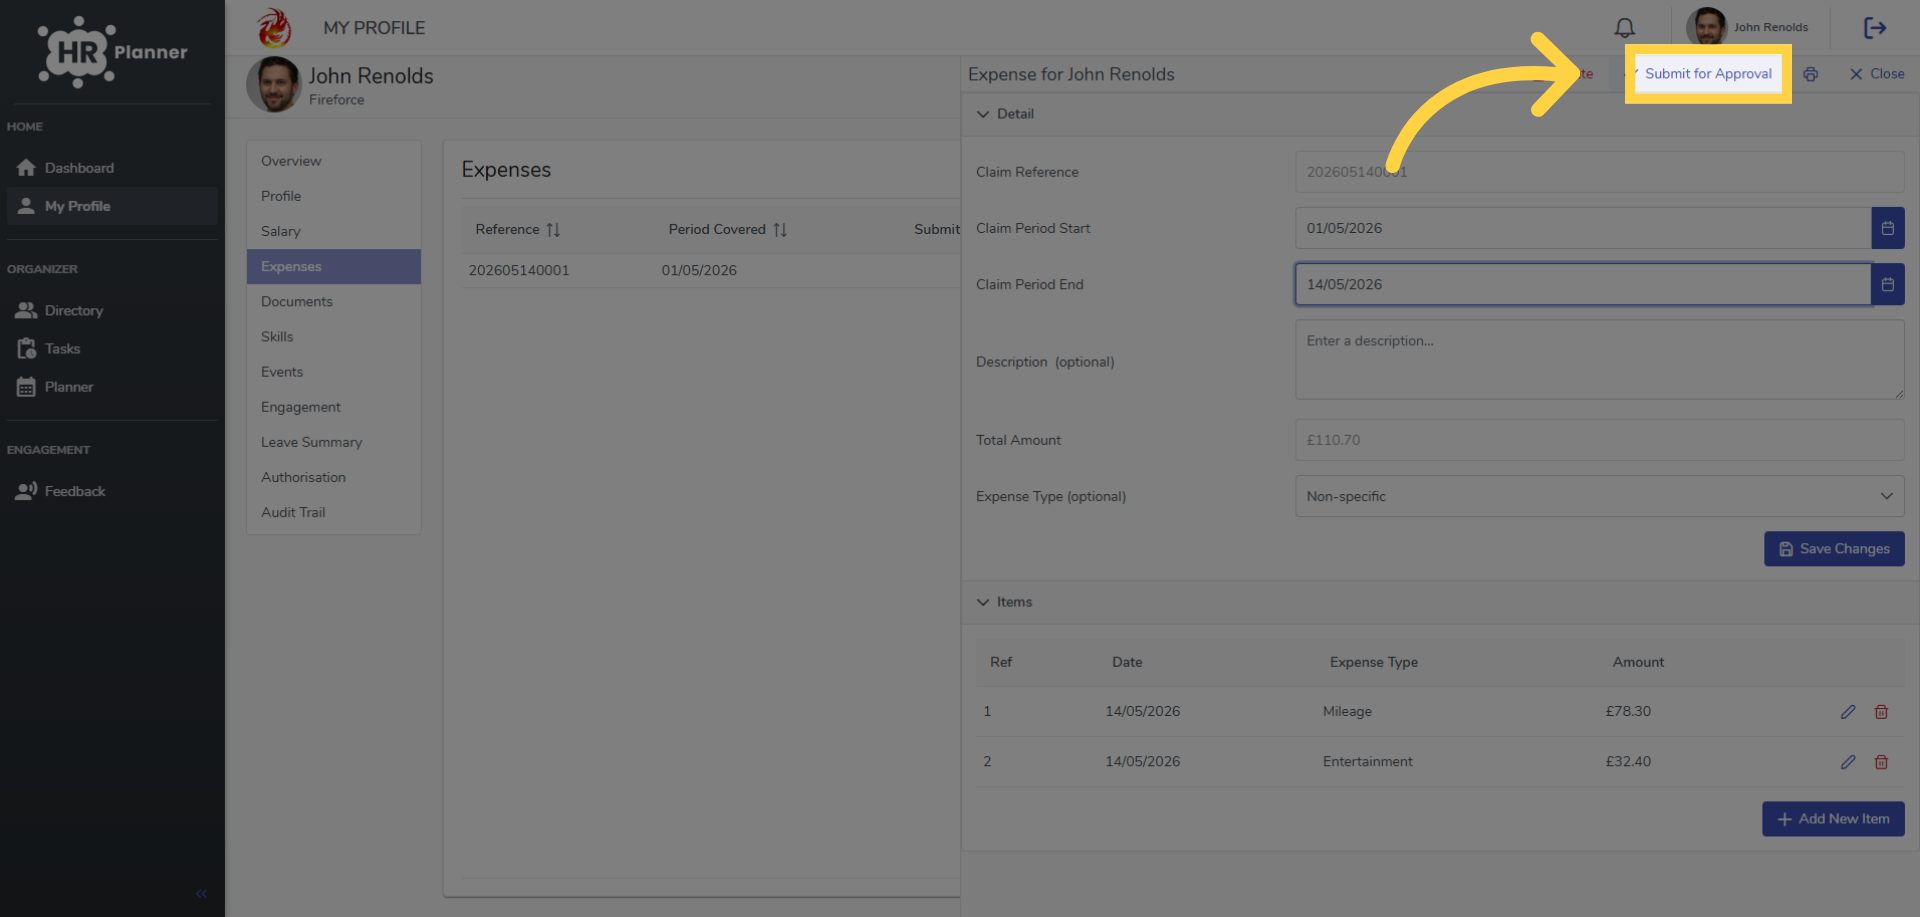
15. Submit Claim For Approval
Click Submit for Approval to send your expense claim to your authoriser.
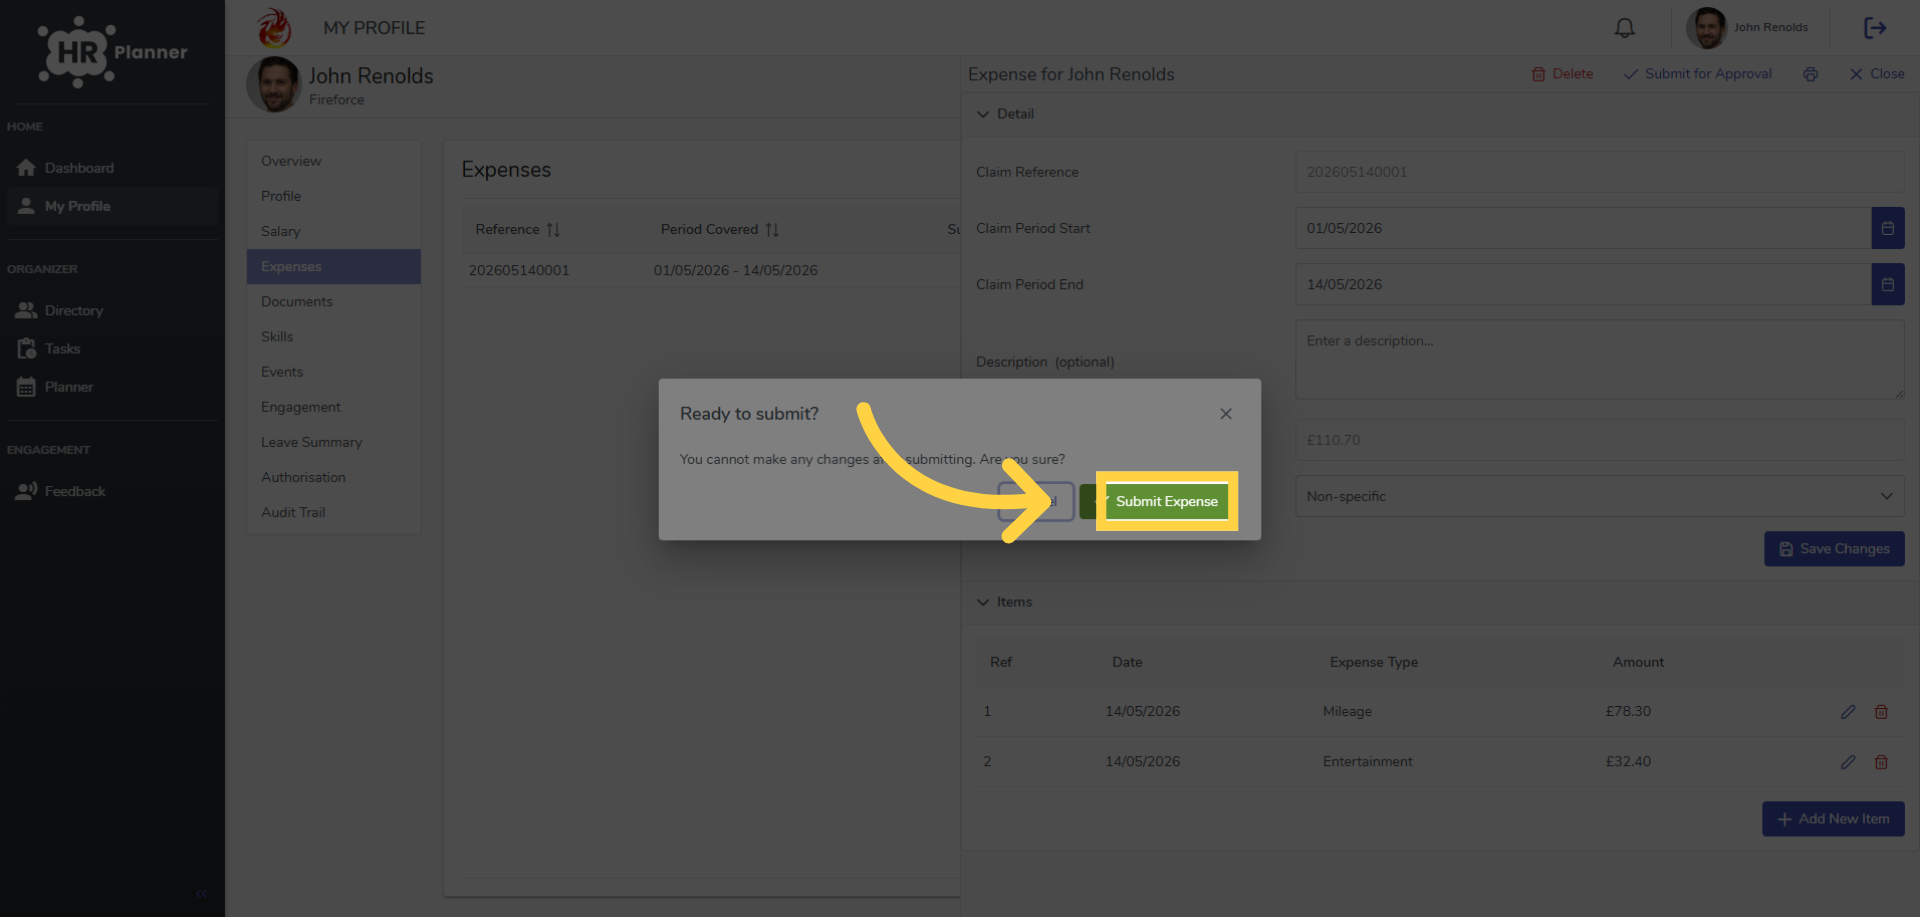
16. Confirm Expense Submission
Click Submit Expense to confirm your submission for processing.
17. Expense Authorization And Notification
Your expense has now been sent to your authoriser for approval and you will be notified when it has been completed.
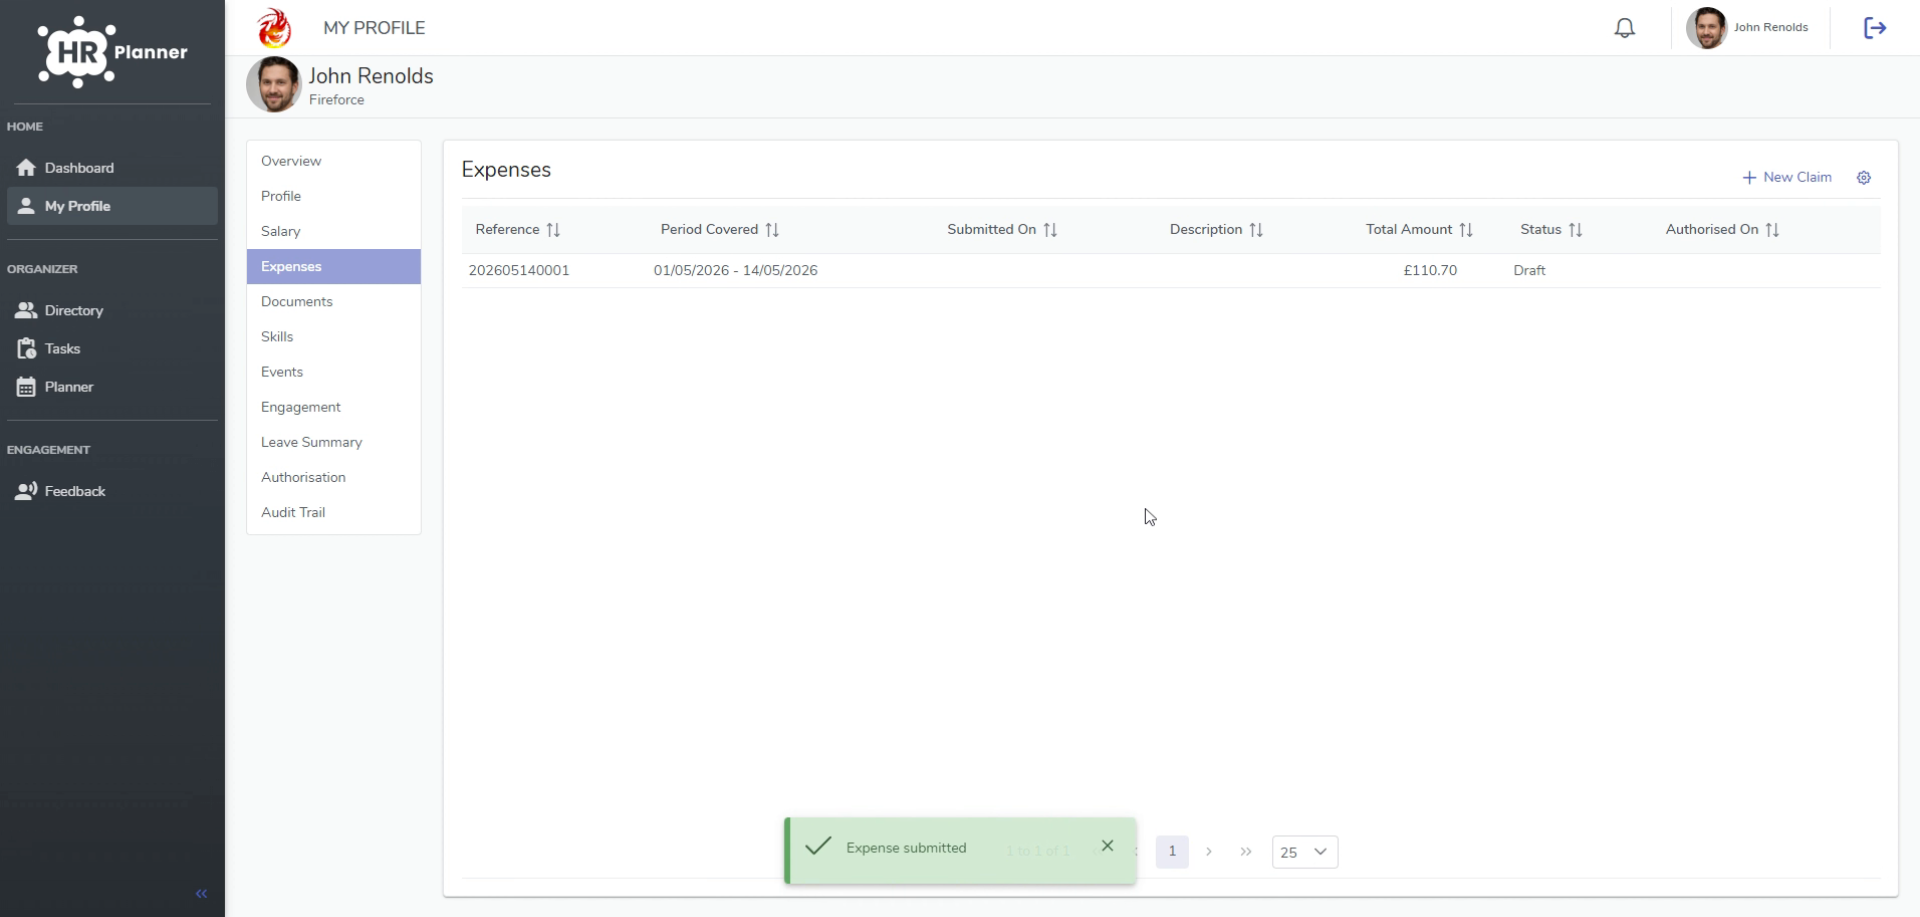
You have successfully submitted your expense claim for approval in HR Planner. Your expense authoriser will review and approve it, and you will receive a notification once the process is complete.