
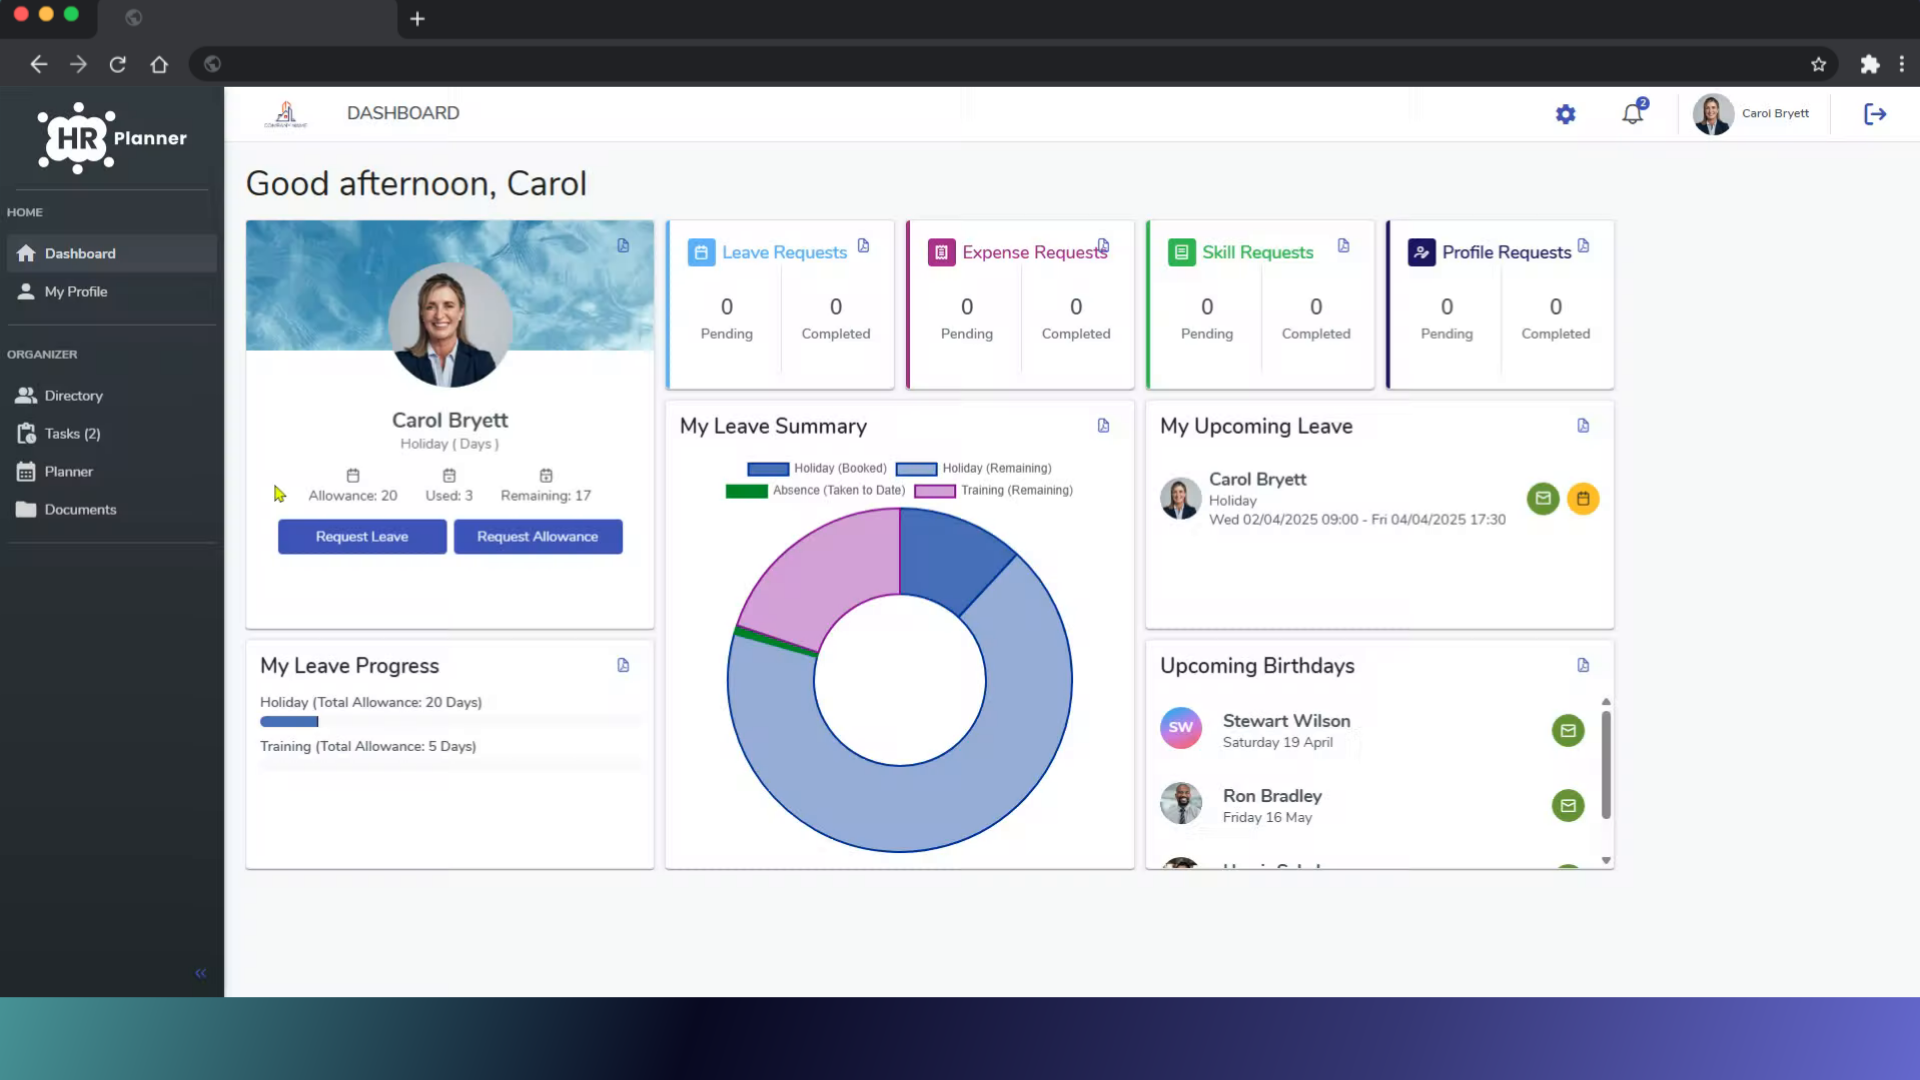
Learn how to efficiently modify your company directory in hr planner.
1. Introduction
Follow these instructions to customize the information displayed in your company directory.
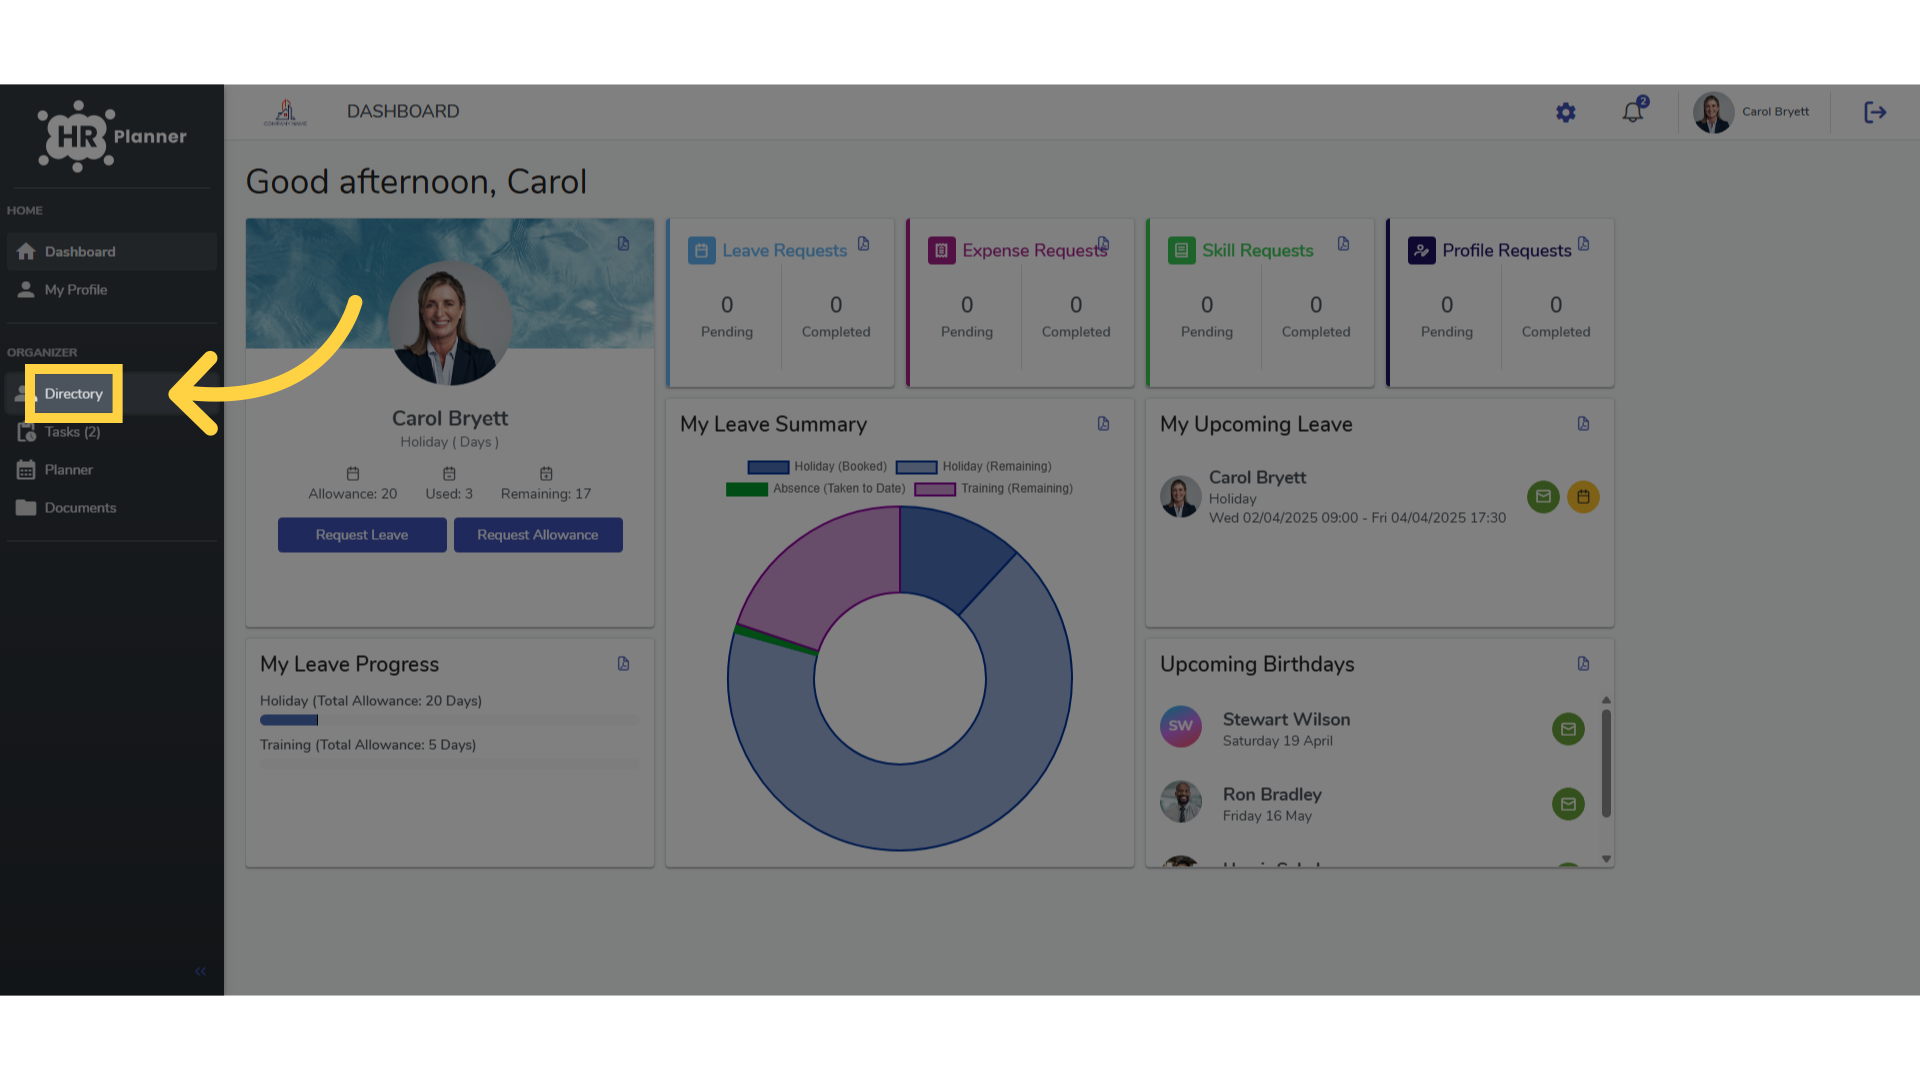
2. Click “Directory”
Access the company directory via the menu on your dashboard.
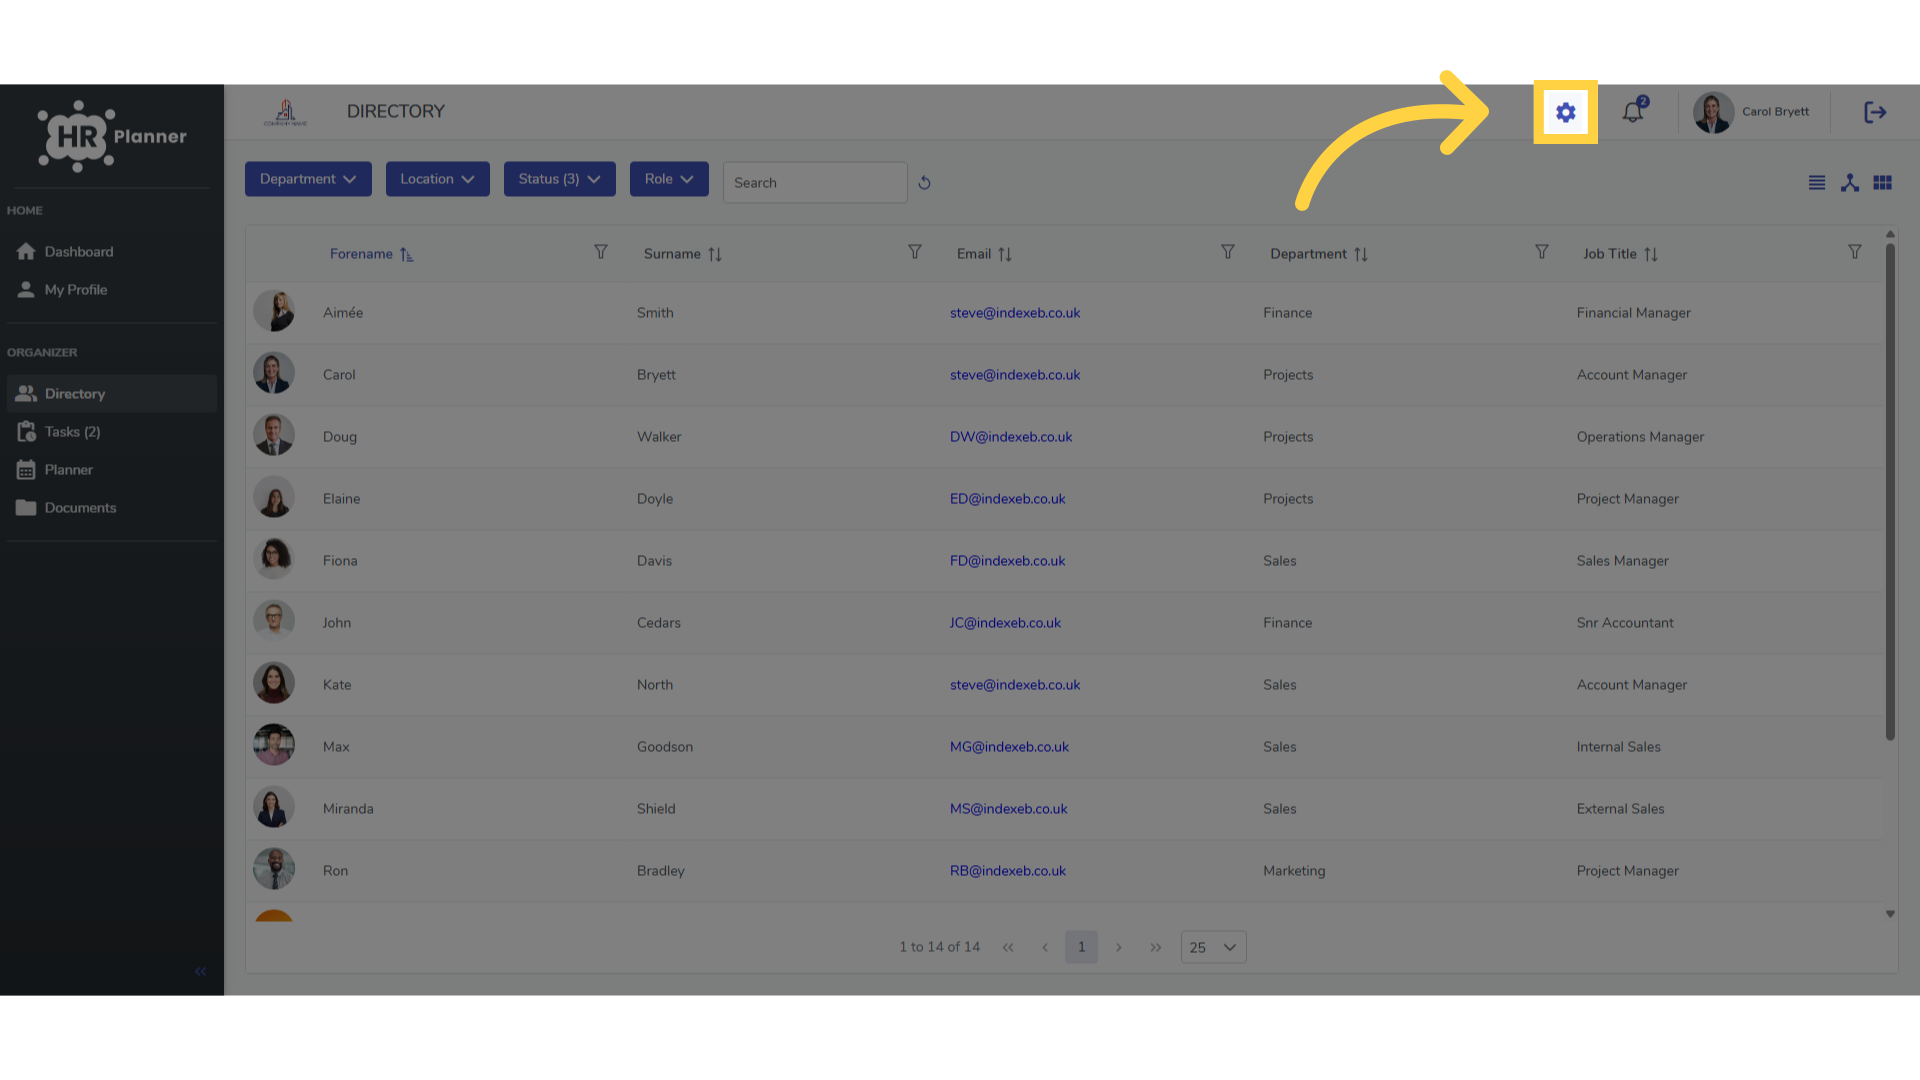
3. Click here
and click the Settings icon in the menu bar at the top.
4. Field Chooser
The menu shows the list of fields available to include in your contact directory.
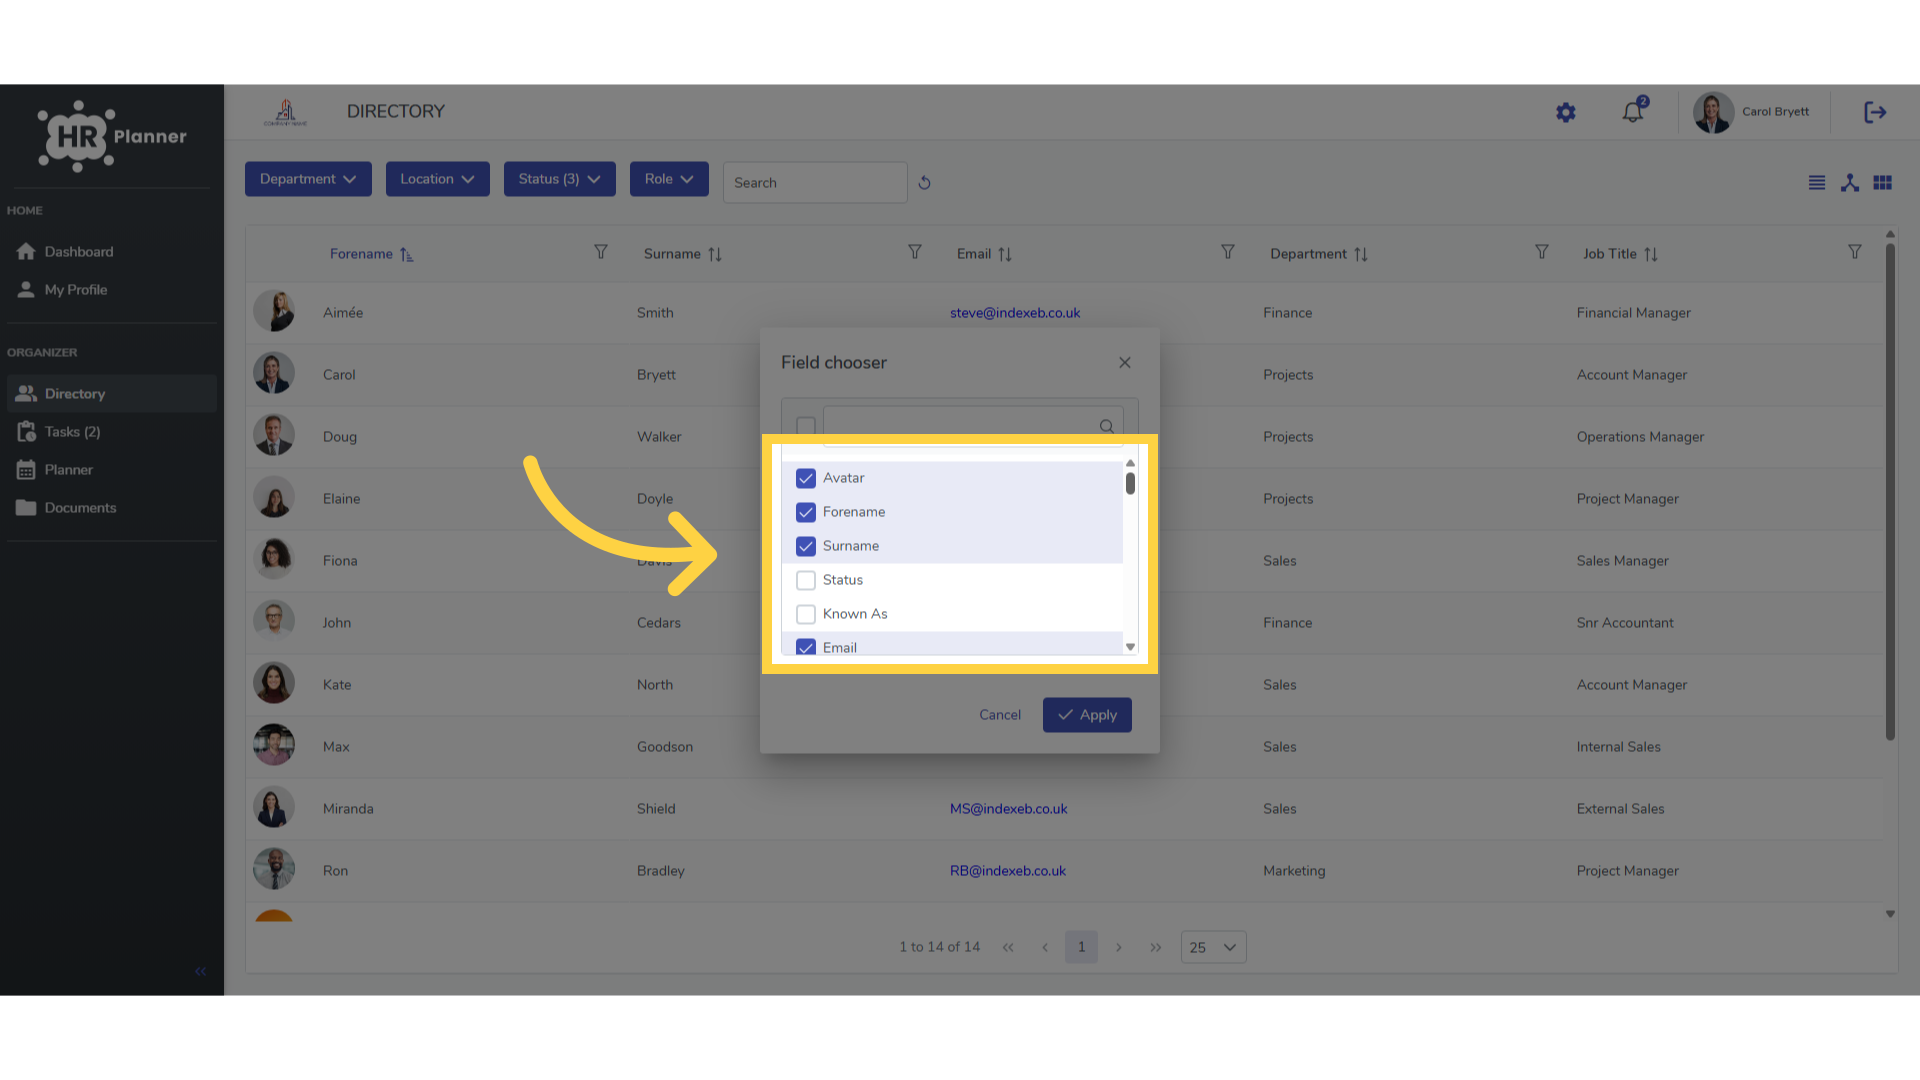
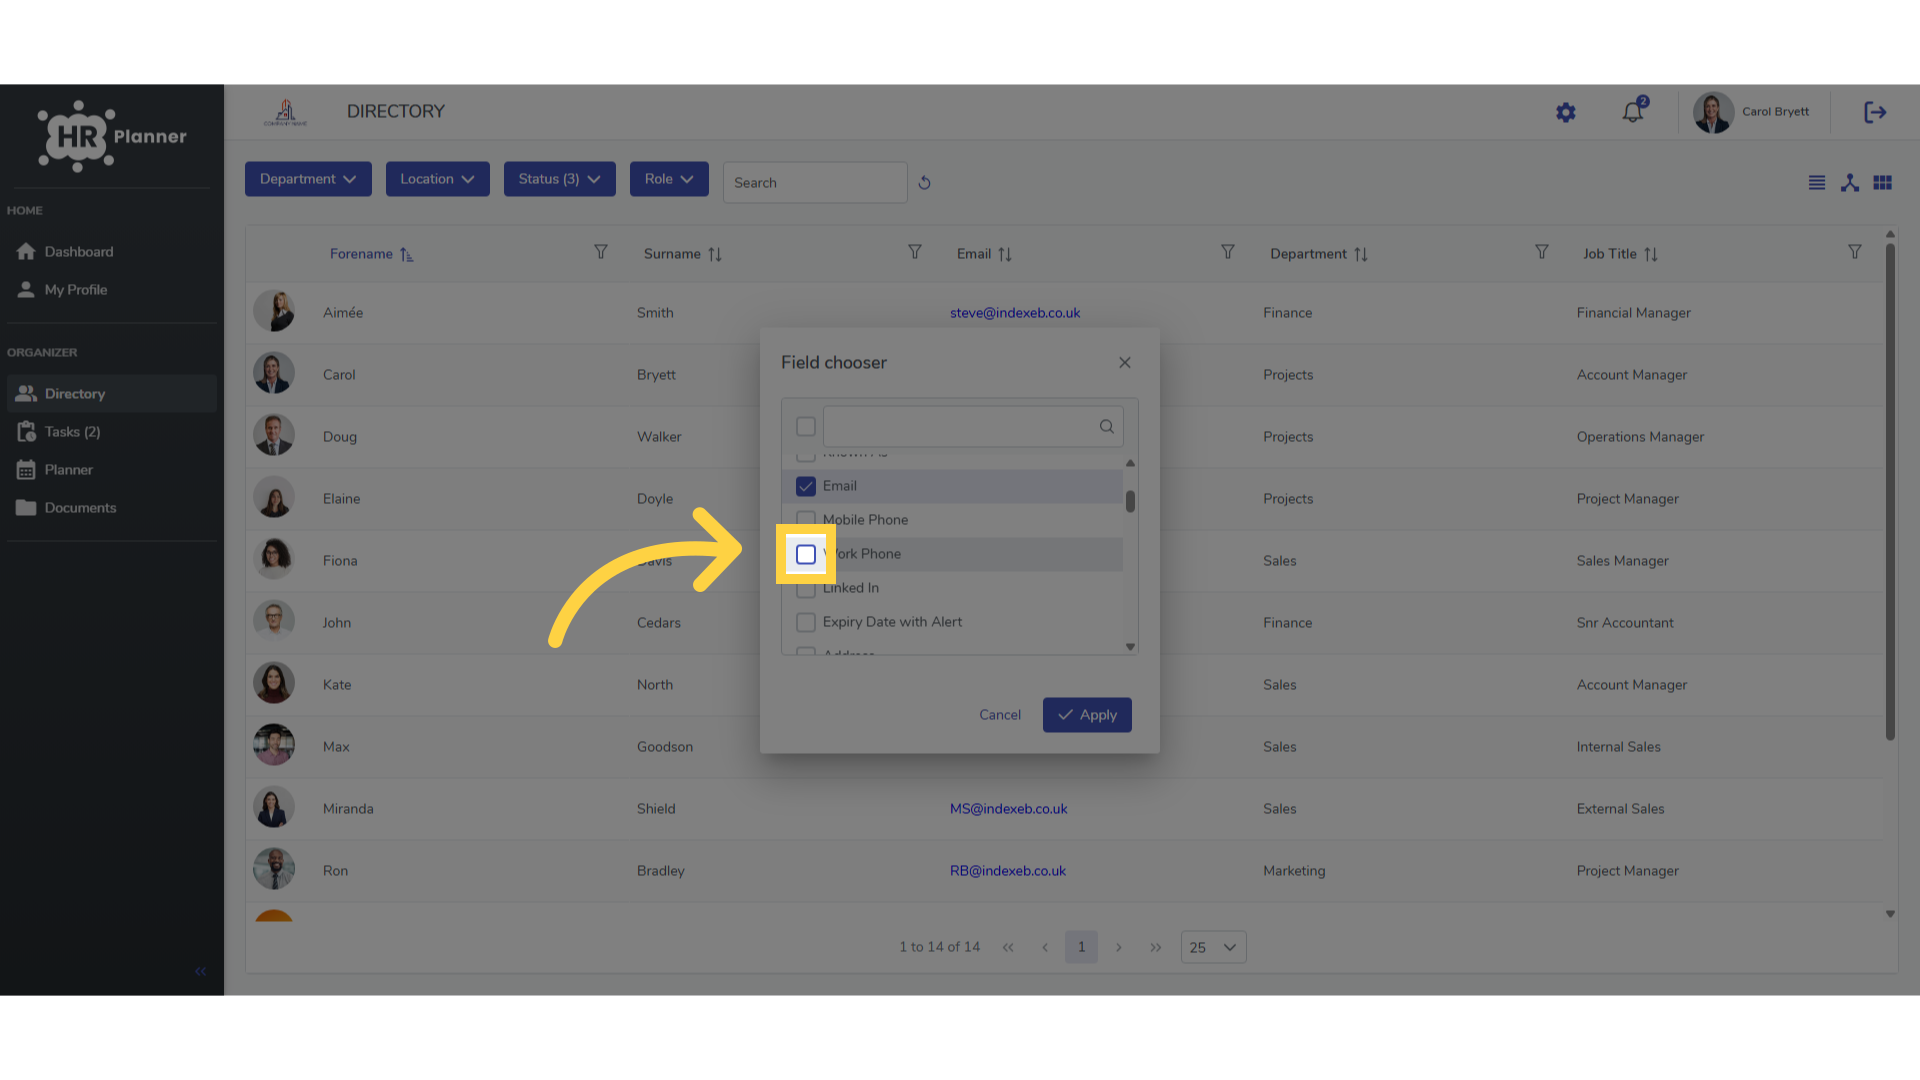
5. Click here
You can select which fields to appear in your Directory listing but importantly only the data that you have permission to view will appear there.
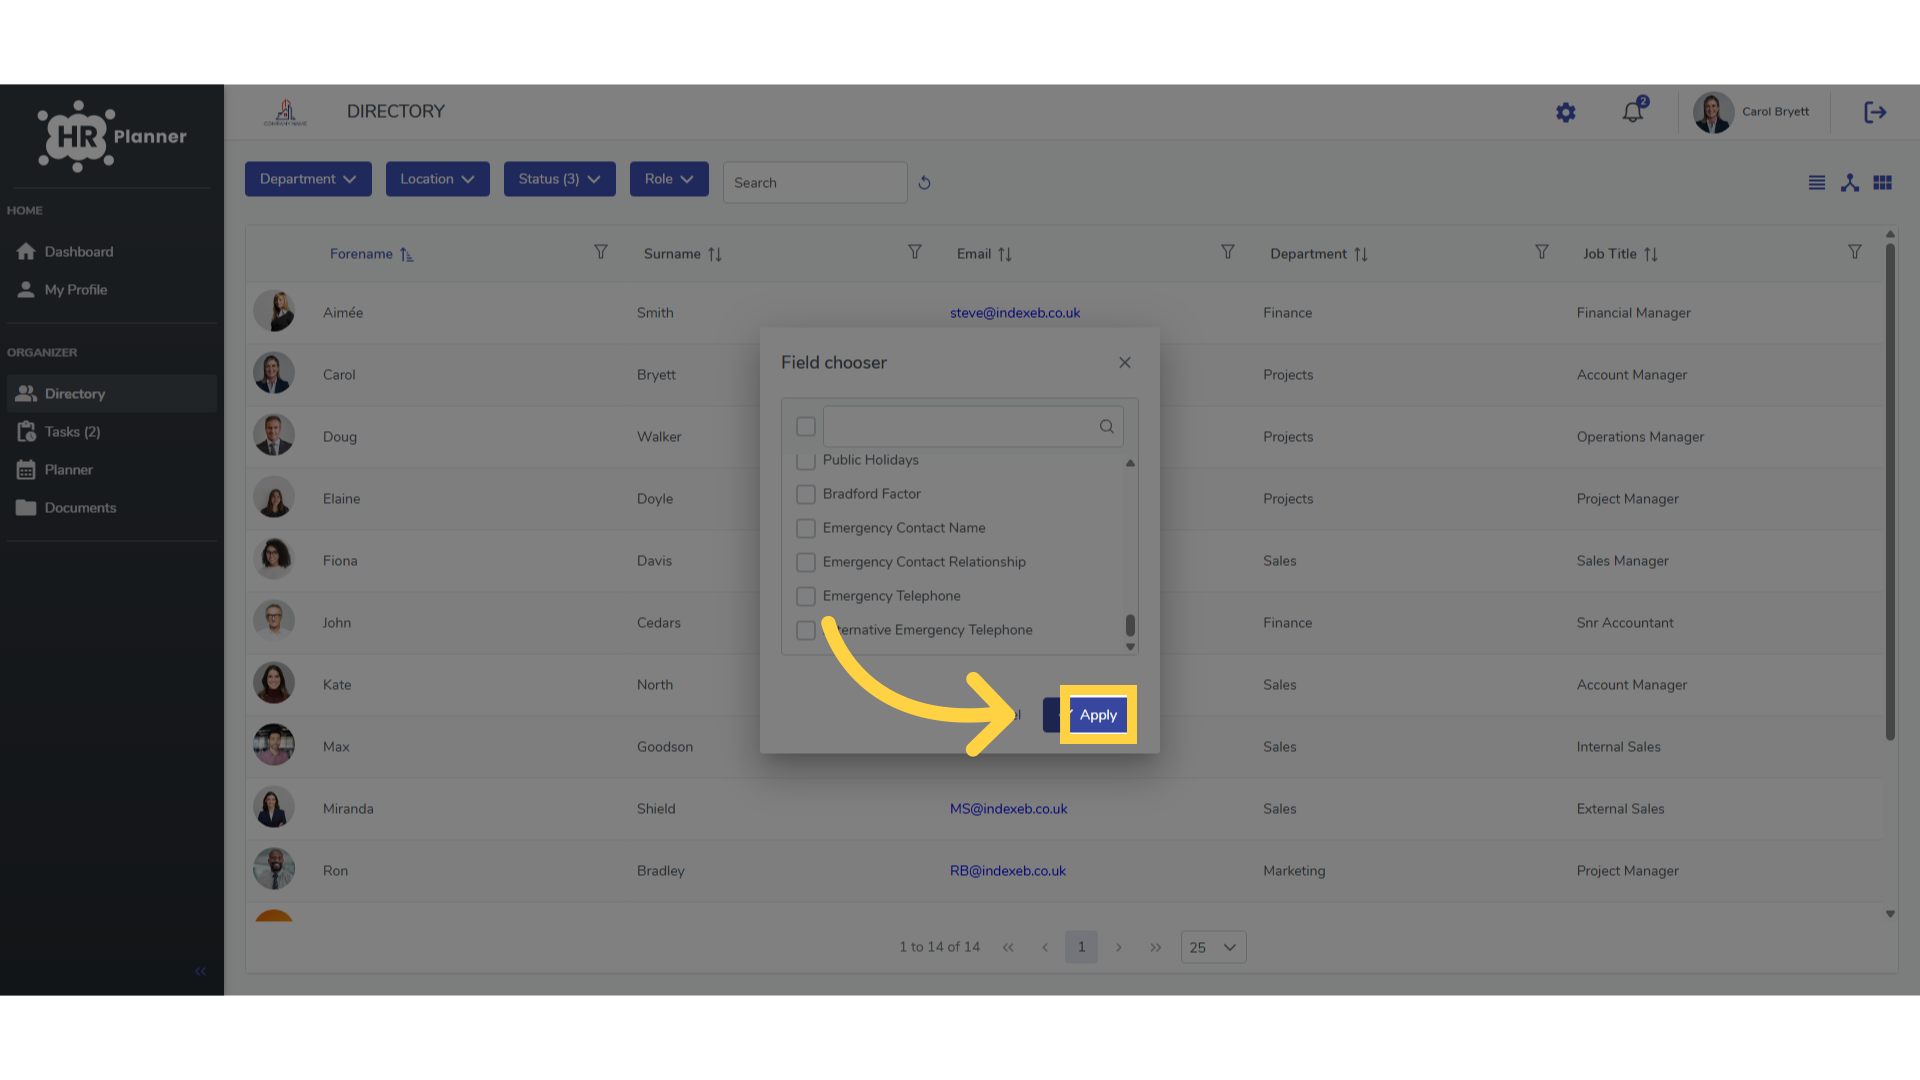
6. Click “Apply”
Save the changes by clicking on “Apply.”
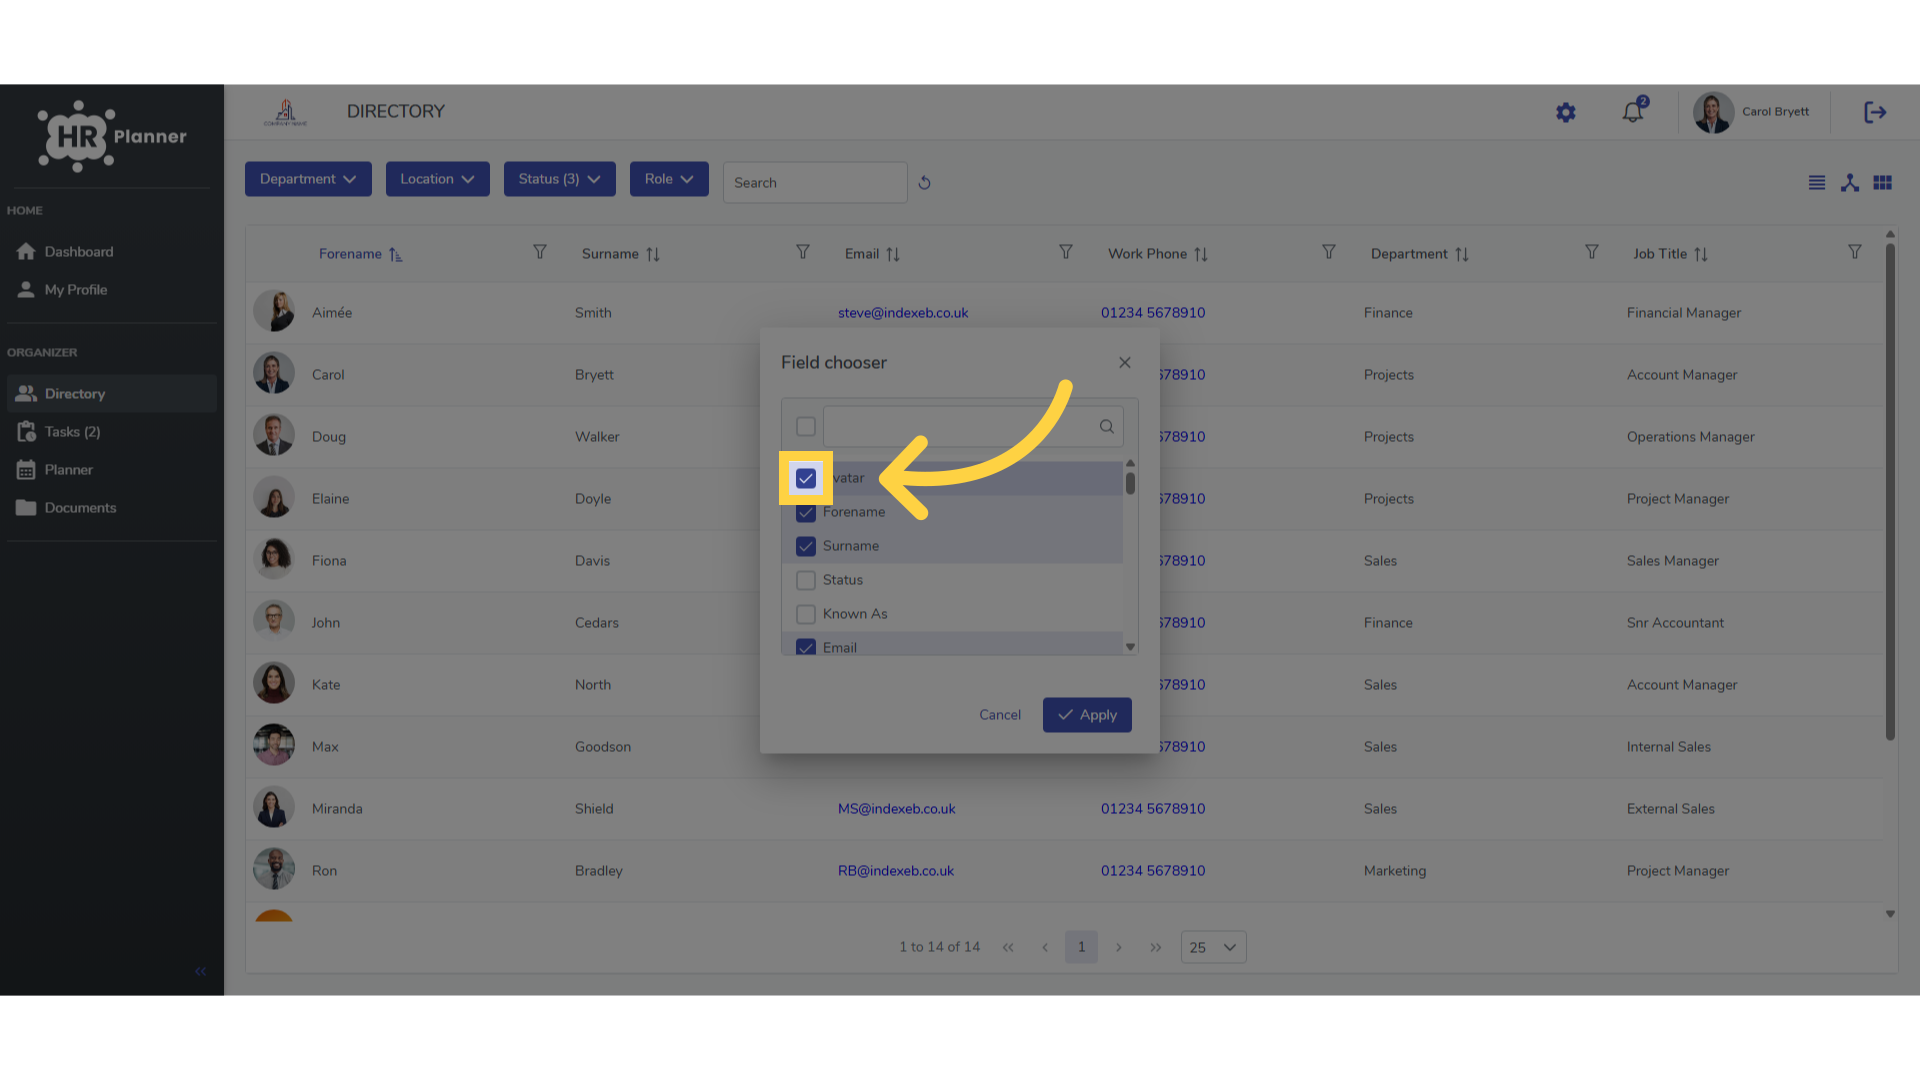
7. Click here
You can remove fields by unticking too
8. Click here
Your directory will automatically update to include the changes.
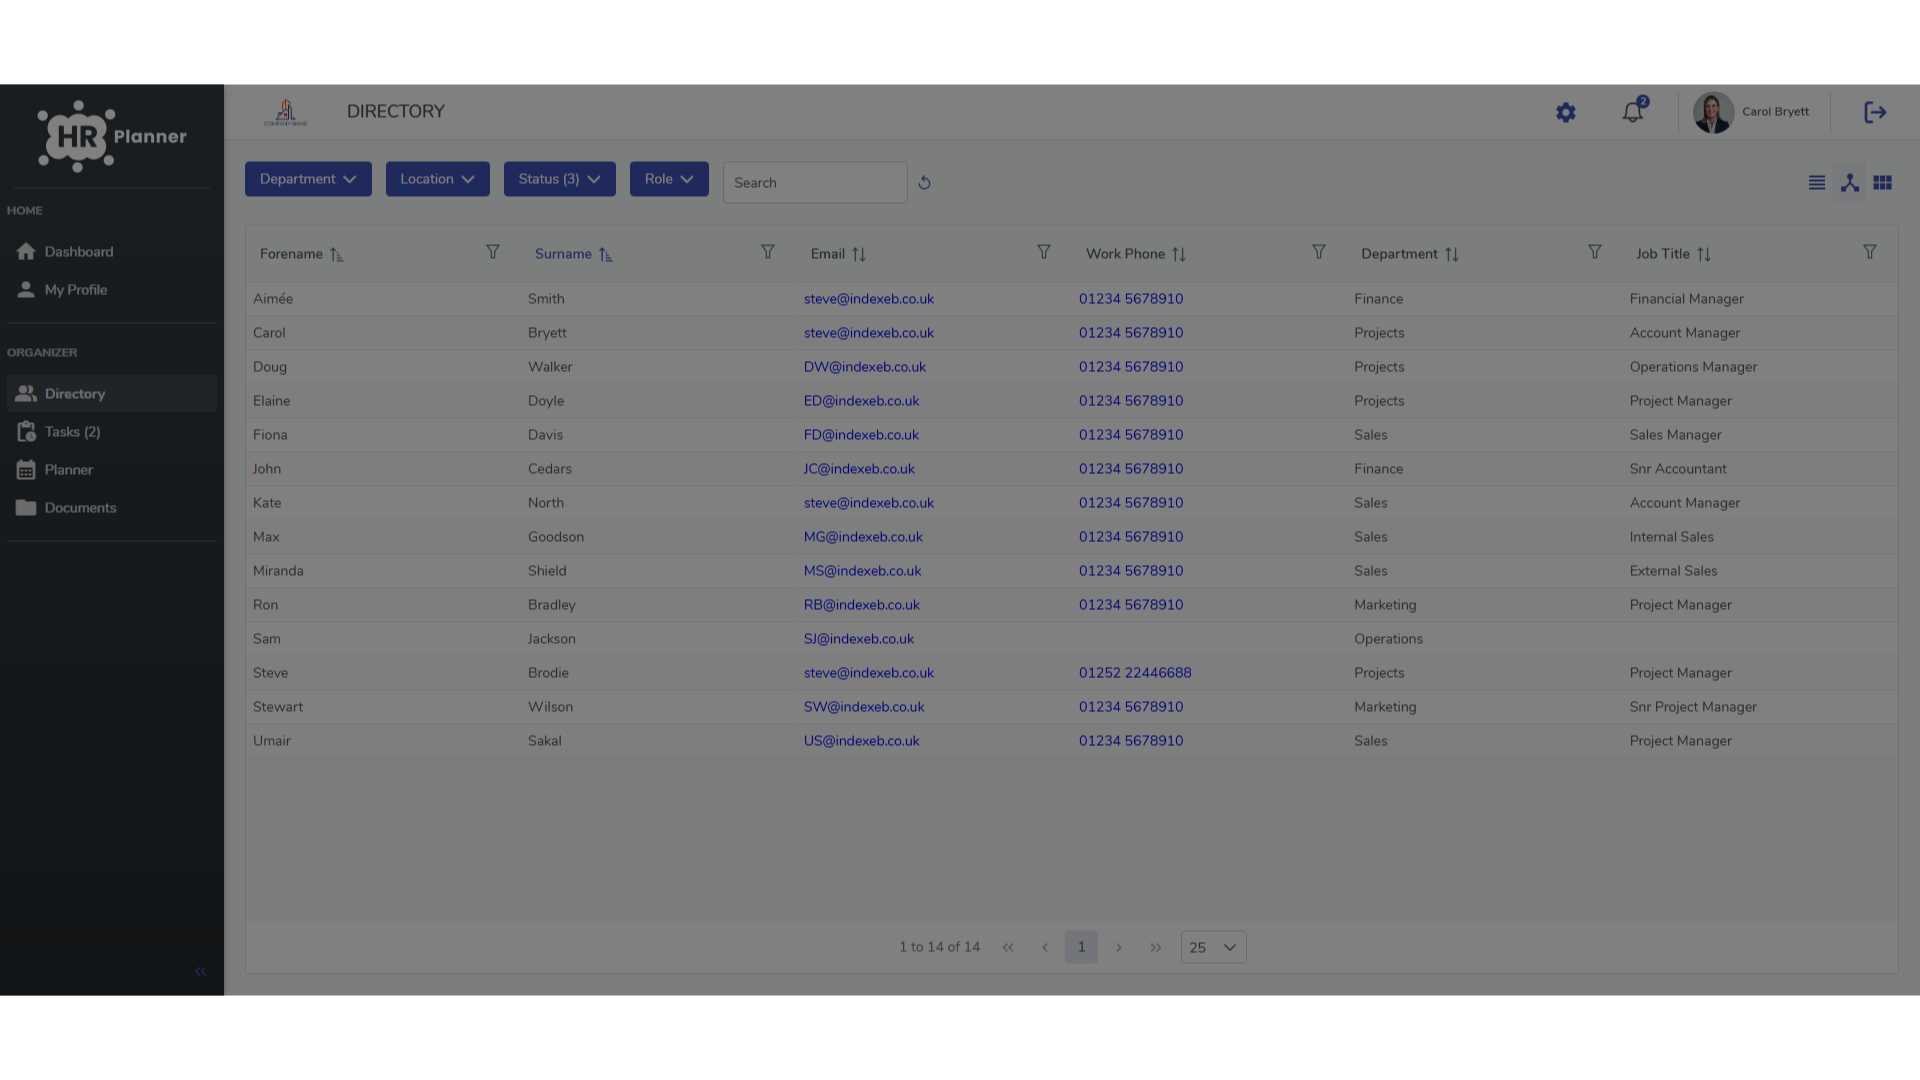
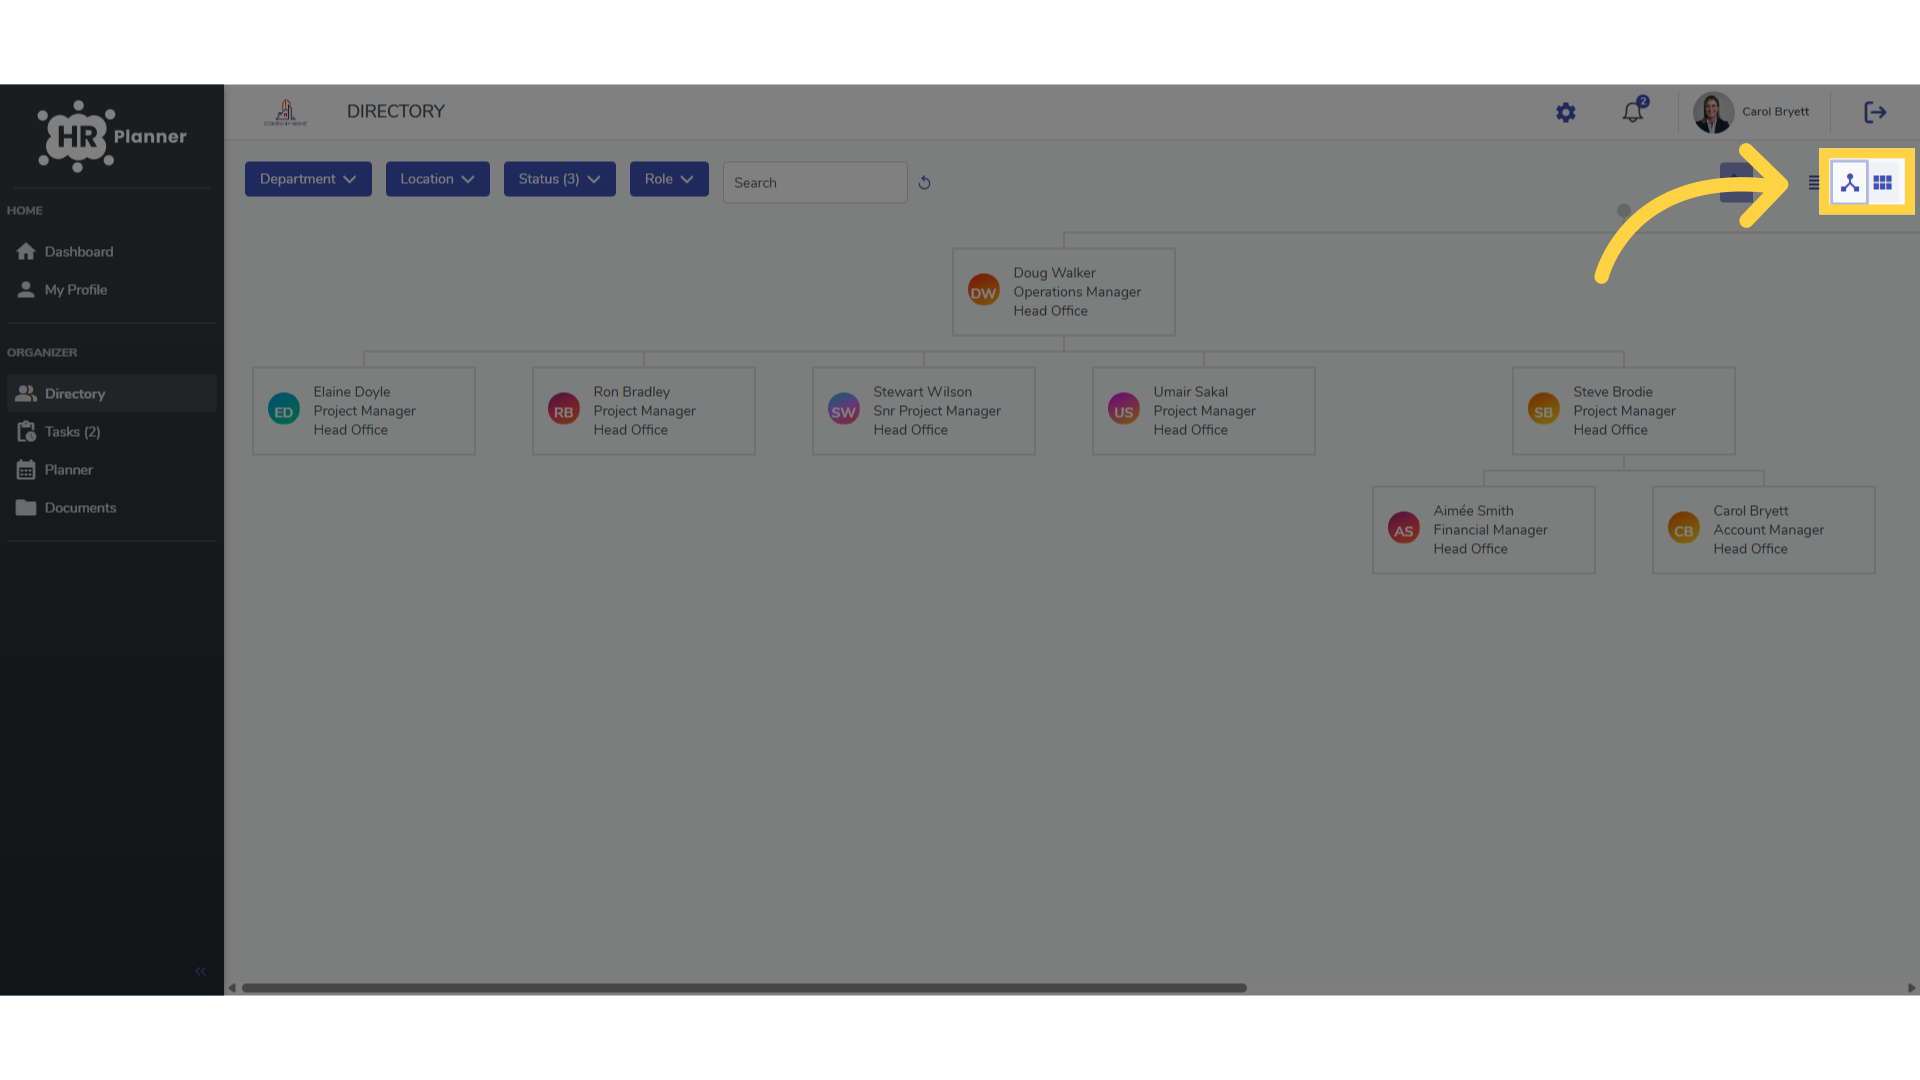
9. Click here
Alternative views are also available such as the organisation chart or business card layout.
This guide has covered the process of customising and updating information in the company directory within hr planner.