
Discover how to enhance your dashboard by adding a new widget on hr planner.
1. Introduction
Follow these engaging steps to seamlessly integrate a widget that suits your needs, providing a personalized touch to your dashboard experience.
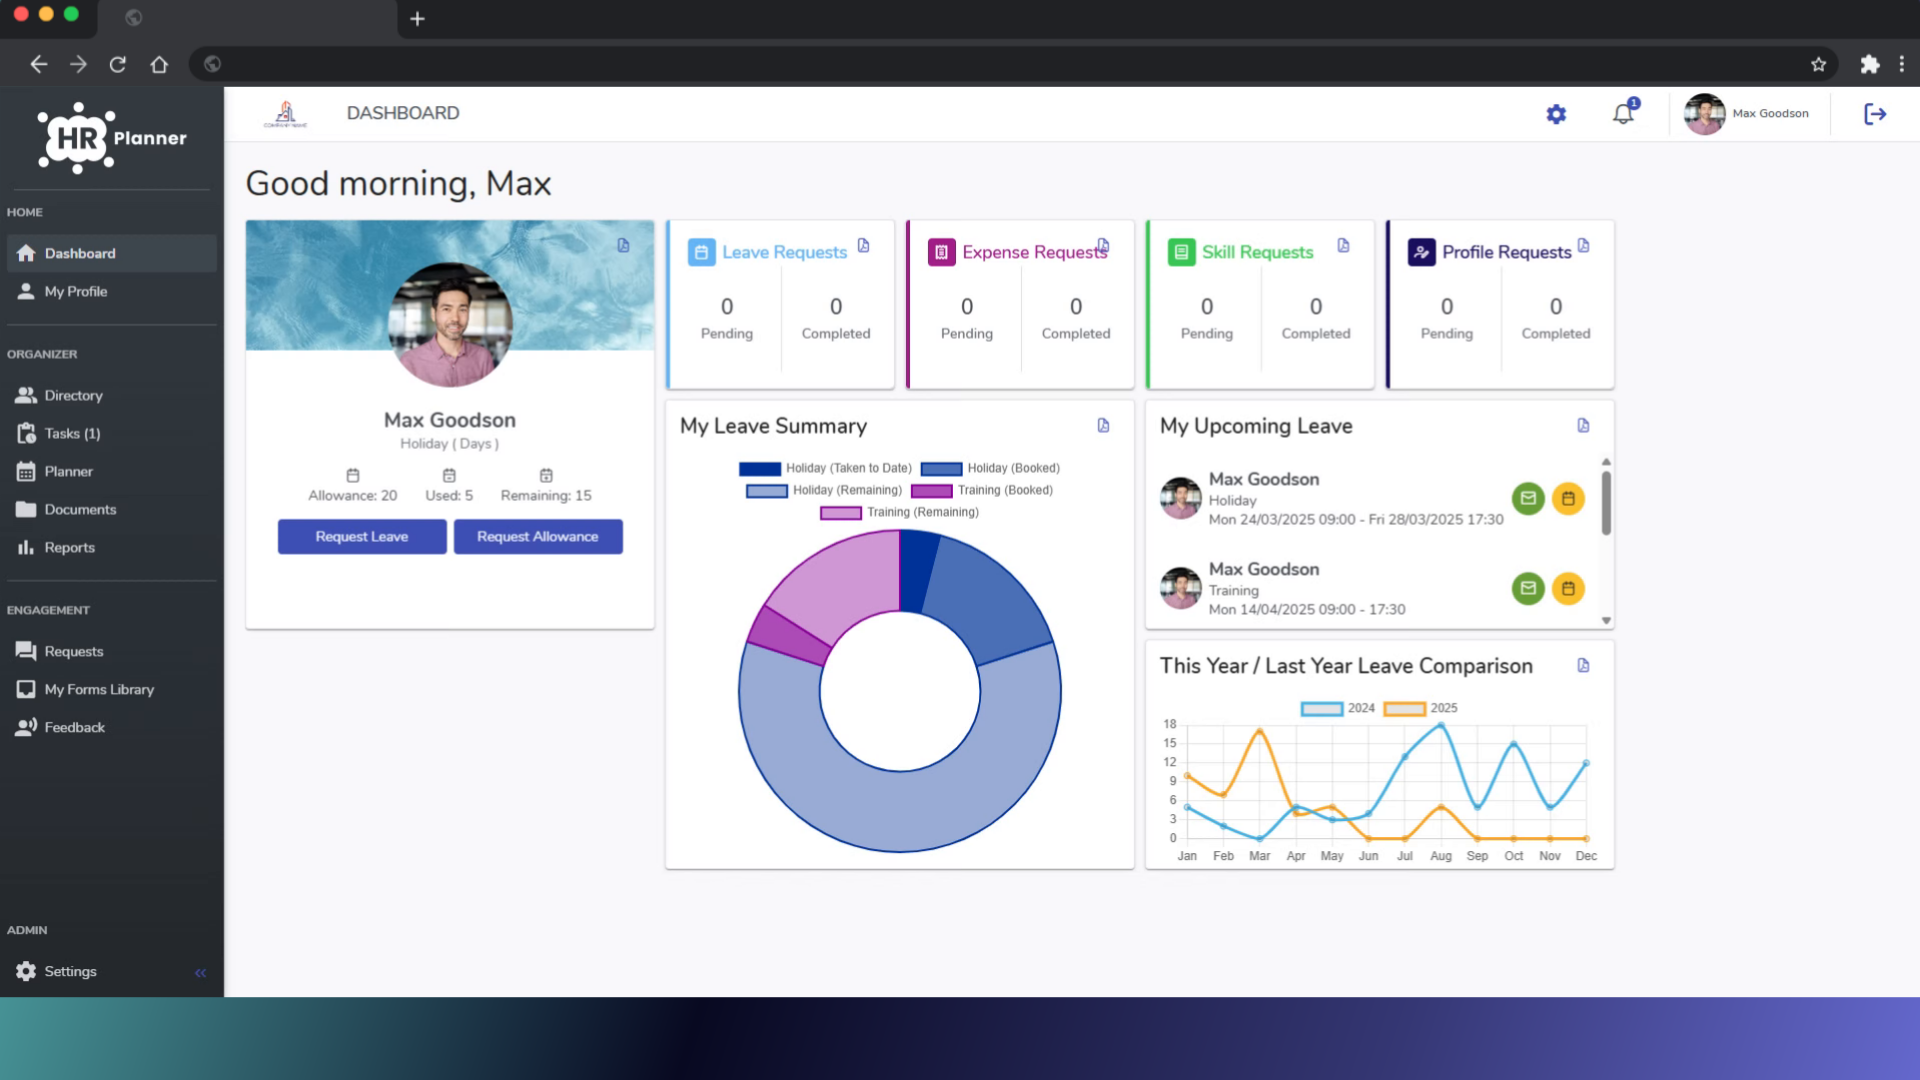
2. Click here
On your dashboard click the Settings wheel
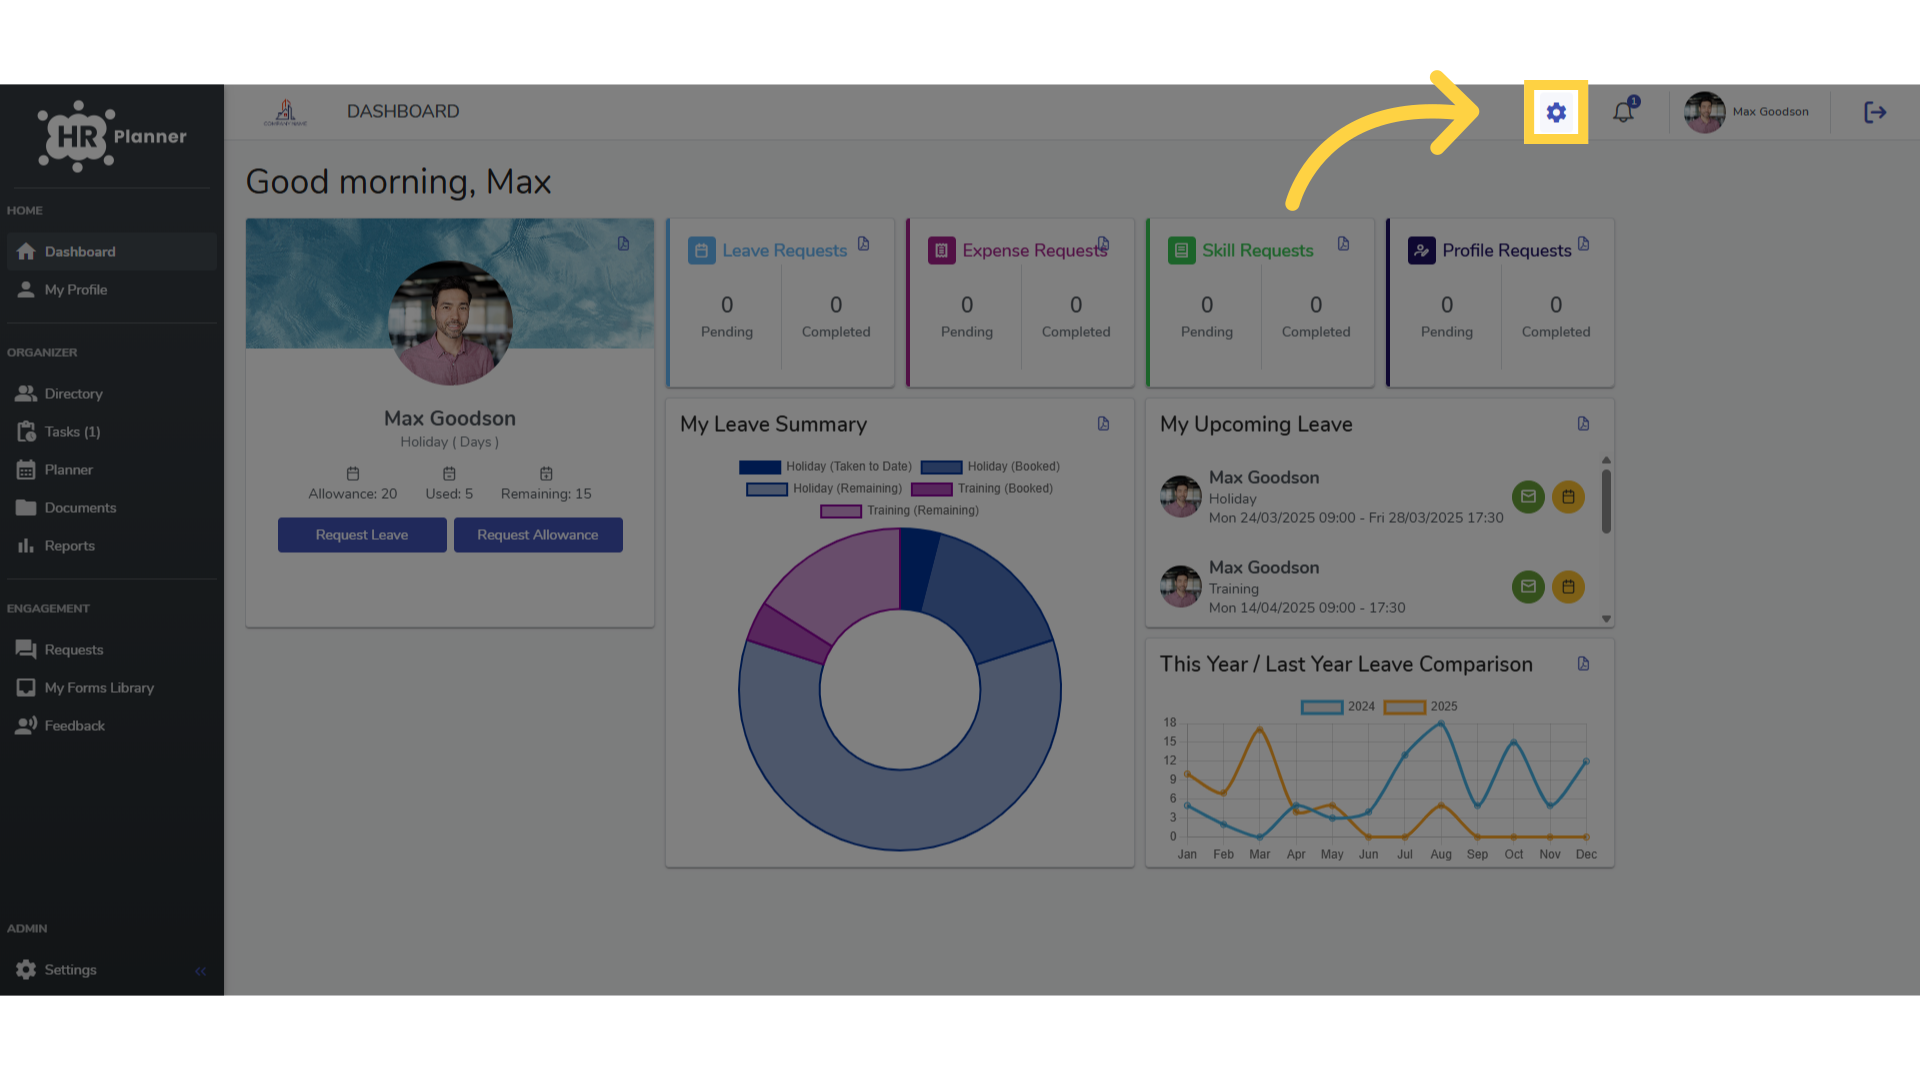
3. Click “Add Widget”
Access the widget creation menu.
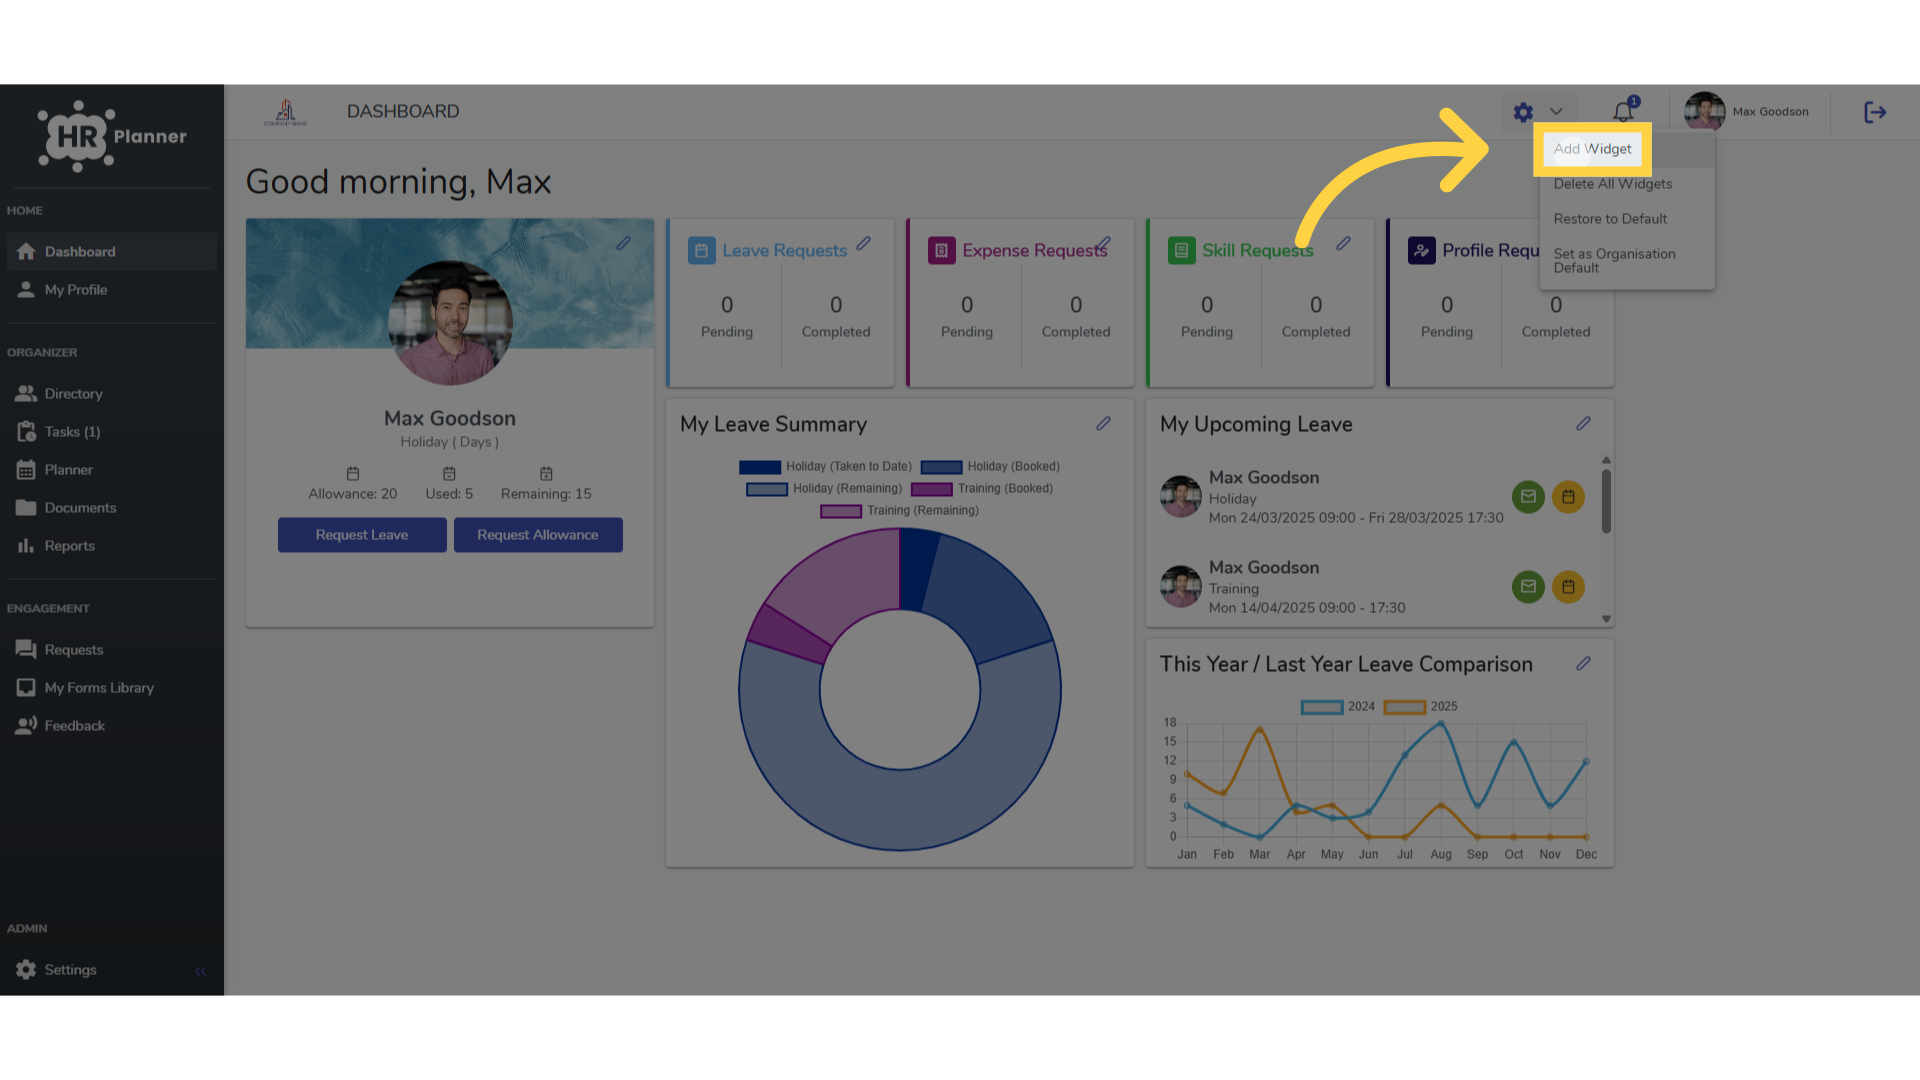
4. Click “Upcoming Birthdays”
and select from the list of examples.
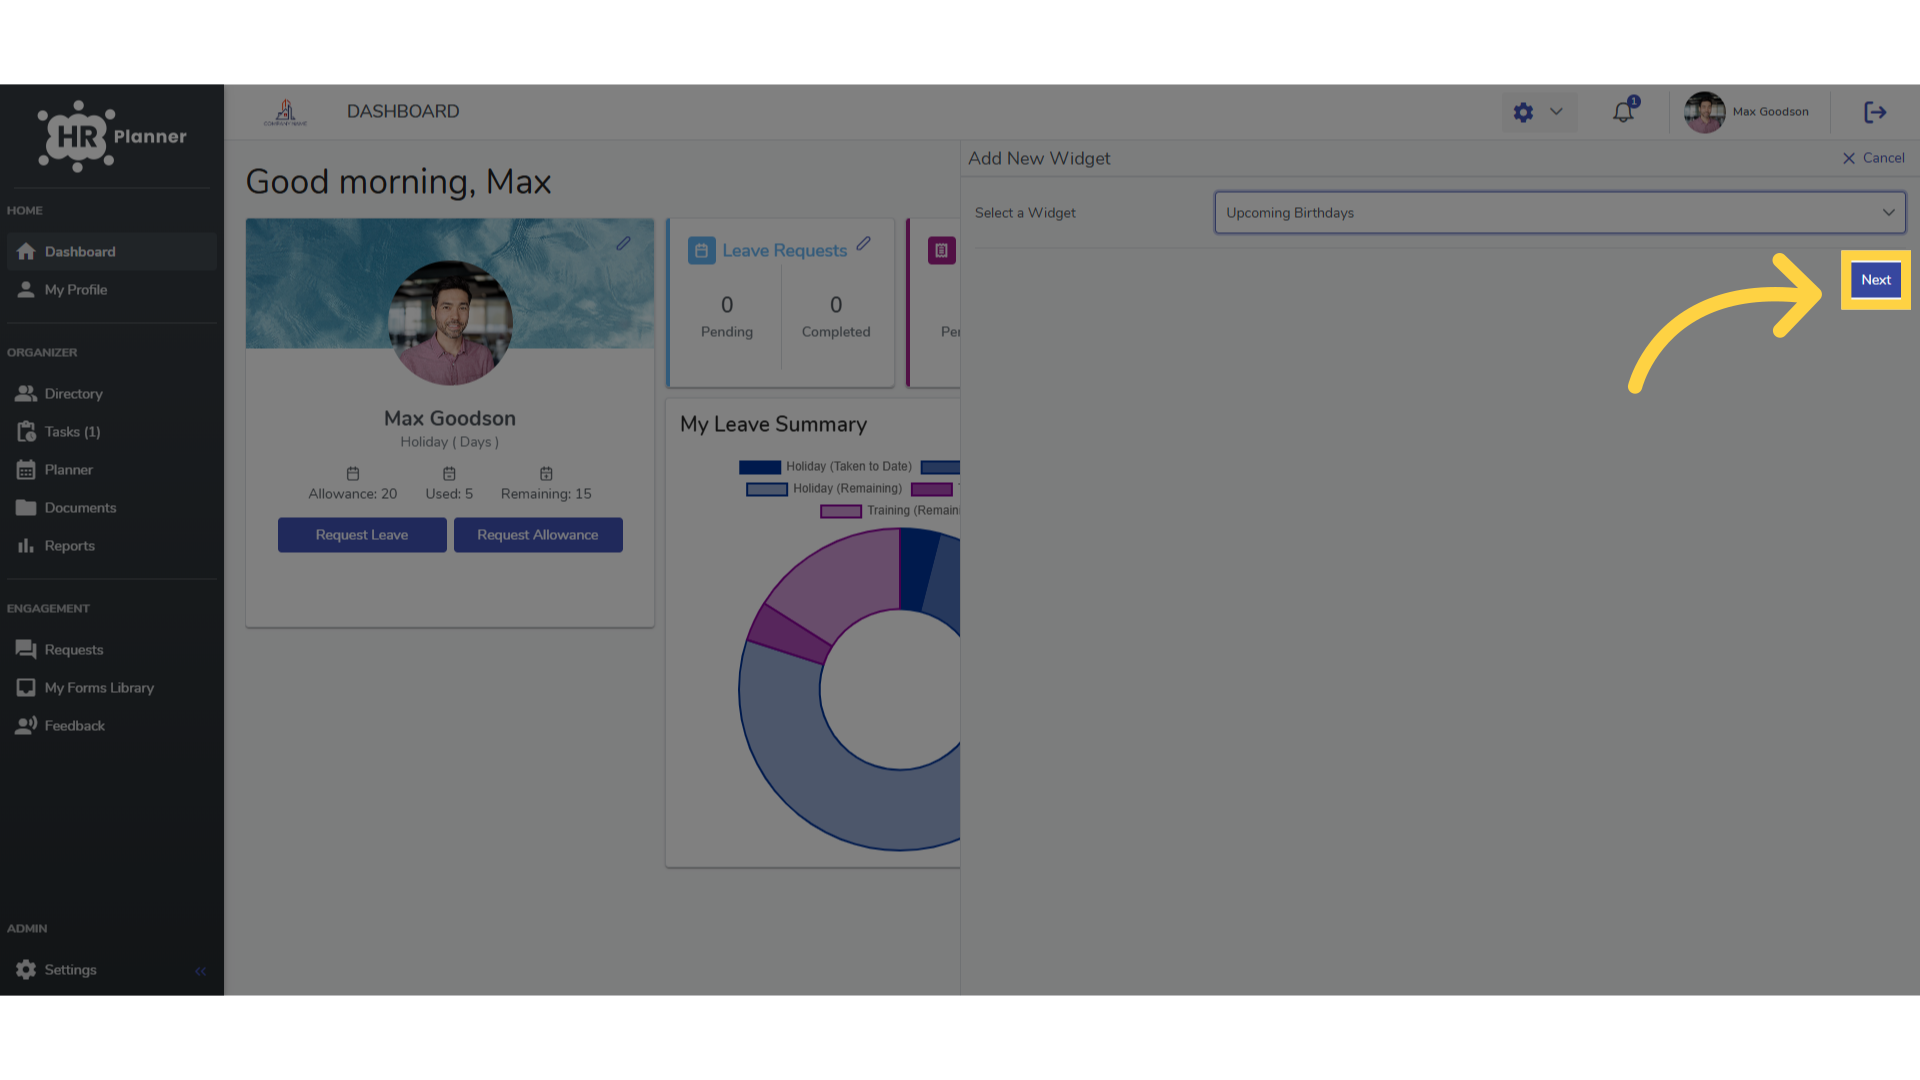
5. Click “Next”
Proceed to the next step.
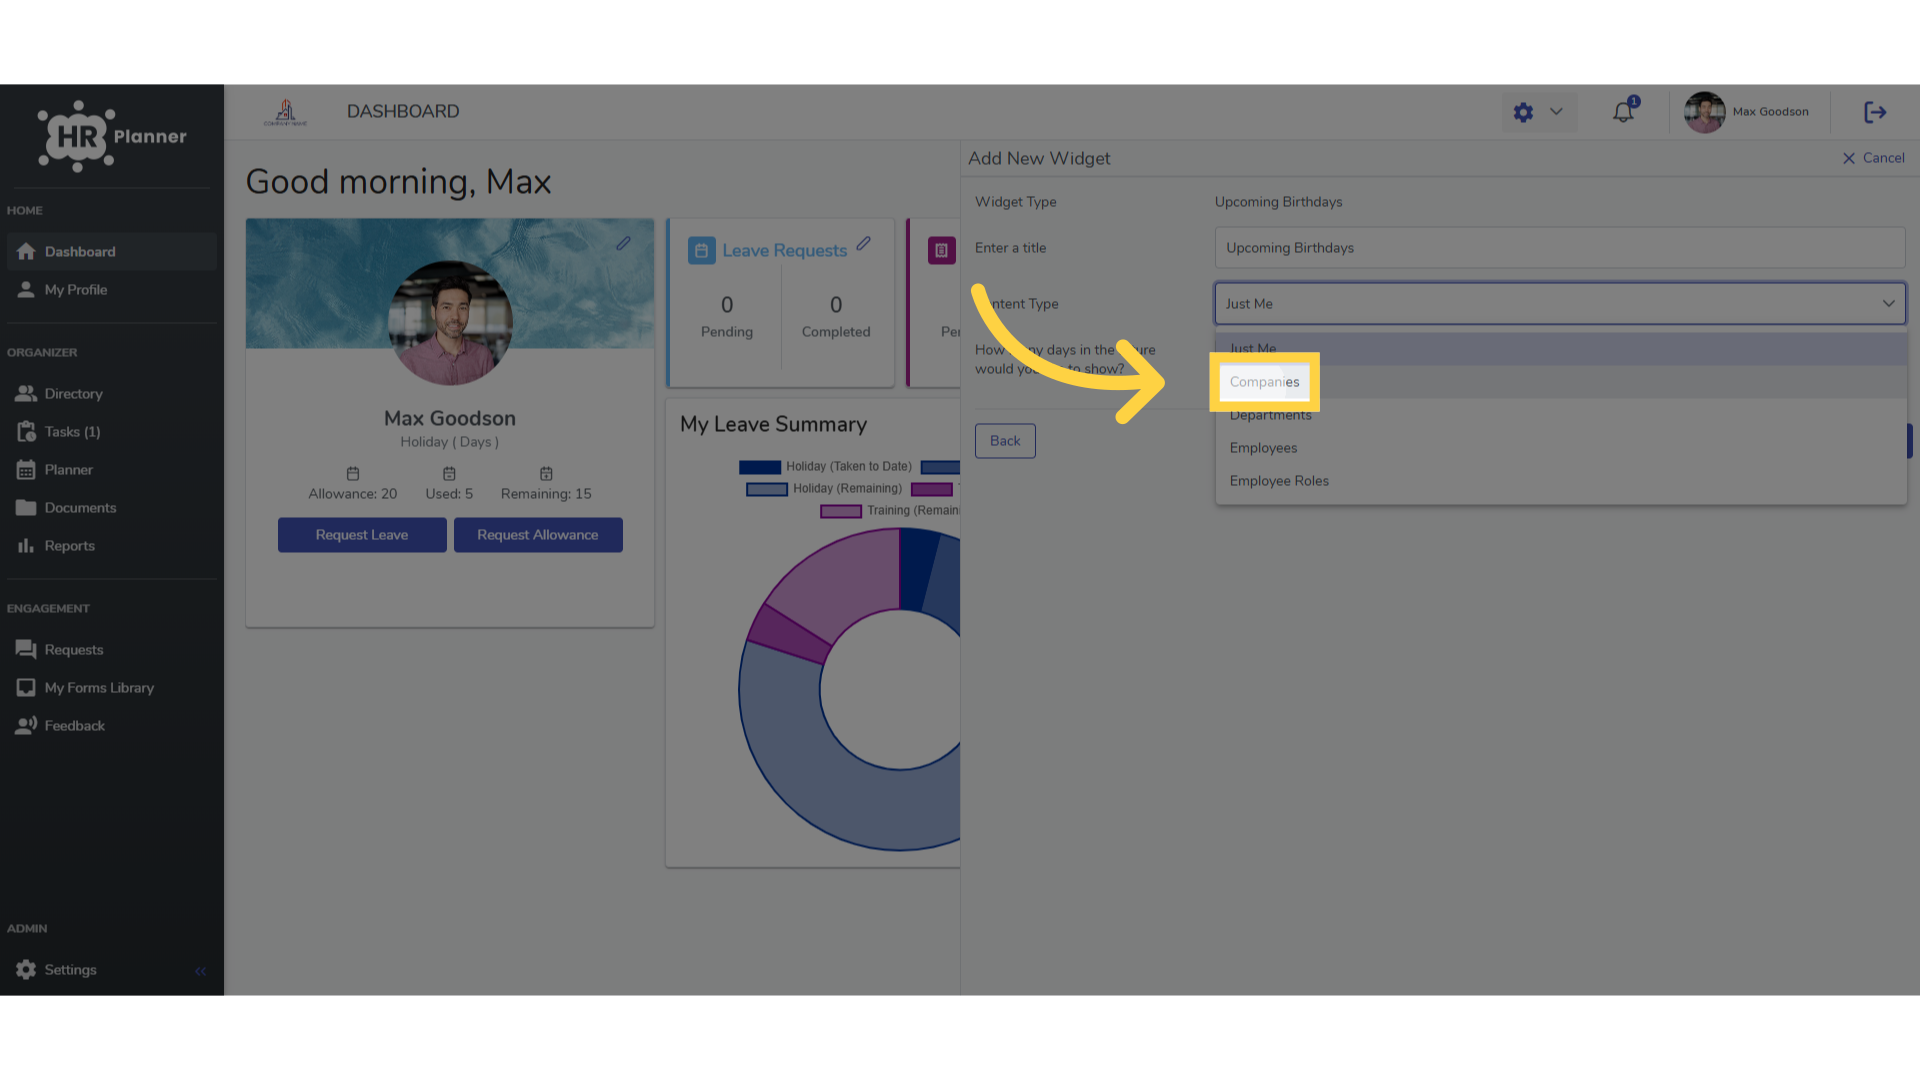
6. Click “Companies”
You can choose where the widget looks for its data
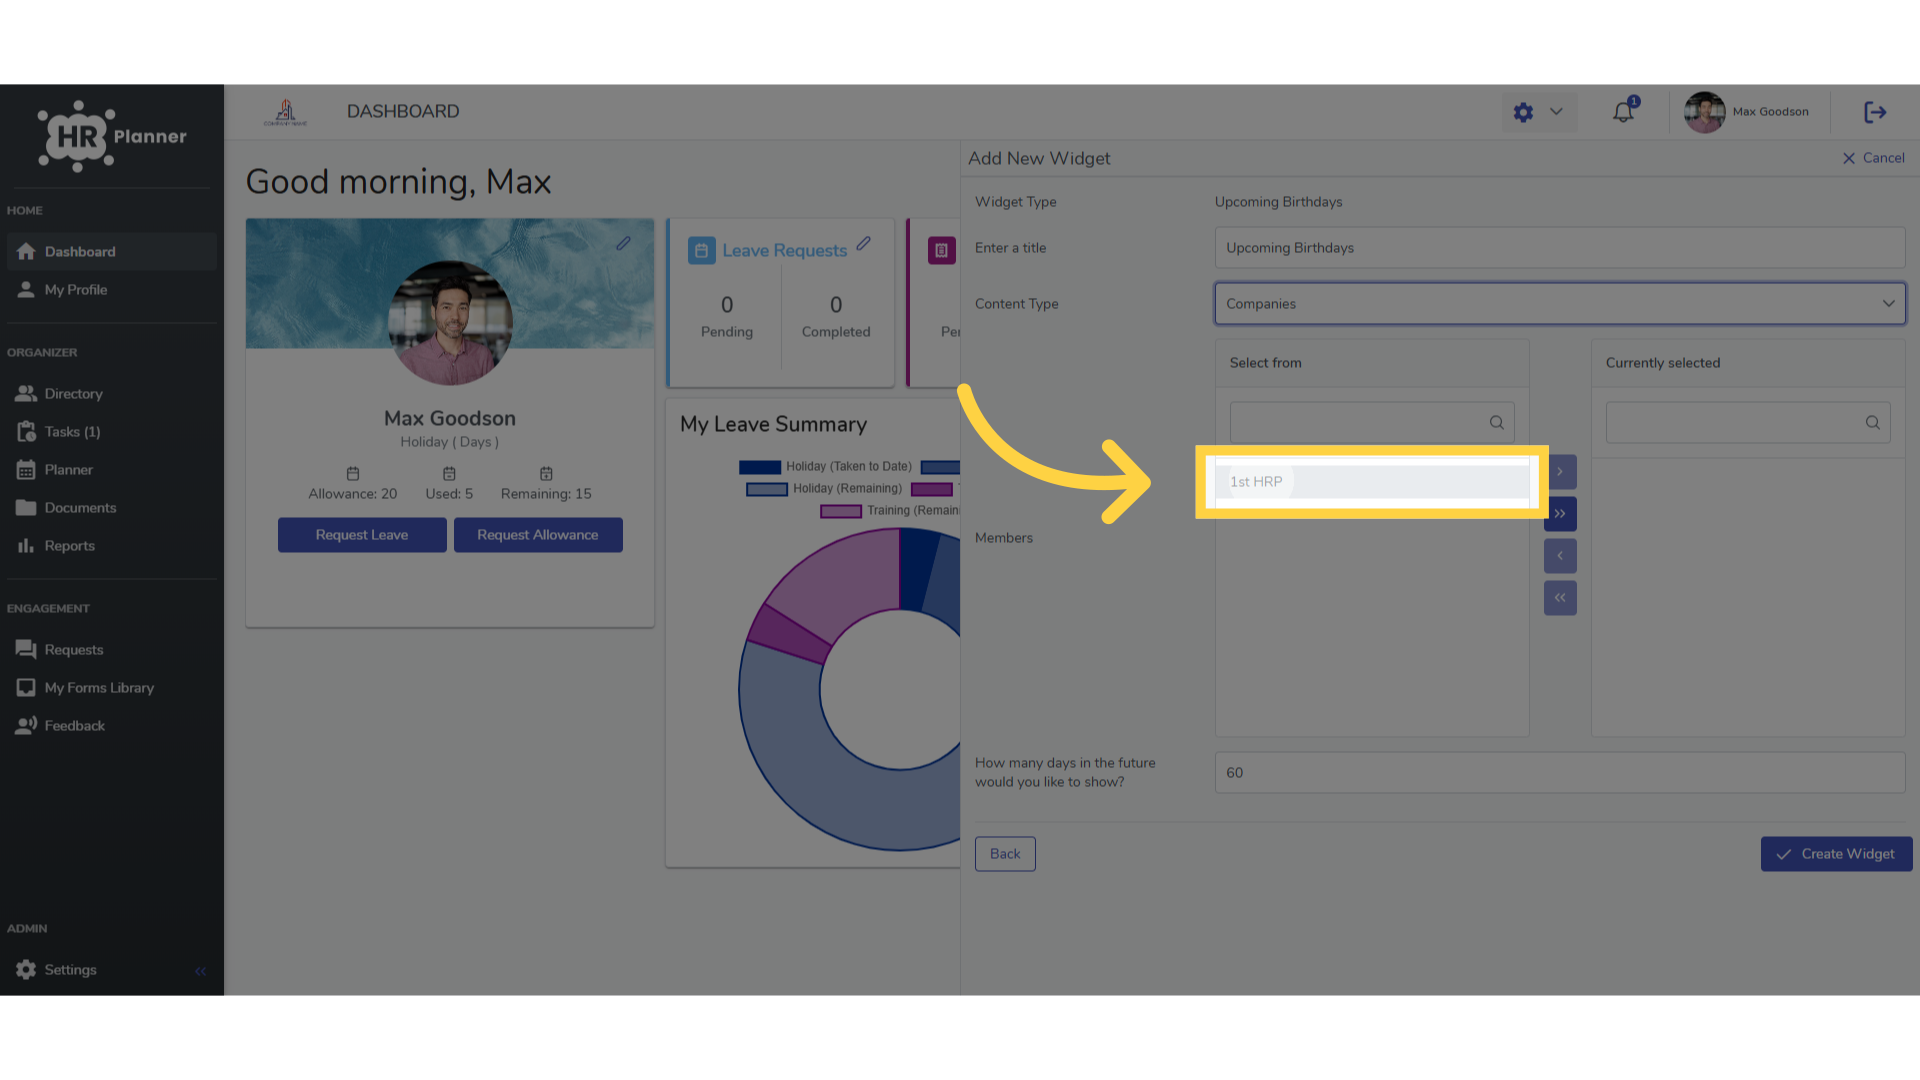
7. Choose a company or department
By selecting a specific company, department or employees
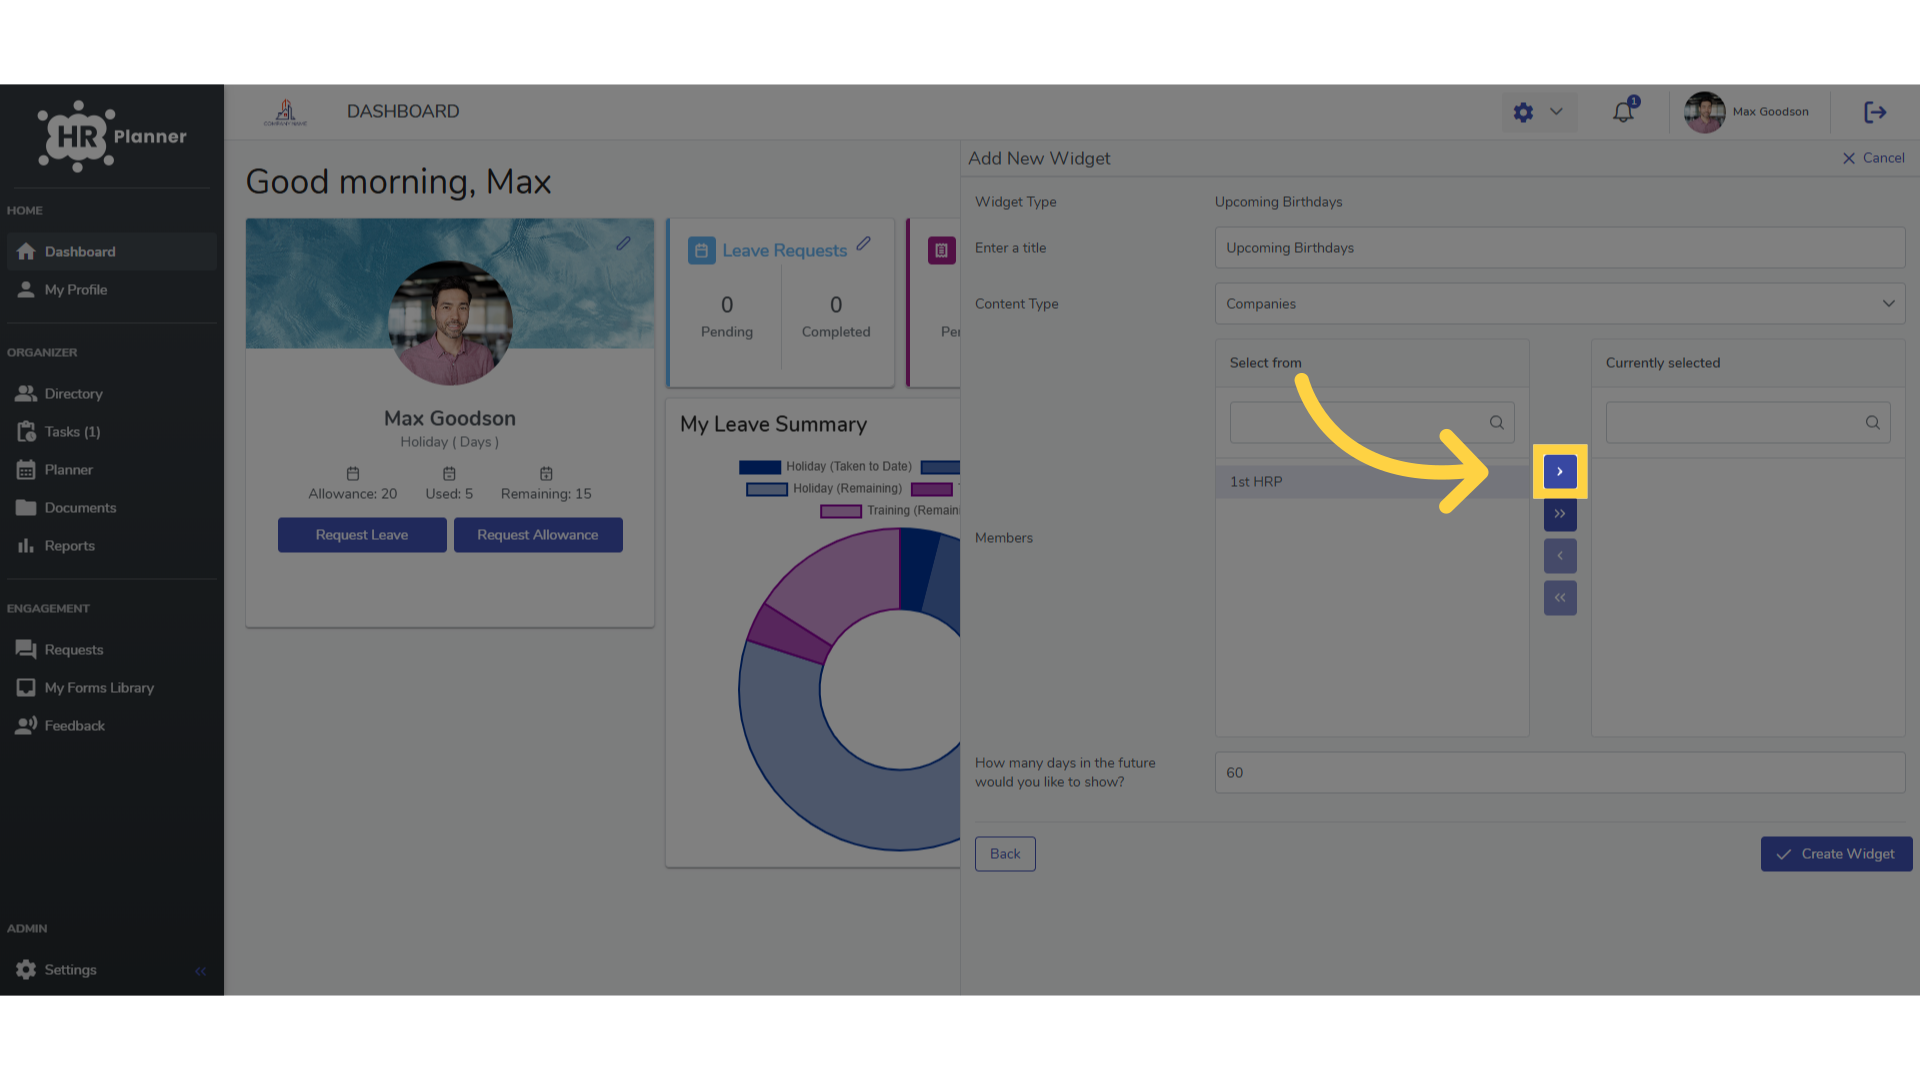
8. Click here
and moving them over to the right hand column.
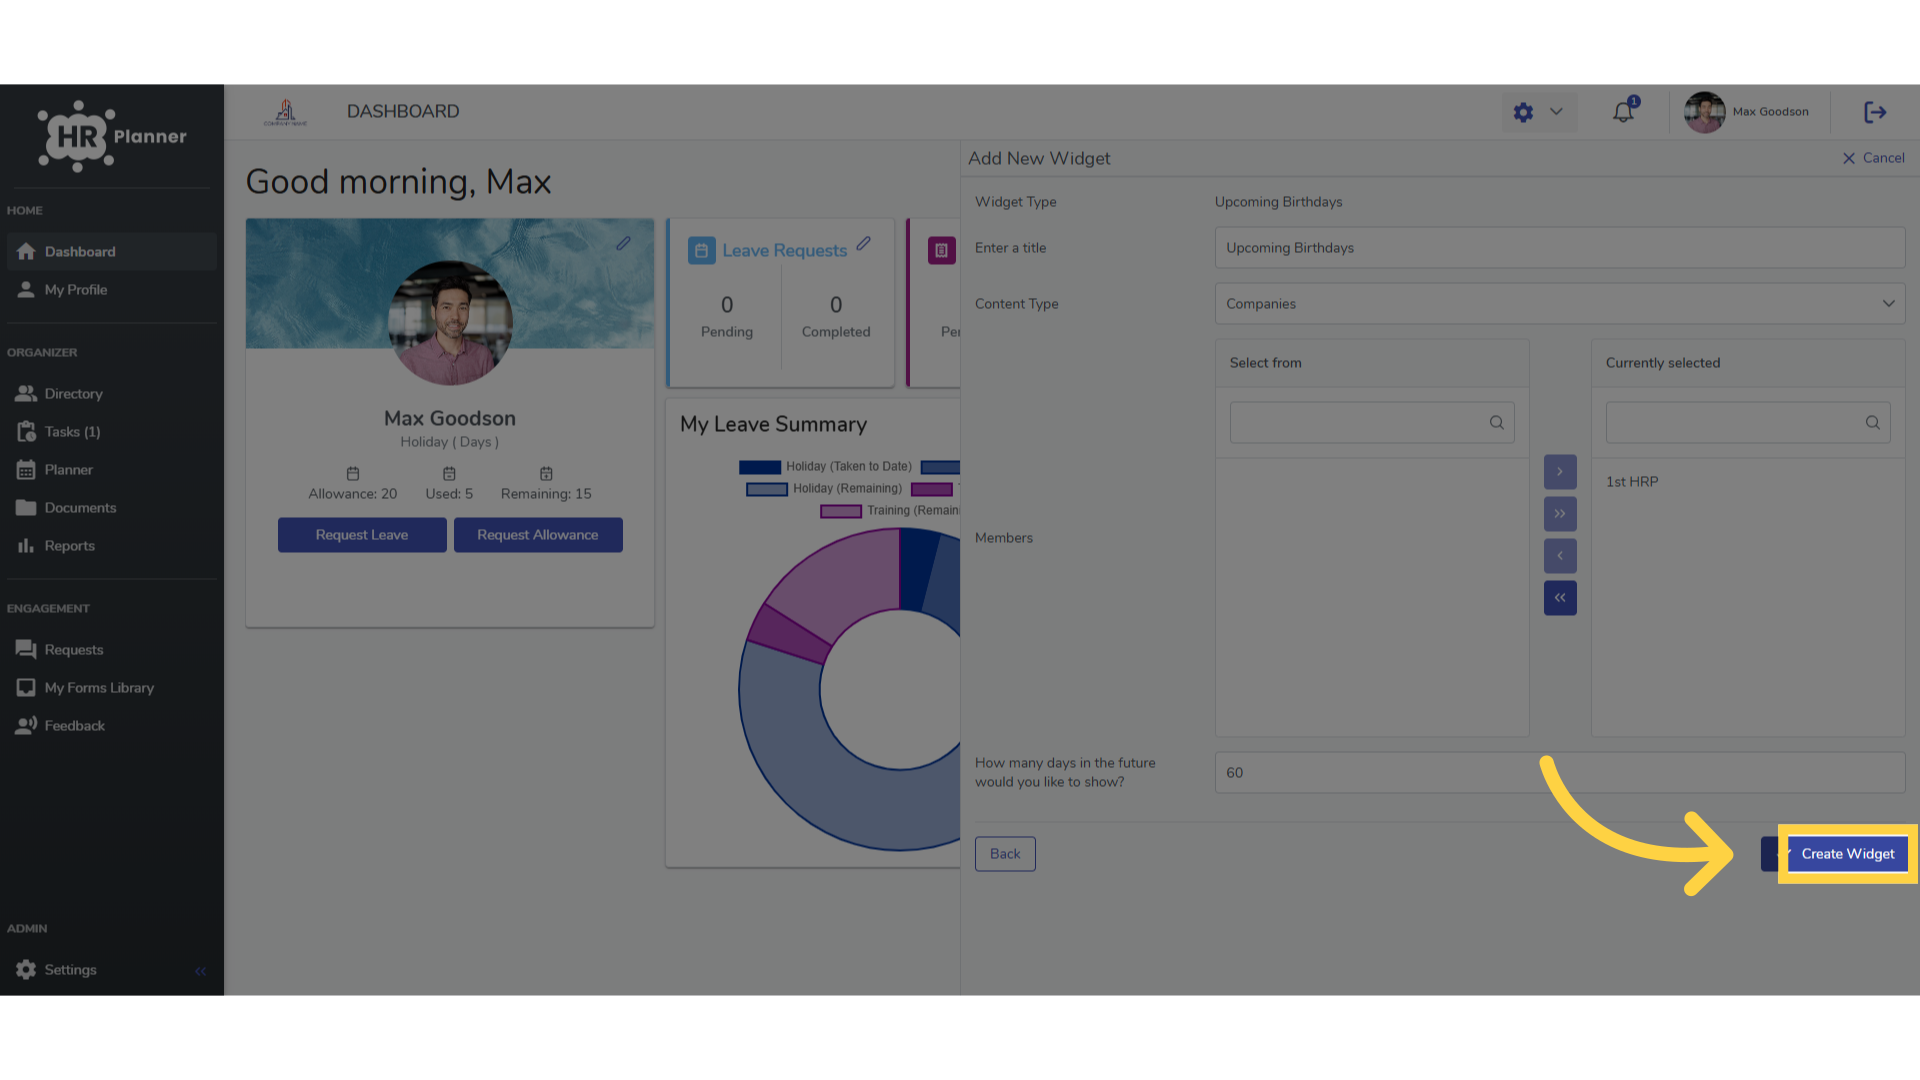
9. Click “Create Widget”
Finalize and create the new widget.
10. Click here
The widget is now automatically added to your dashboard.
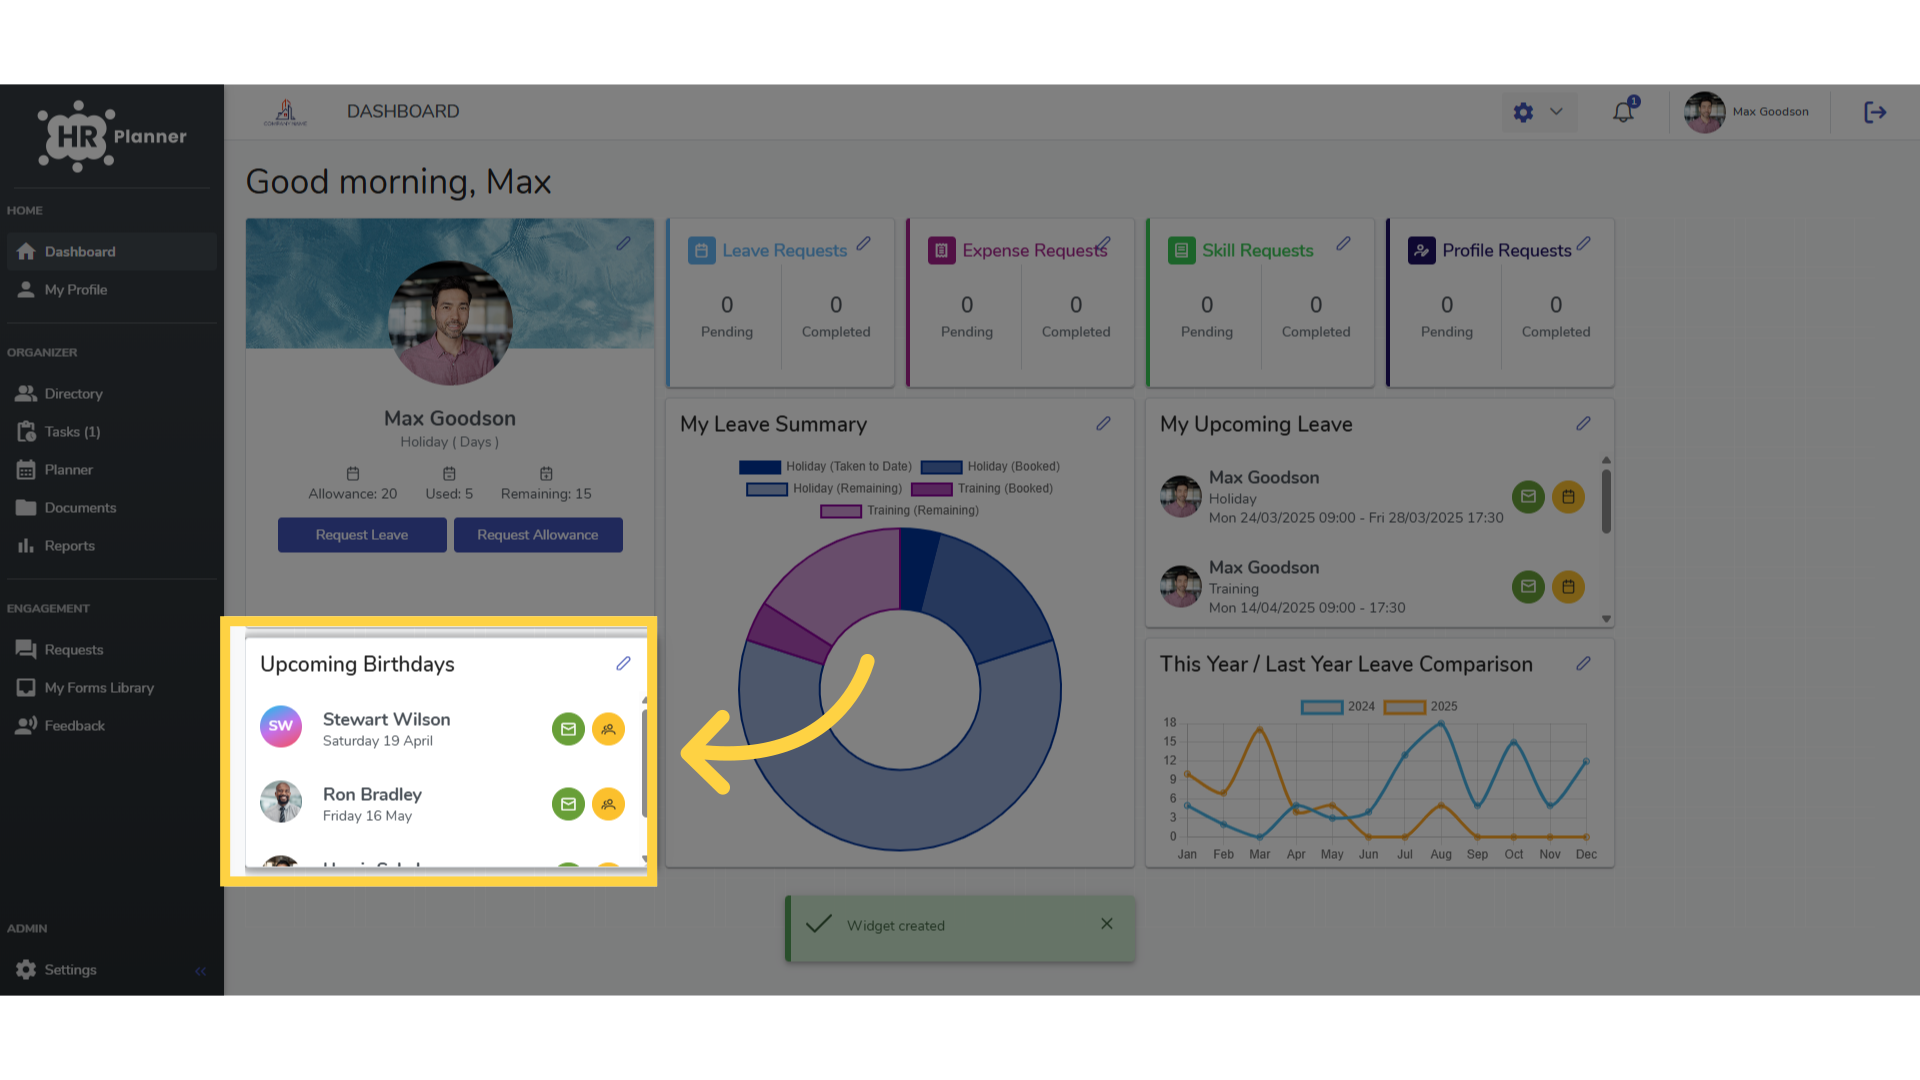
This guide walks you through the process of adding a new widget to your Onhrplanner dashboard. By following these steps, you can efficiently customize your dashboard with relevant information tailored to your preferences.