
How to request leave from the Dashboard in HR Planner
This guide will walk you through the process of submitting a leave request in the HR Planner application.
1. Introduction
From initiating the request to final submission, follow these clear steps to ensure a smooth leave application experience.
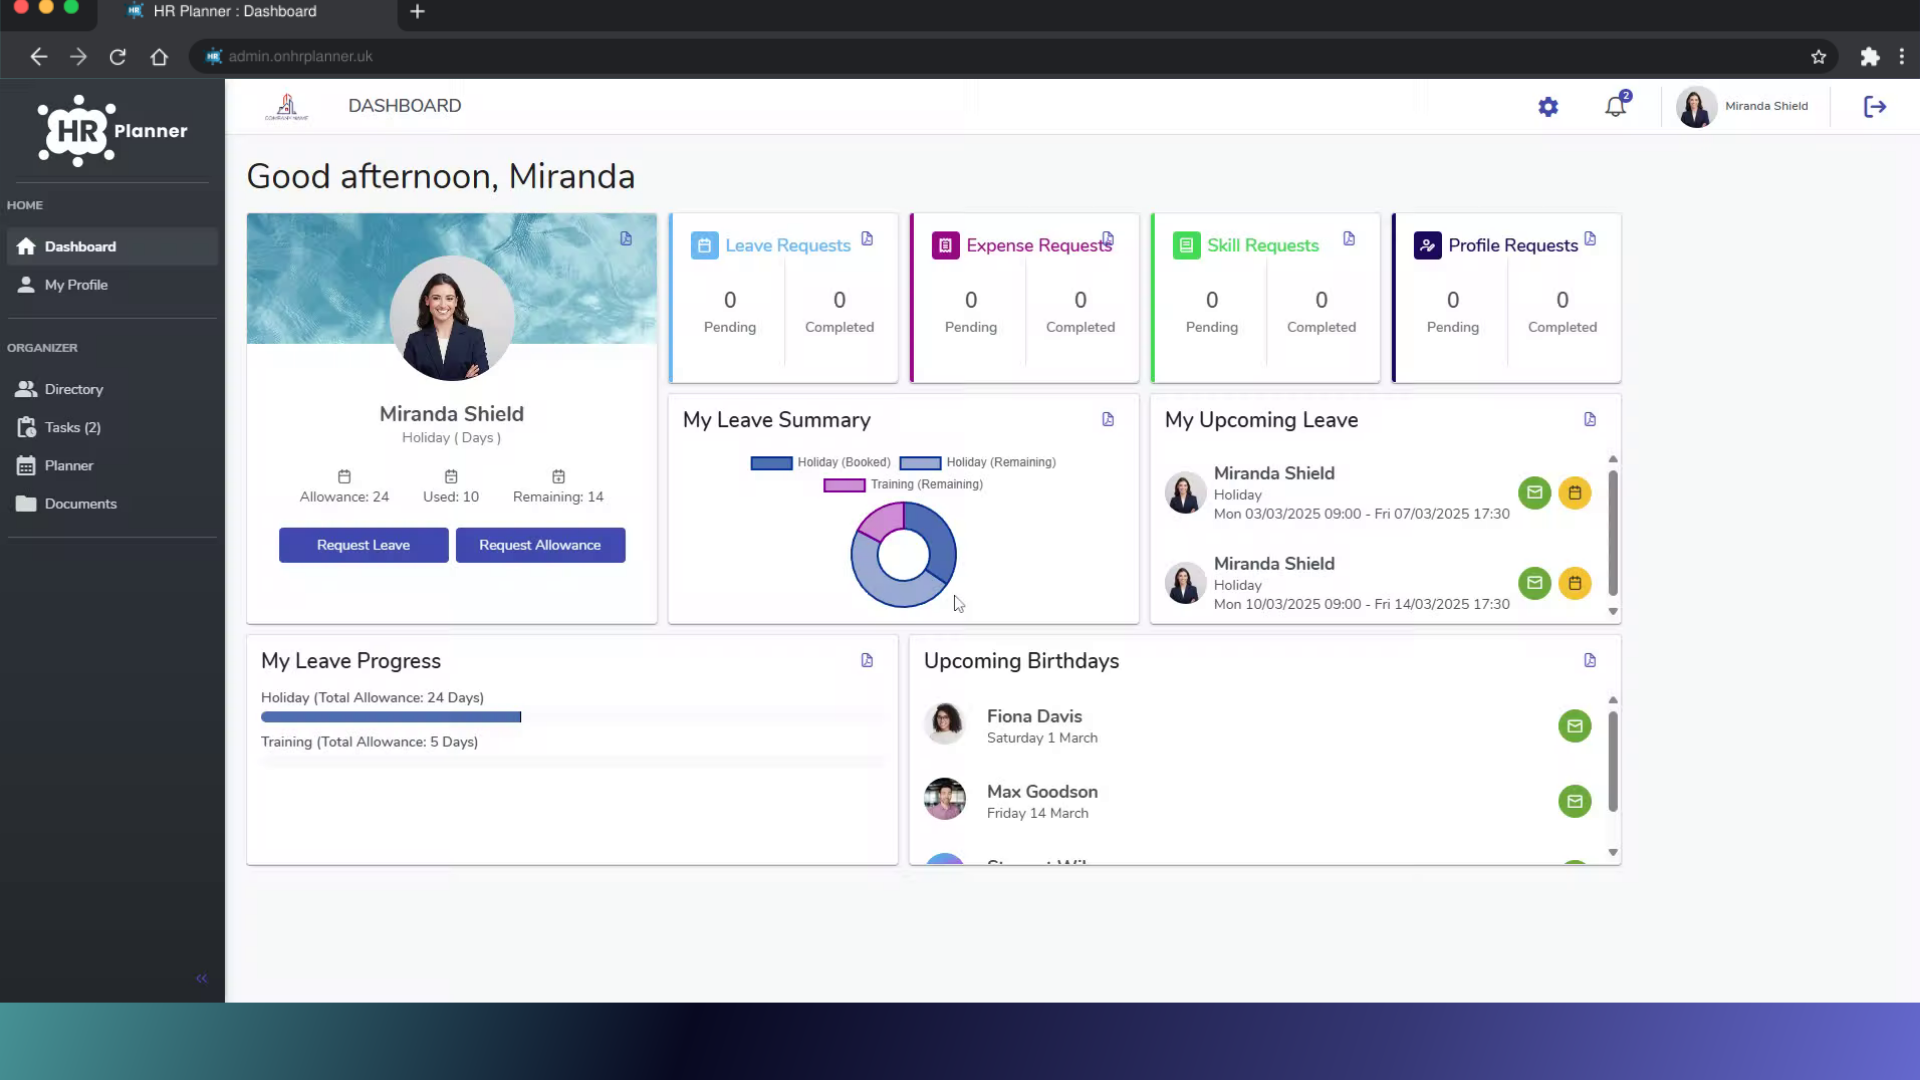
2. Click “Request Leave”
To start the request process click on “Request Leave” from your Dashboard.
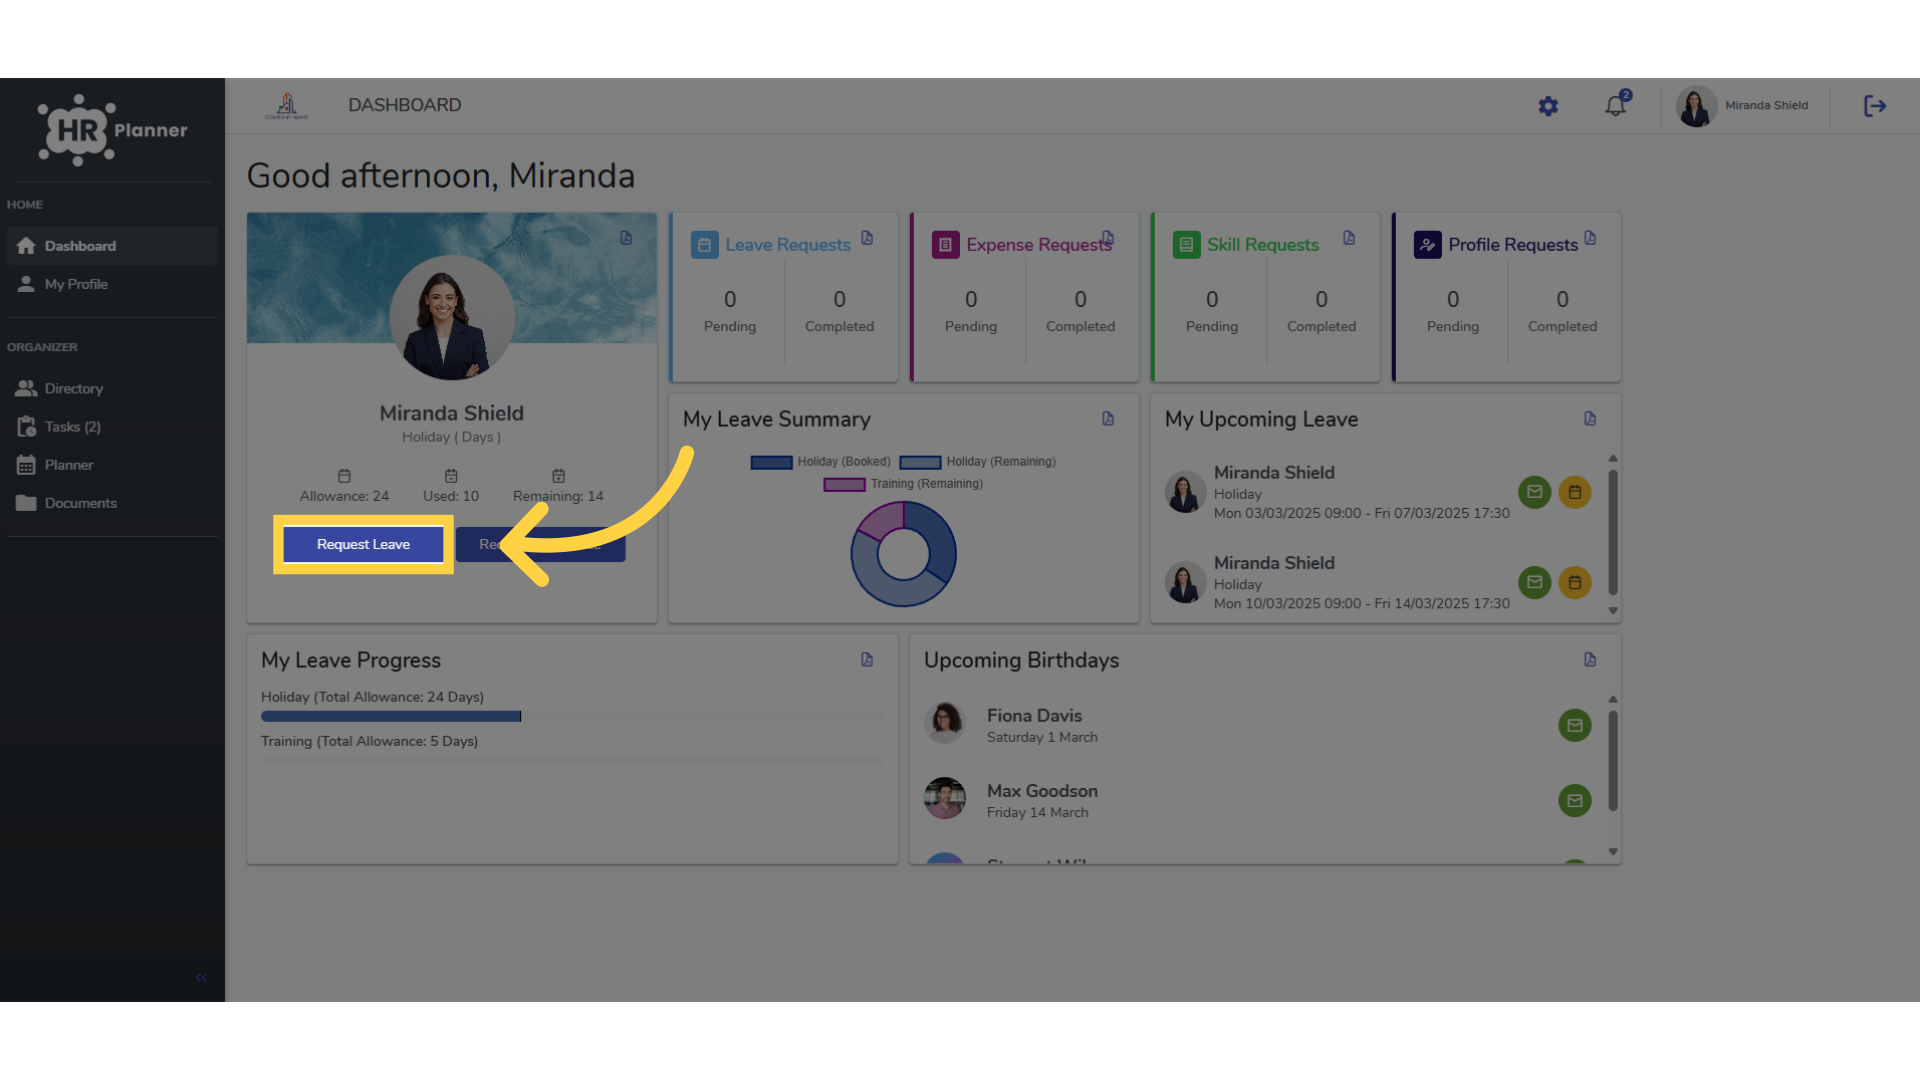
3. Select the Leave Type
Choose the type of leave you wish to request from the list of available leave types. This list is maintained by your organisation, so the available leave types may vary from those displayed in this guide.
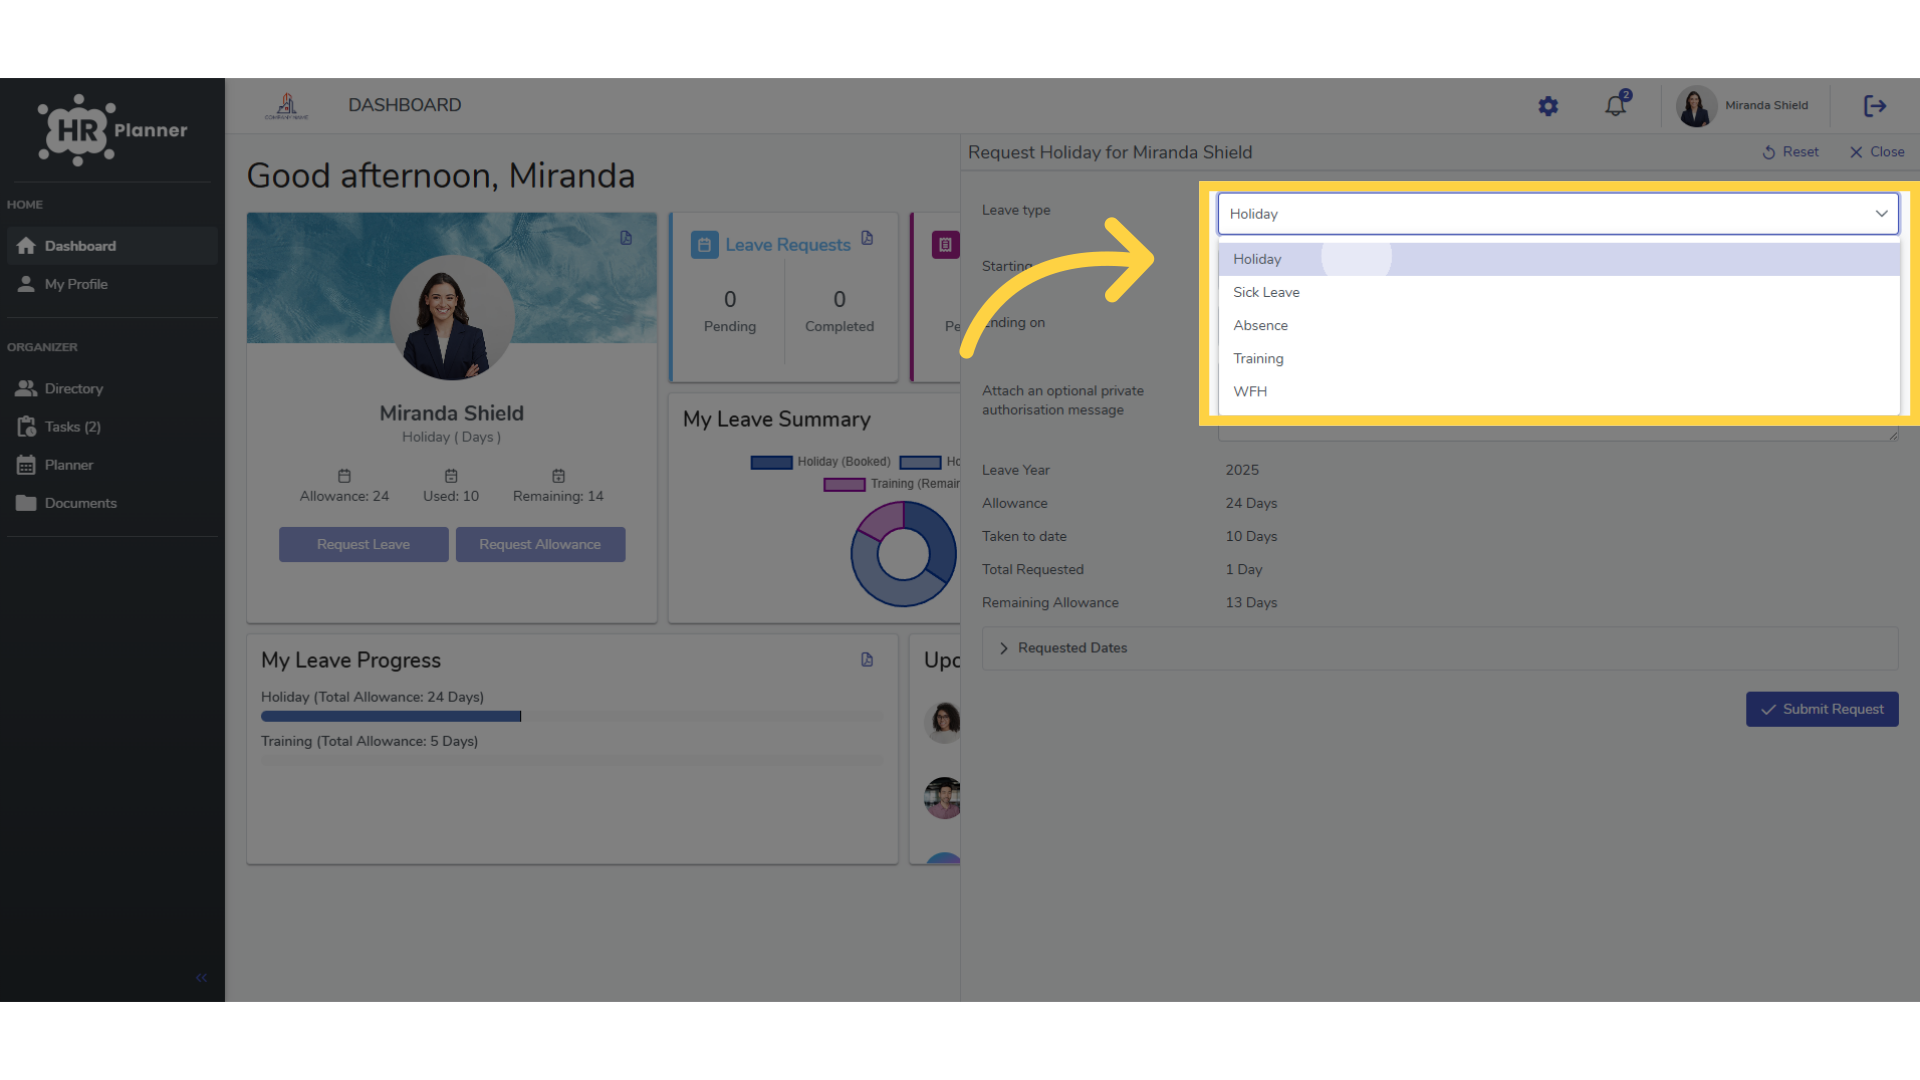
4. Enter the Start Date
Specify the start date and time of the leave that you need.
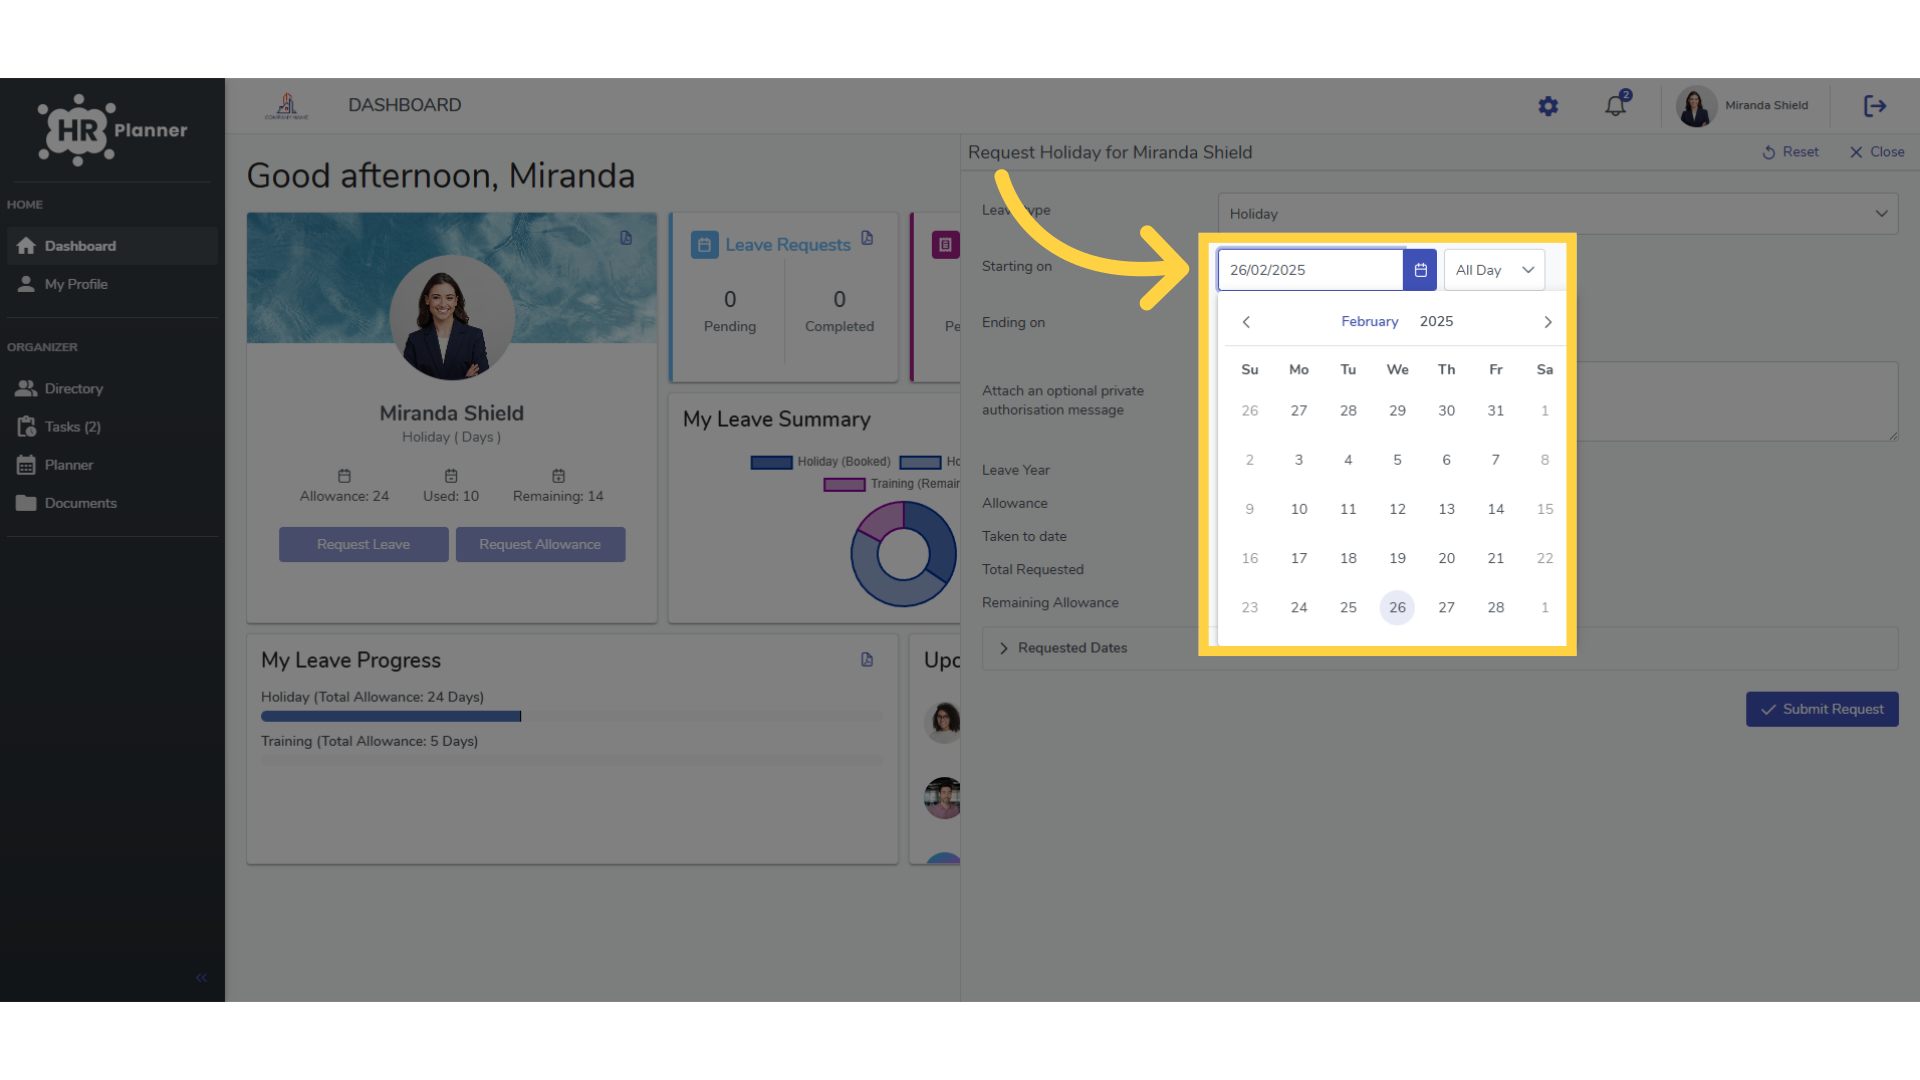
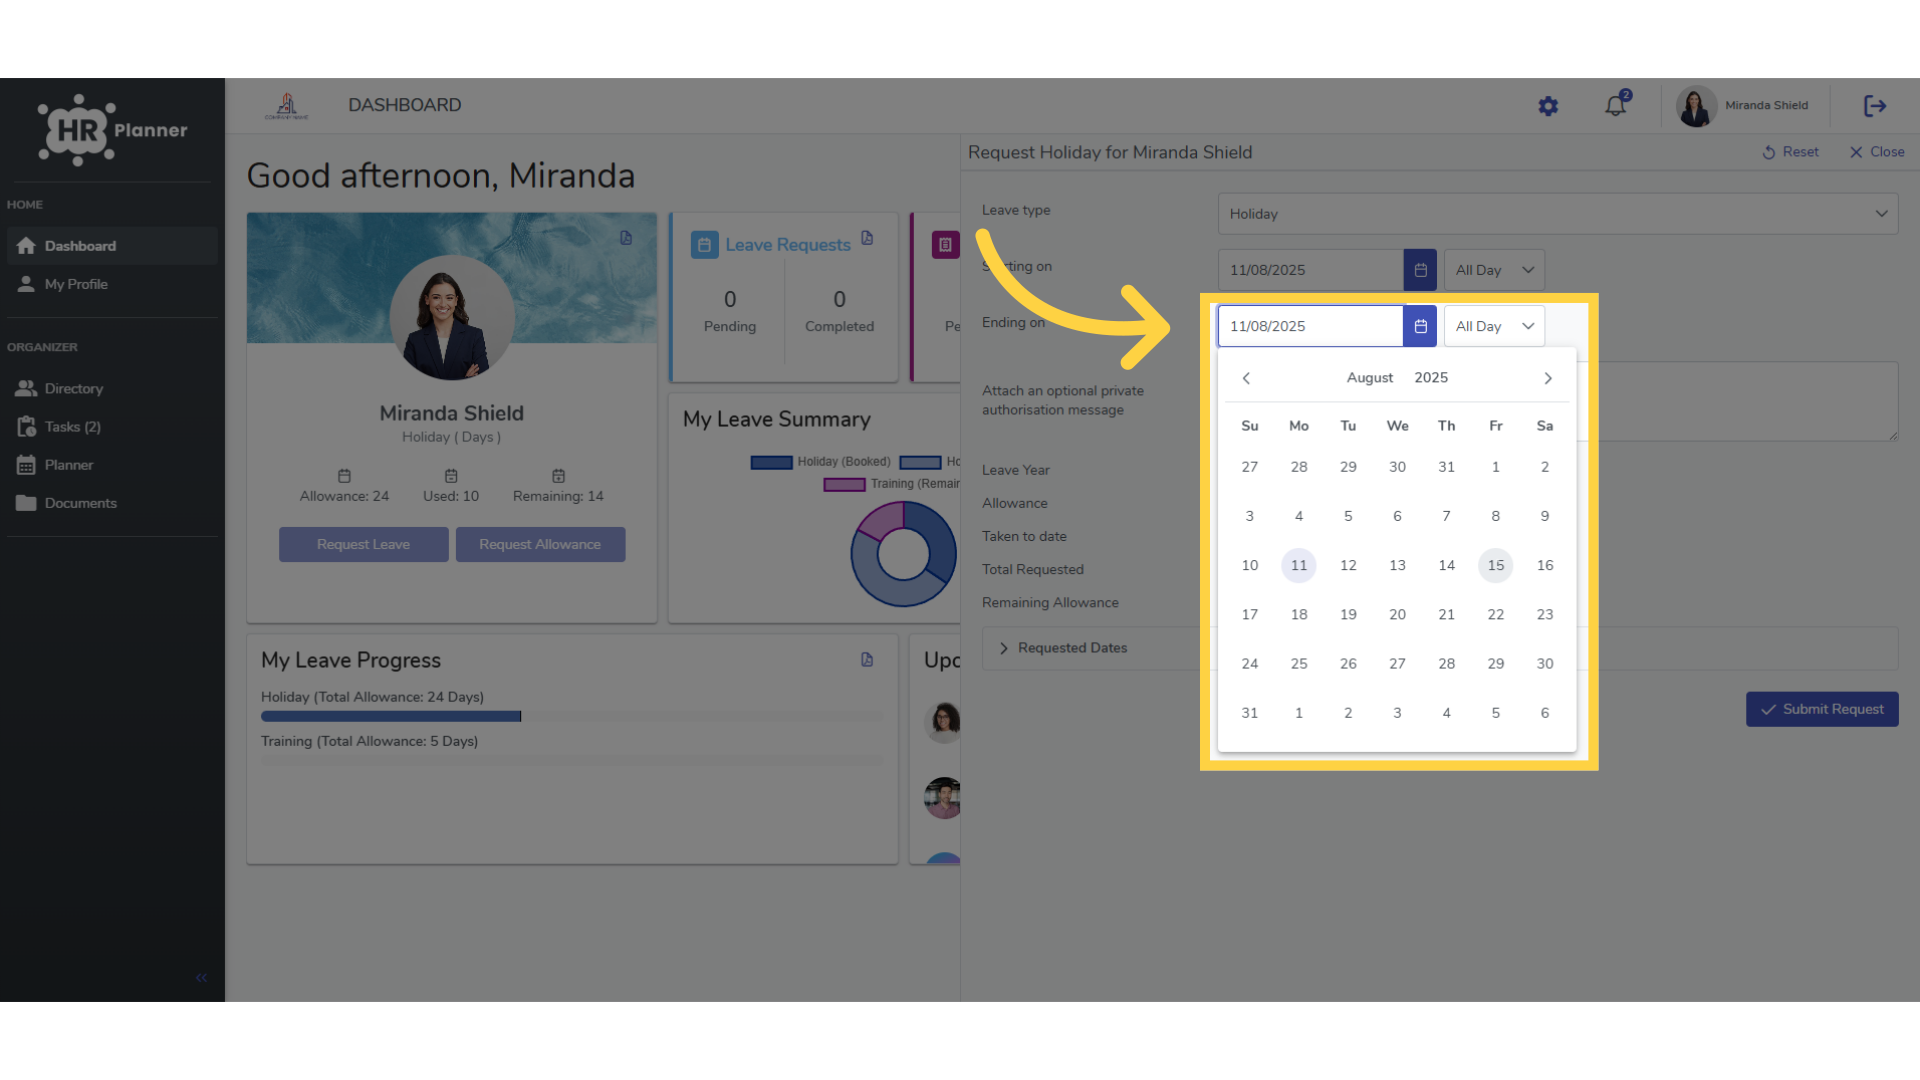
5. Enter the End Date
Next, specify the end date and time of your leave.
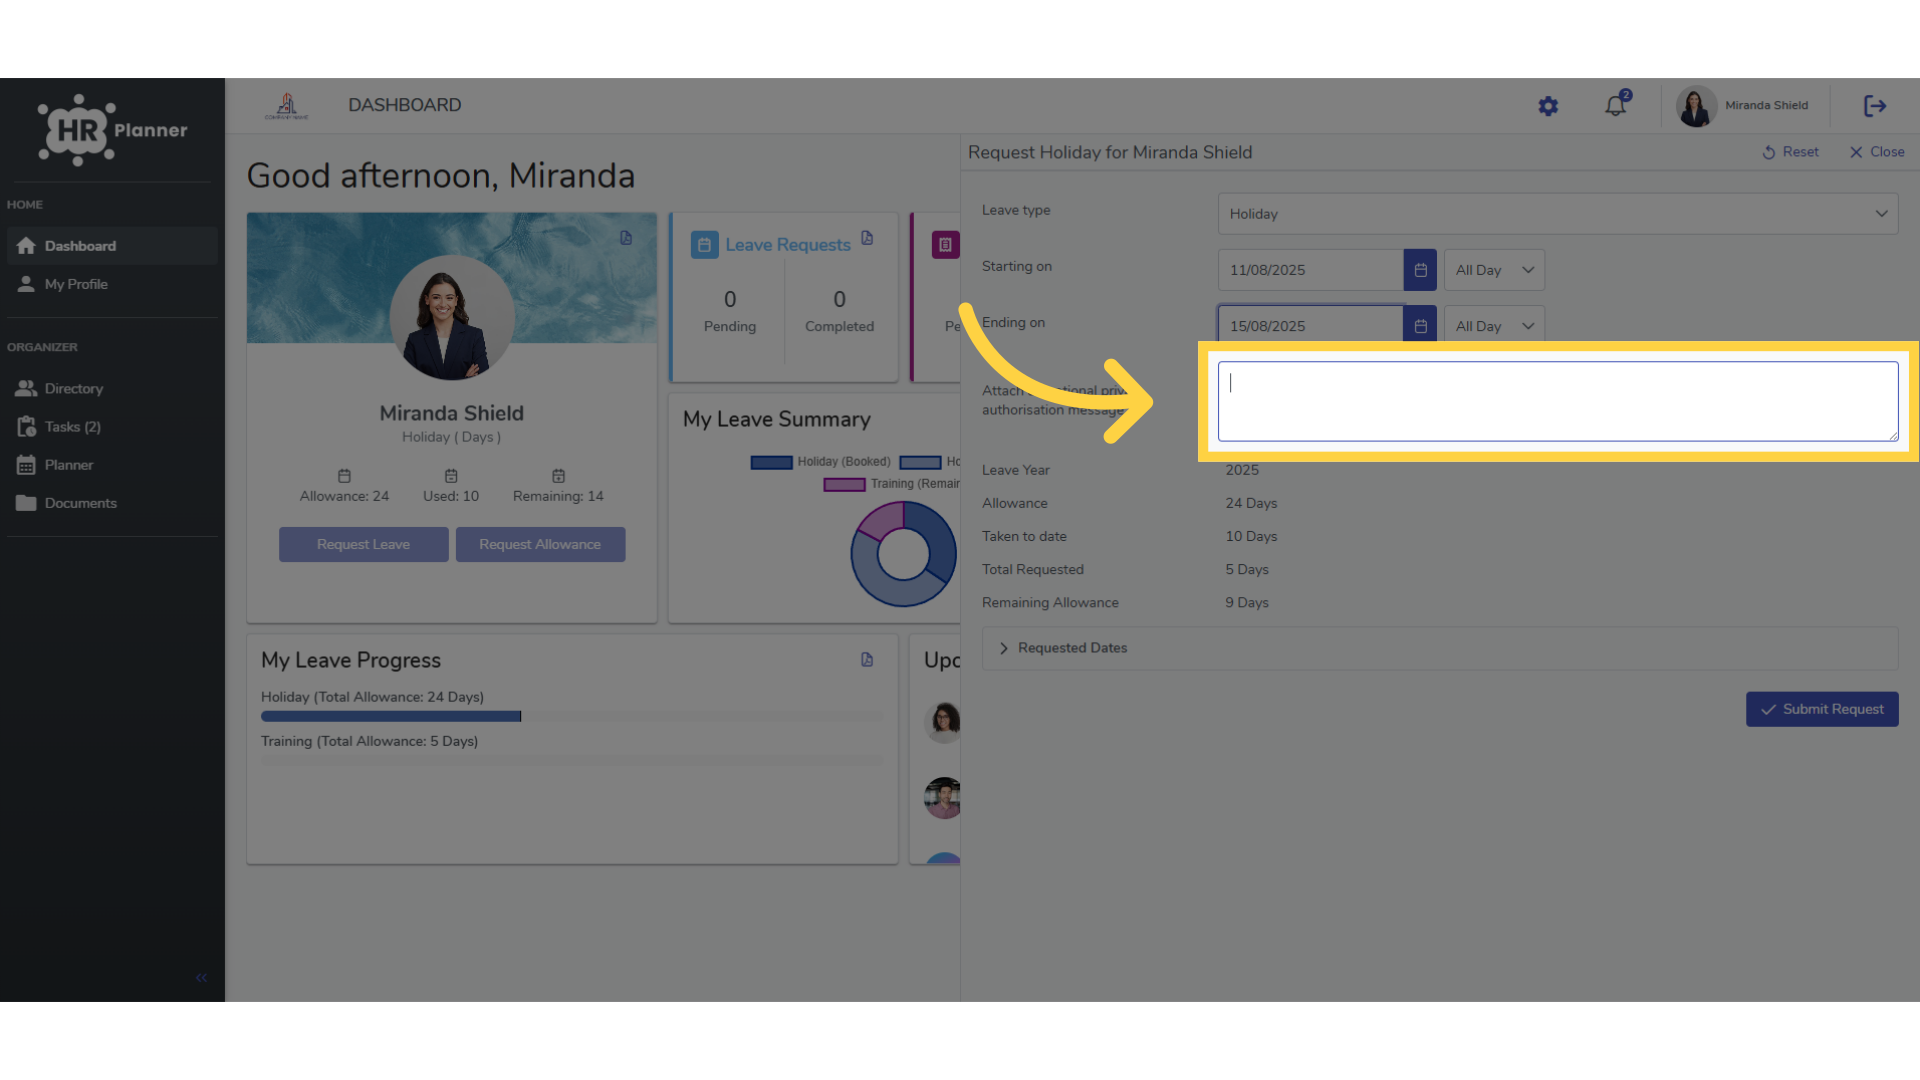
6. Provide extra information if required
Add any necessary notes or messages for approval.
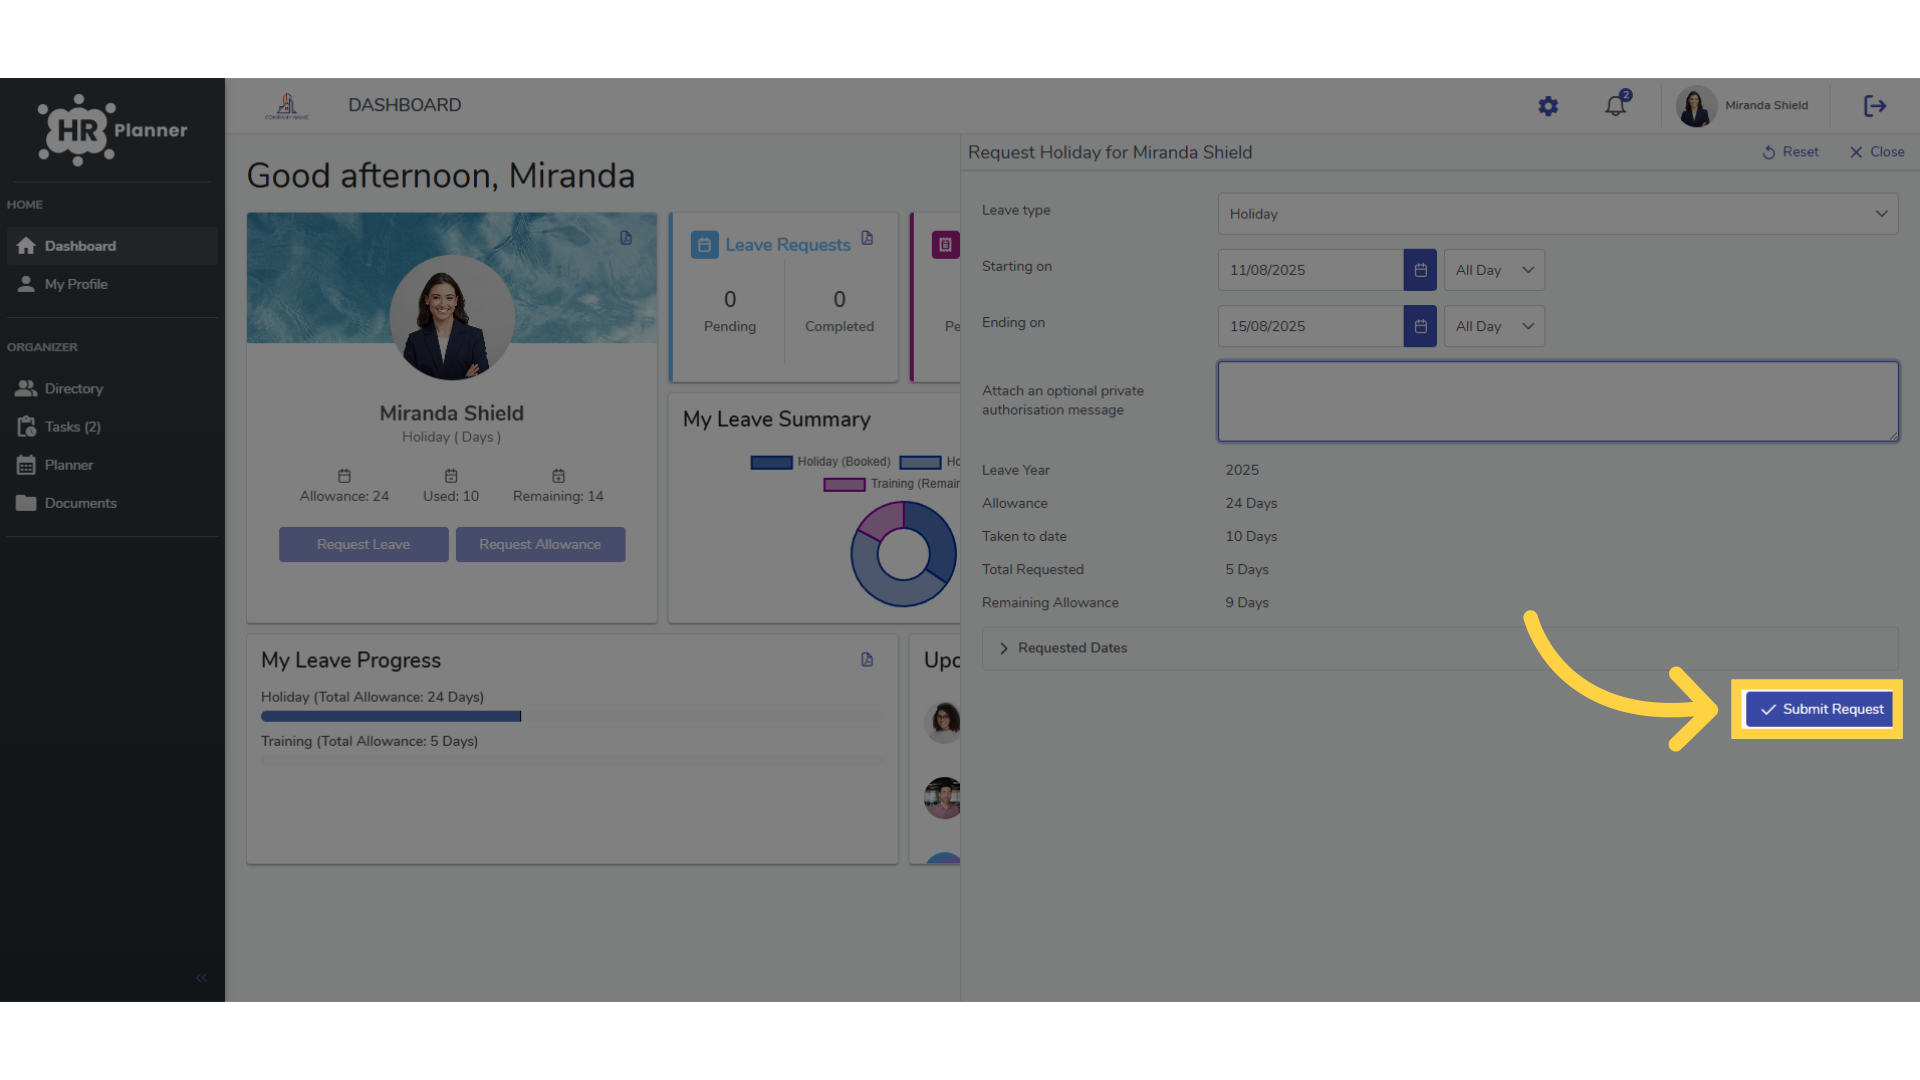
7. Click “Submit Request”
Finally, click the “Submit Request” button to submit your leave request. This completes the process.
This guide covered the steps required to submit a leave request in HR Planner, including selecting leave type, date, duration, and adding any additional notes before submitting the request.