
Learn how to efficiently manage documents by creating folders and uploading files in the Employee Training application.
1. Introduction
Follow the instructions to organize and store important documents for easy access and collaboration.
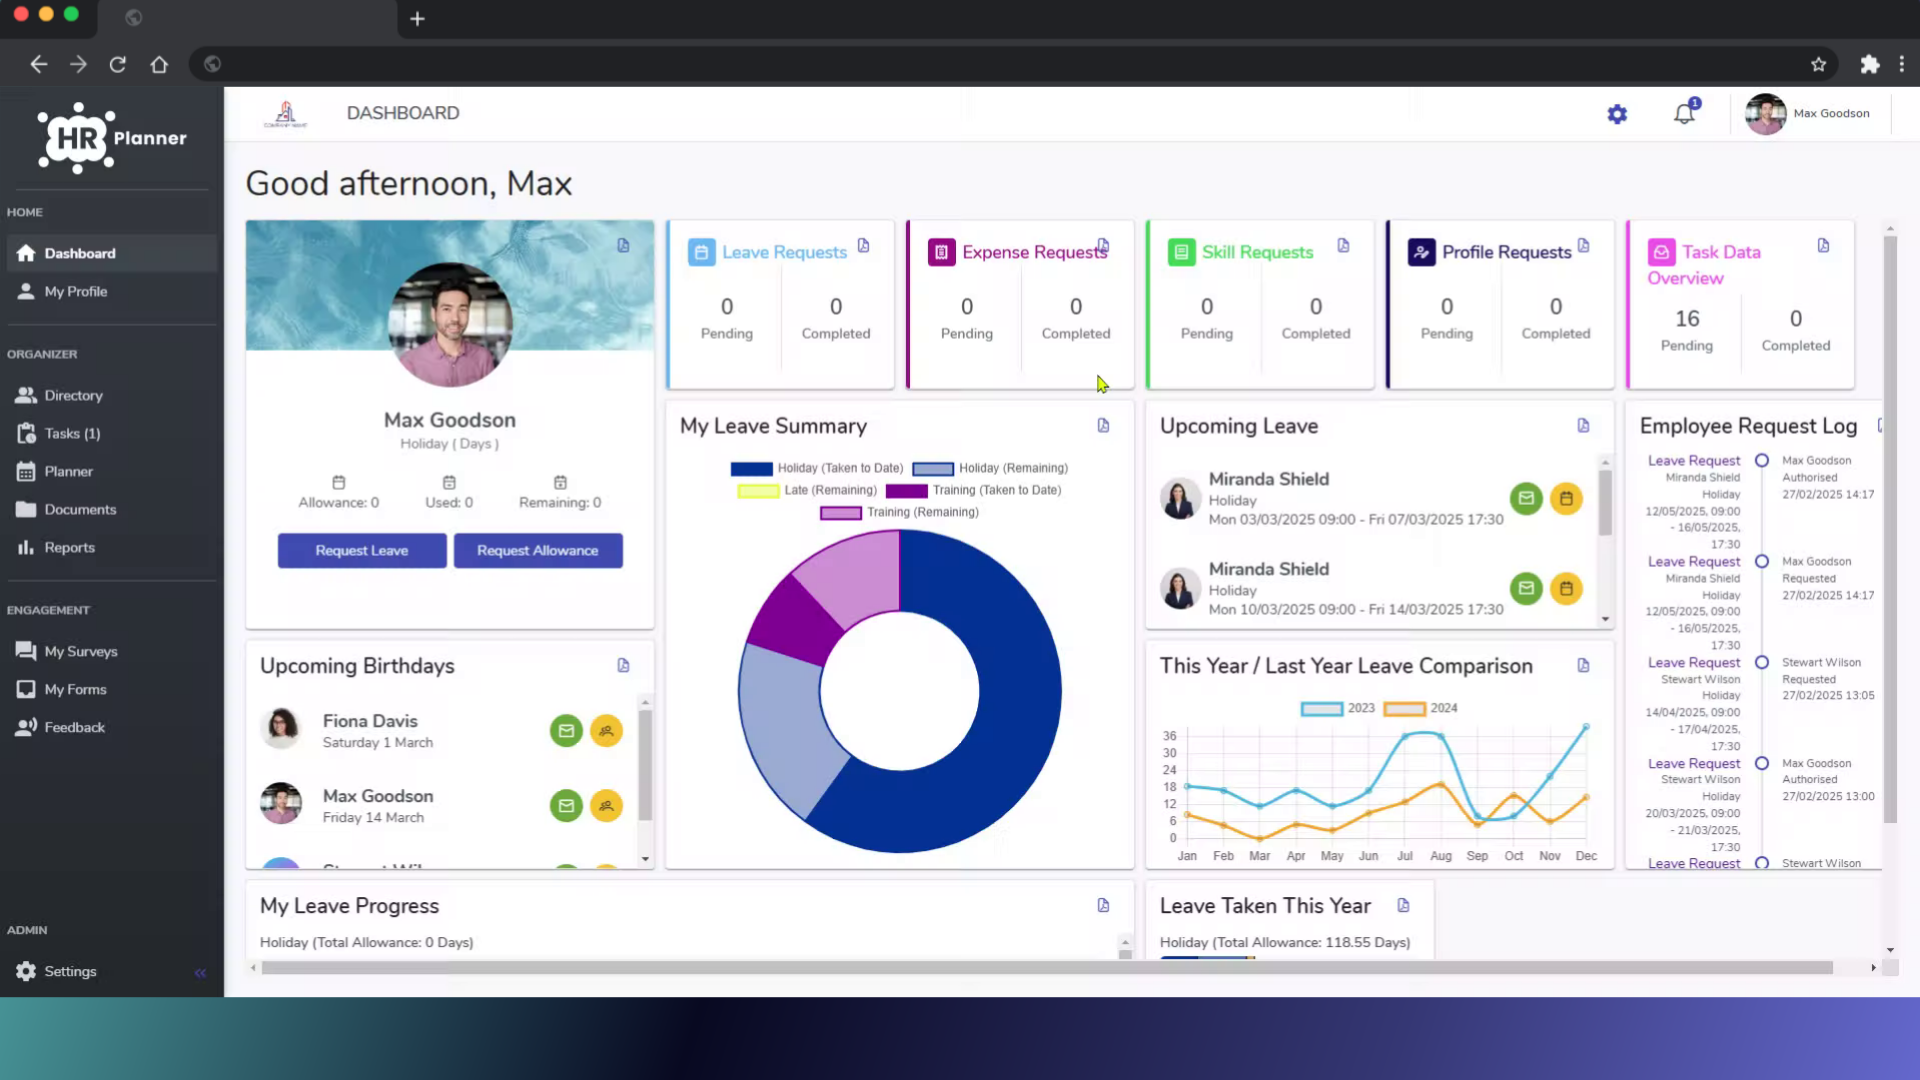
2. Click “Settings”
Access the settings menu.
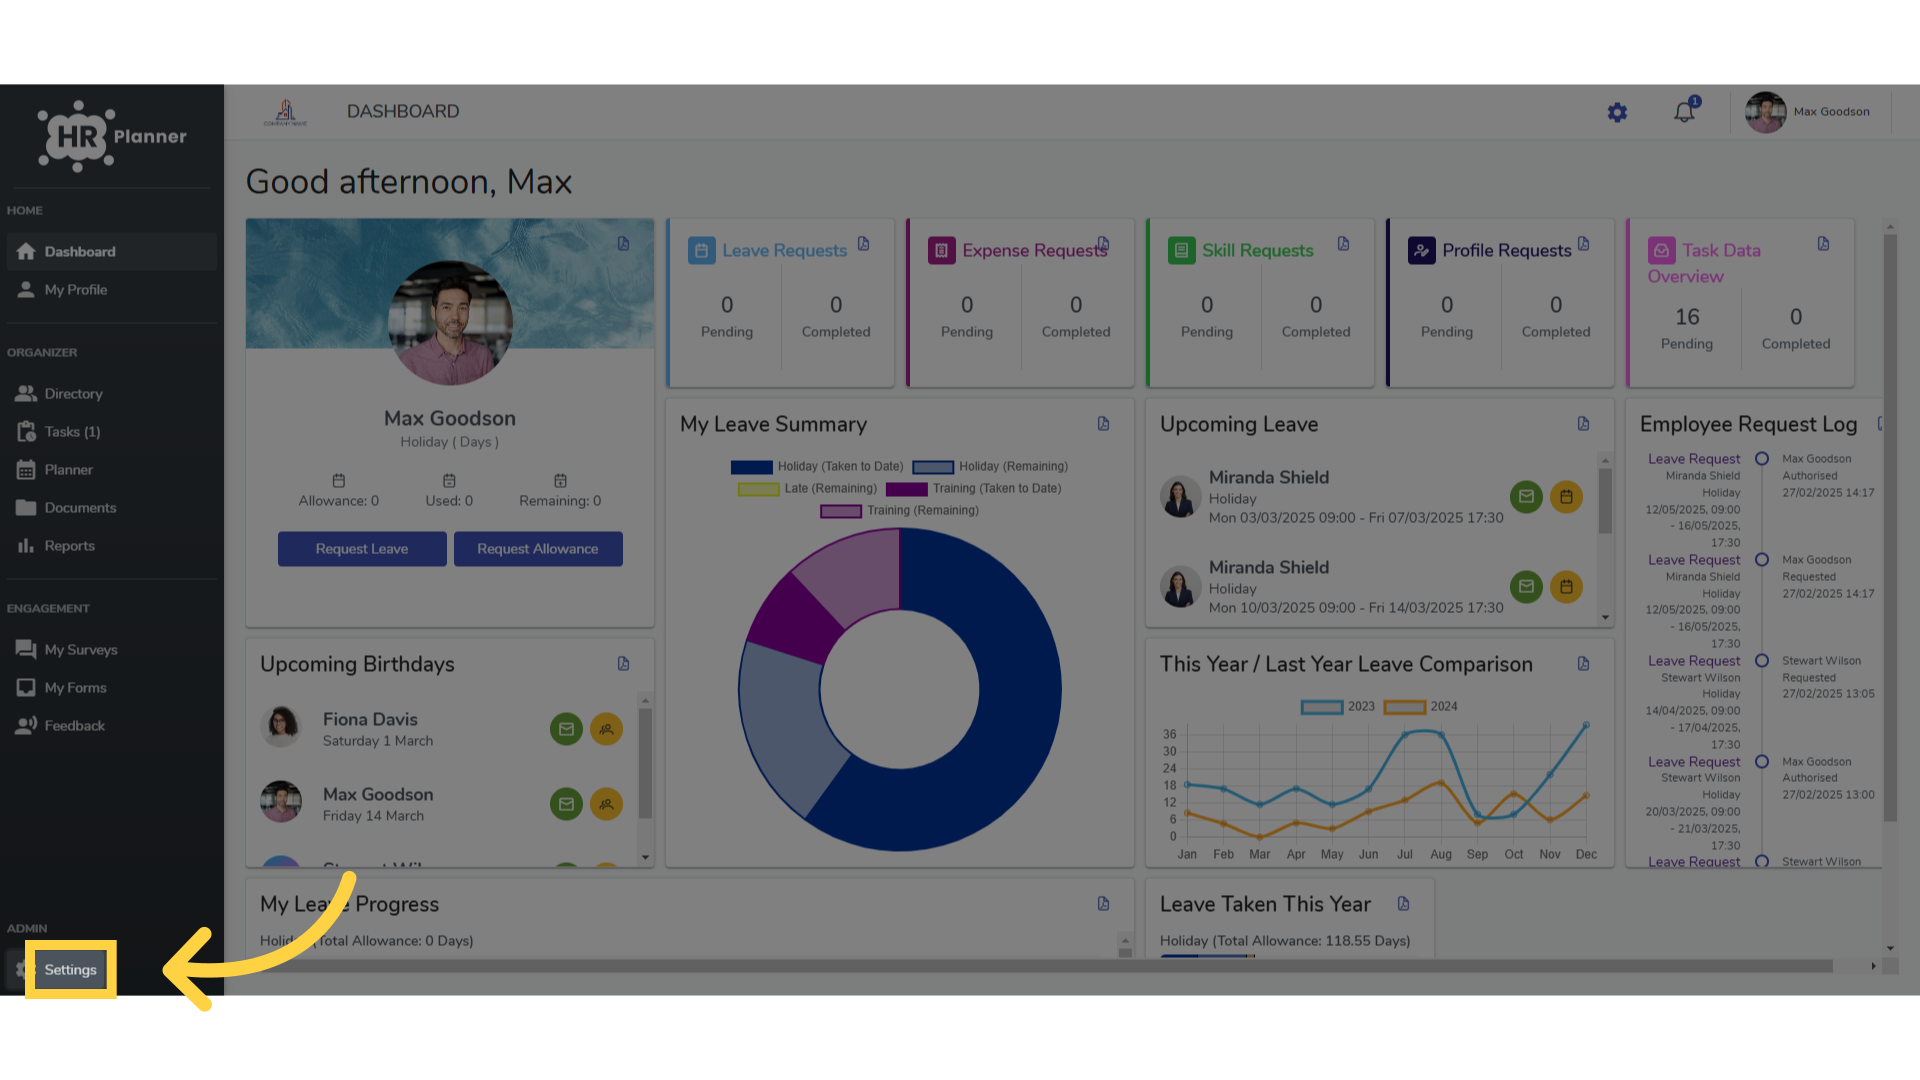
3. Click “Folders”
Navigate to the folders section.
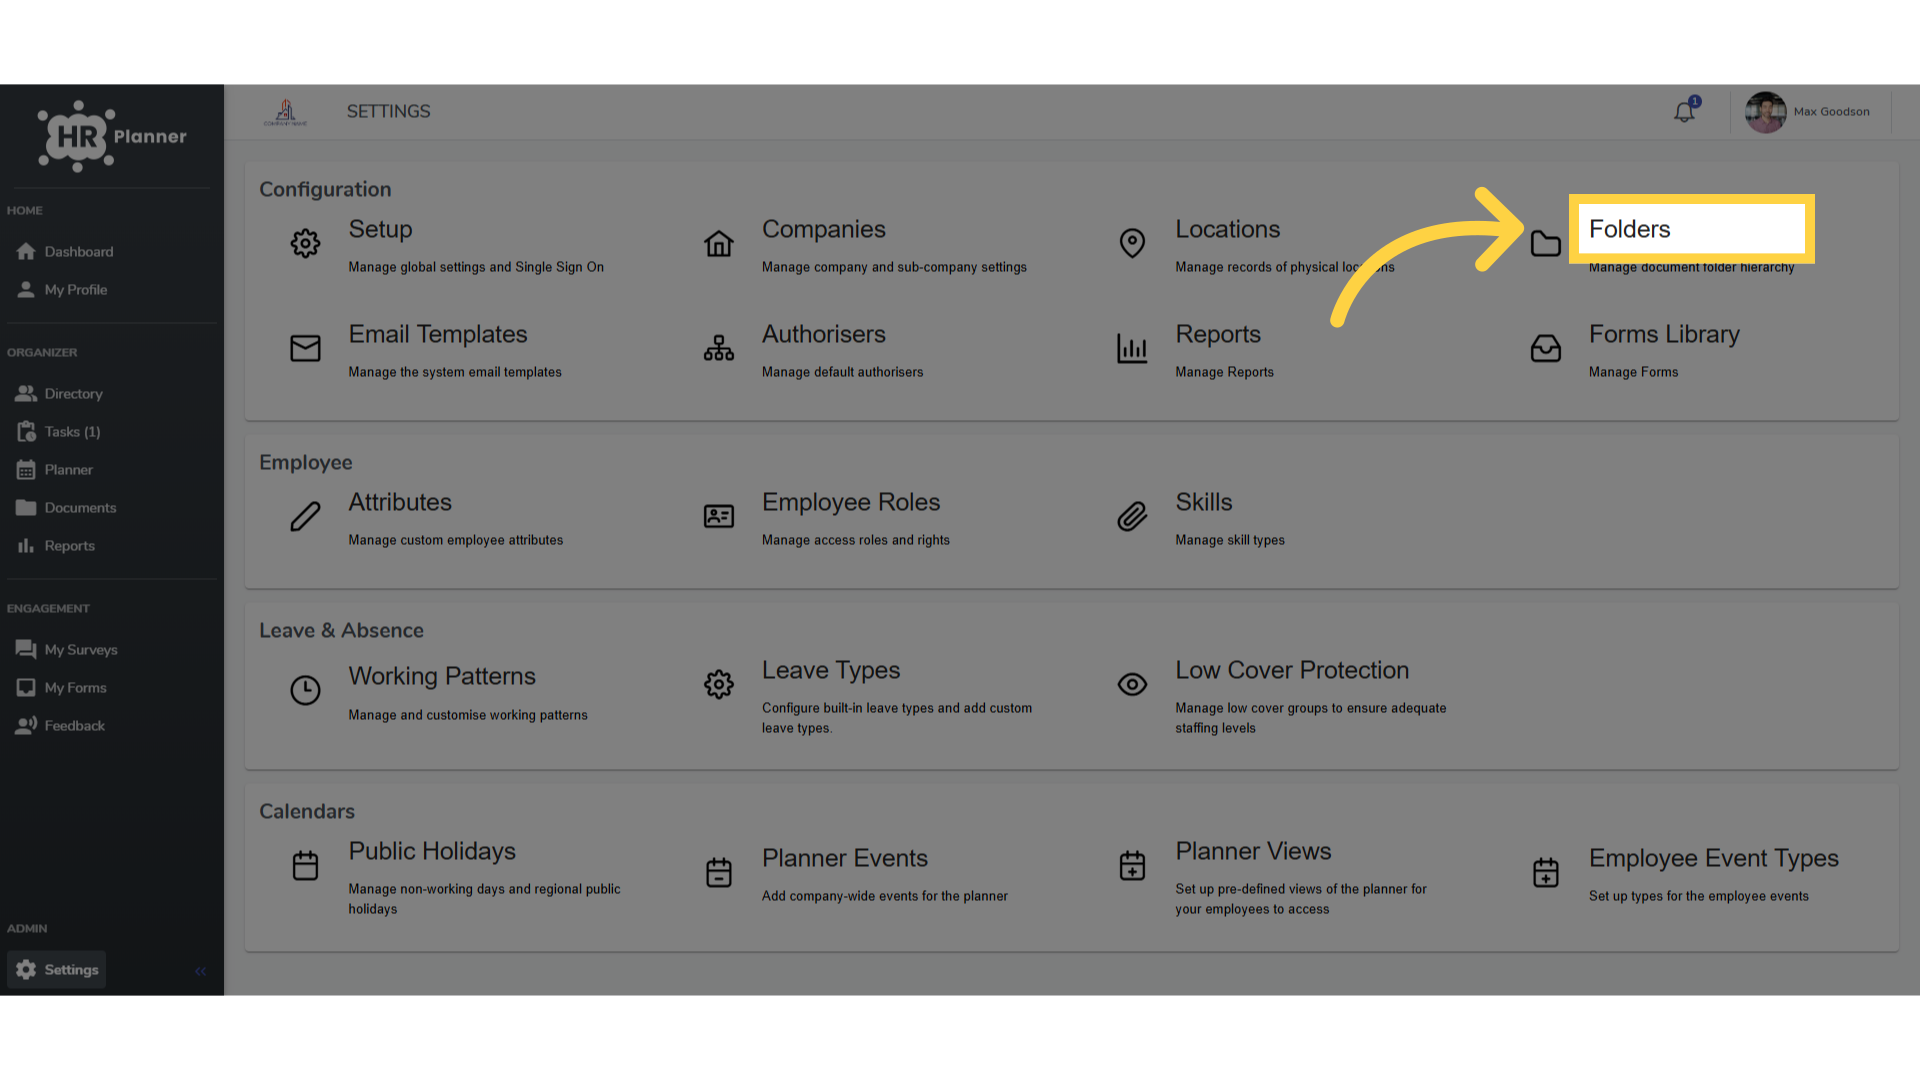
4. Click “Add New”
Initiate the creation of a new folder.
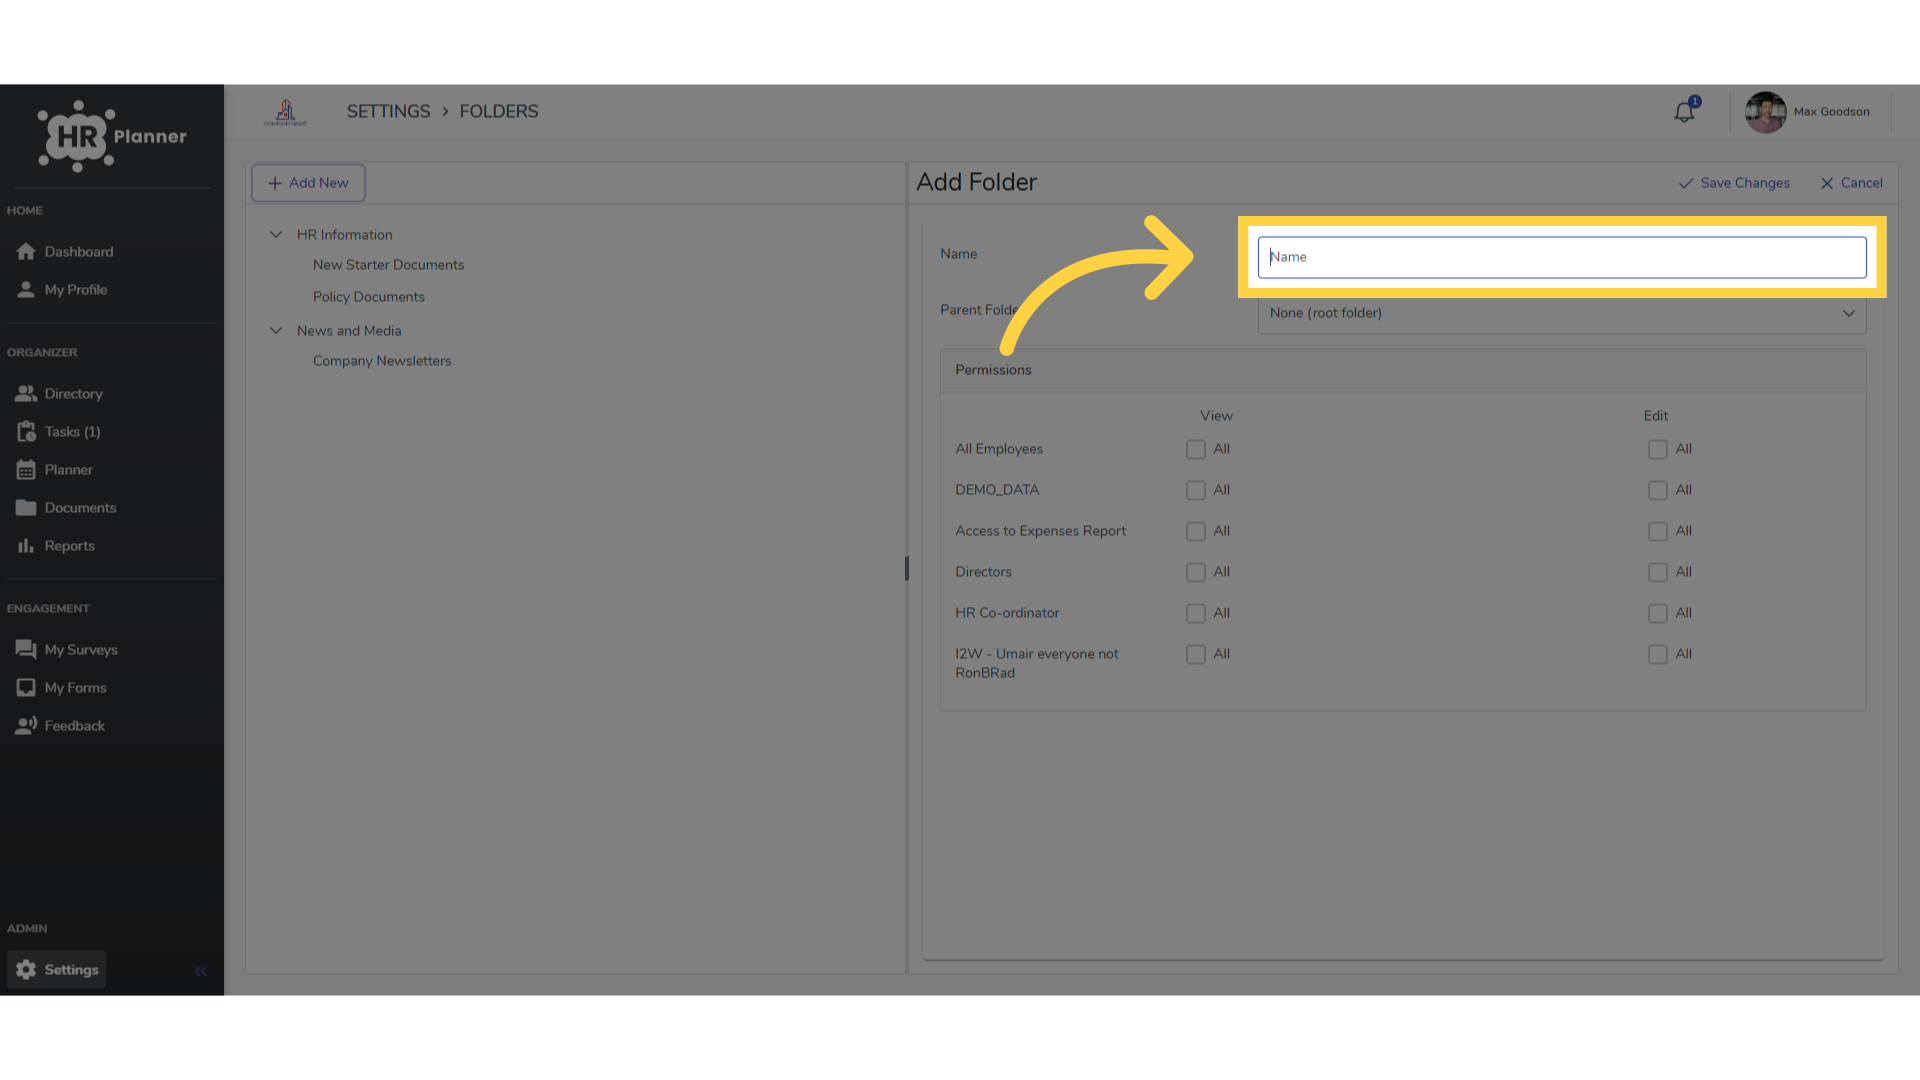
5. Click “Name”
Enter a name for the folder.
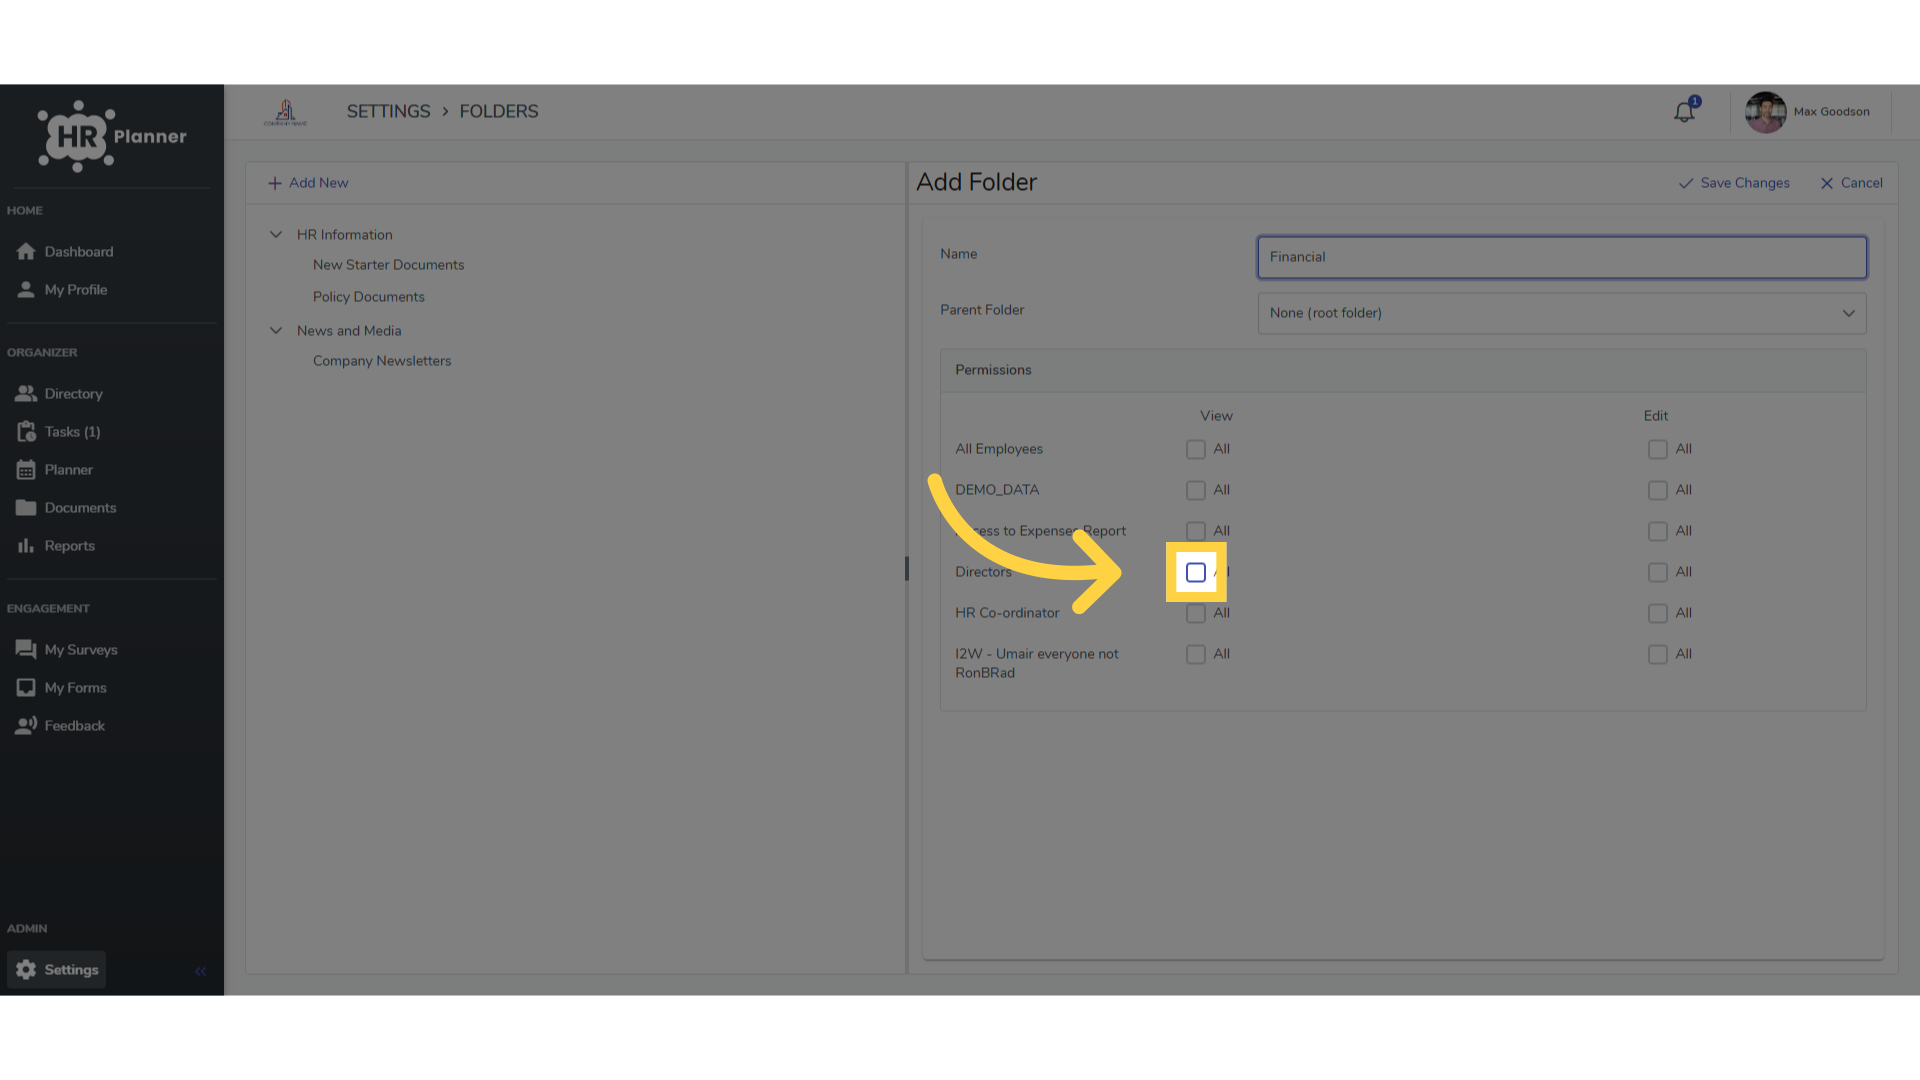
6. Click here
Specify which roles have access to view this folder and its documents.
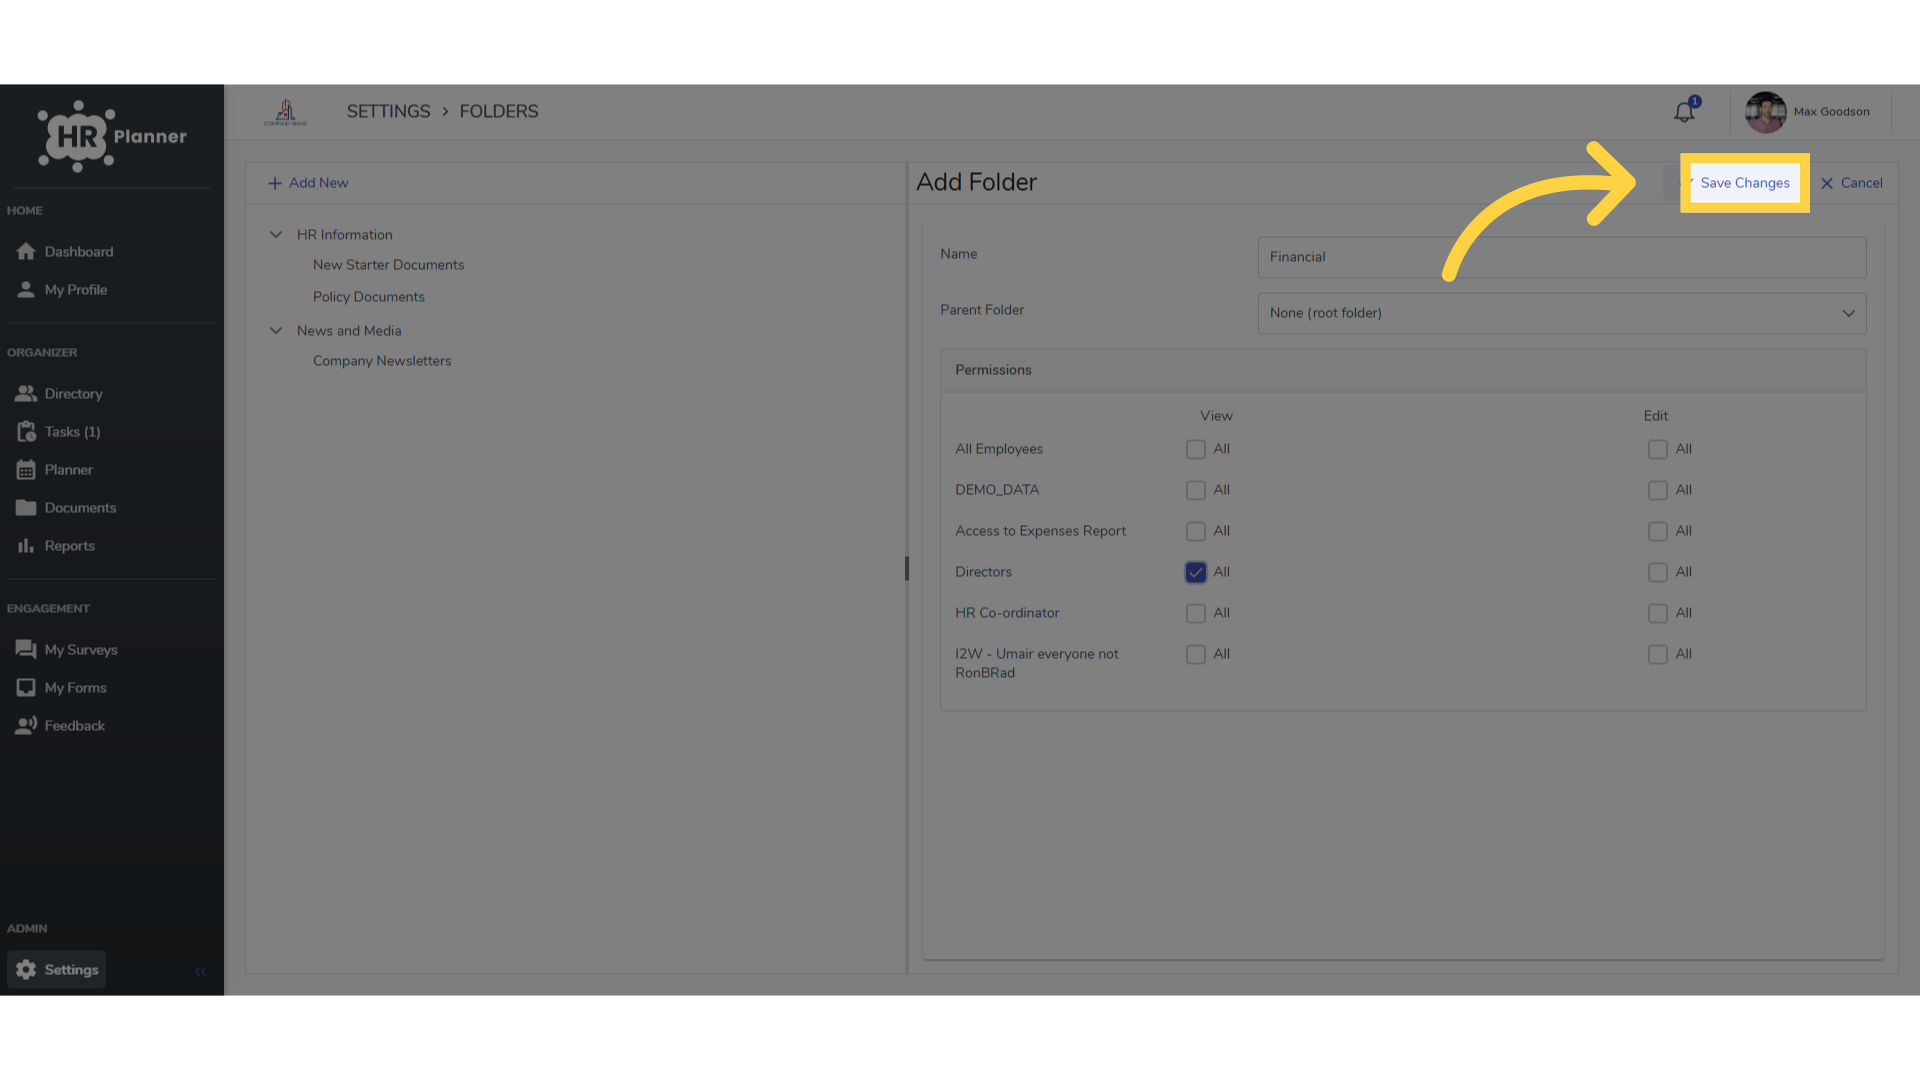
7. Click “Save Changes”
Save the newly created folder.
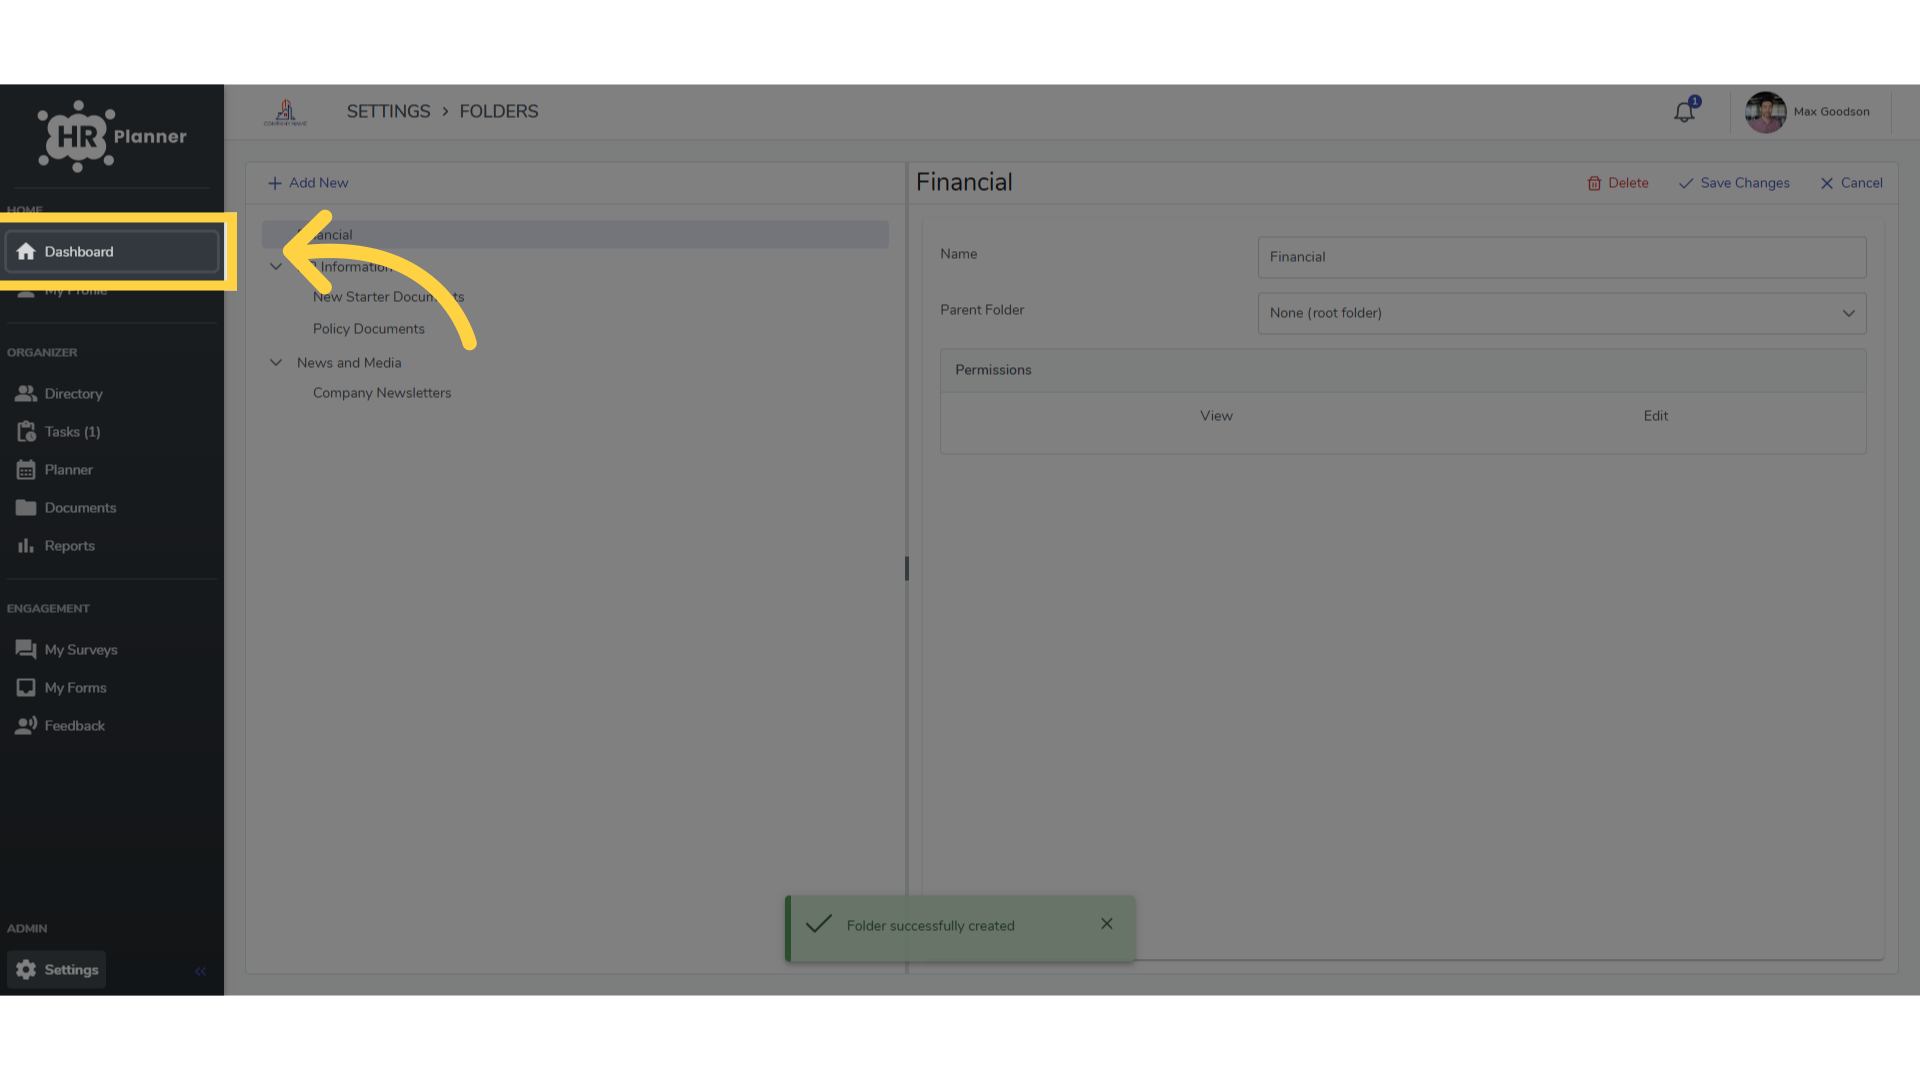
8. Click “Dashboard”
Return to the dashboard.
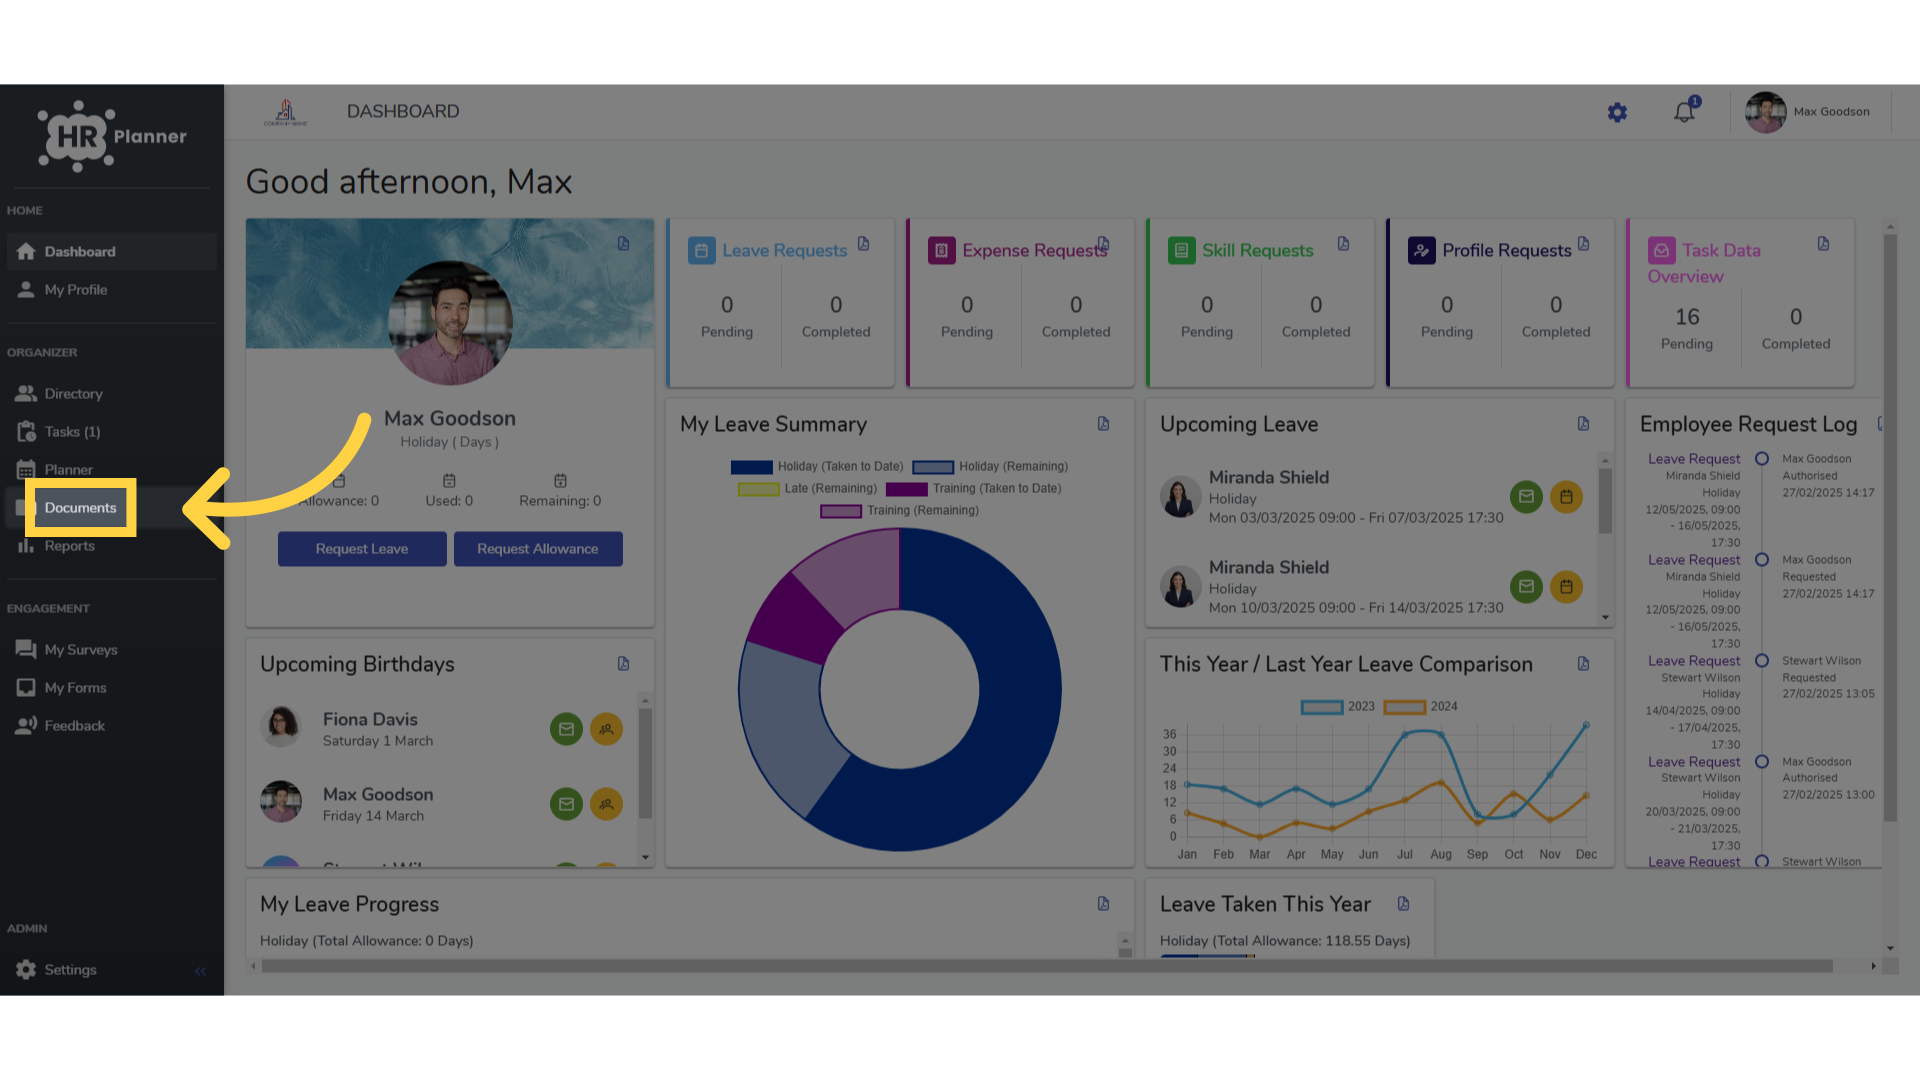
9. Click “Documents”
Navigate to the documents section.
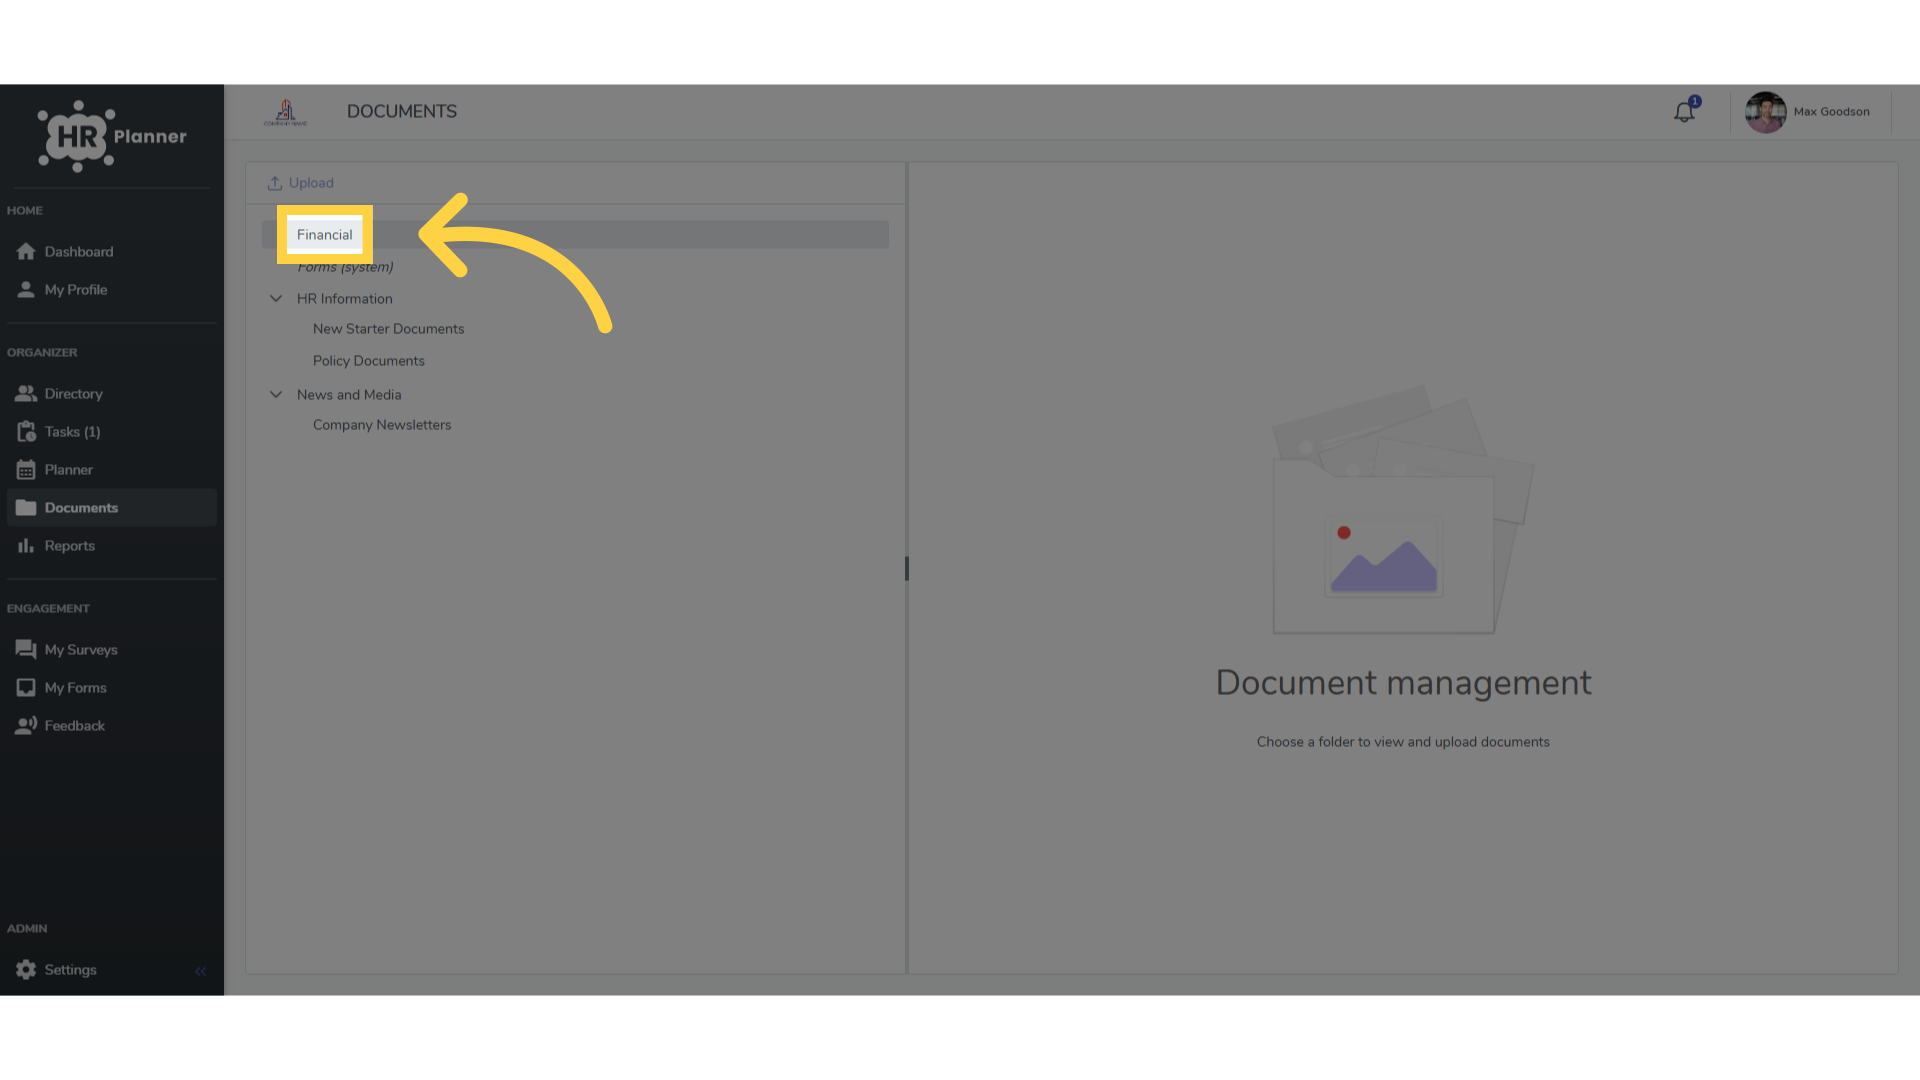
10. Click “Financial”
Select the financial folder you have just created.
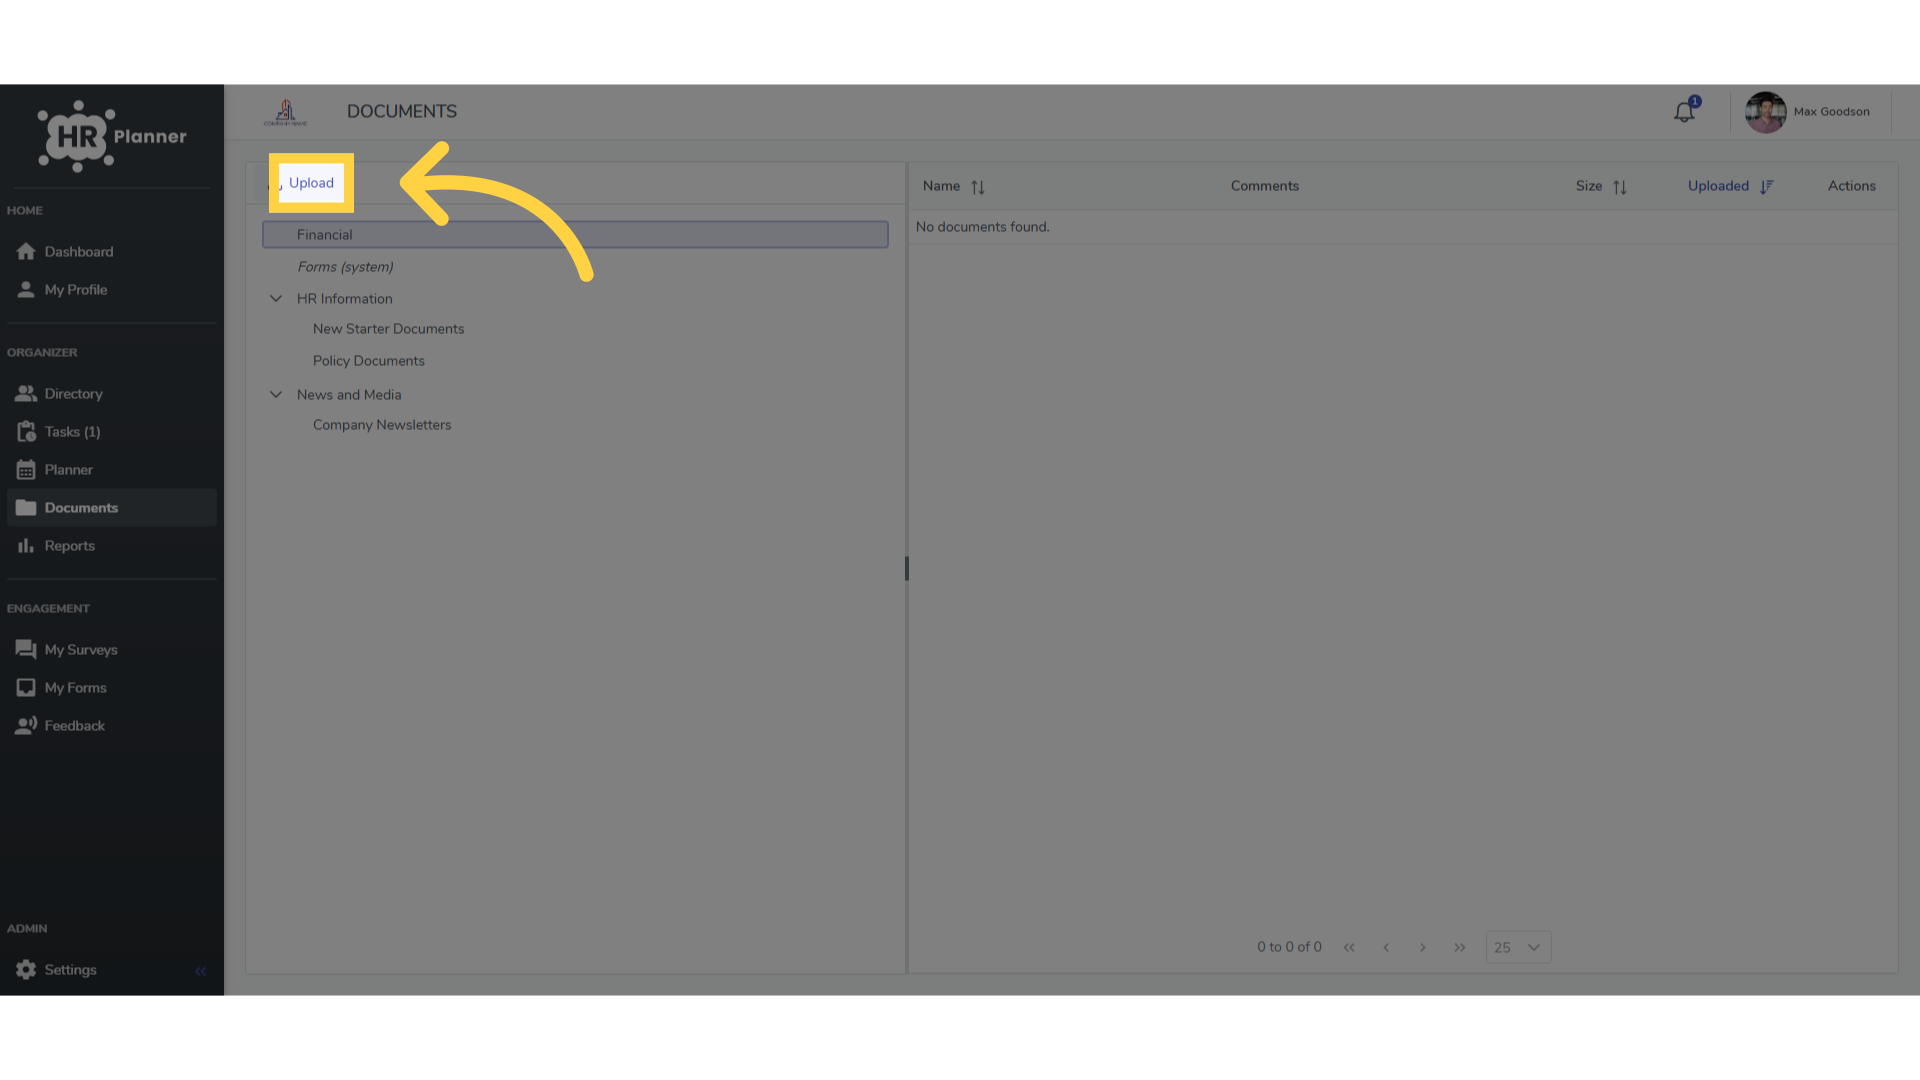
11. Click “Upload”
Initiate the document upload process.
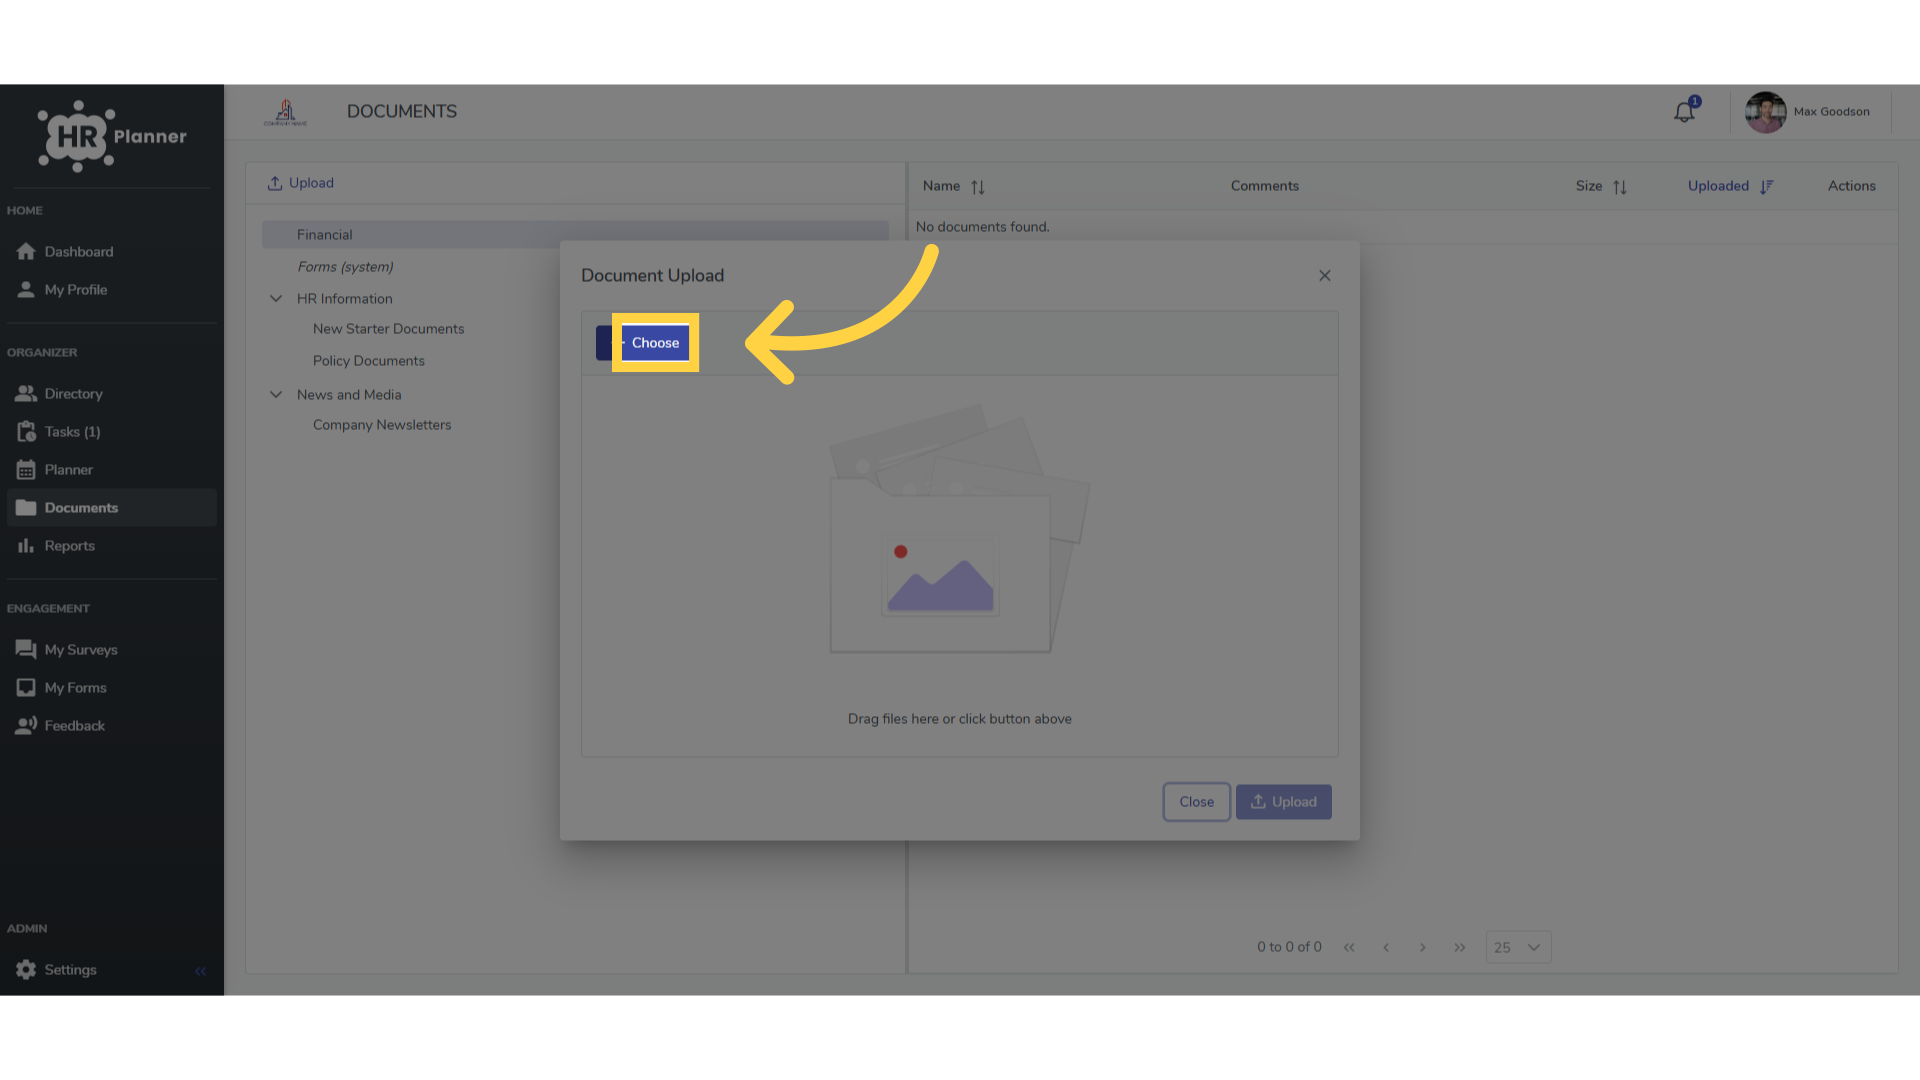
12. Click “Choose”
Find and upload the documents you want.
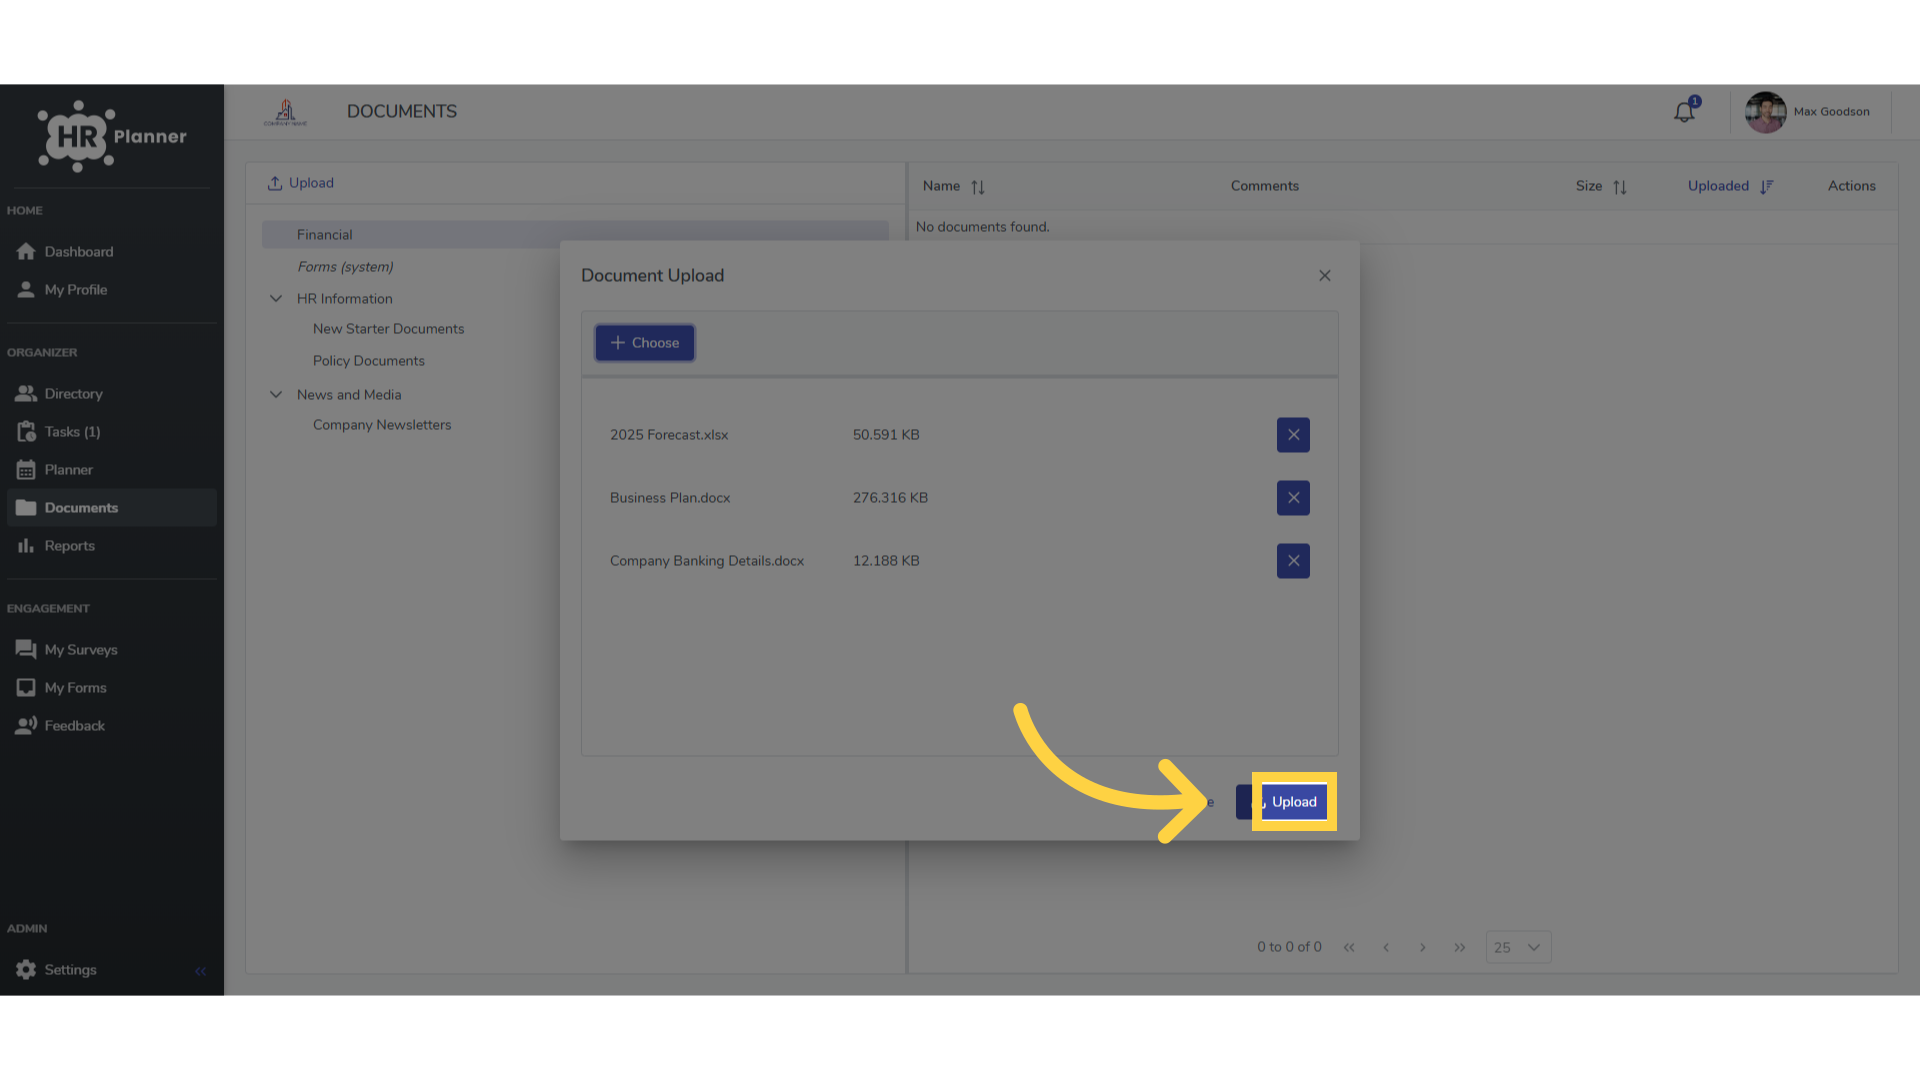
13. Click “Upload”
Upload the chosen file.
This guide explained how to create document folders, upload documents, and manage files in the Employee Training application. By following these steps, users can effectively organize and store important documents for efficient employee training.