
This tutorial explains how to manage multiple currency options.
1. Introduction
You will learn to add currencies, update expenses, and configure salary details effectively.
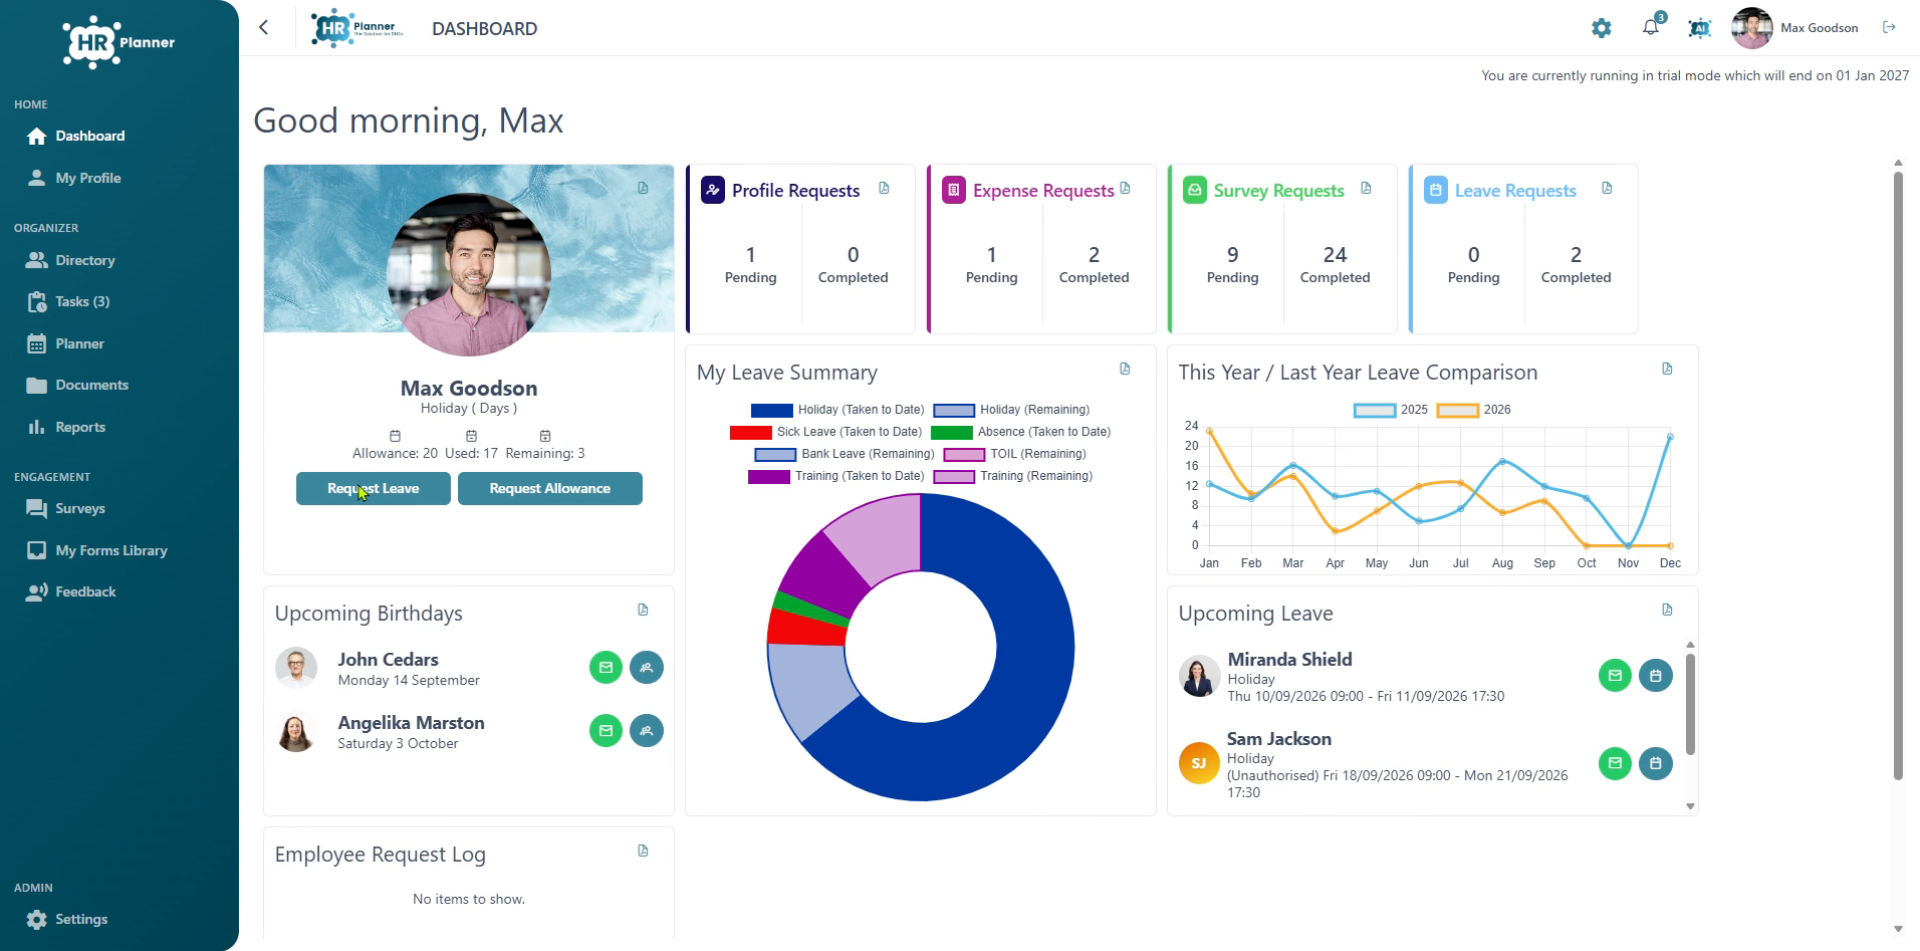
2. Access Settings Menu
Open the settings menu to configure currencies
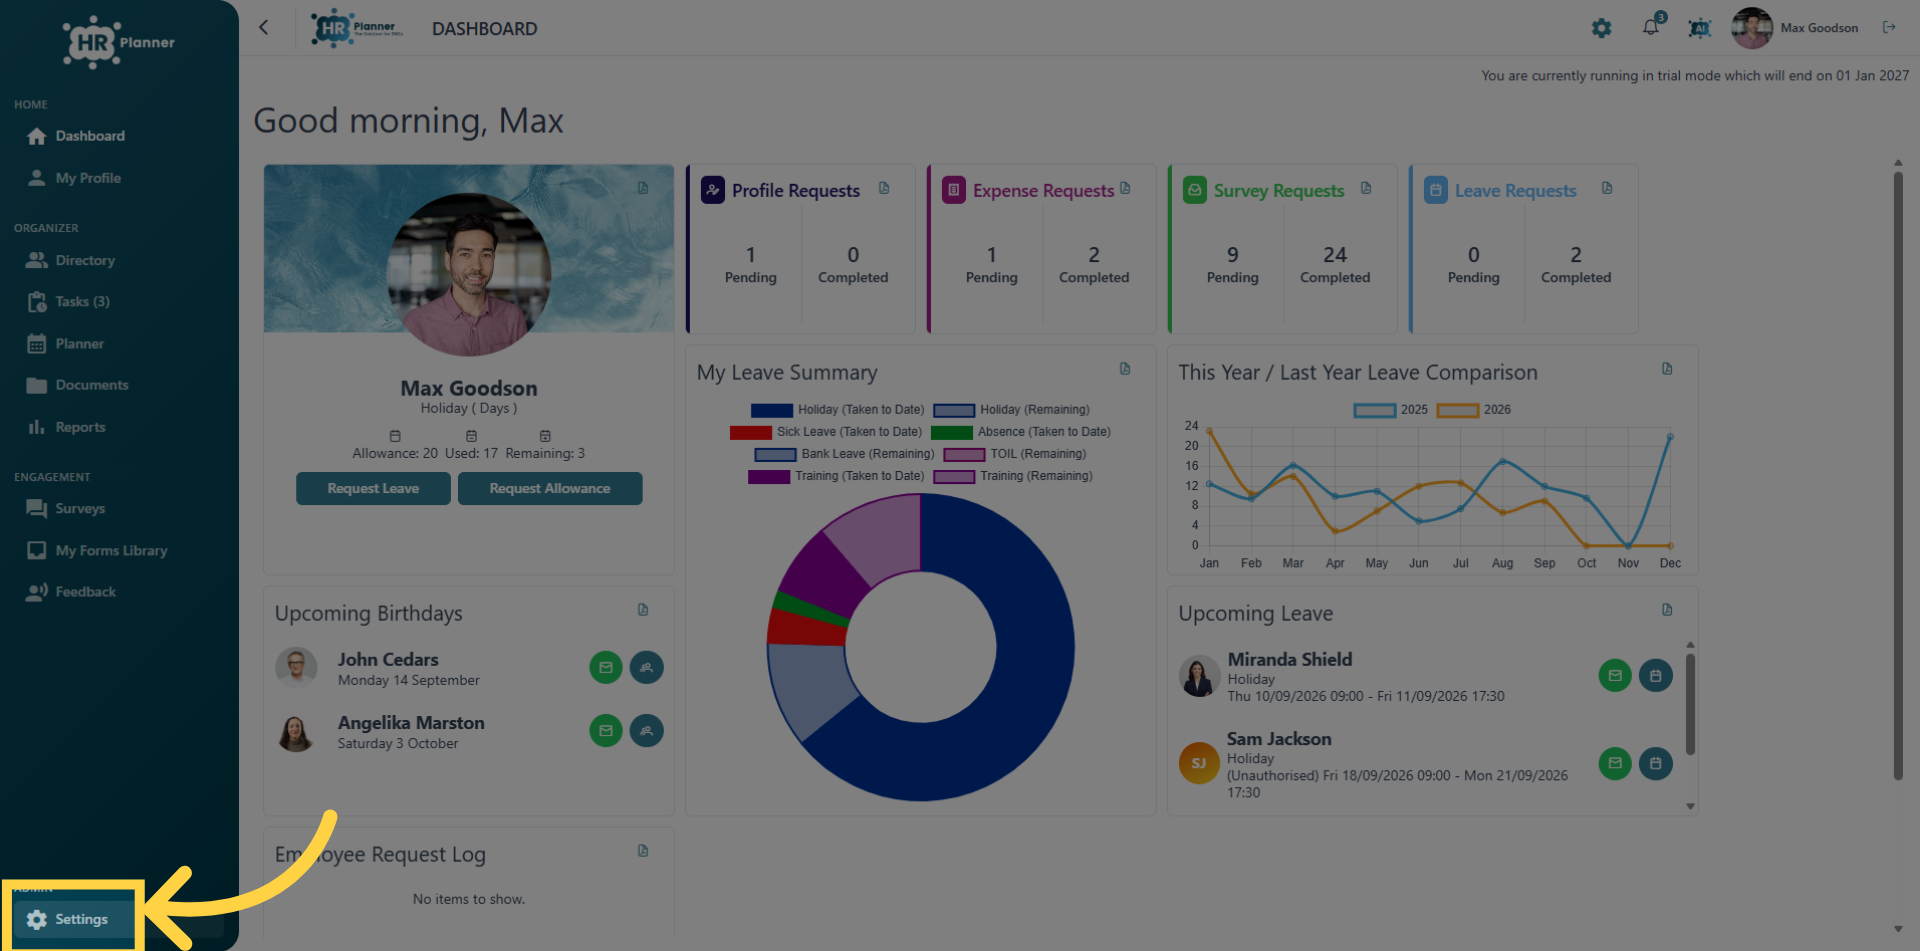
3. Open Companies Settings
Navigate to the Companies section.
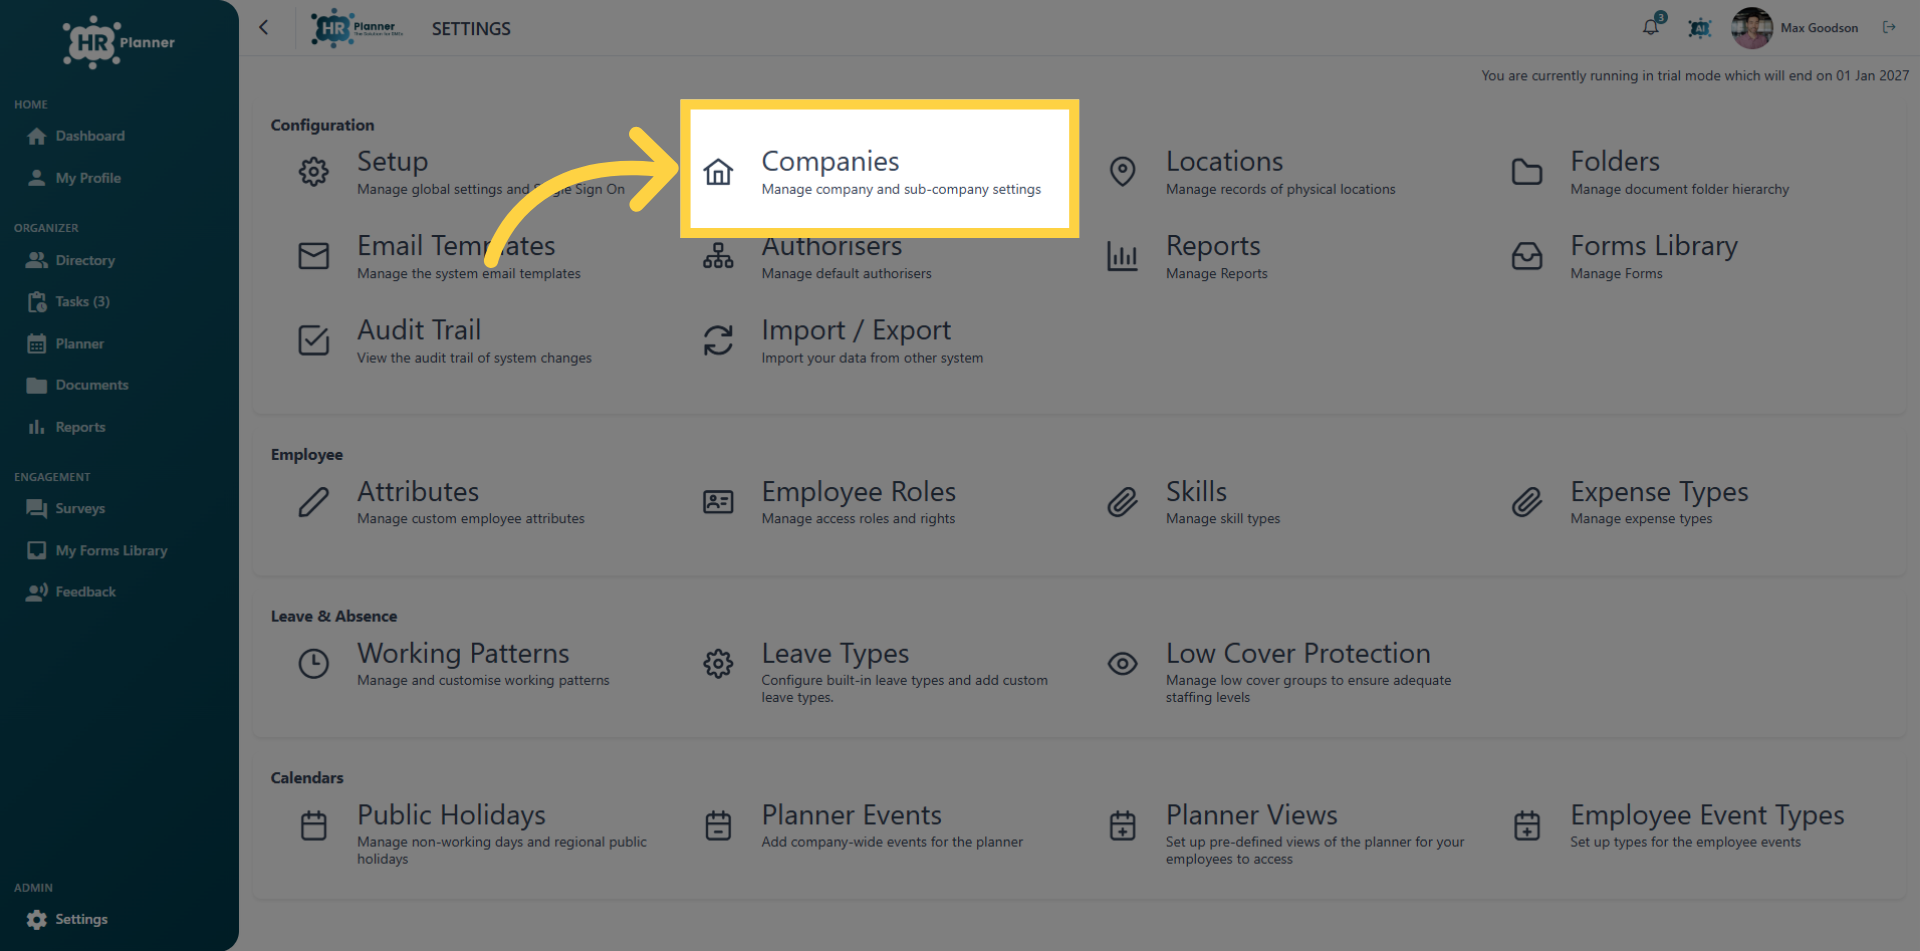
4. Select Company Profile
Choose the specific company profile…
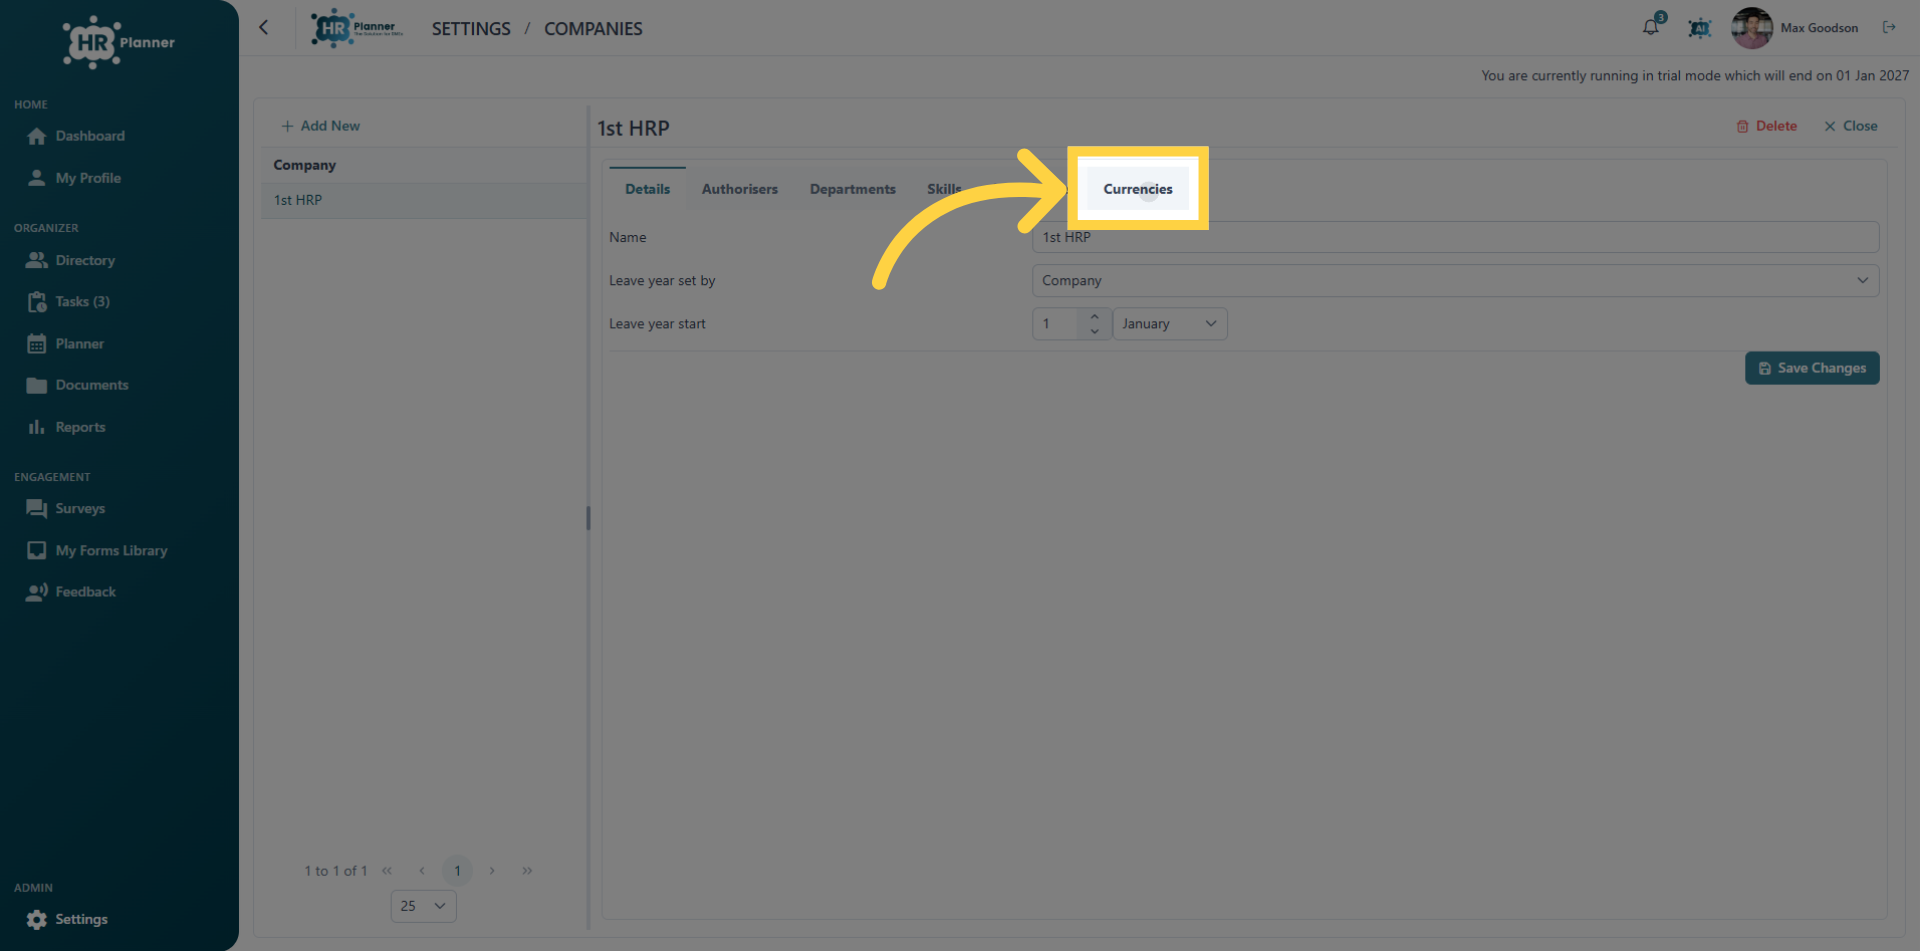
5. Access Currency Settings
And open the currency settings tab.
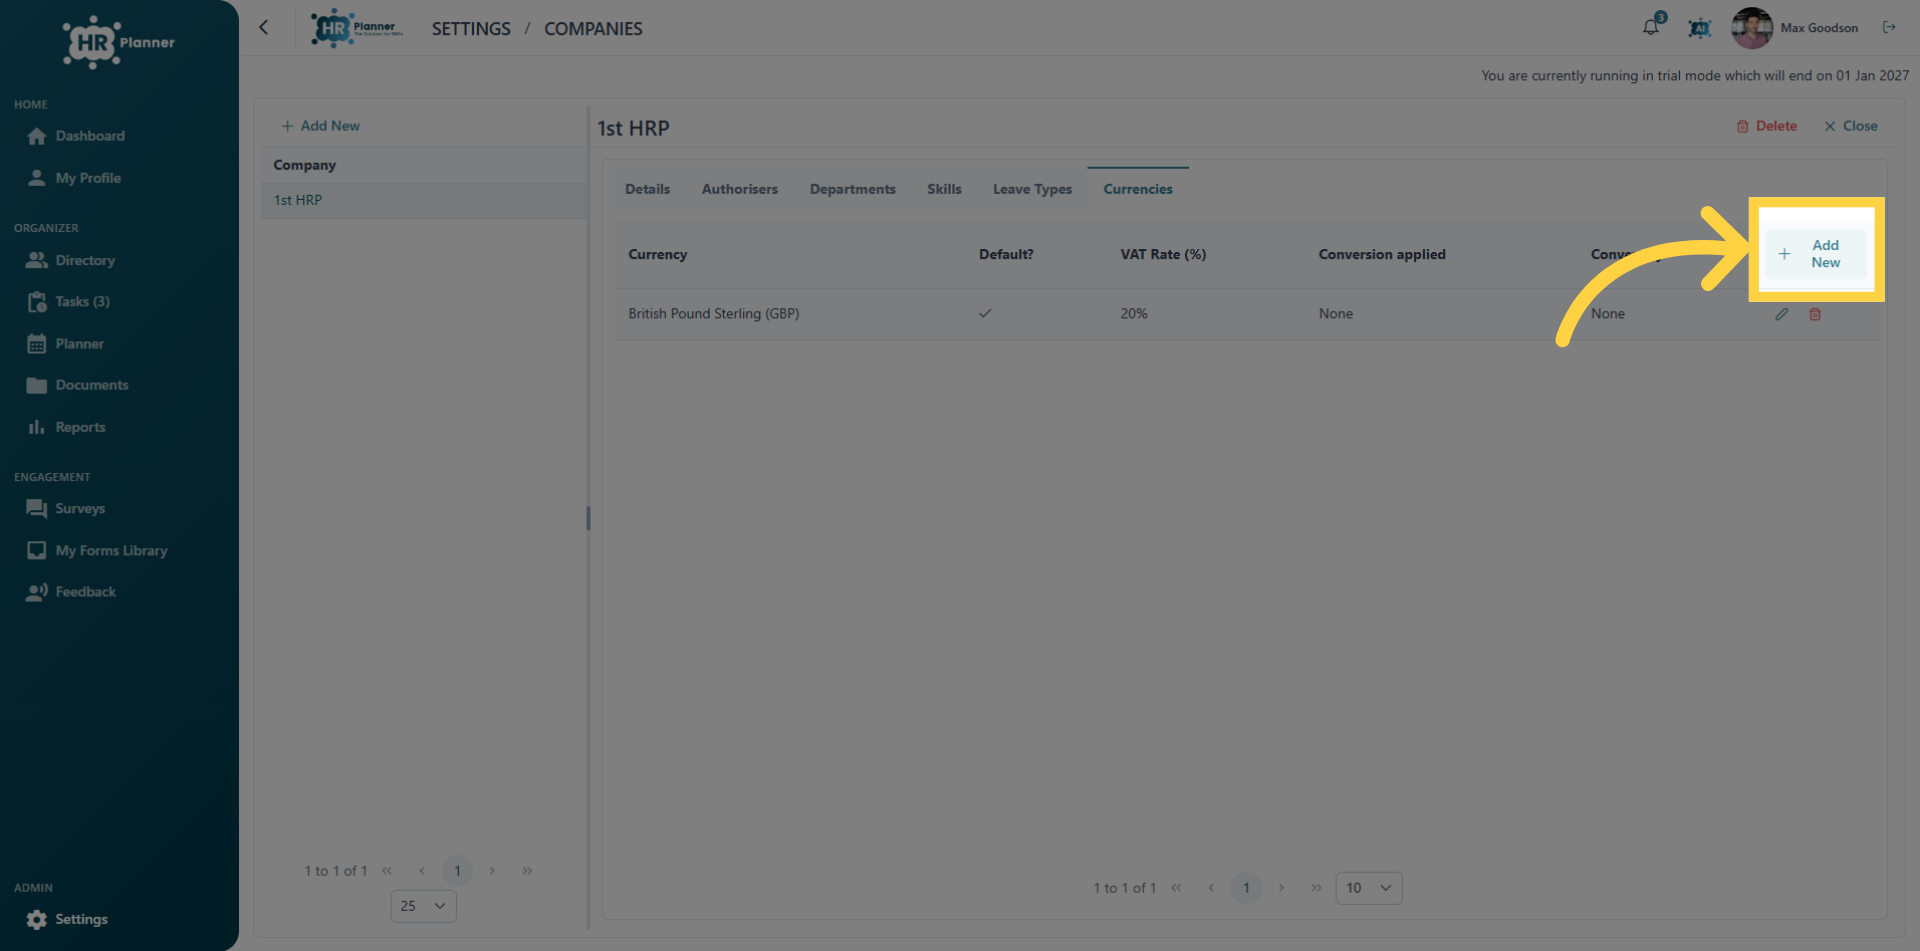
6. Initiate Adding Currency
and click Add New
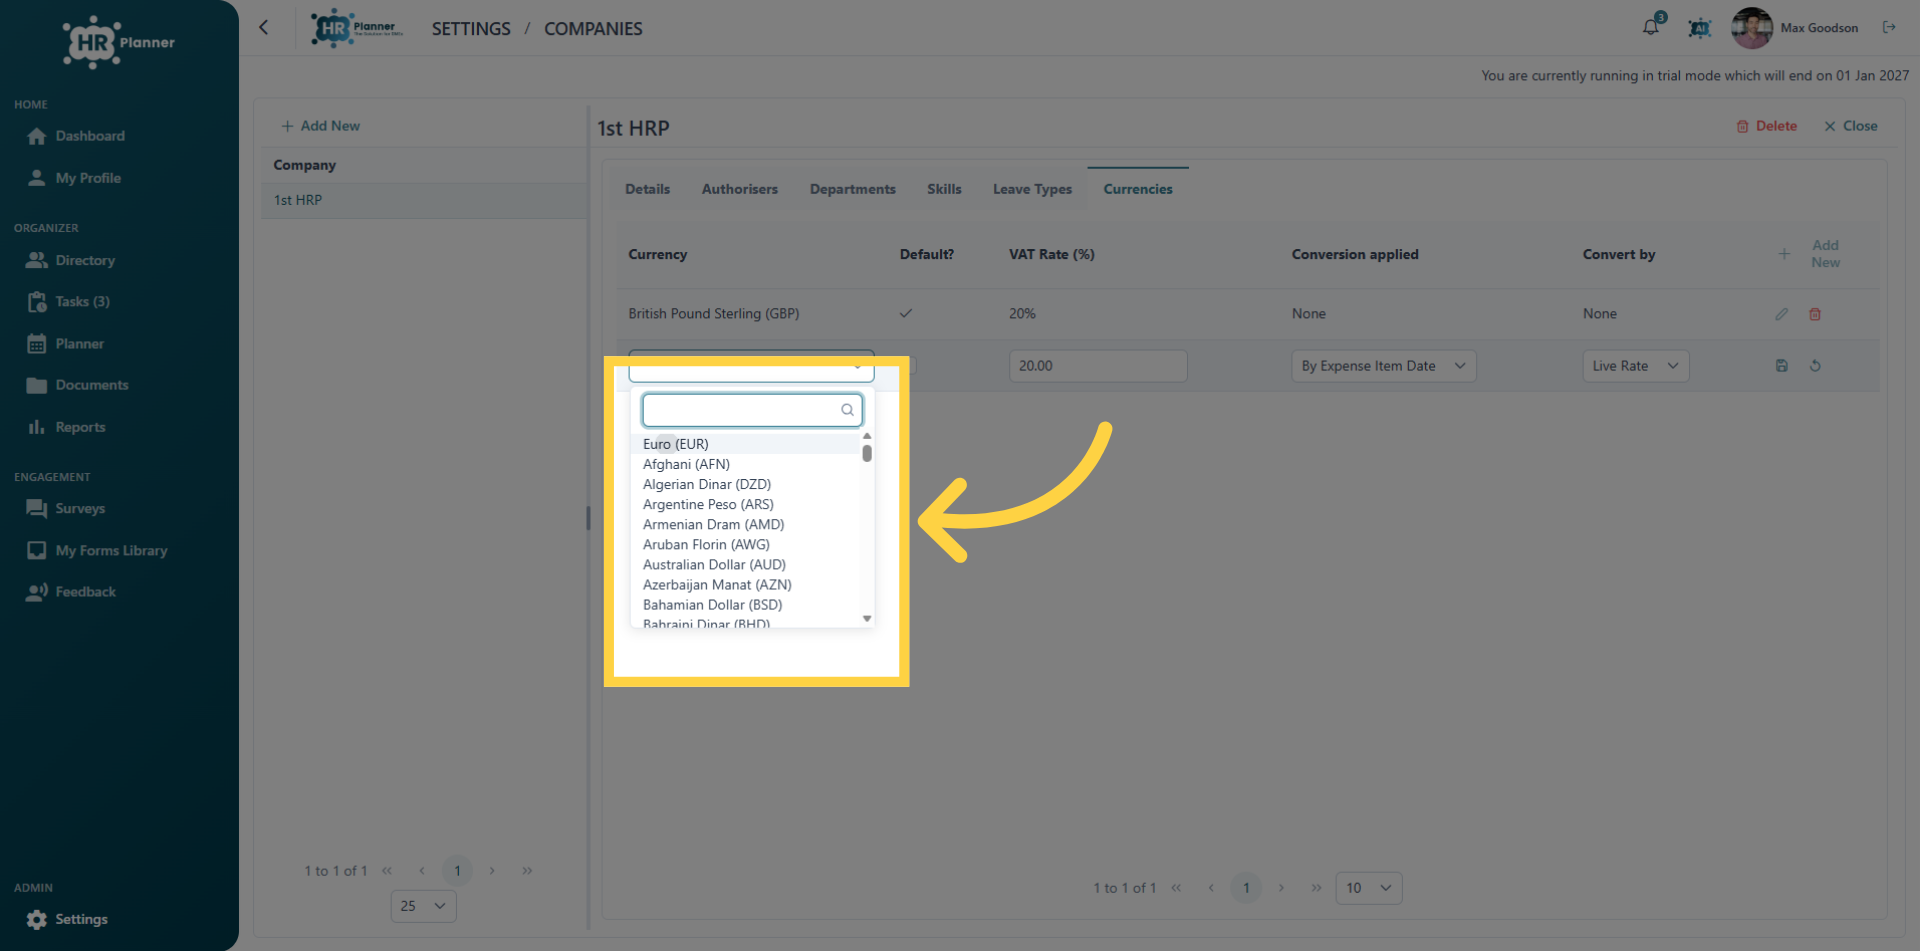
7. Select the Currency
You can select from the list or type to search for a specific currency
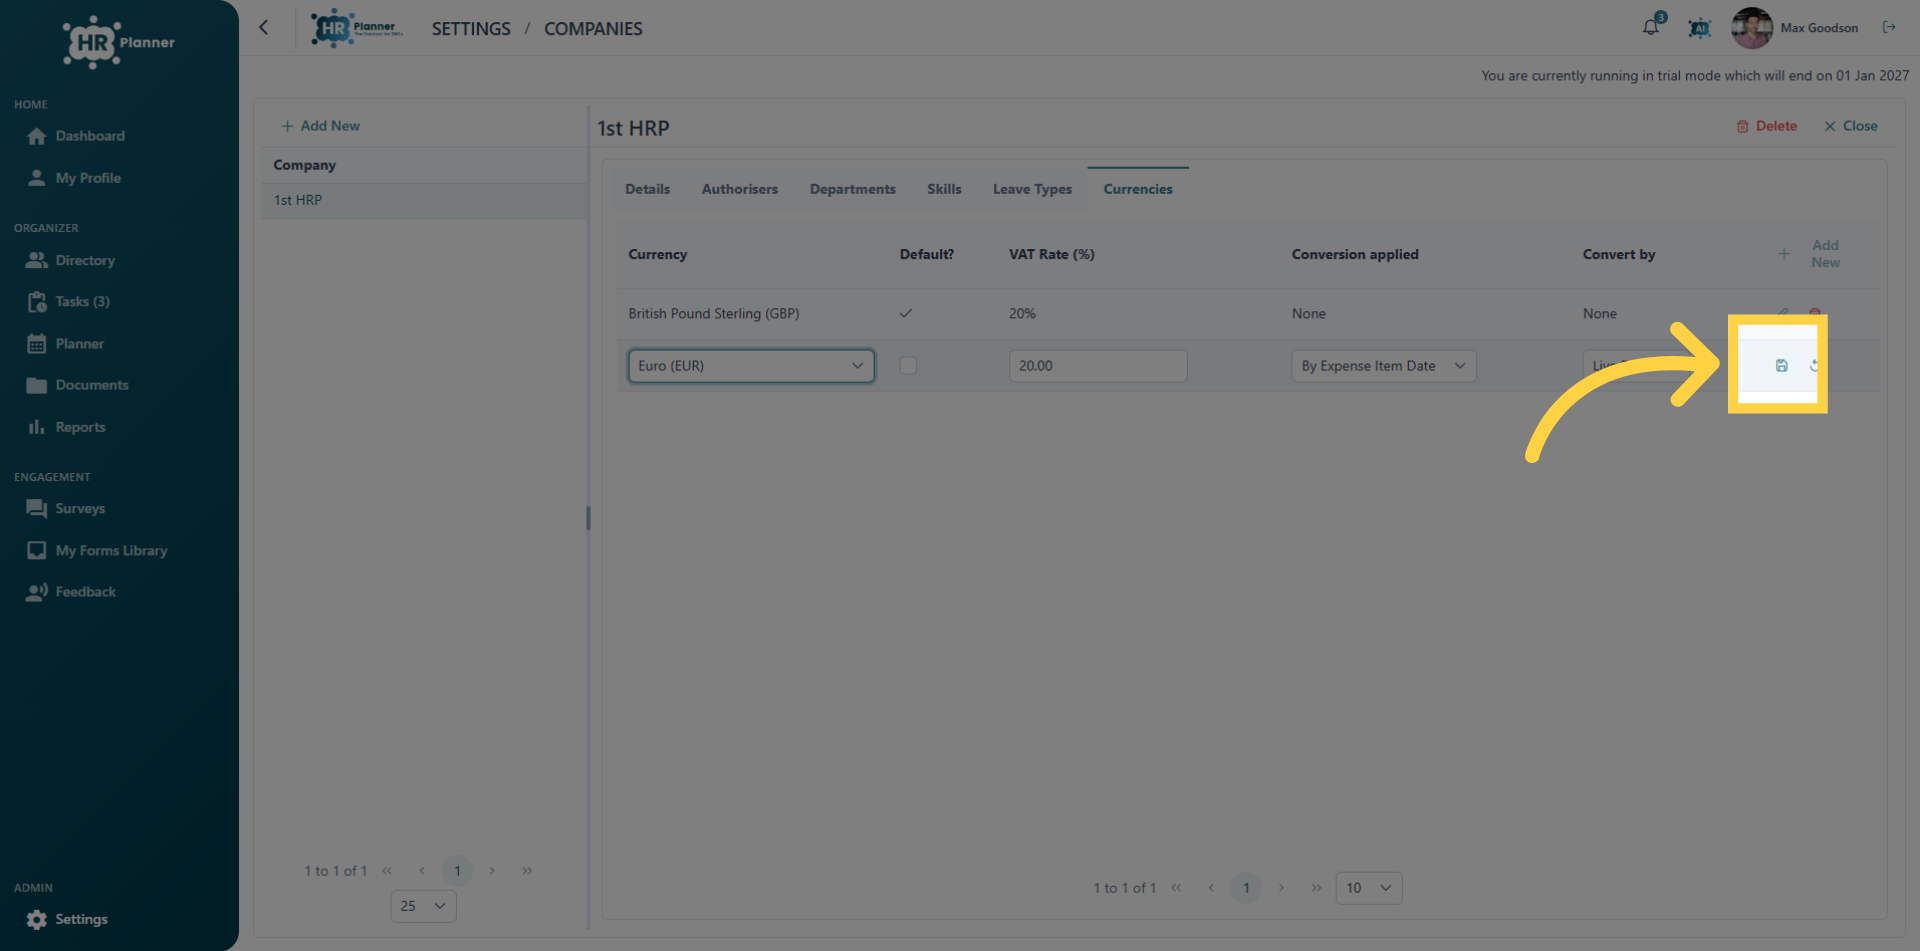
8. Confirm Currency Selection
Click the Save icon to confirm the selected currency.
9. Review currancies
You can add as many different currencies as necessary.
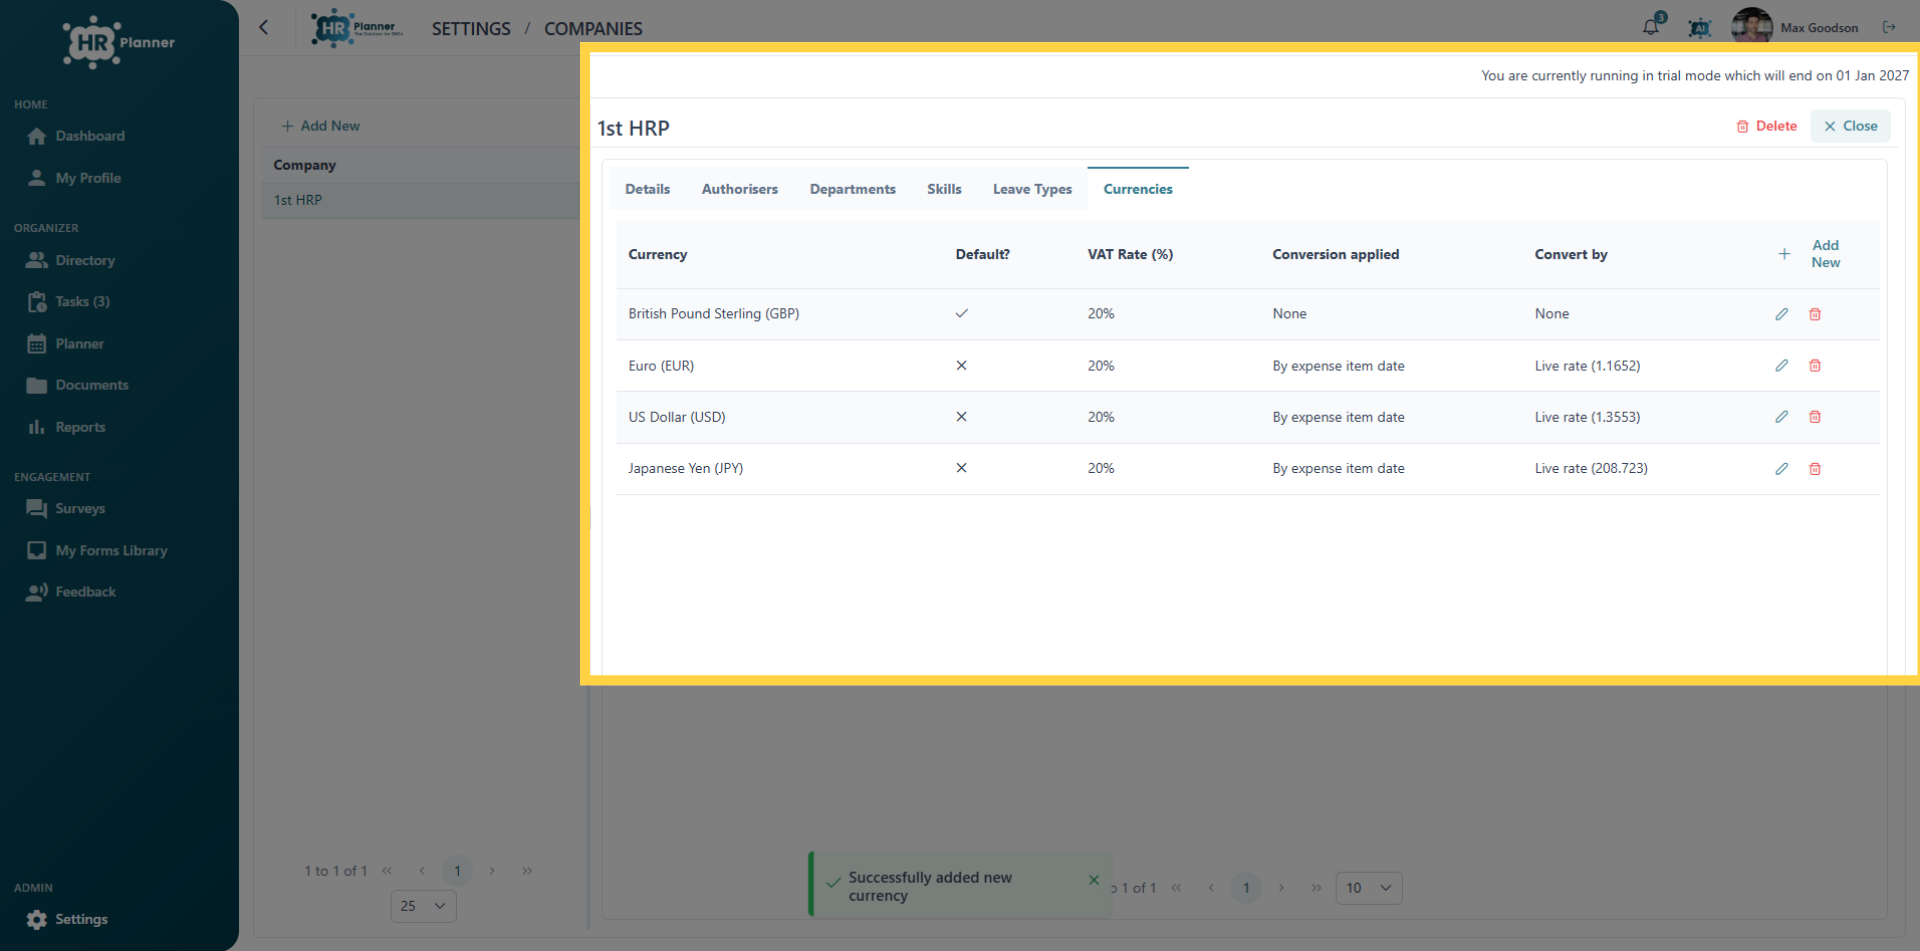
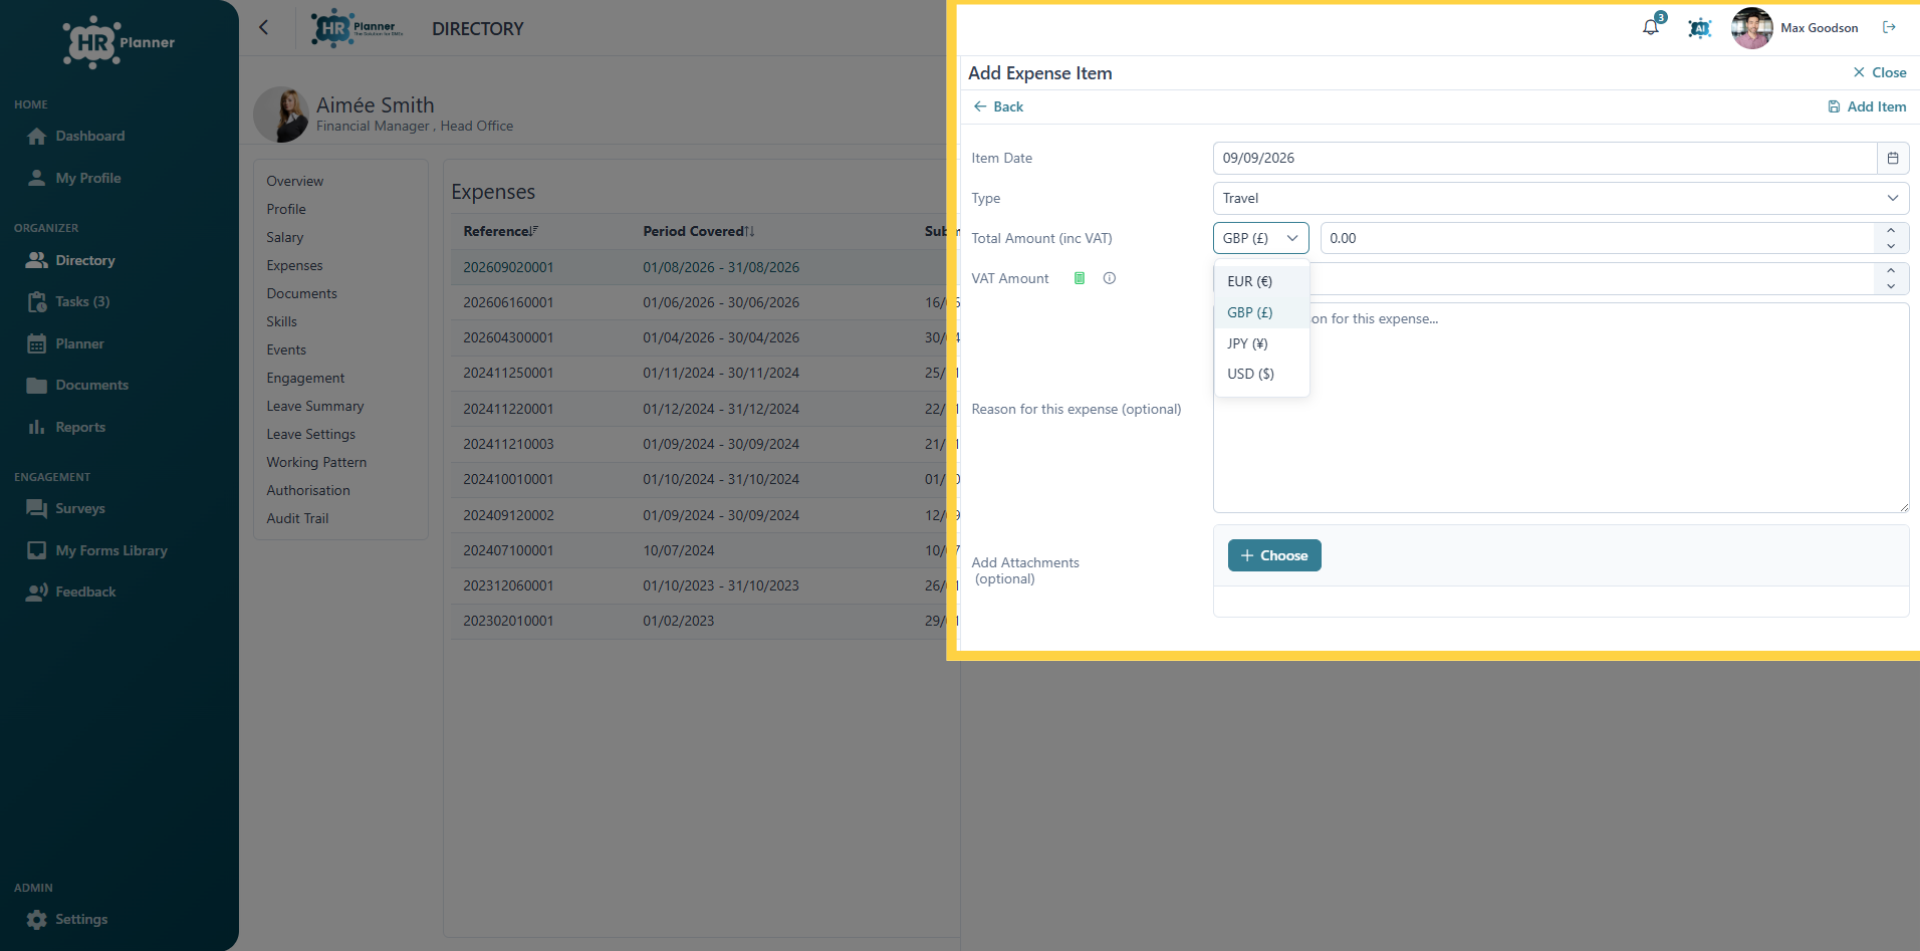
10. Selecting Different Currencies
Employees can now add expense items in any of the international currencies you have created.
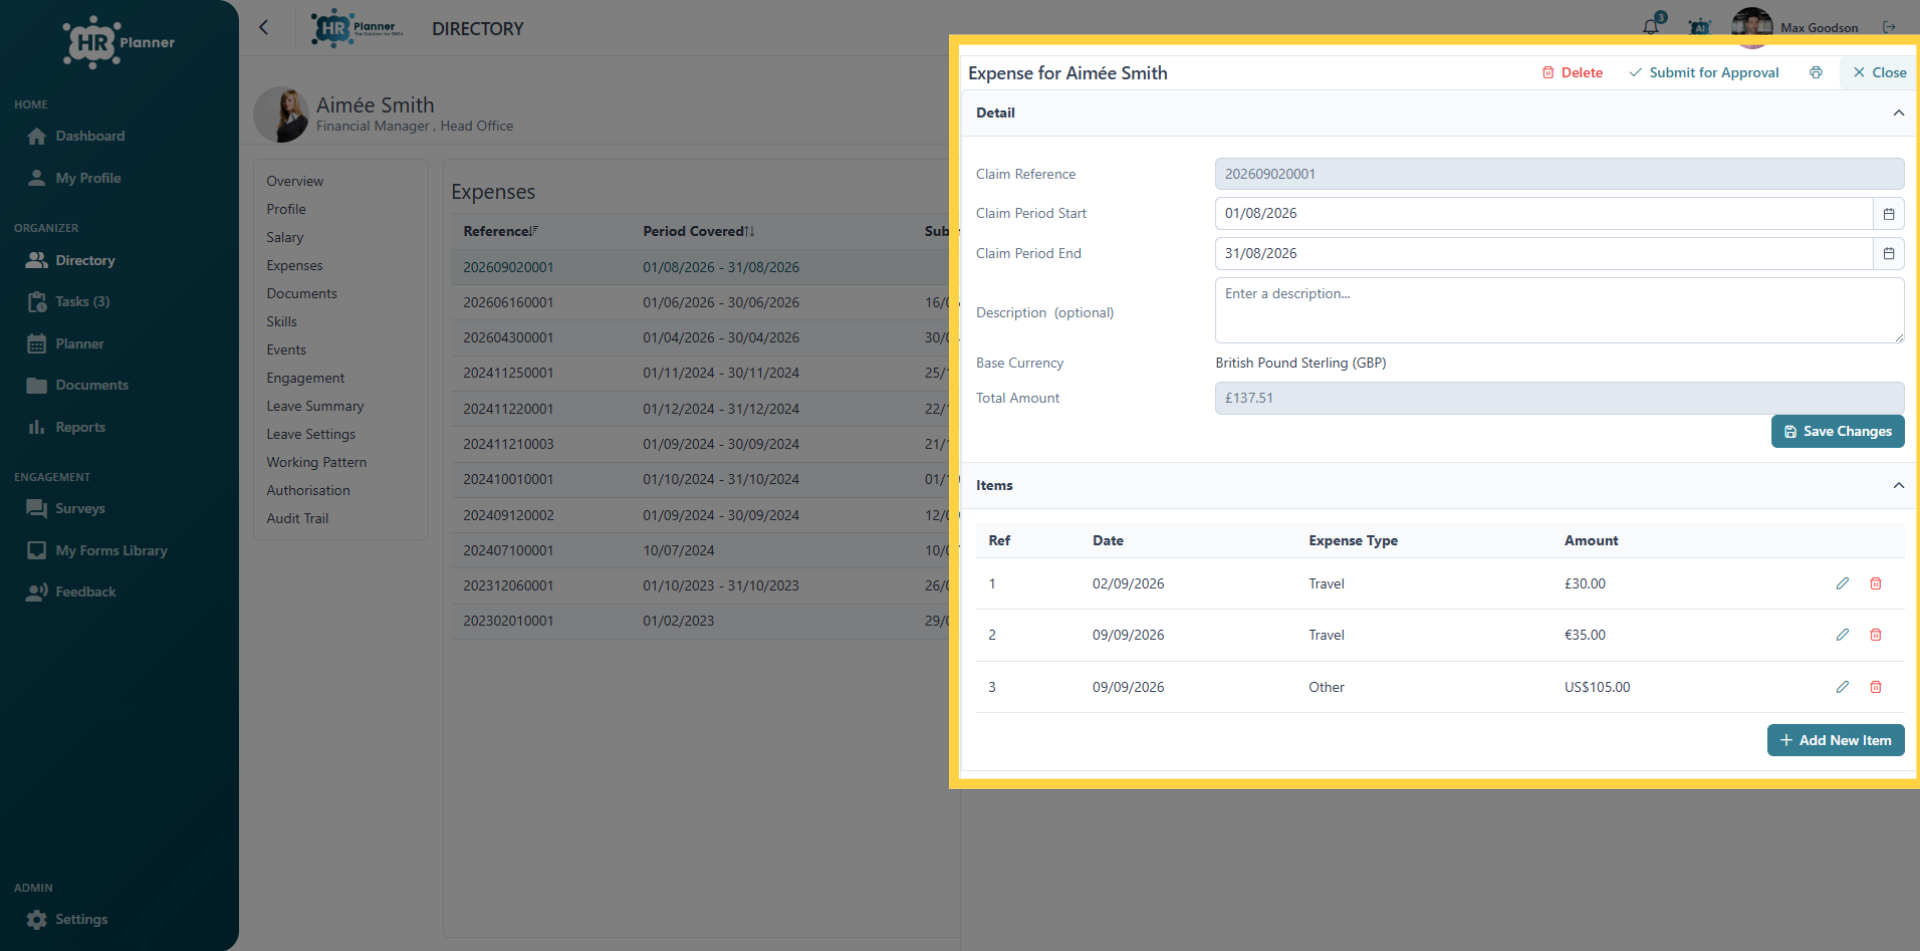
11. Expense Claims
Expense claims can contain items with multiple currencies.
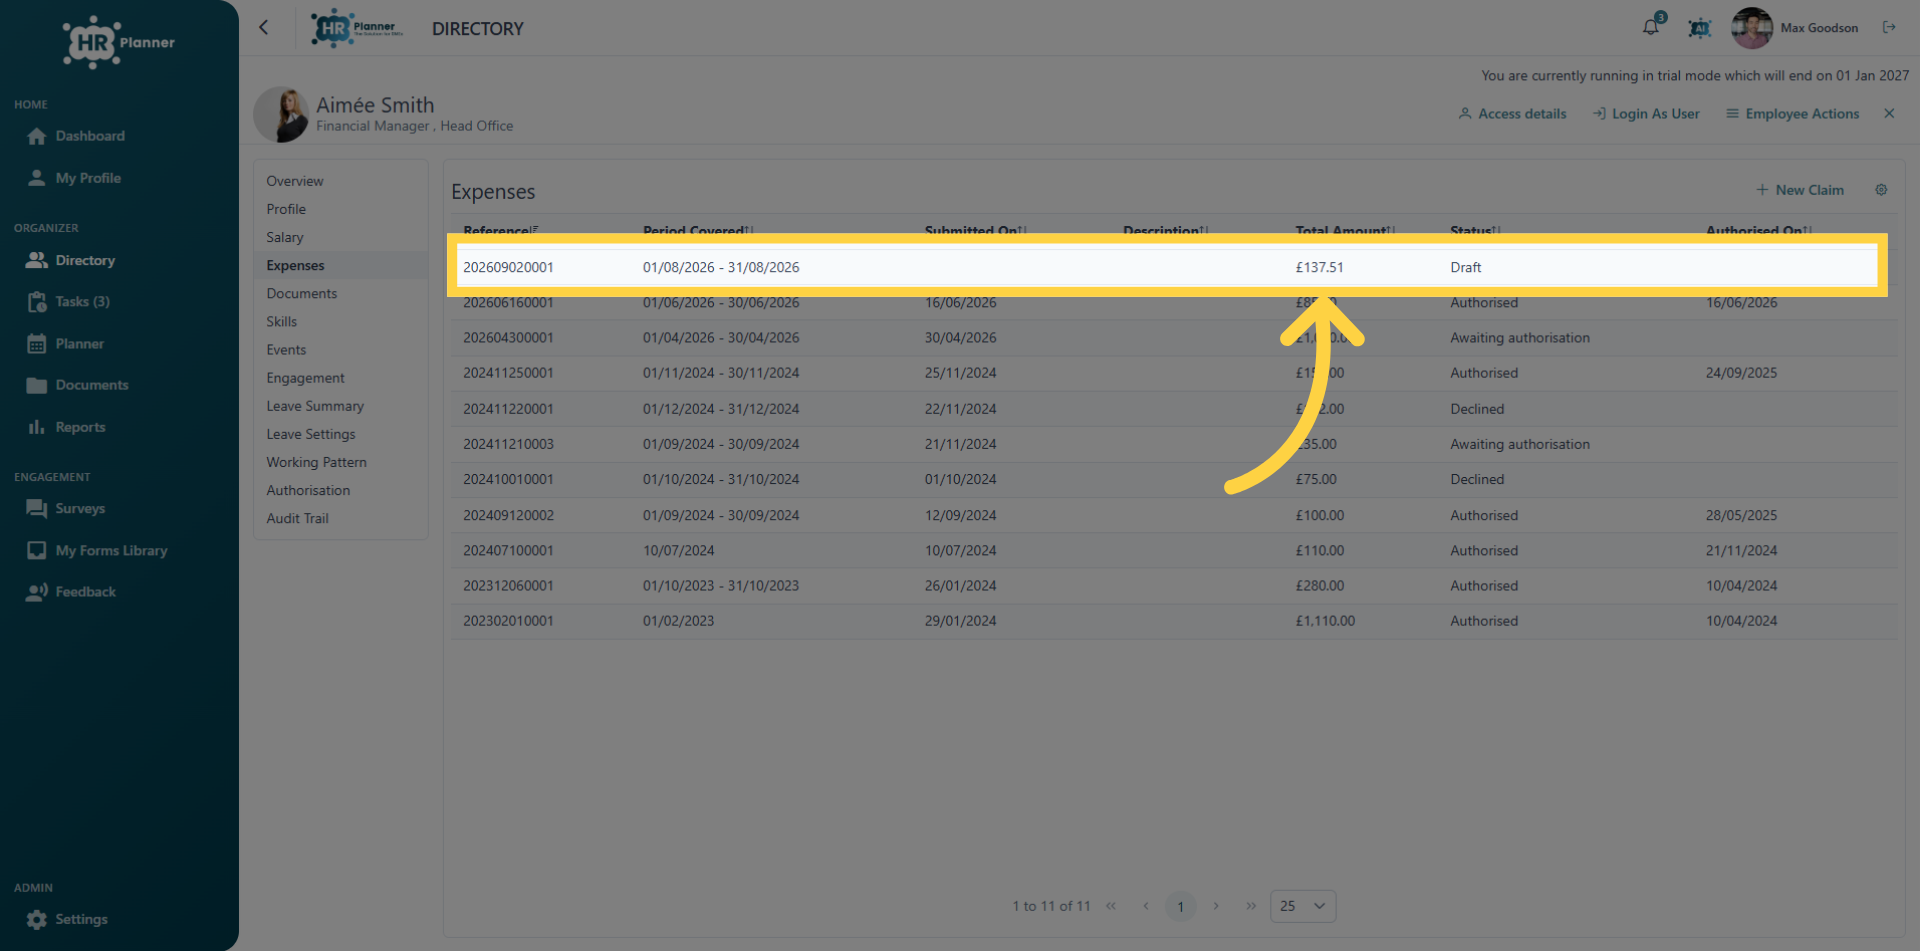
12. Review Expense Claim
Note that although the expense claim contains multiple currencies the total is converted using a live exchange rate to the Default Currency setting for your company.
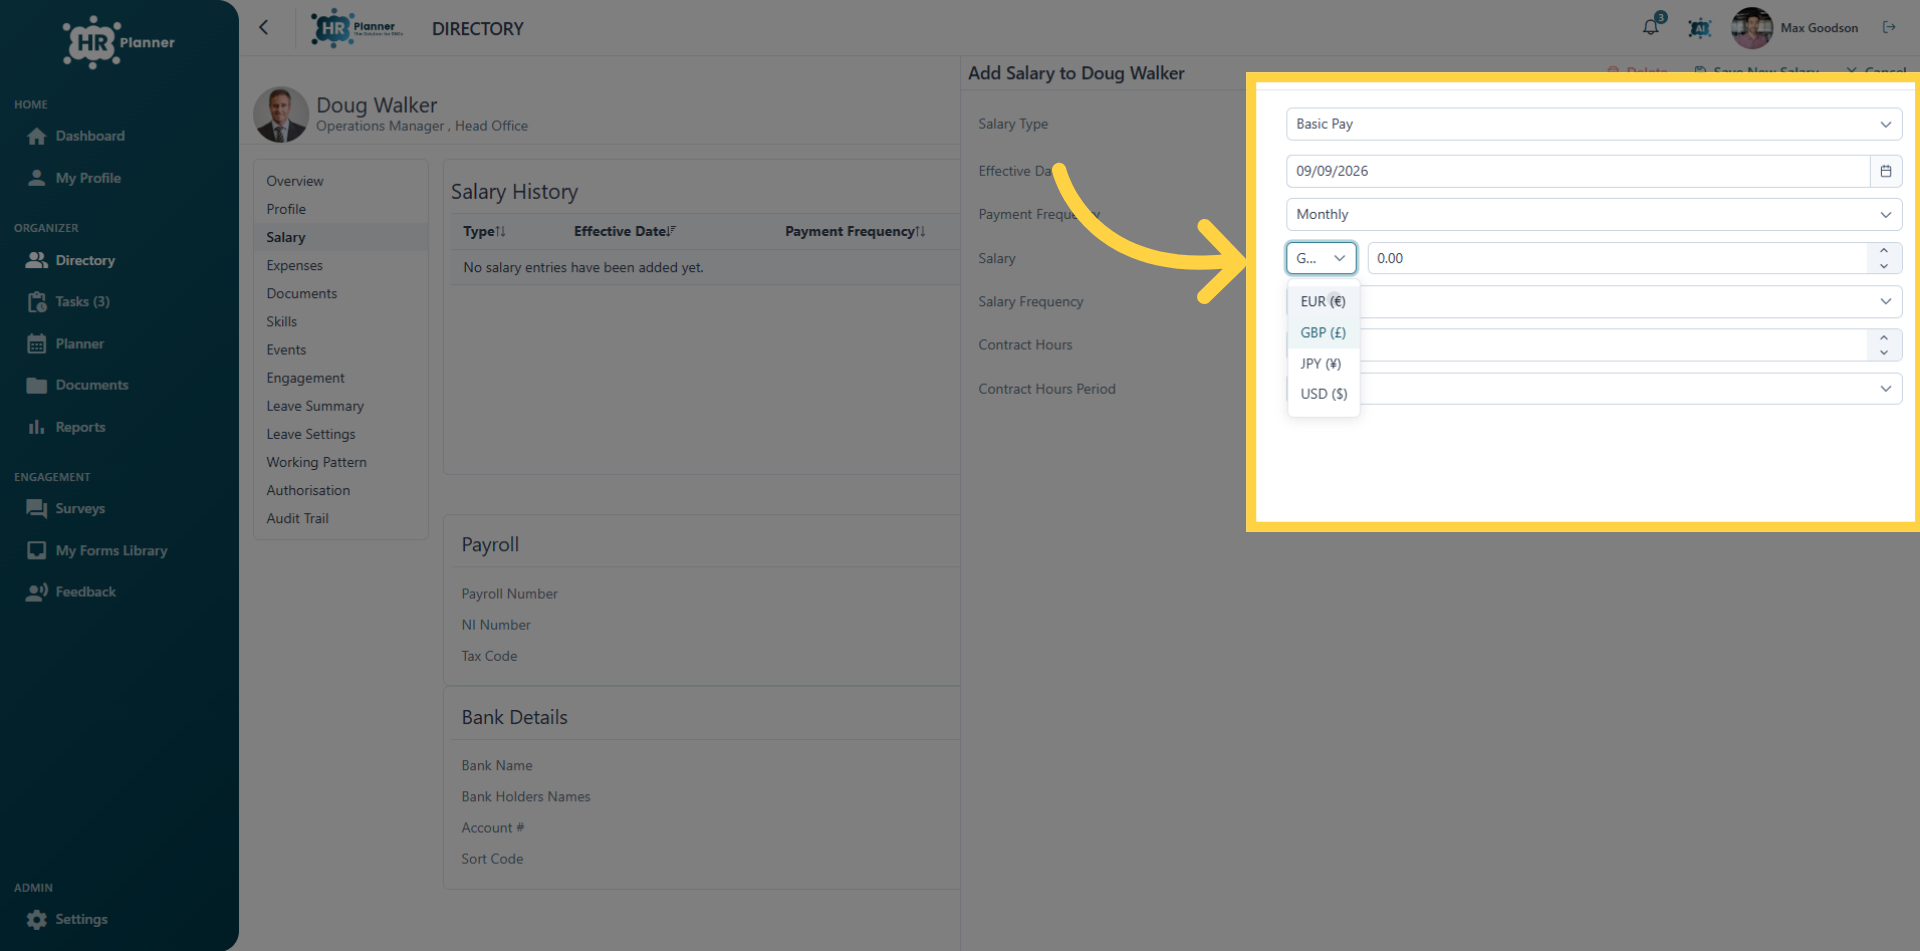
13. Salary Currency
Employees Salaries can also be set to any of the currencies you have added to your list
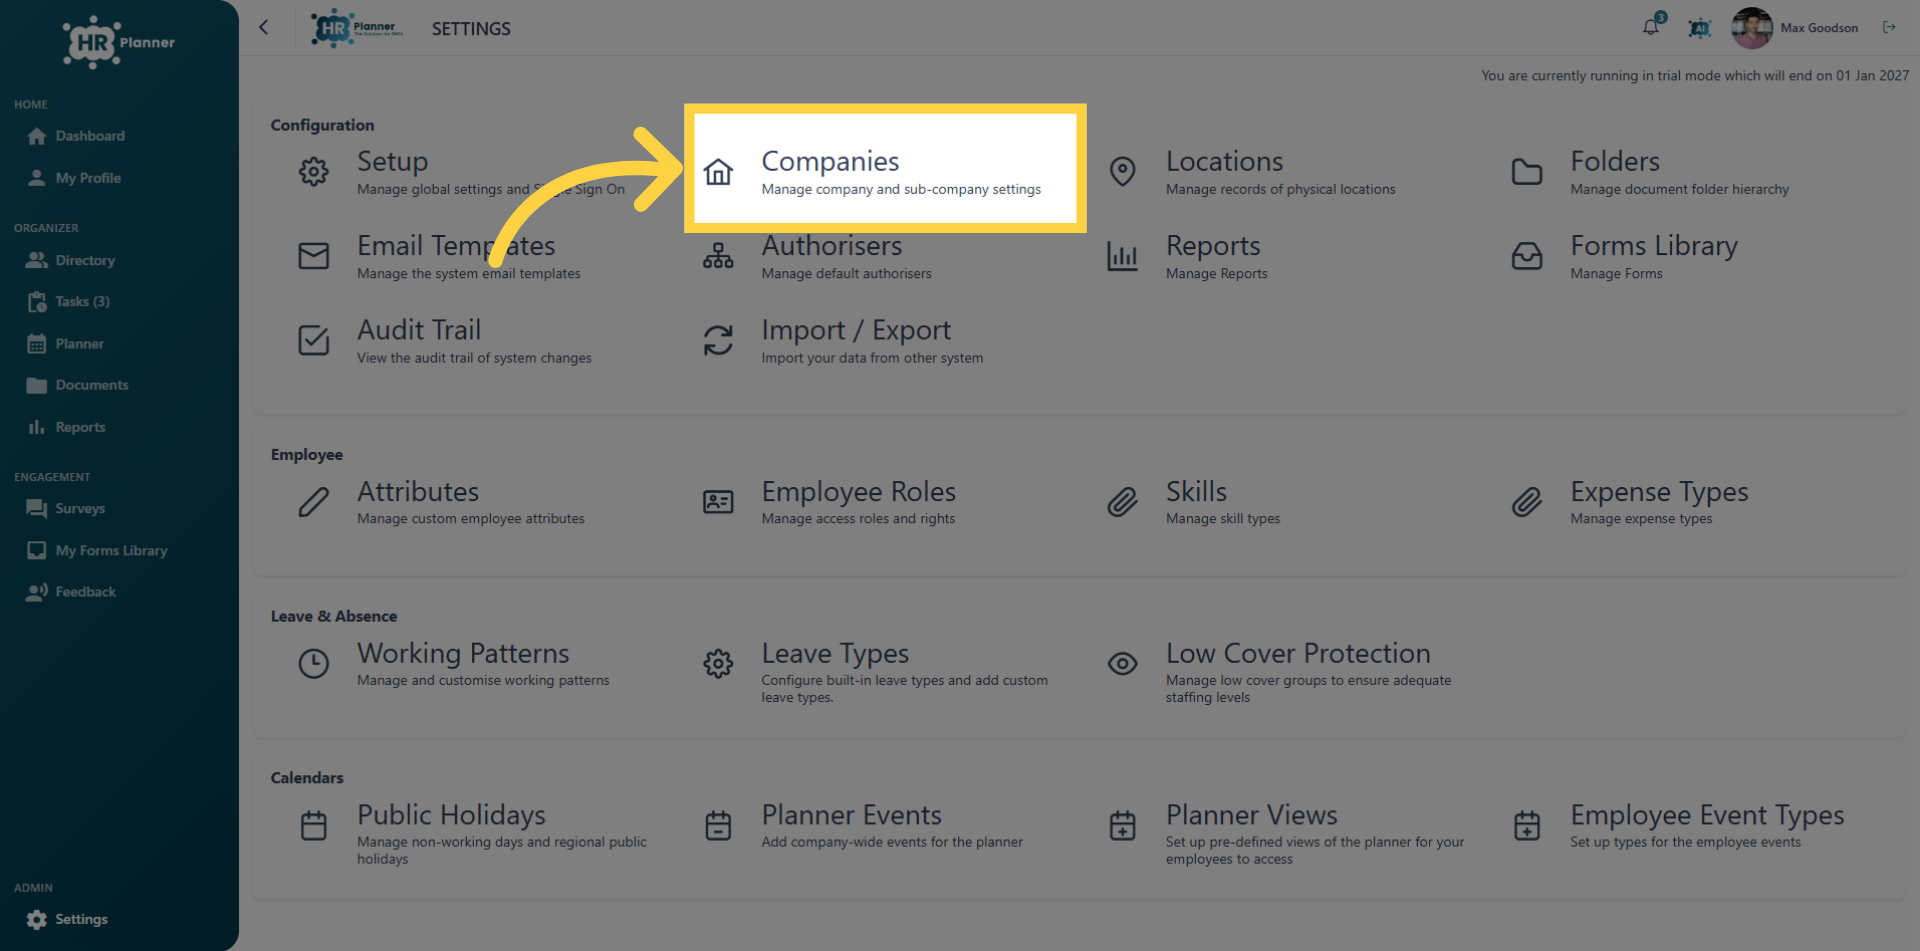
14. Open Companies Settings
If there are overseas companies within your organisation you can add them as a new company and apply a different default currency setting for those users.
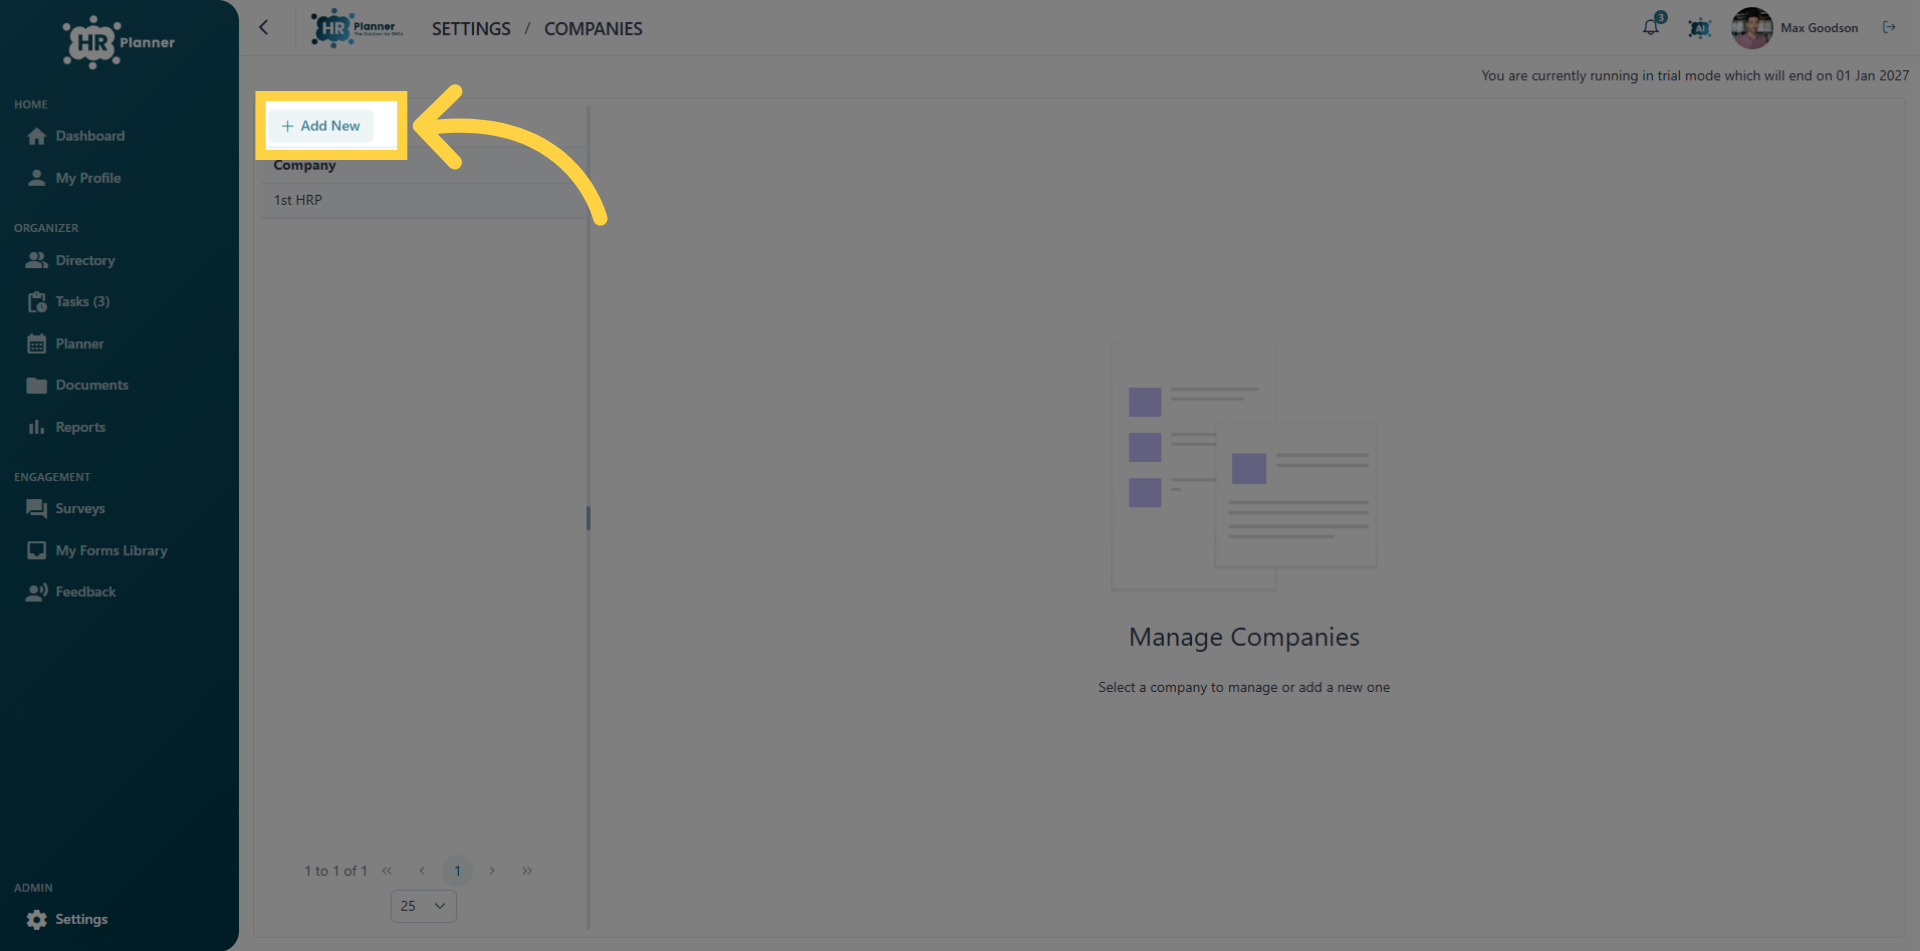
15. Add New Company
In Settings, Companies click add new.
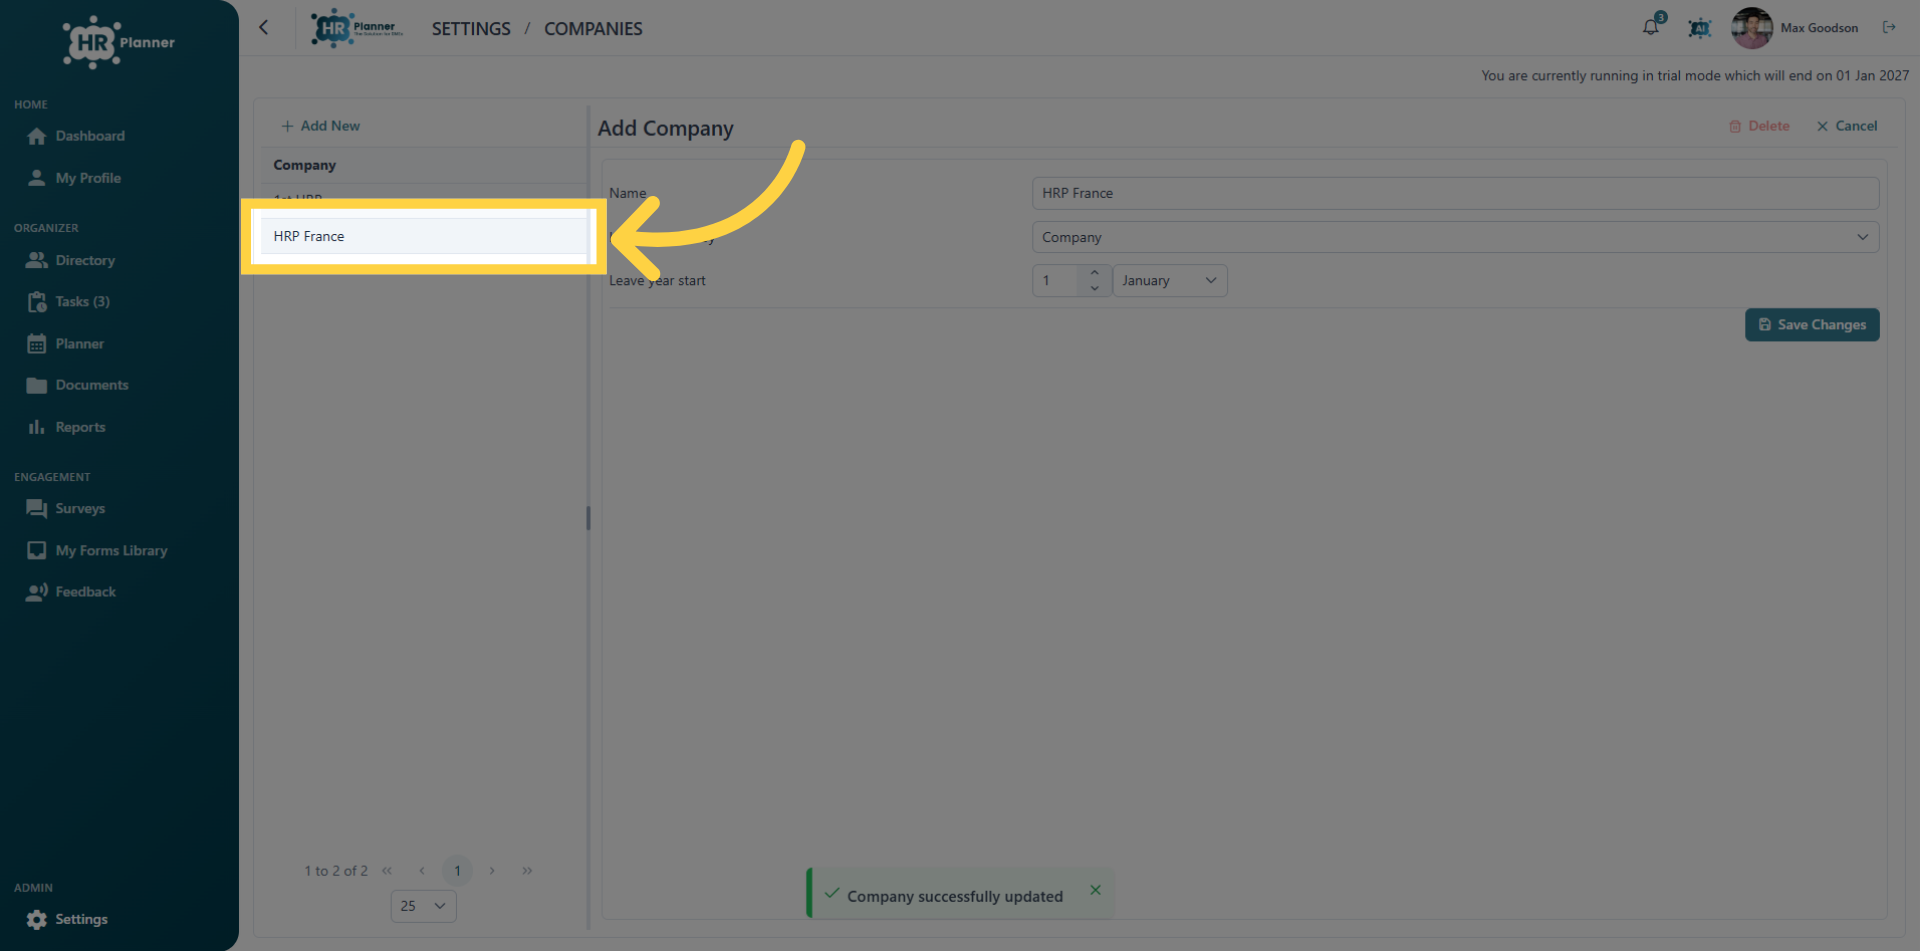
16. Select Company Profile
Select the new company
17. Access Currency Settings
Open the currency settings to manage financial options for the selected company.
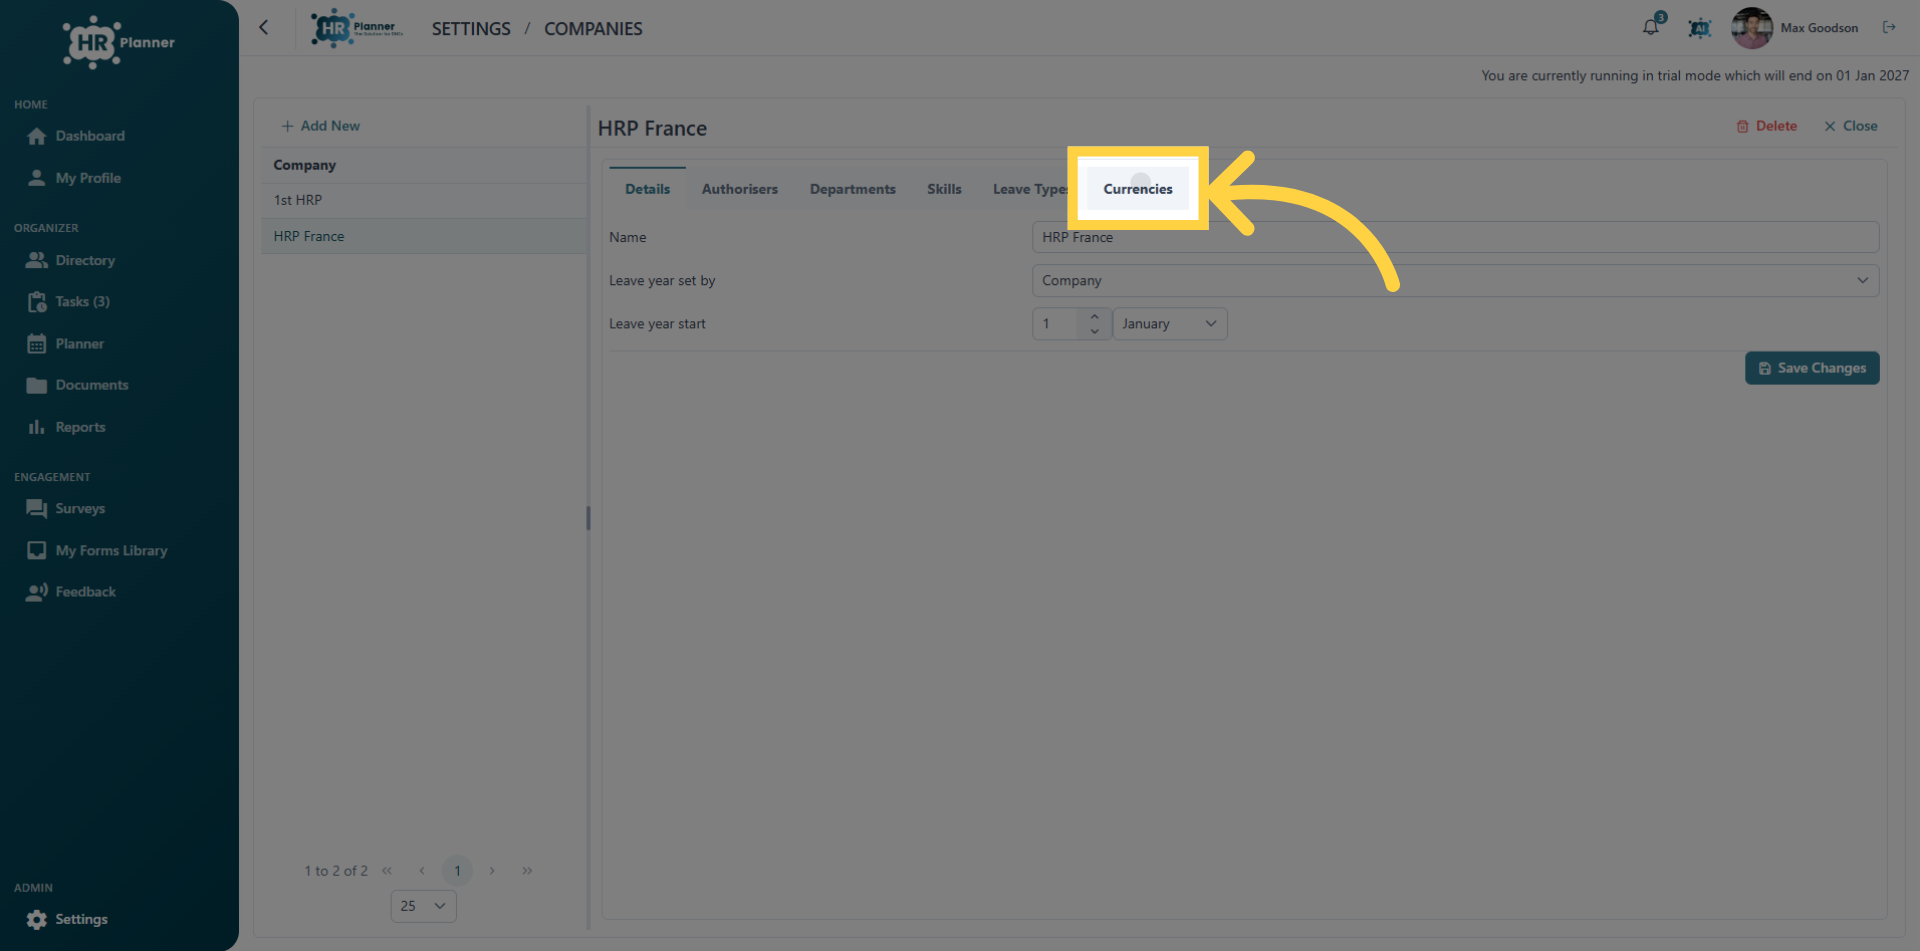
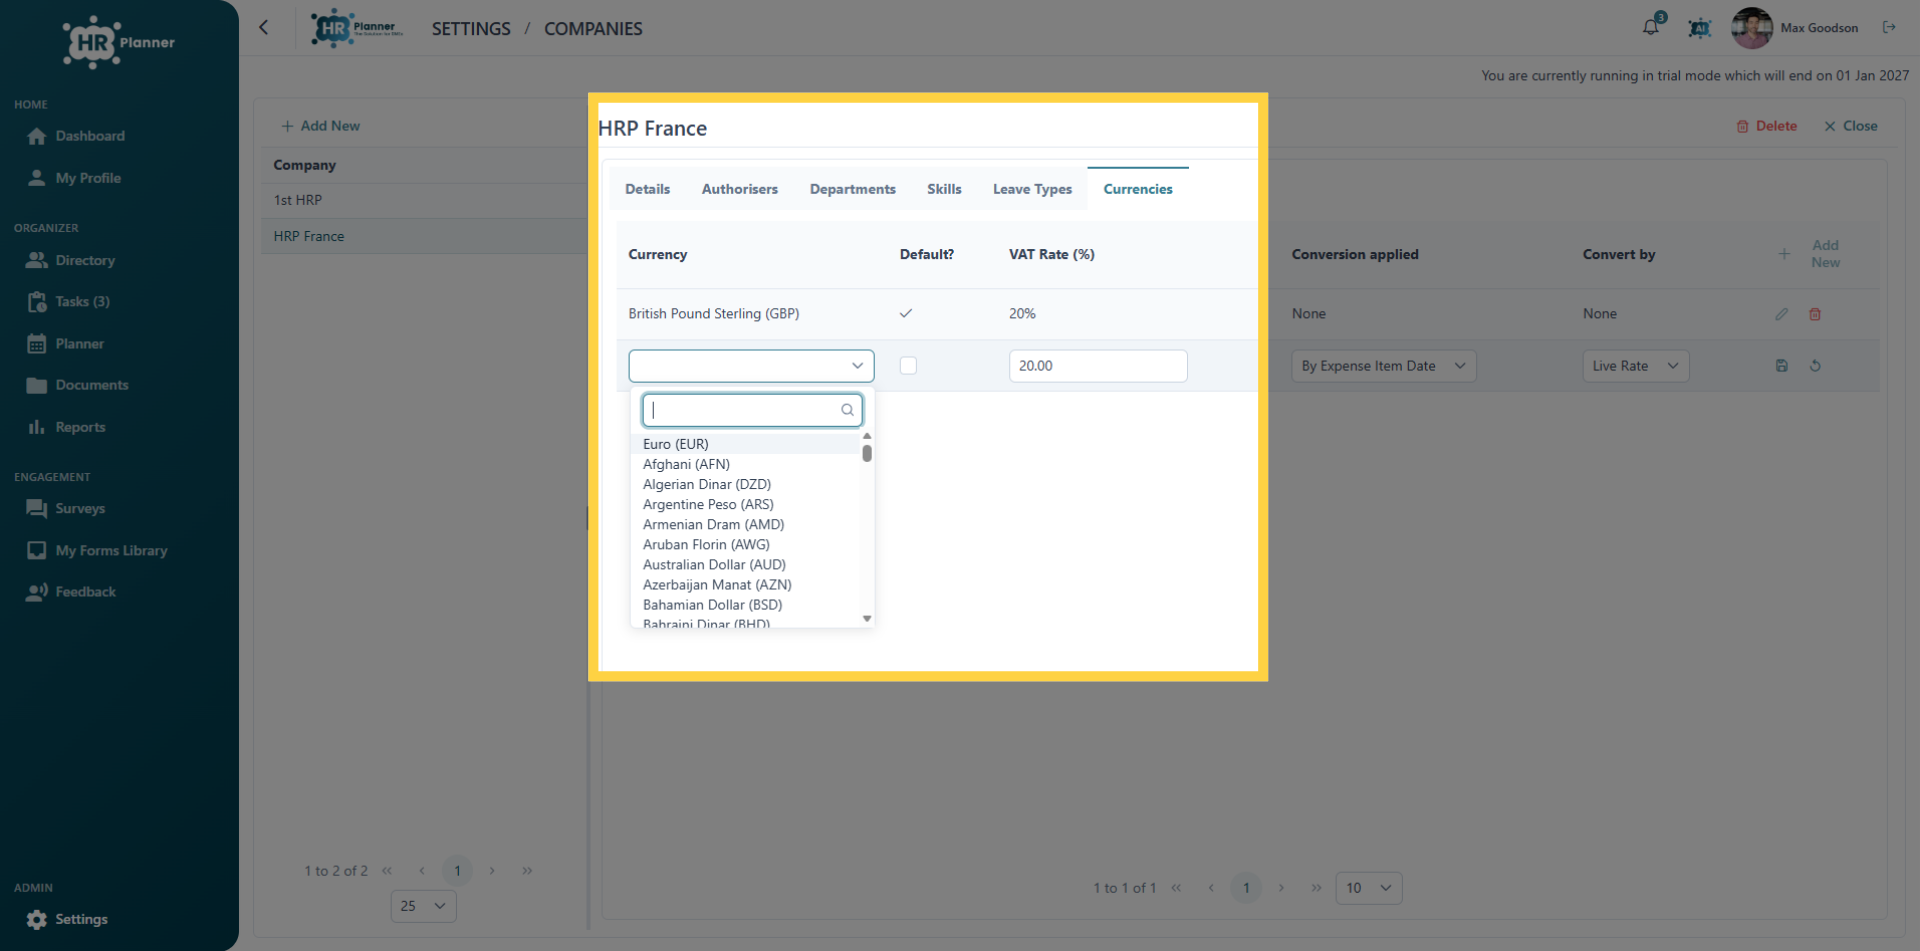
18. Select the default currency
Choose the currency to add to the company profile.
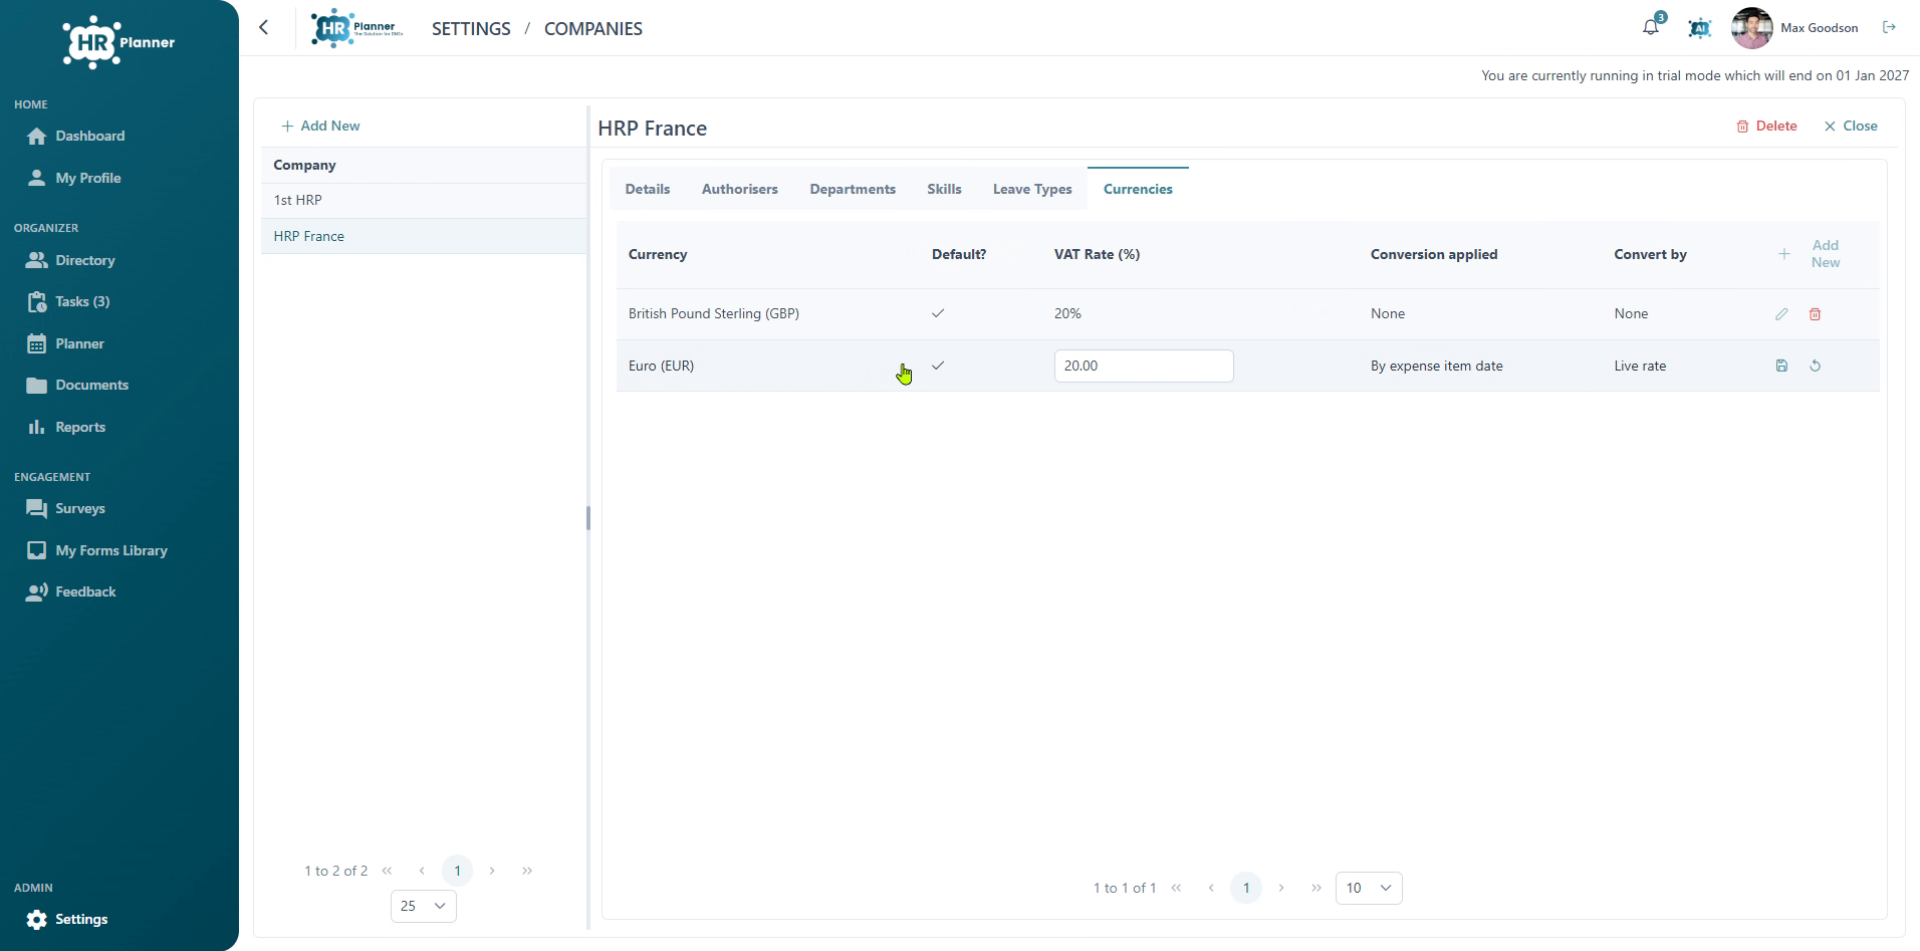
19. Set as Default
and set it to be the default option for this company.
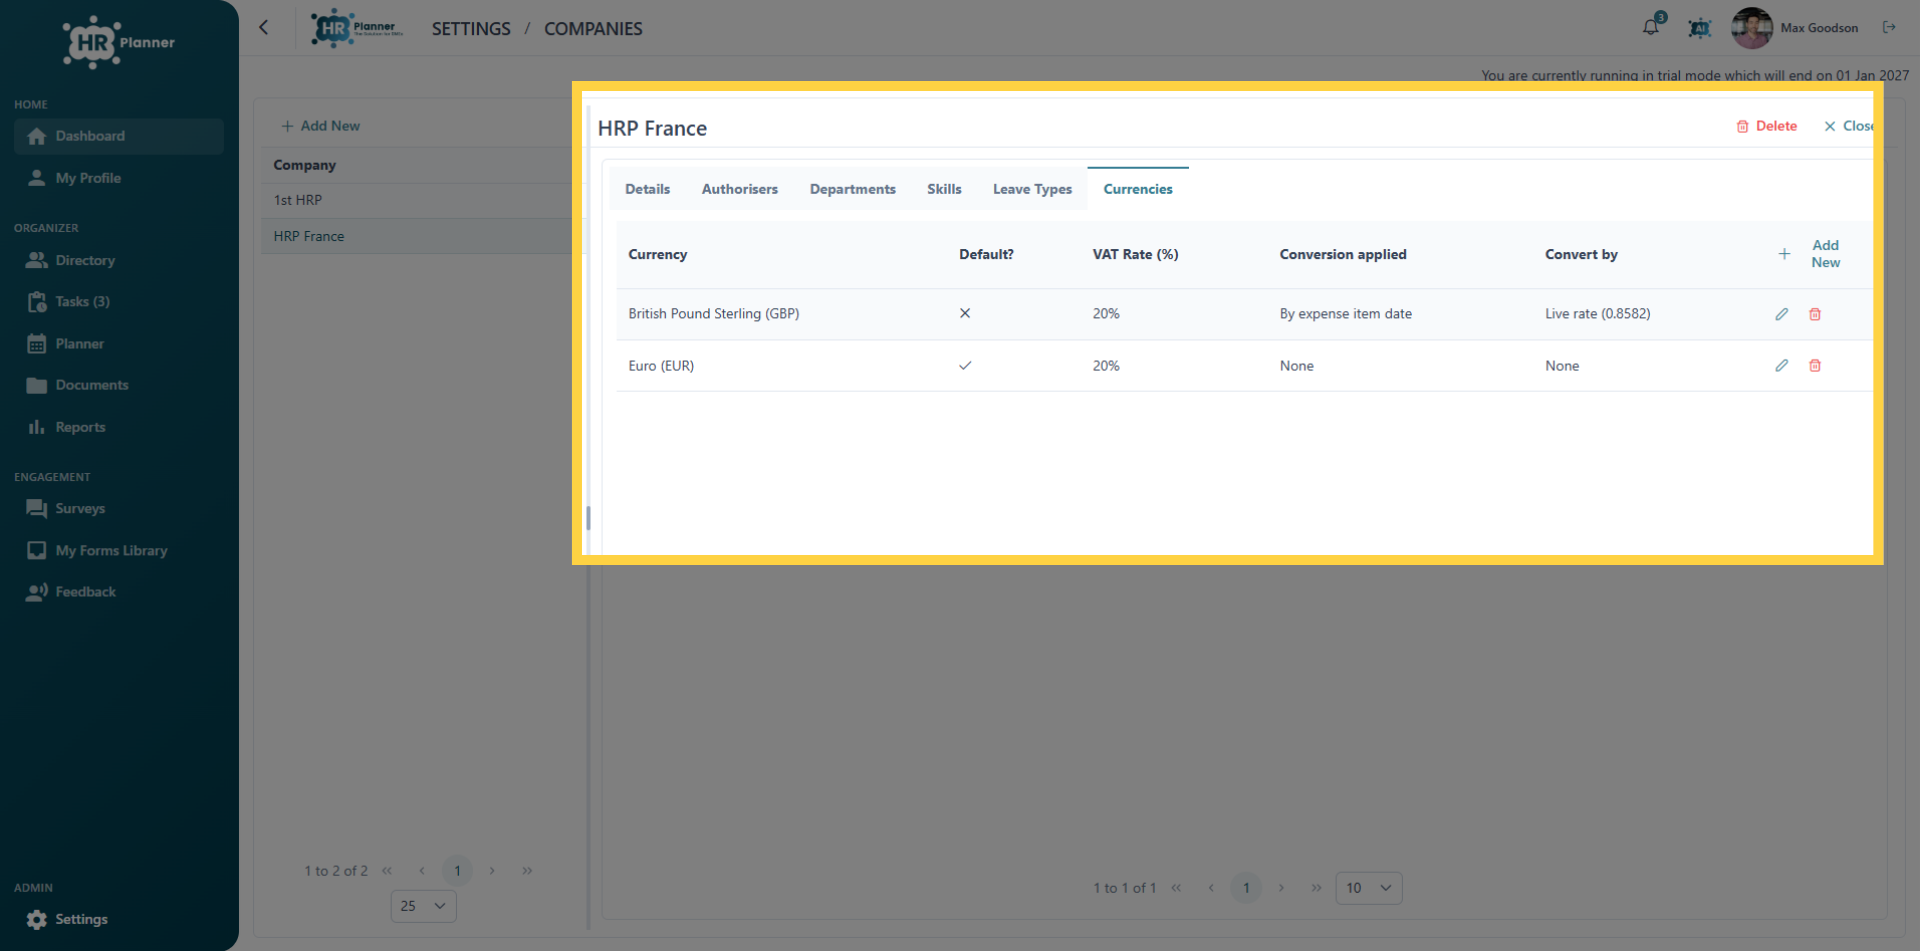
20. Return to Dashboard
You can add multiple currencies to this additional company too.
This tutorial guided you through managing company currencies, and applying them to employee expenses and salaries.