
This guide will walk you through the types of attributes available in HR Planner.
1. Introduction
There are many default attributes and you can add as many custom ones as you need.
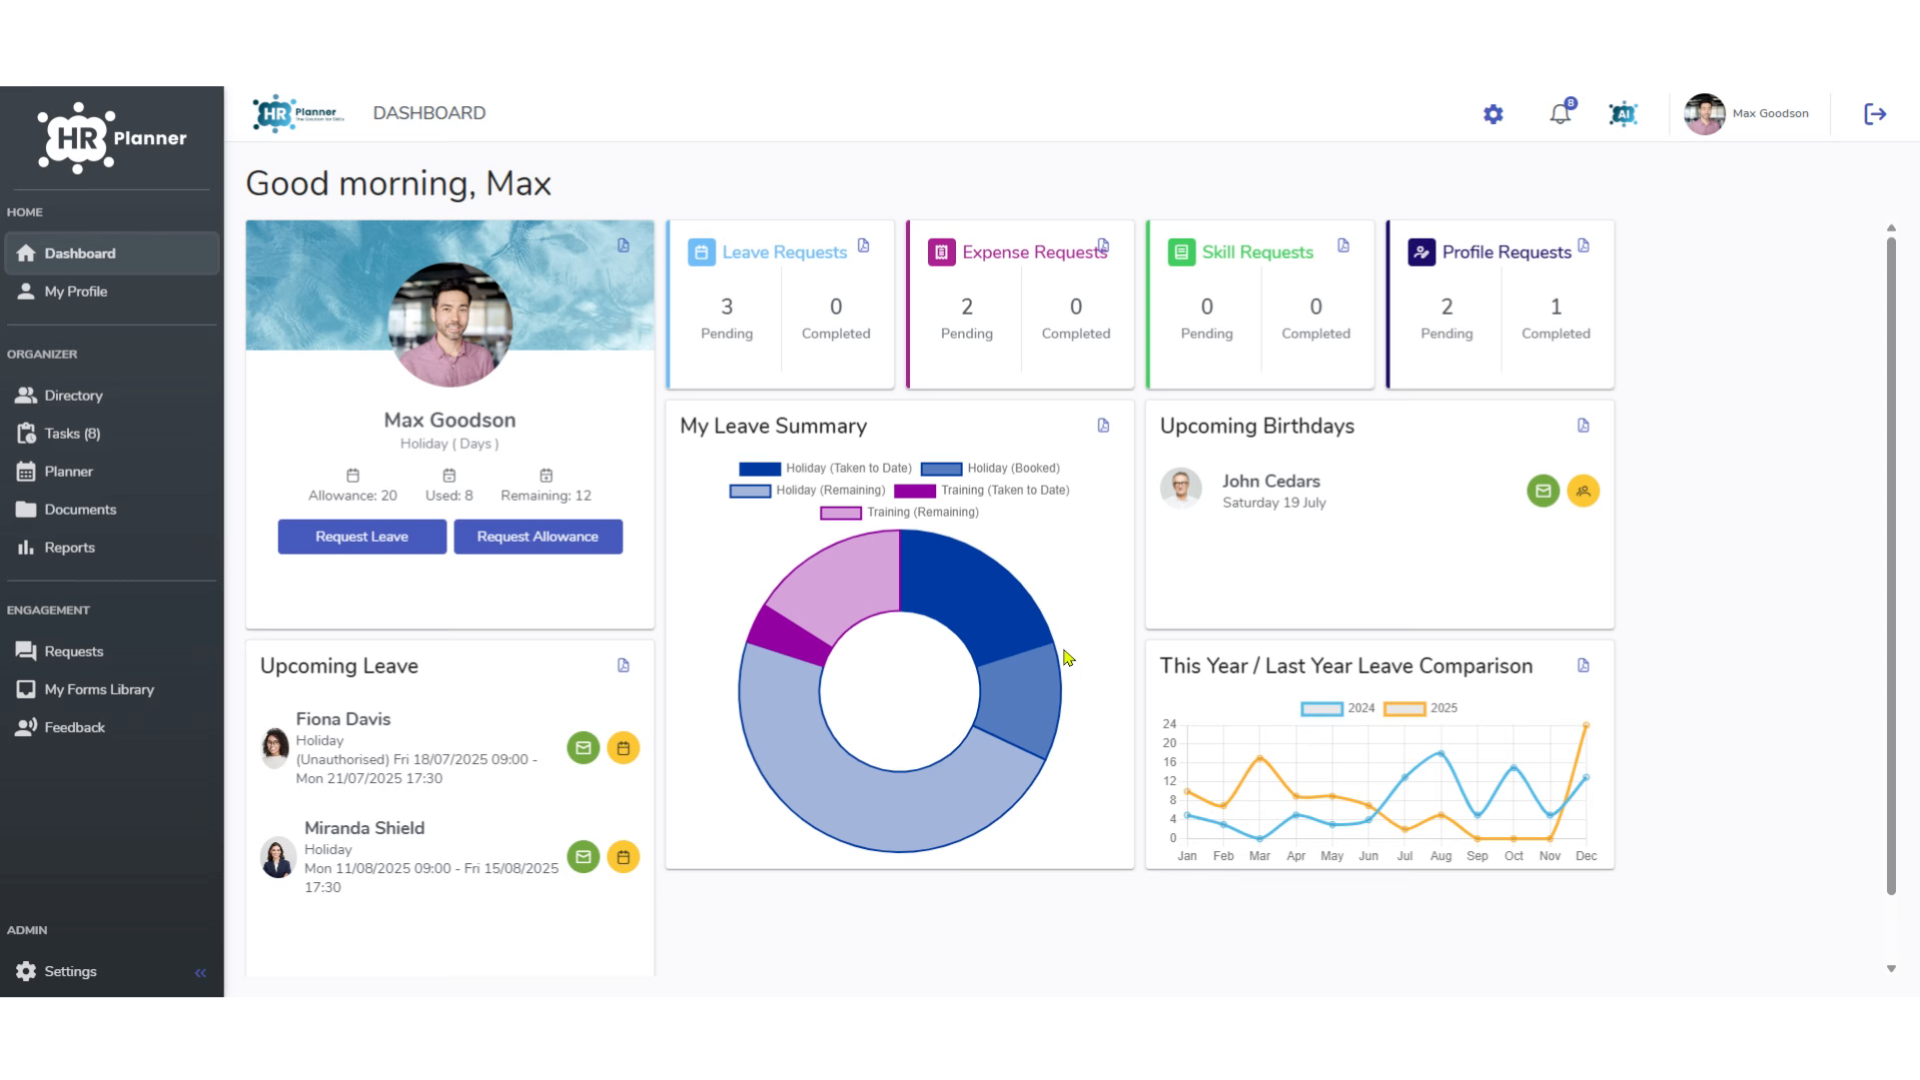
2. Click “Settings”
Access the settings menu.
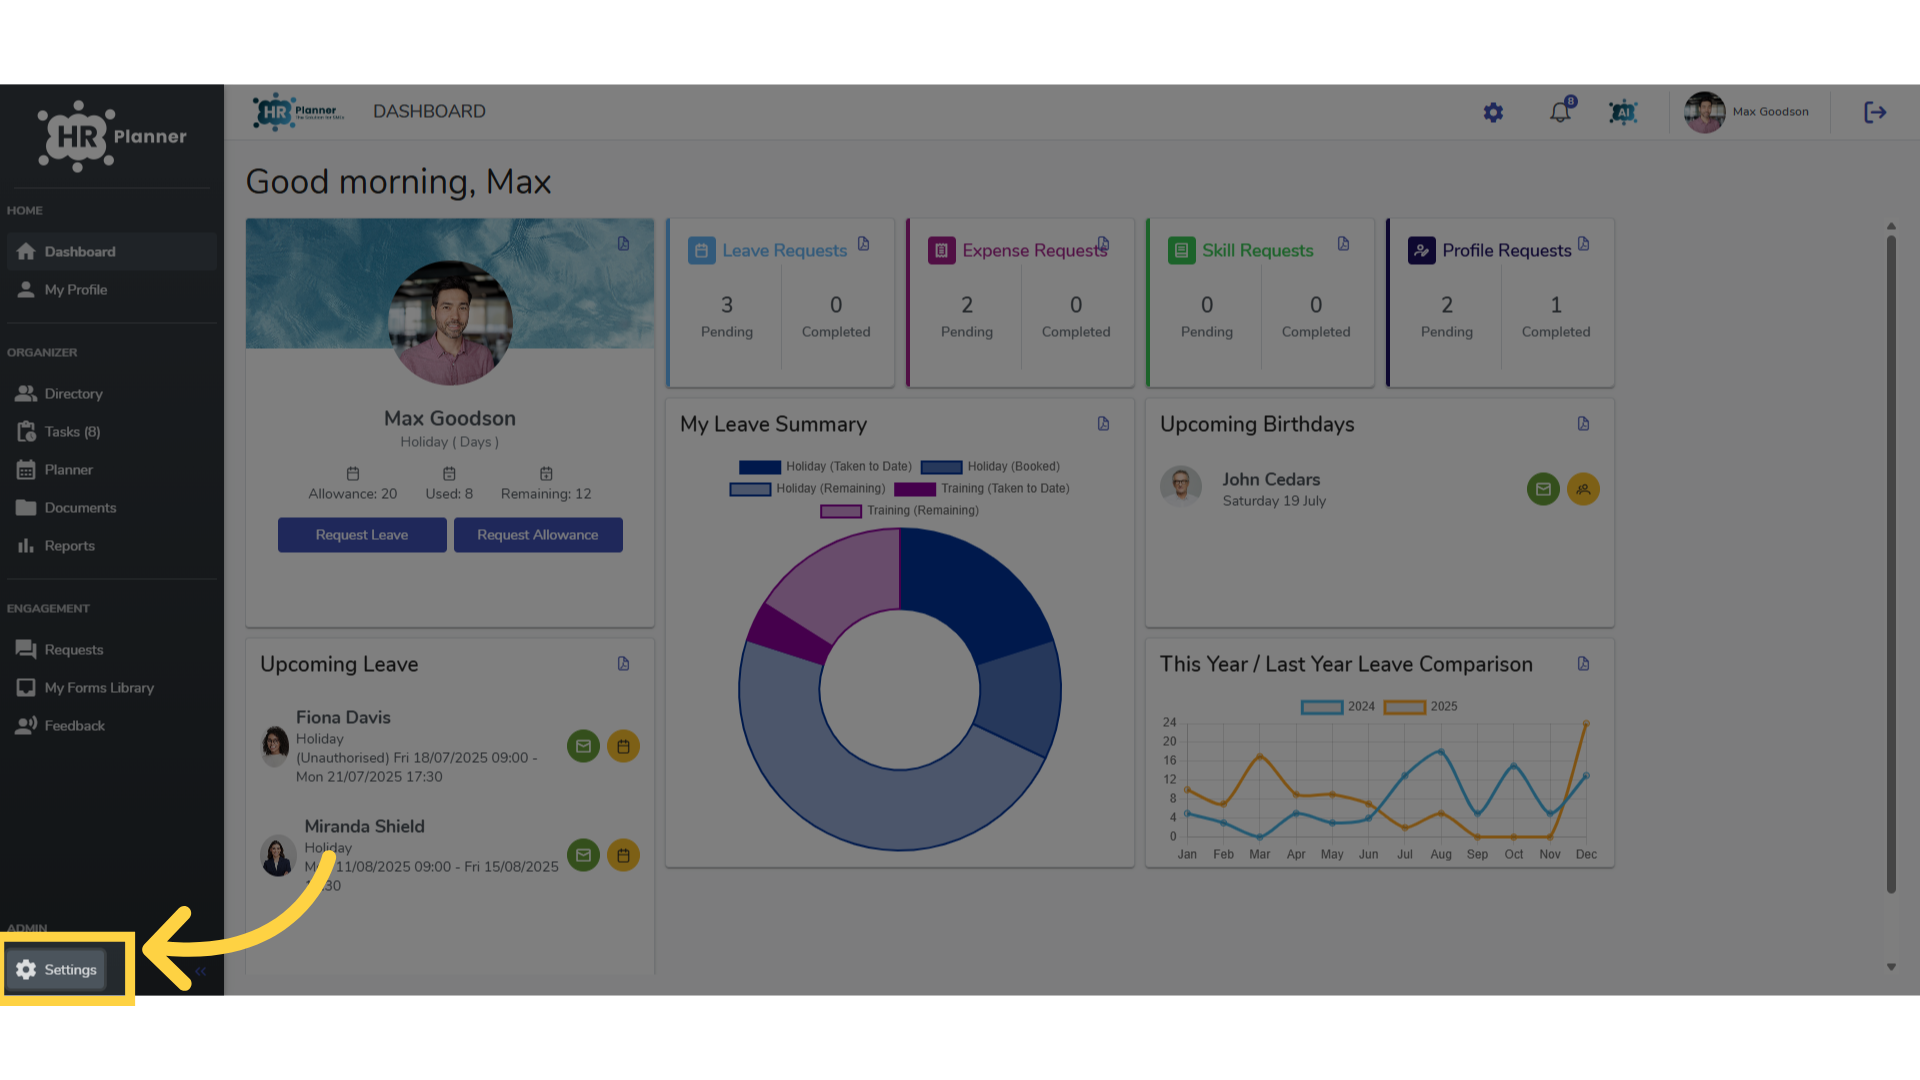
3. Click Attributes
And select the attributes section
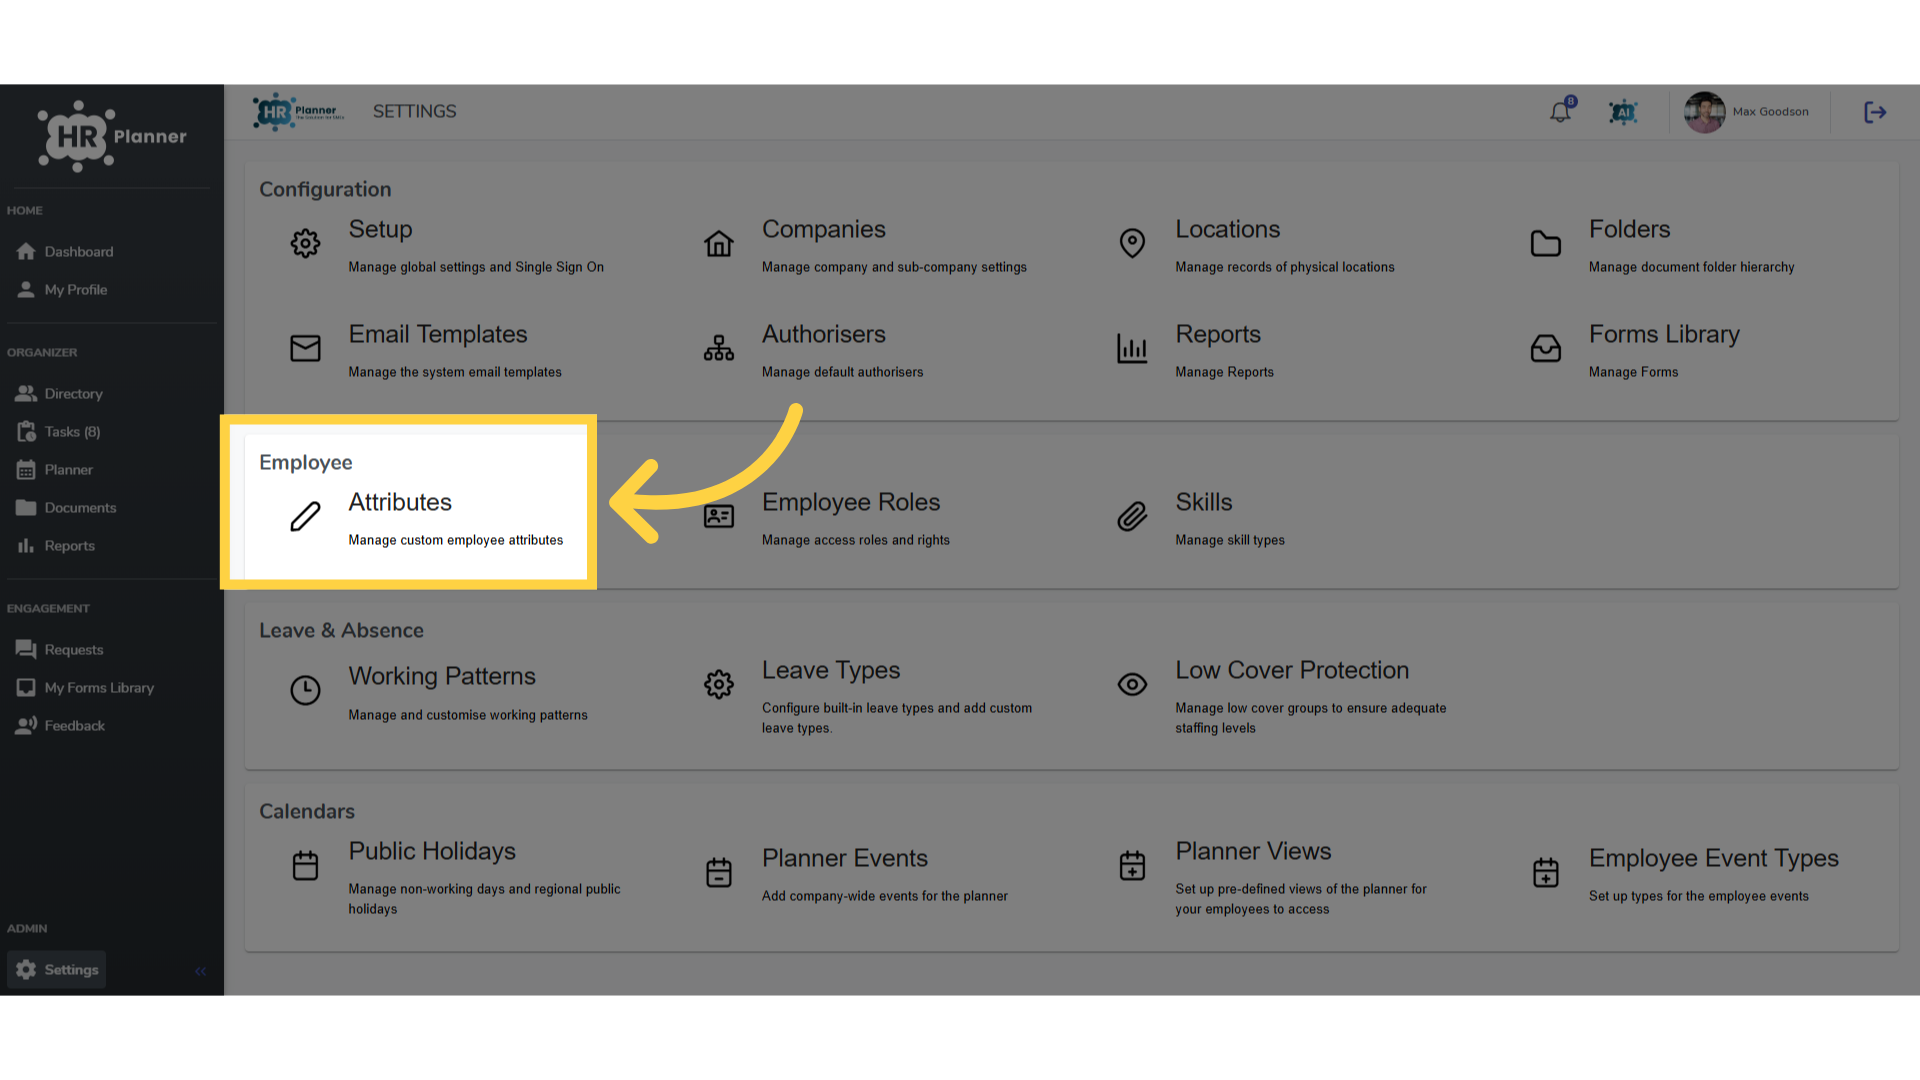
4. Select a Section
Select a section to add a new attribute to.
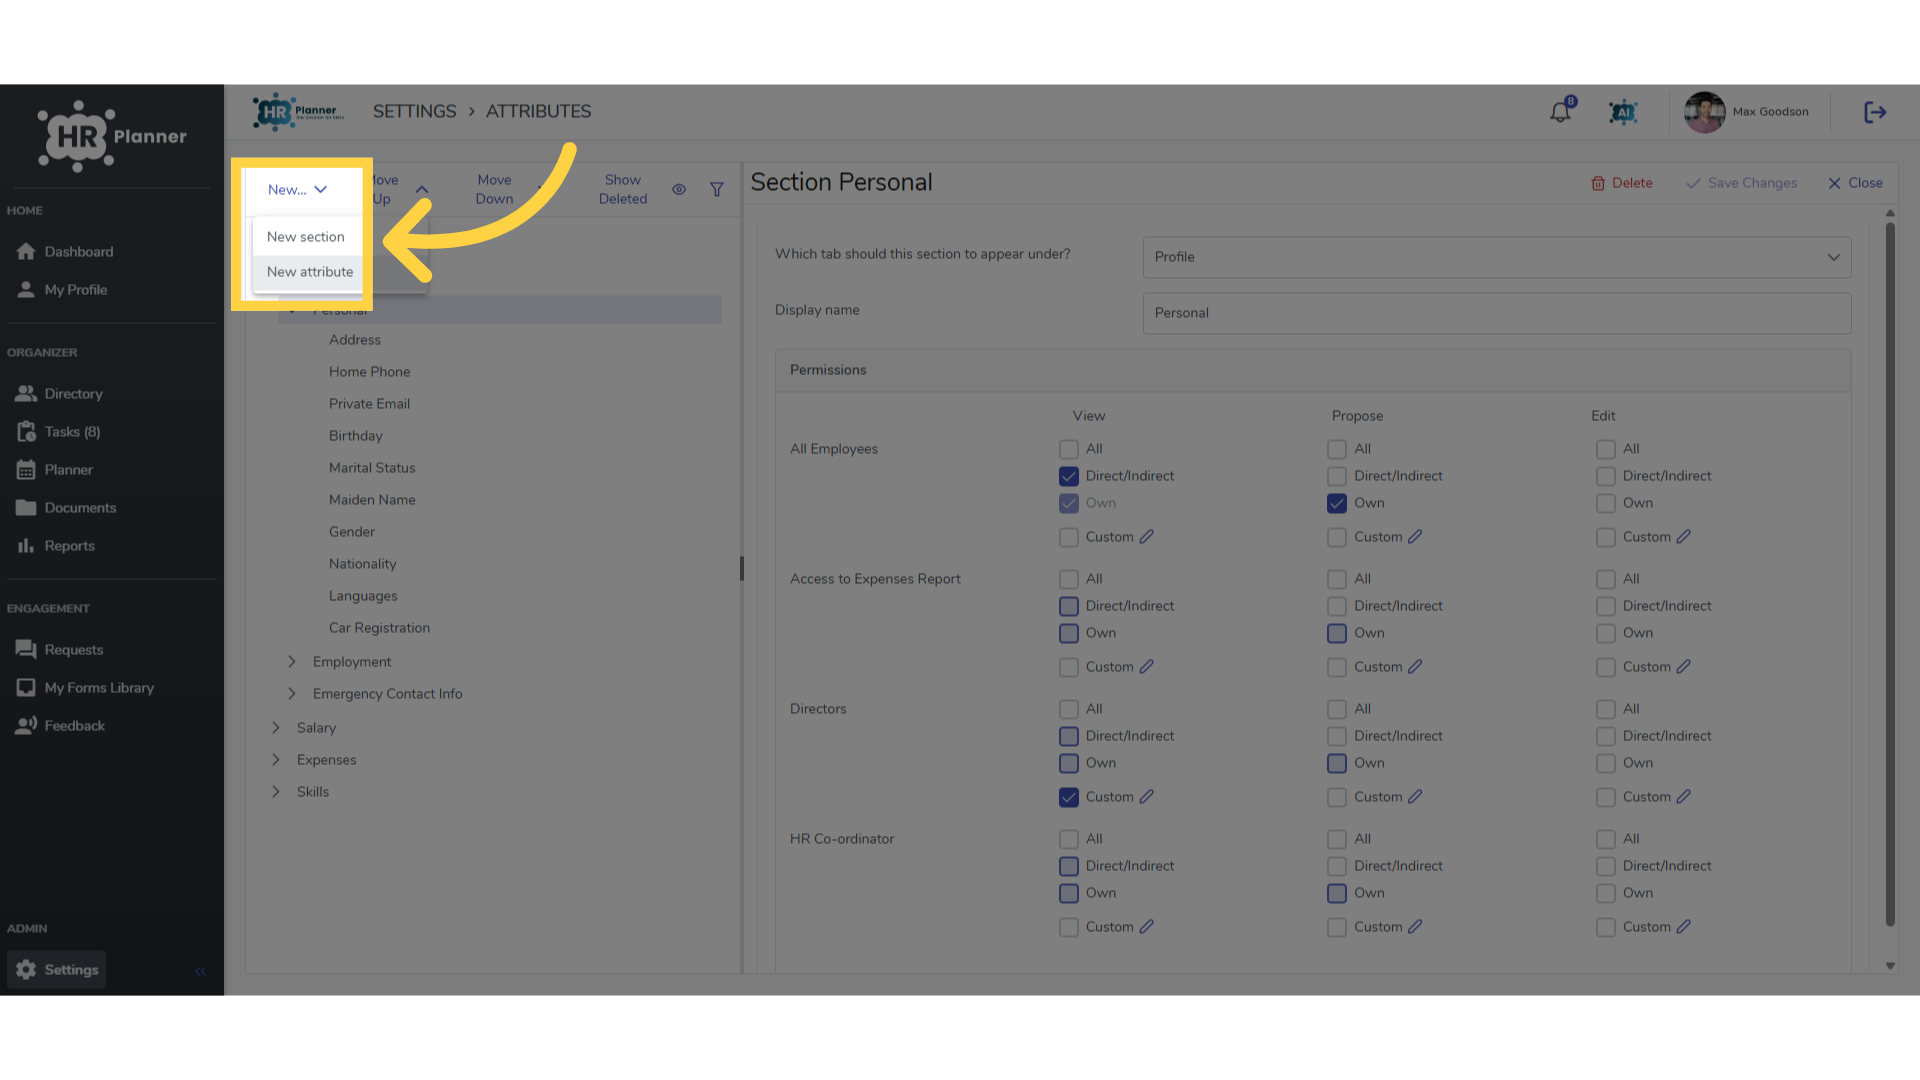
5. Click “New attribute”
Create a new attribute.
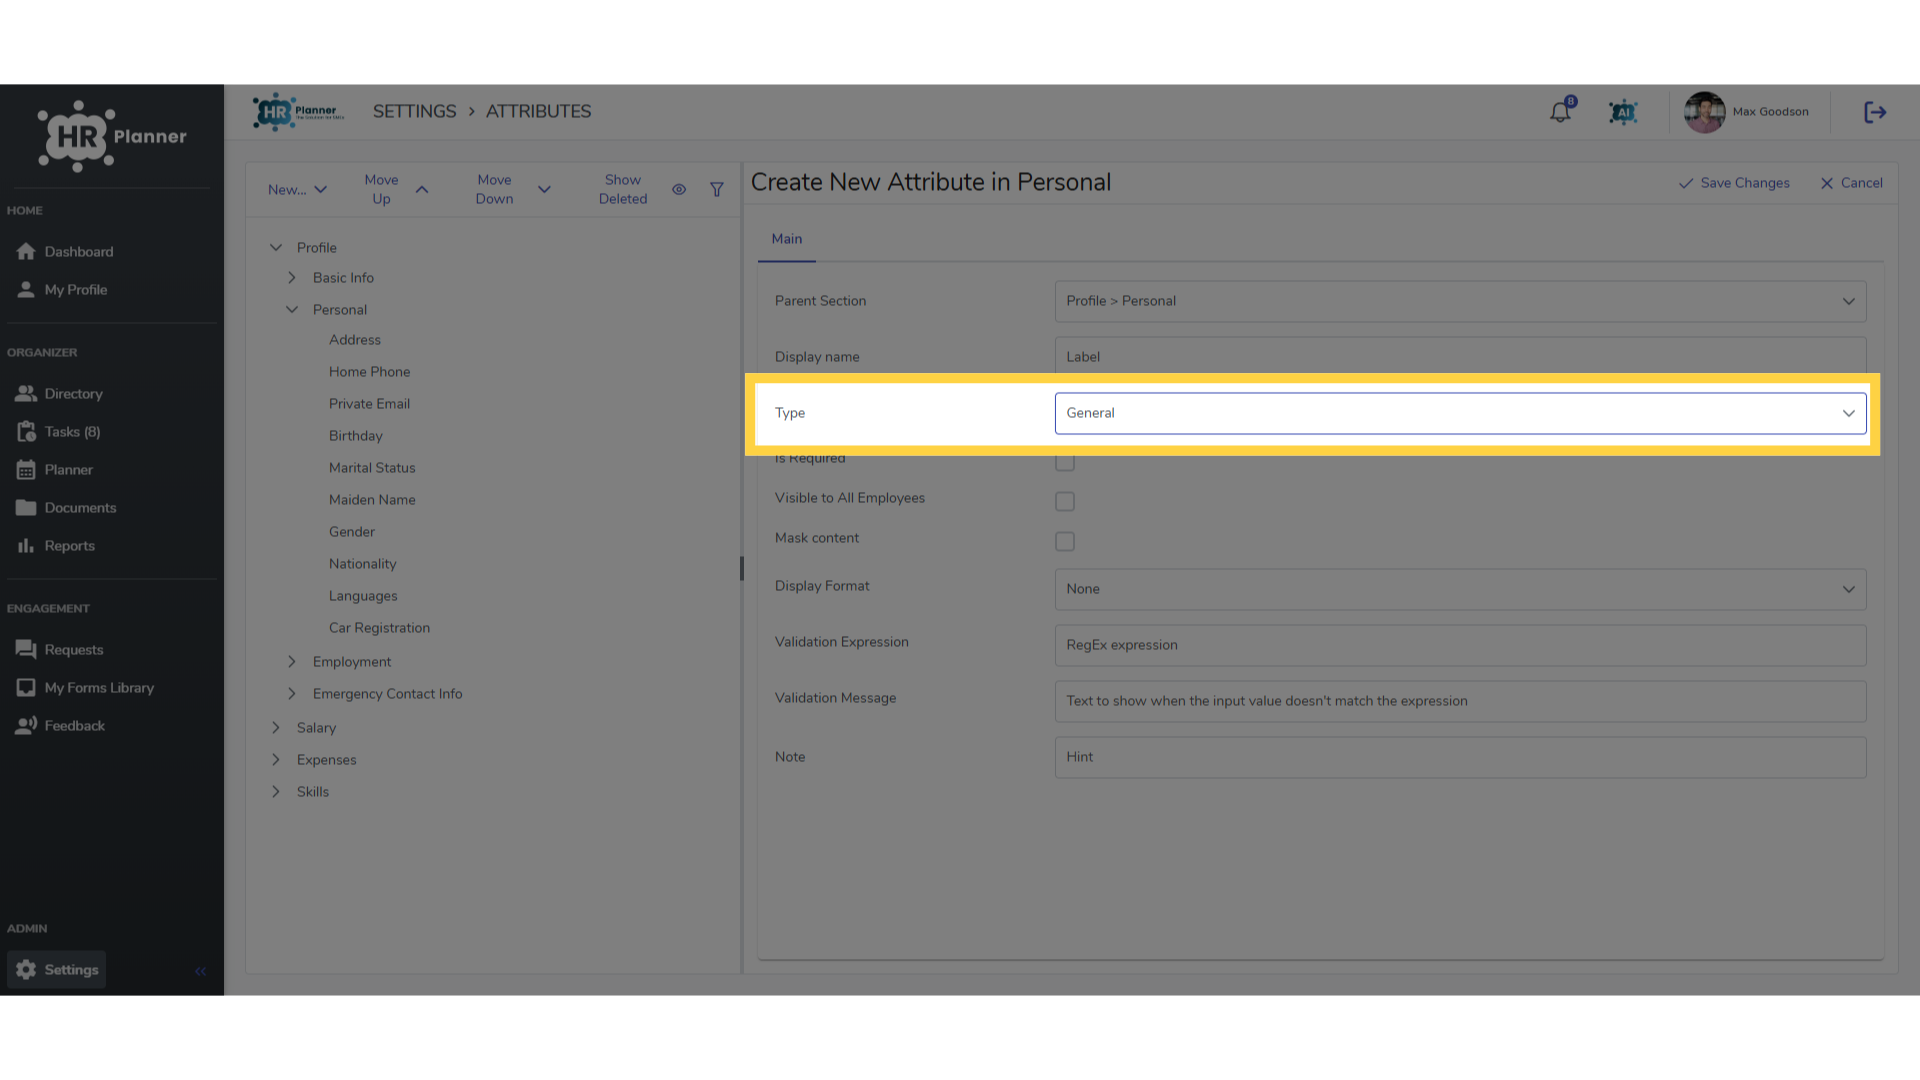
6. General Text Attributes
For simple text data, such as an employees name use the General type of attribute.
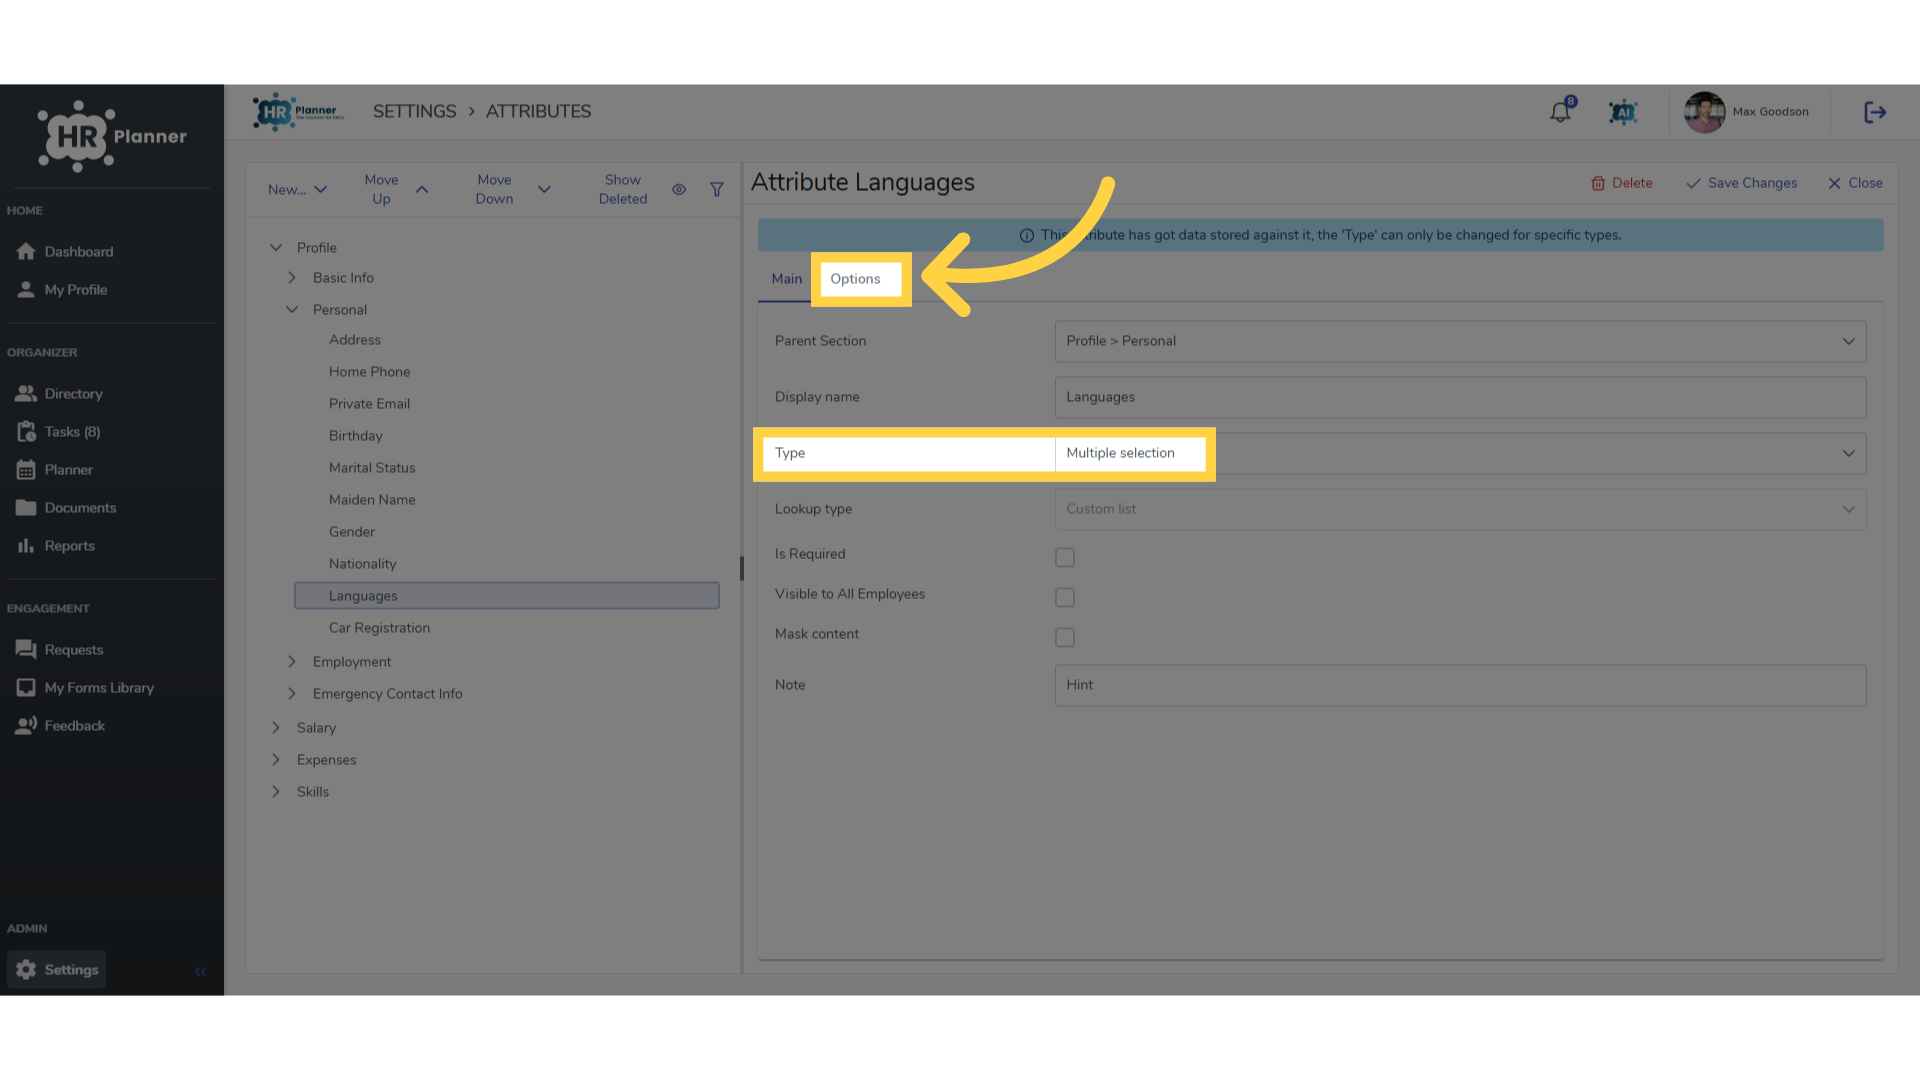
7. Multi Selection Attributes
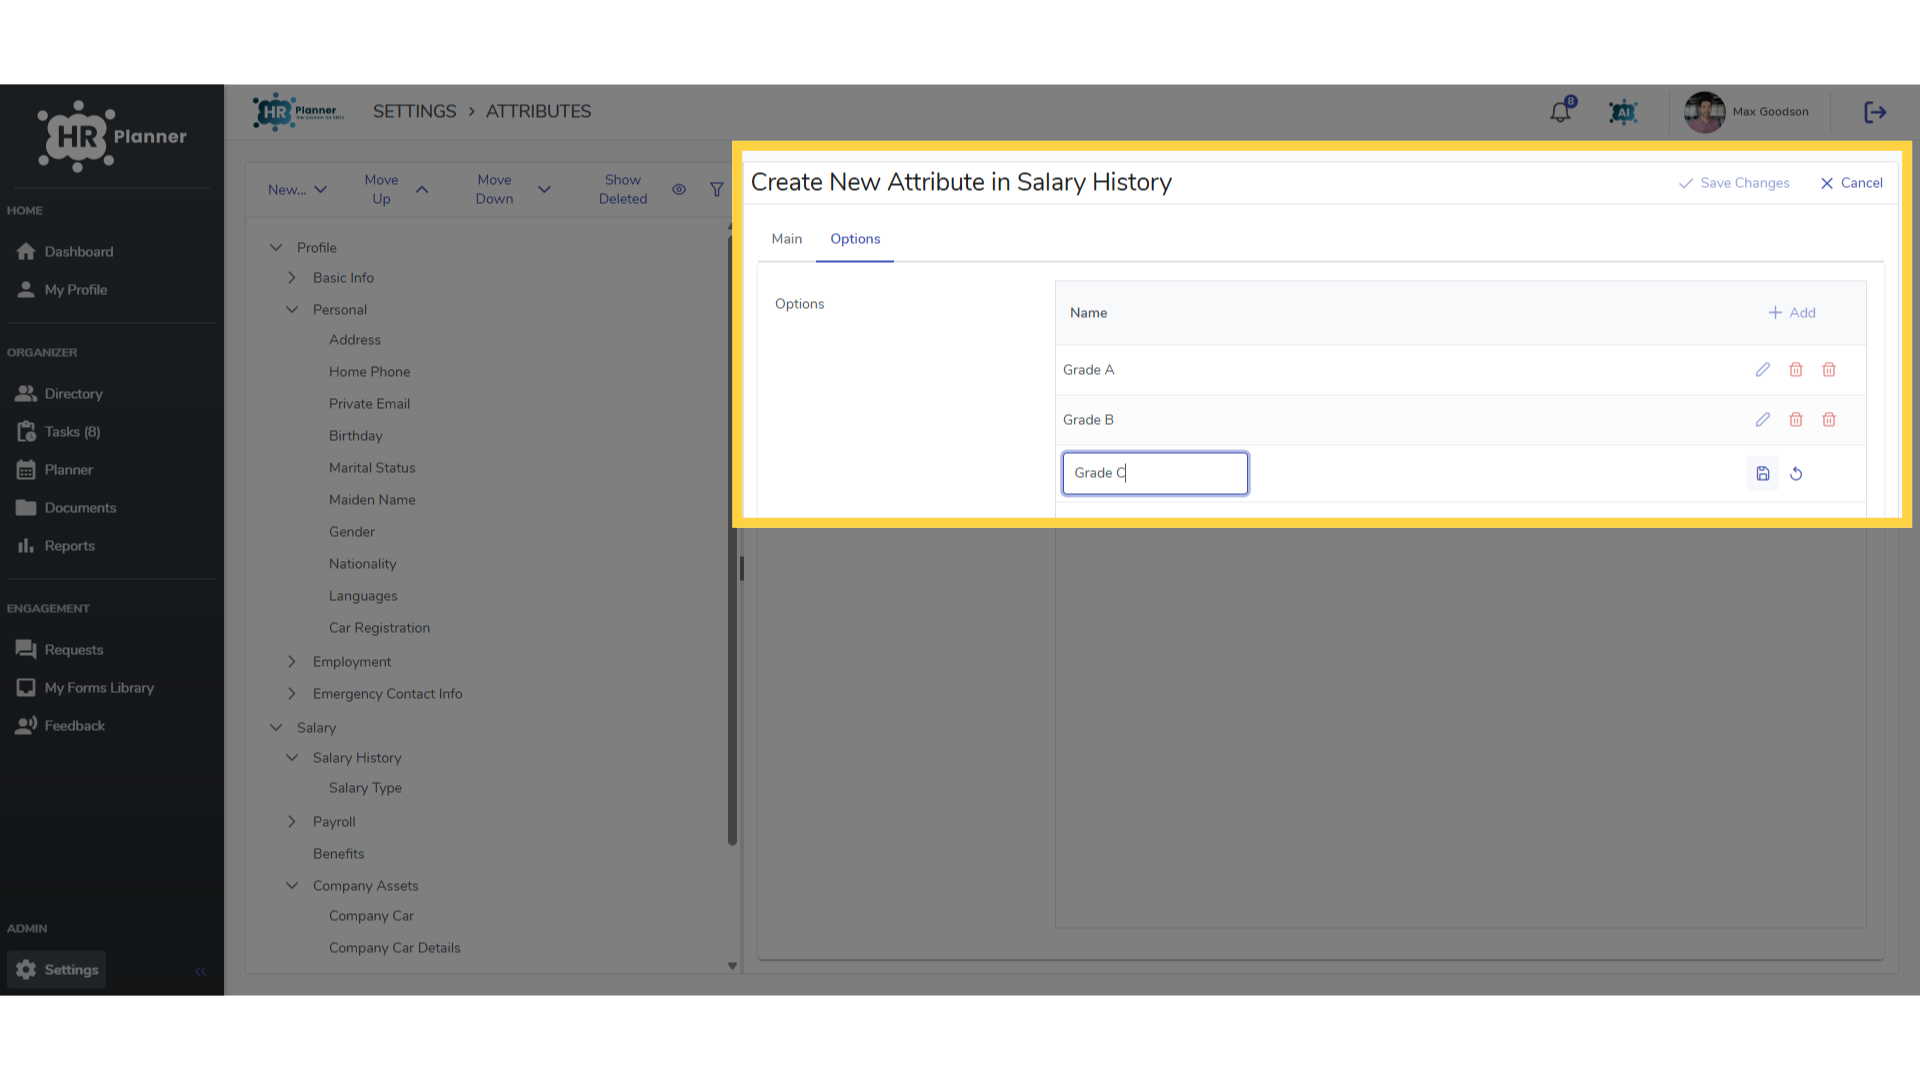
You may want to add more than one piece of data to a field. The Multi Selection Attribute type allows this. Click the Options tab to create a list of choices.
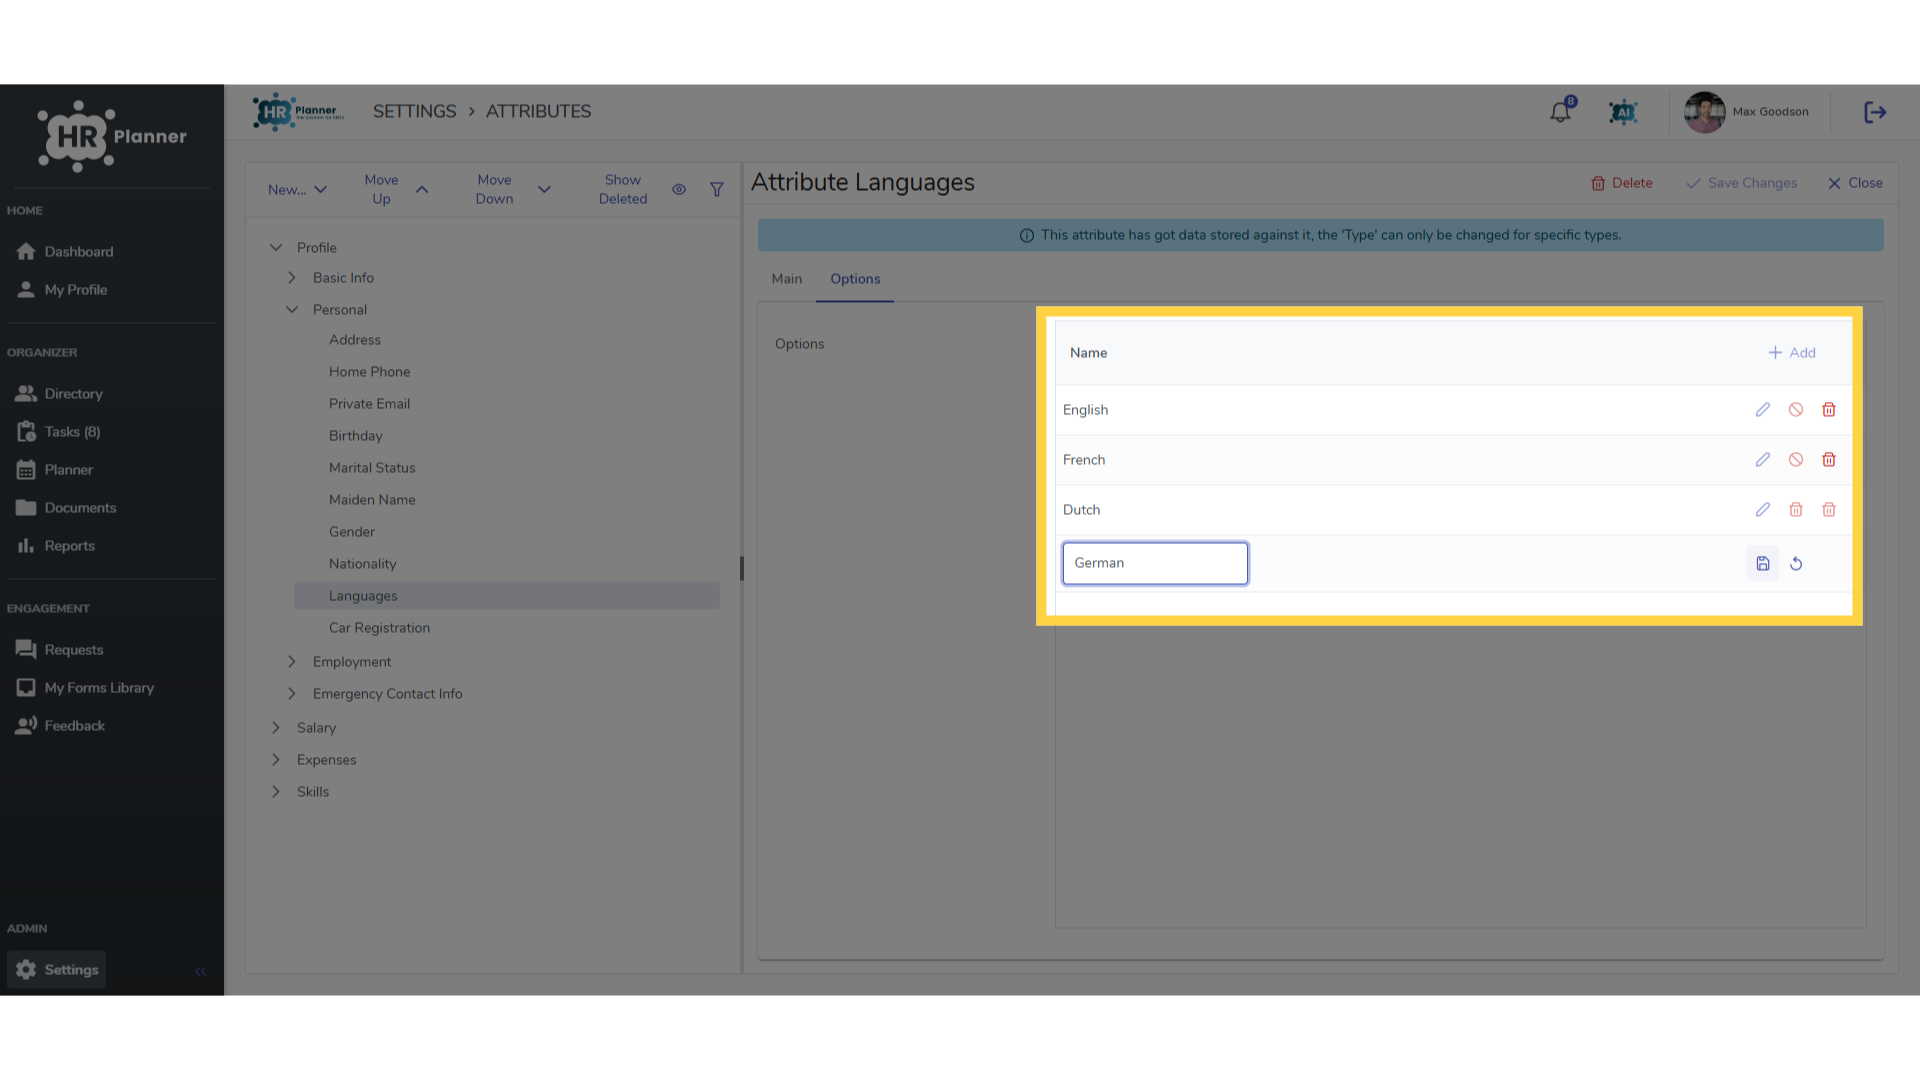
8. Adding Multi Selection Options
This would be a good option to record the languages an employee speaks.
9. Single Selection Attributes
Single selection attribute types provide a choice although of course restricted to just one data entry.
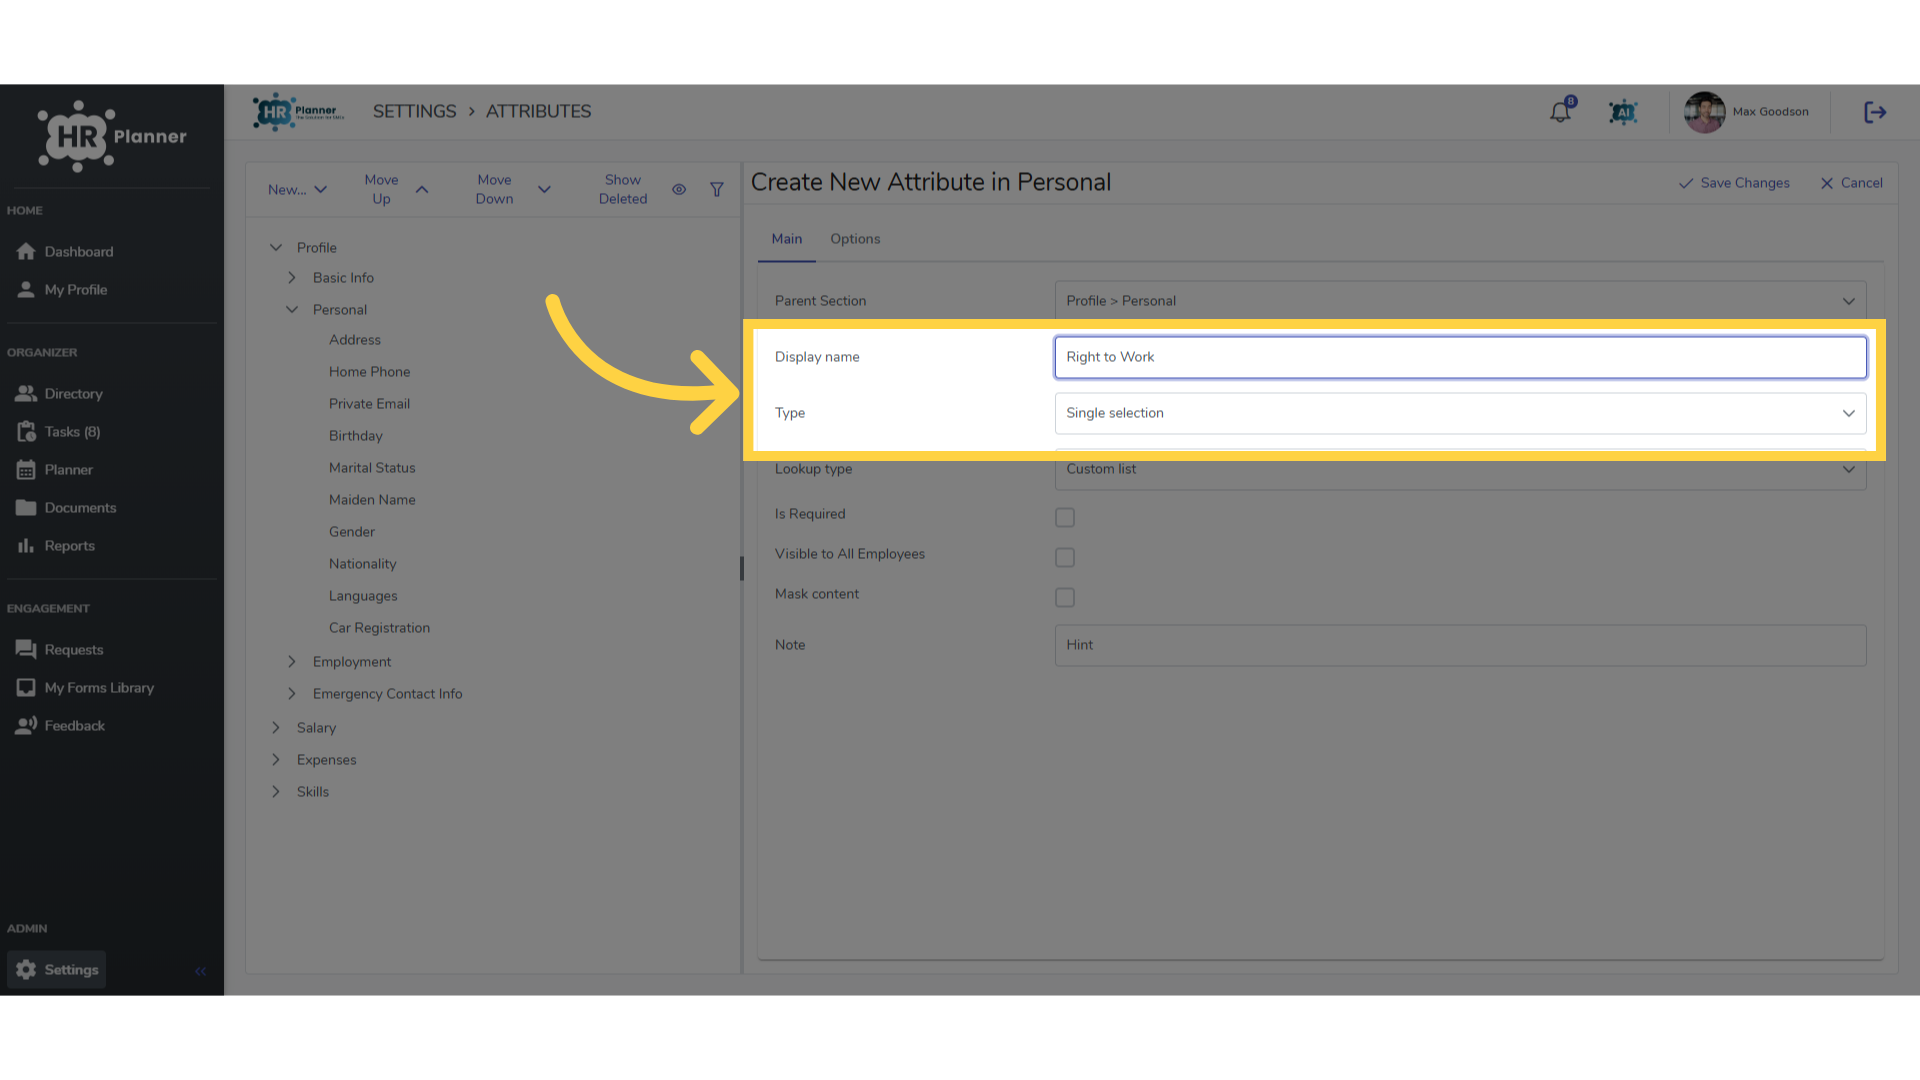
10. Yes / No
A simple Yes No choice could be used to record if an employee has the right to work in the UK
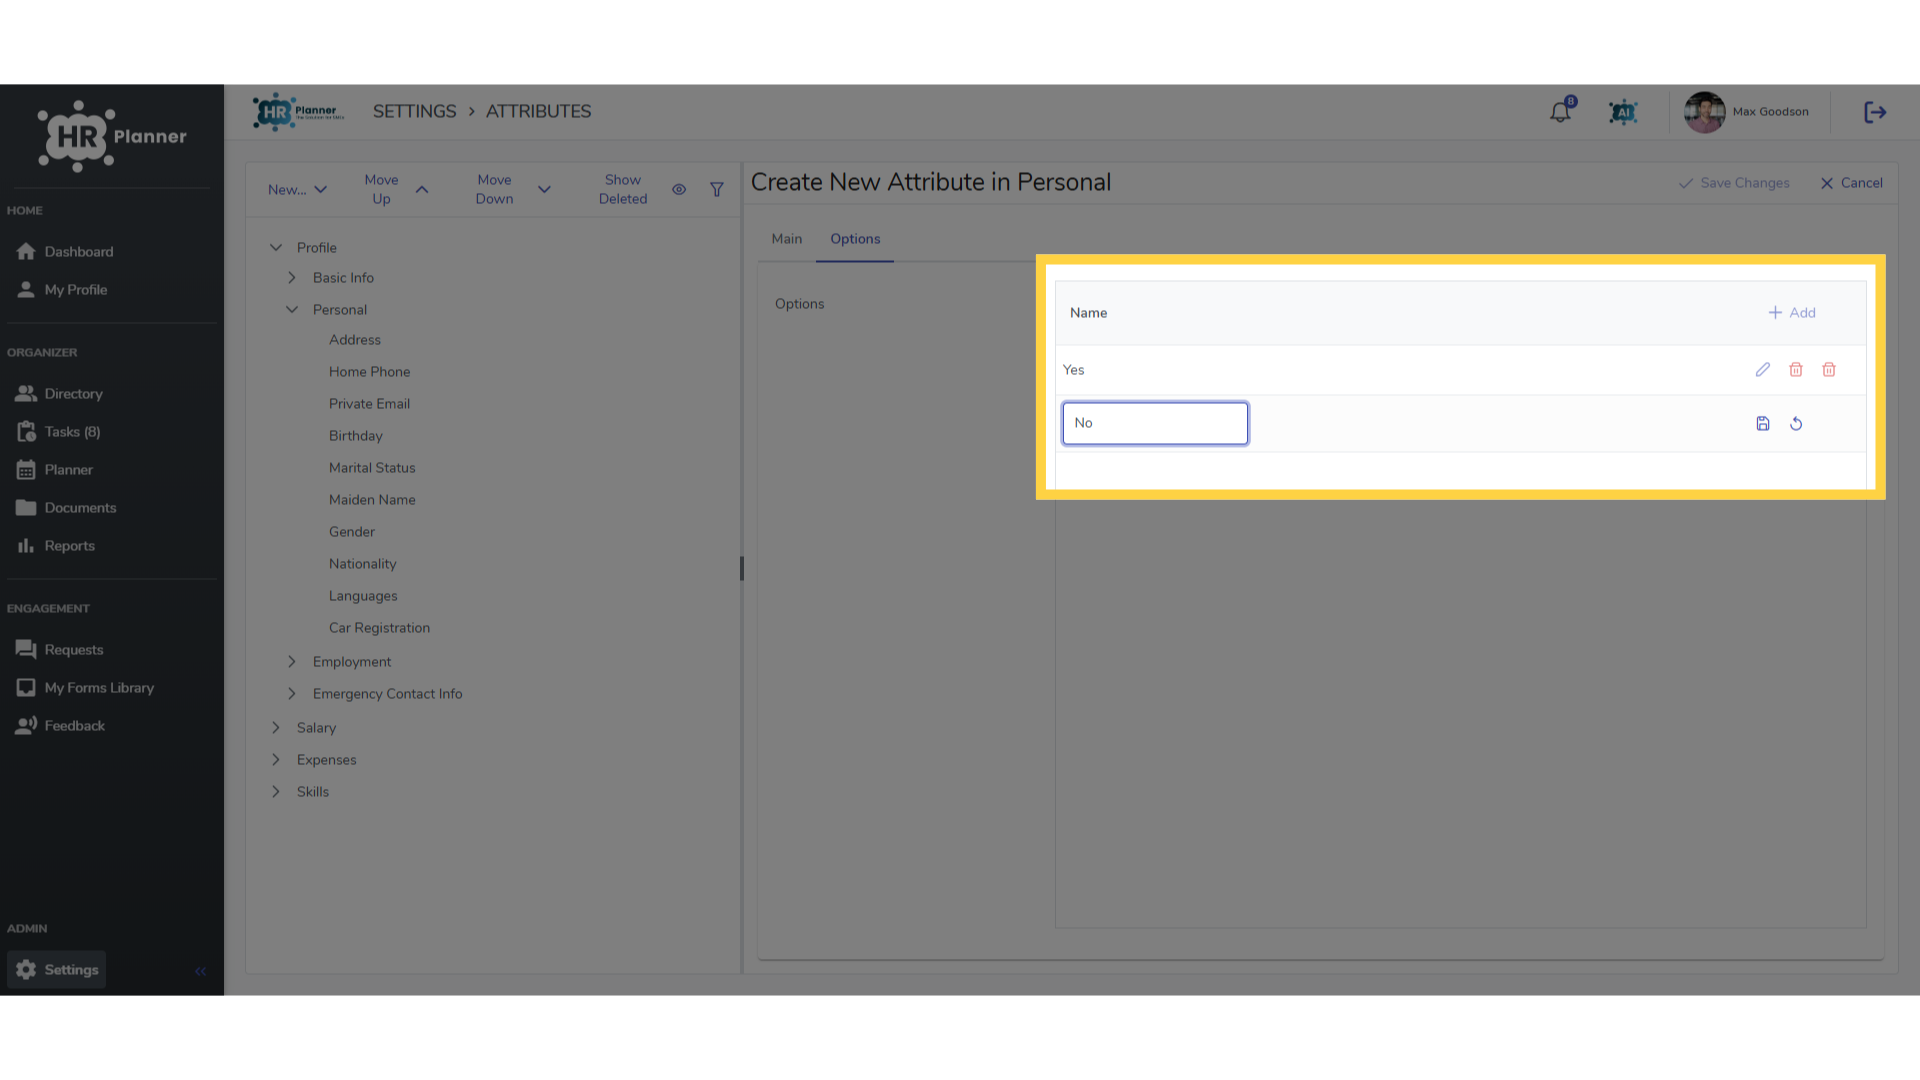
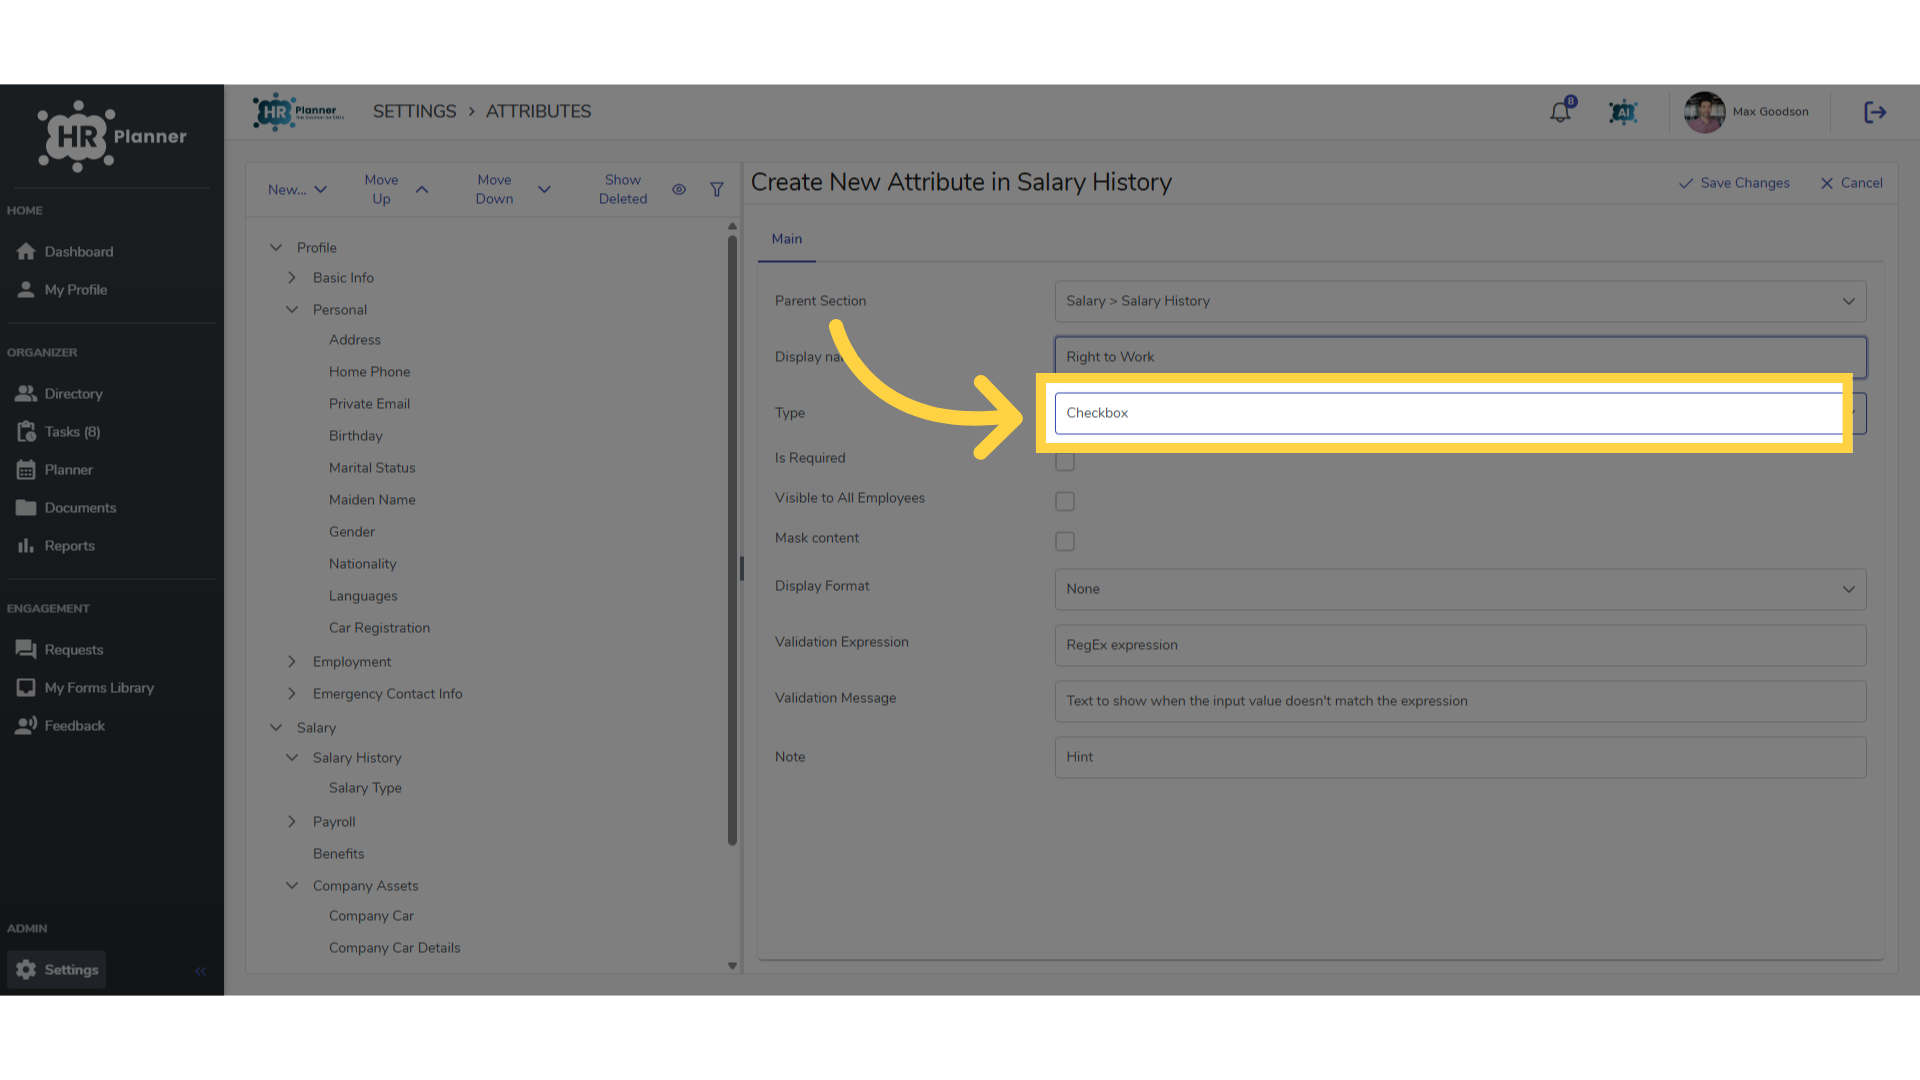
11. Checkbox
Or alternatively, the Checkbox option could be used too.
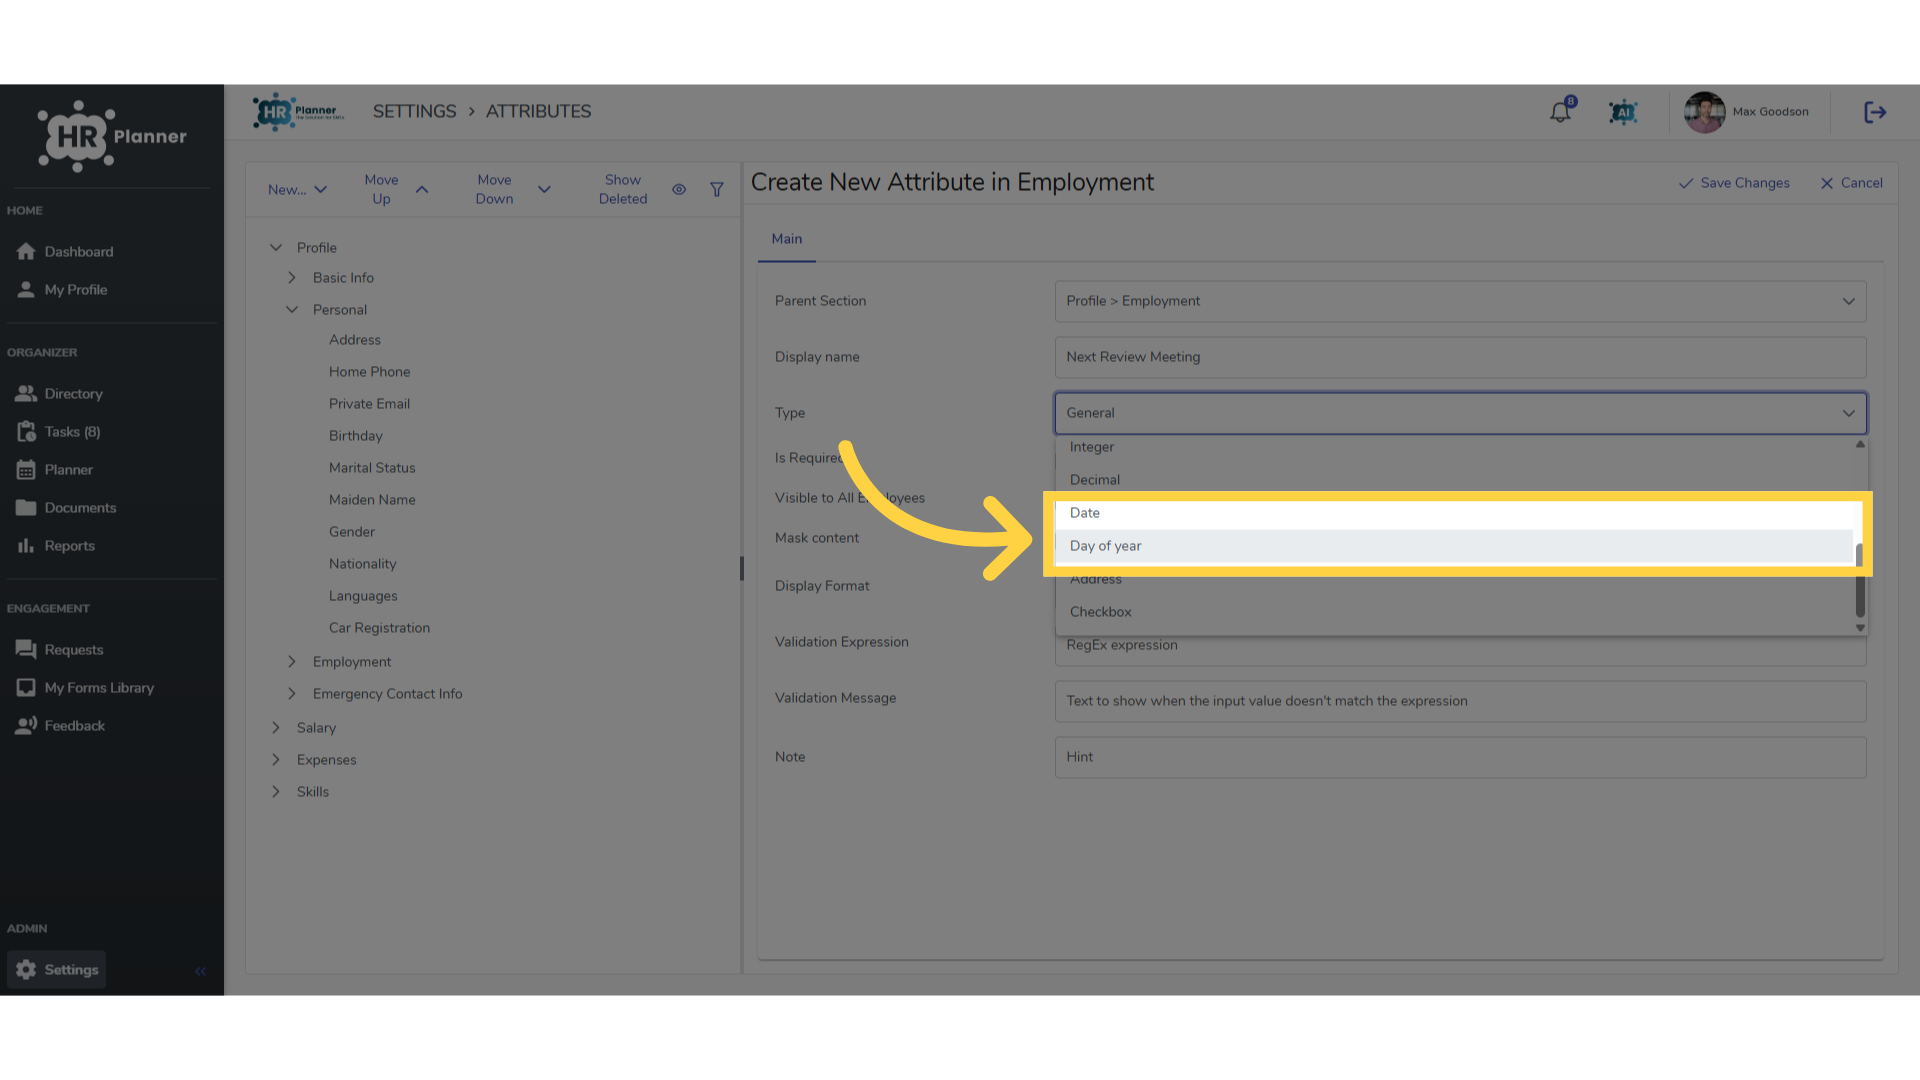
12. Date Attributes
Date fields are also available. Either a date for the current year or repeating each year.
13. Alerts and Notifications
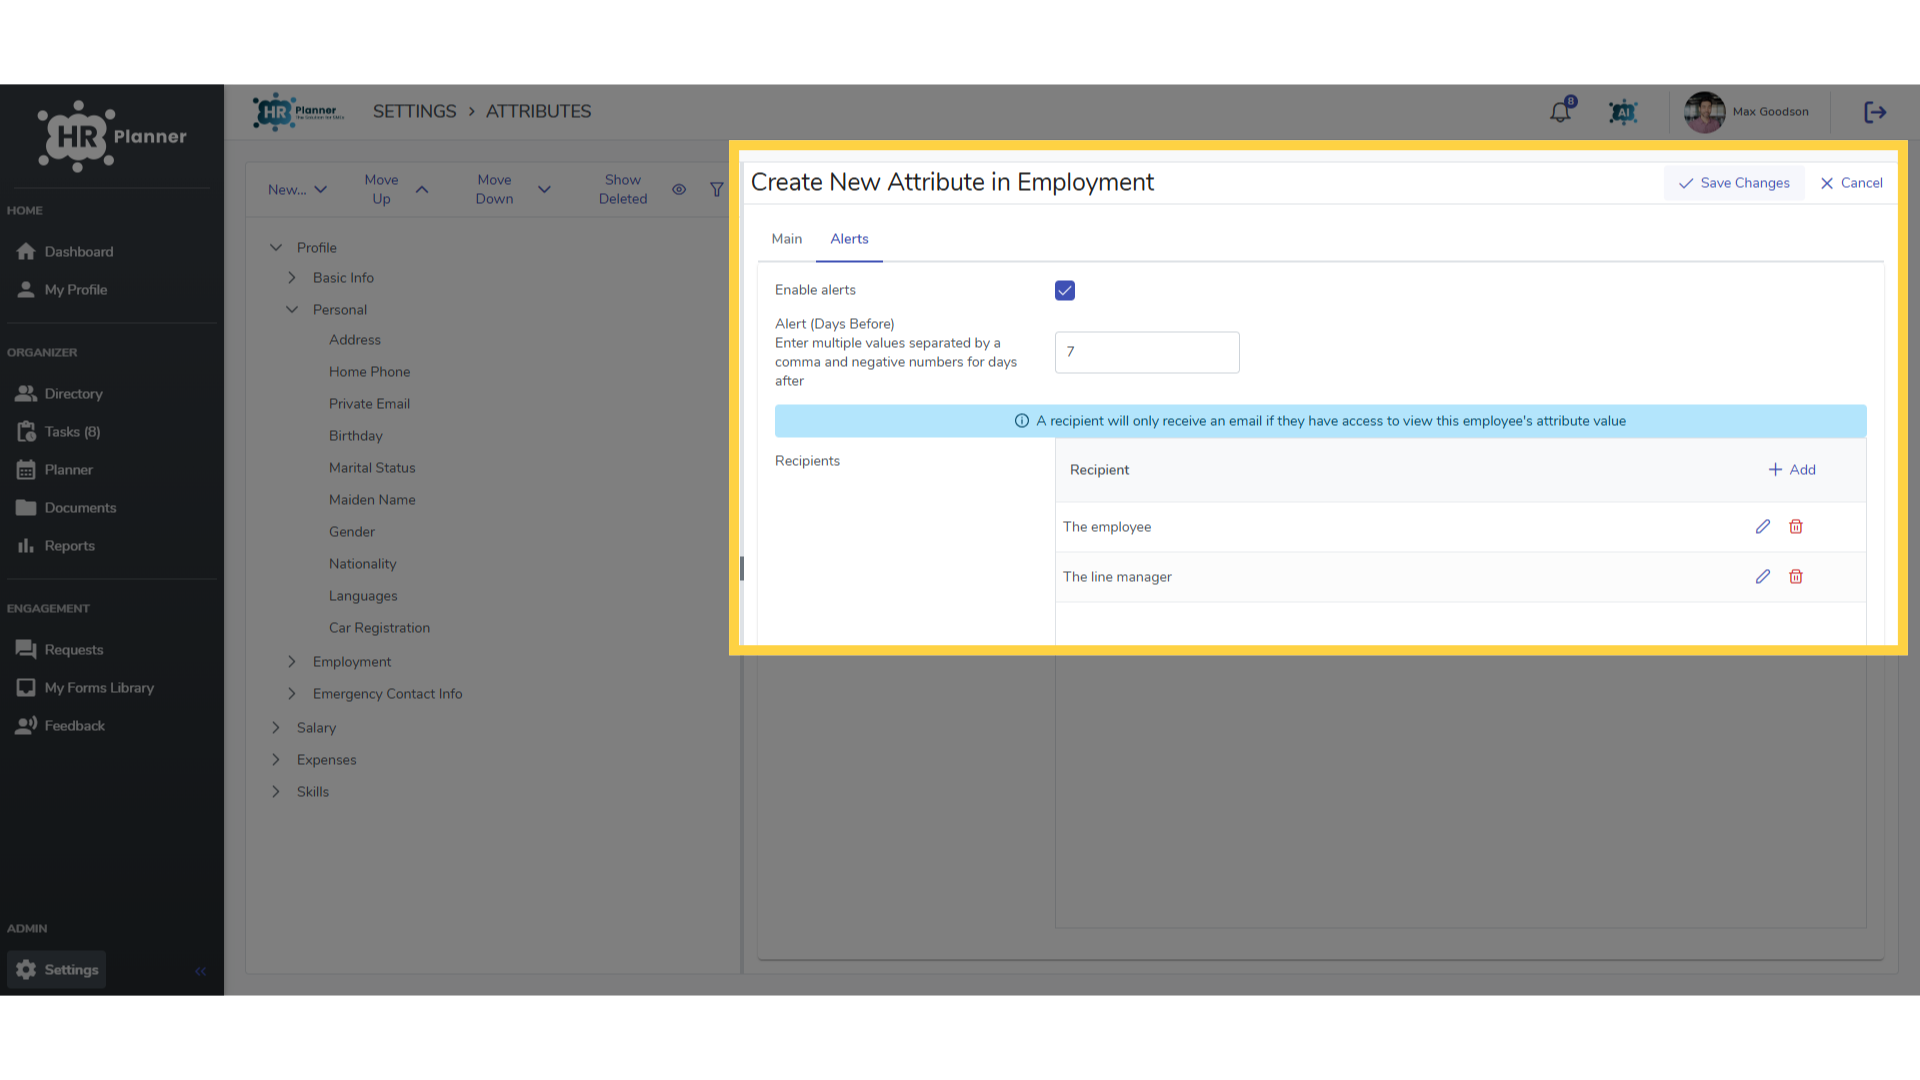
You can set reminder notifications of an upcoming date. These can be emailed to the employee and their line manager for example.
14. Sensitive Data
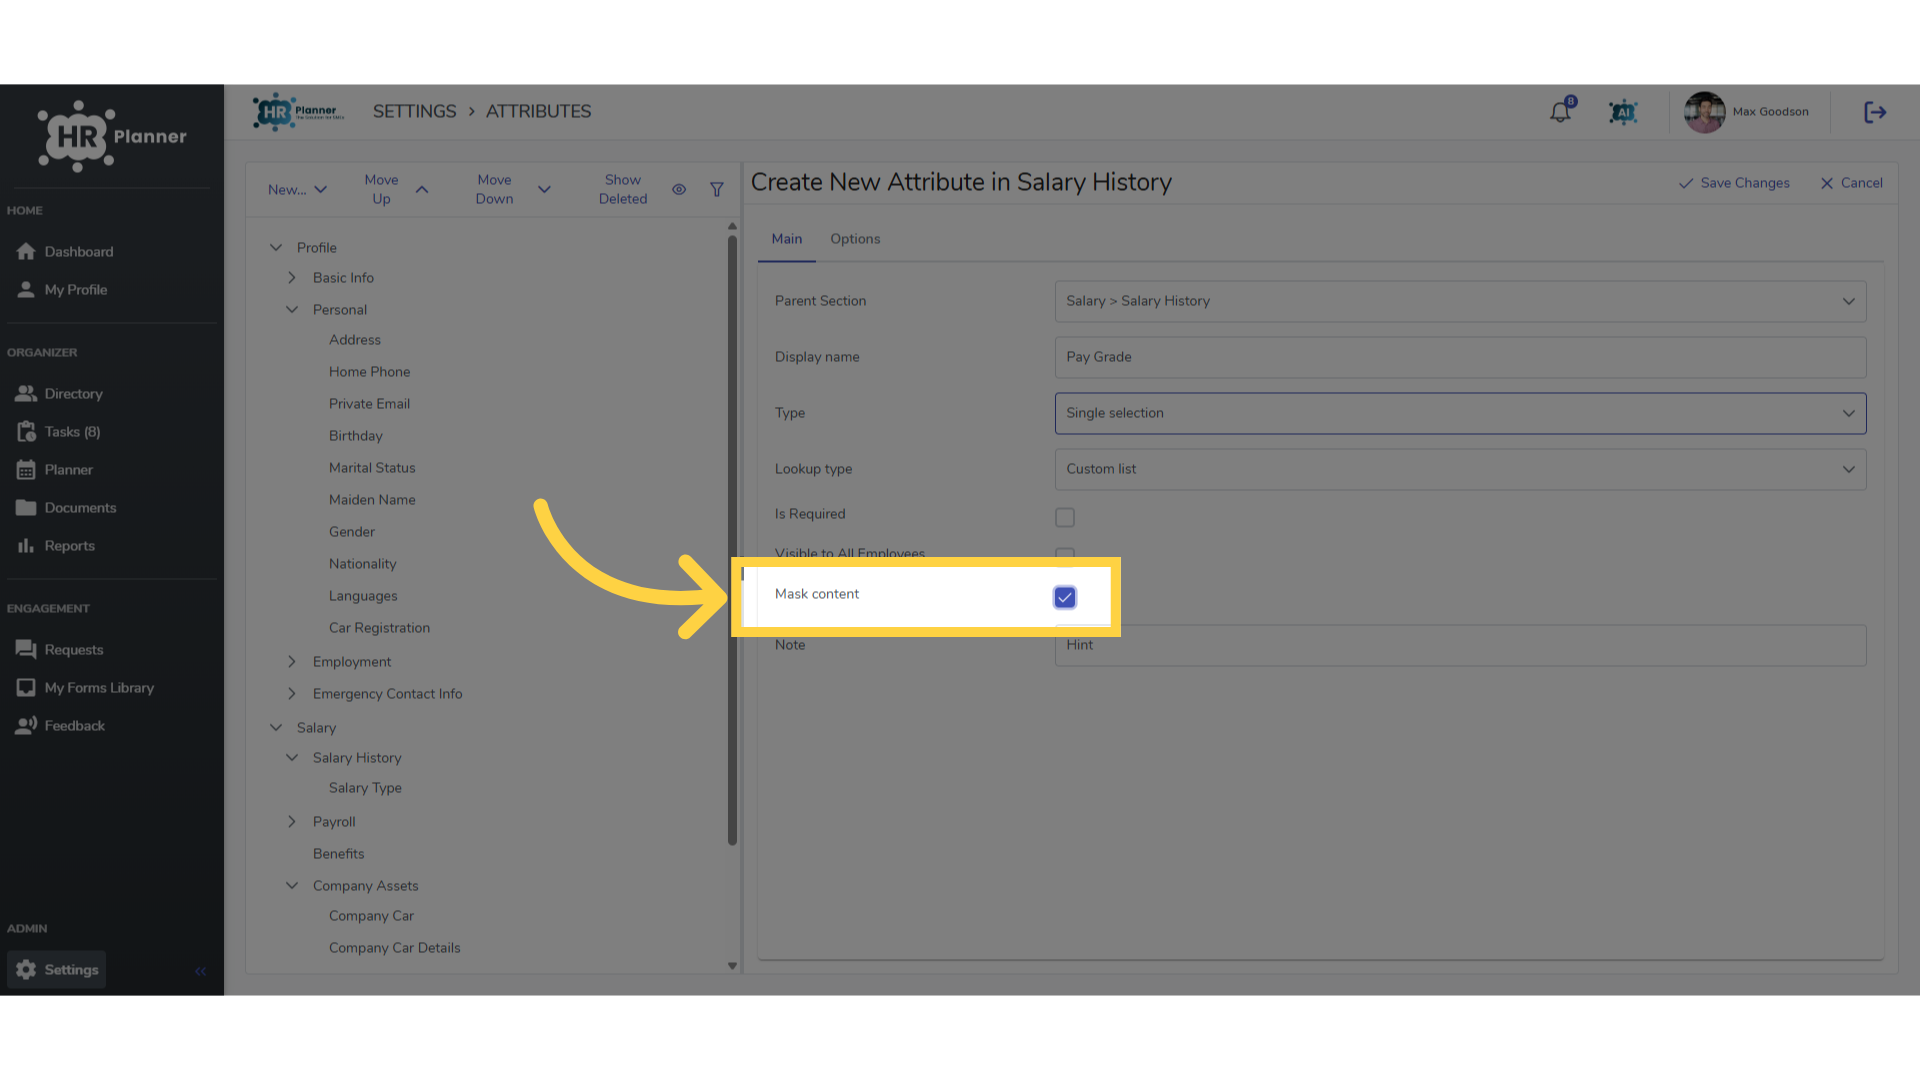
Some fields may contain sensitive data, such as Salary Information.
15. Mask Content
For these types of attributes you can select the Mask Data option apply a ‘click to reveal’ setting for the attribute.
The guide covered employee attributes in hr planner, including creating new attributes, selecting categories, and managing options efficiently.