
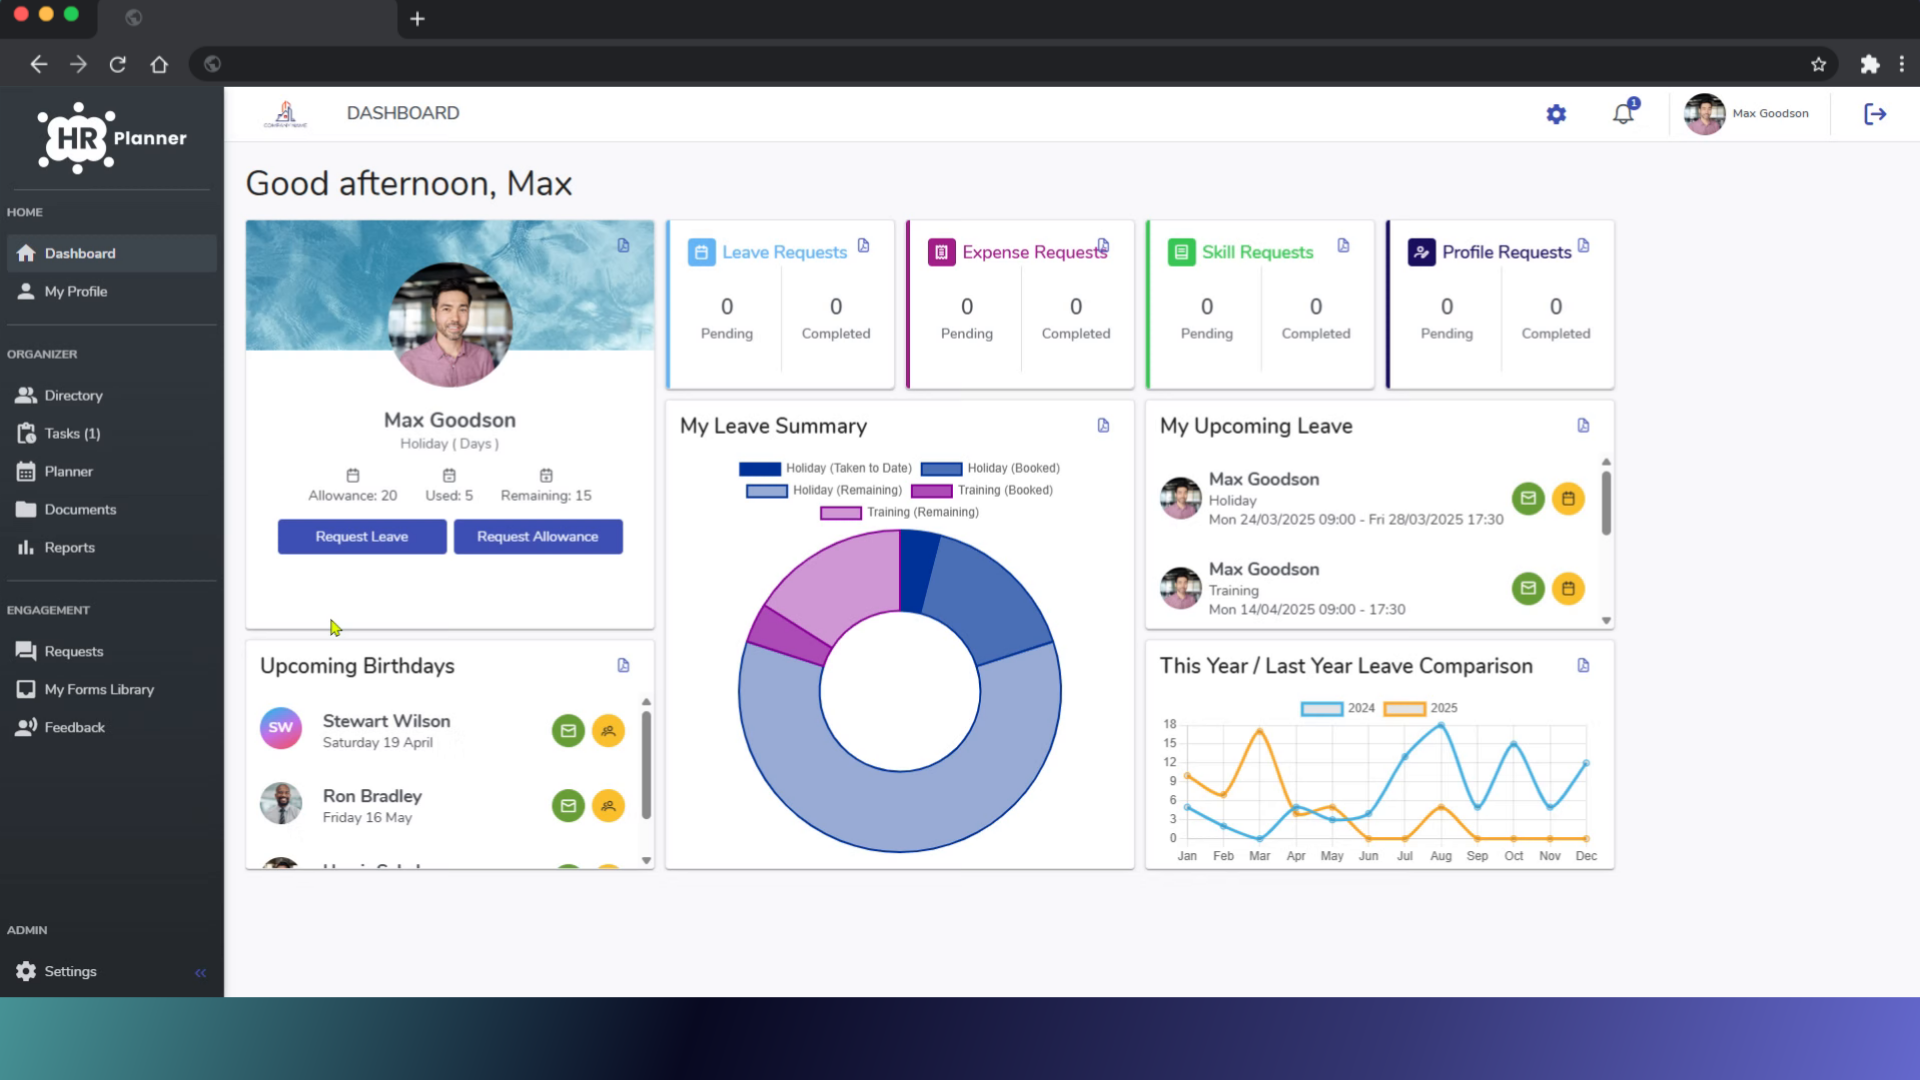
Creating a new user in your system involves a series of precise steps in hr planner.
1. Introduction
From entering user details to assigning roles, this guide will walk you through the process seamlessly.
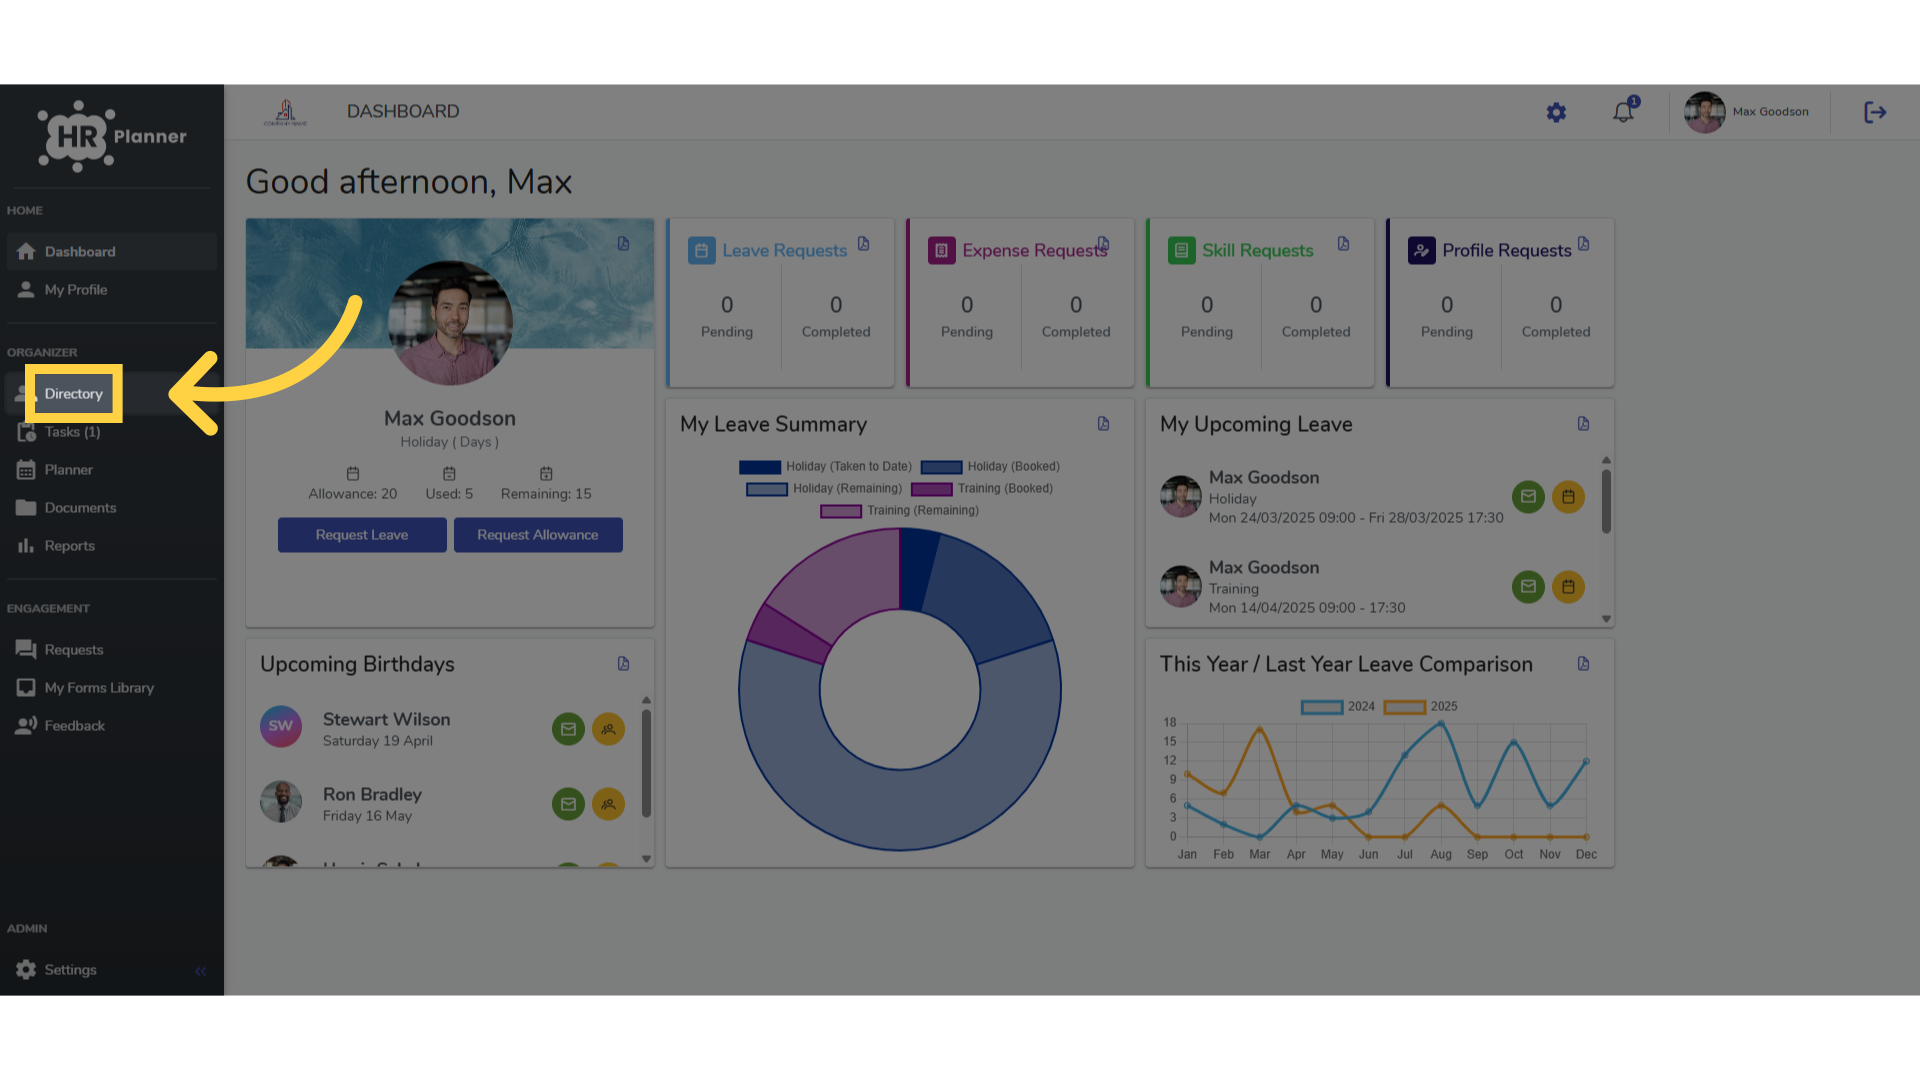
2. Click “Directory”
Access the Directory section.
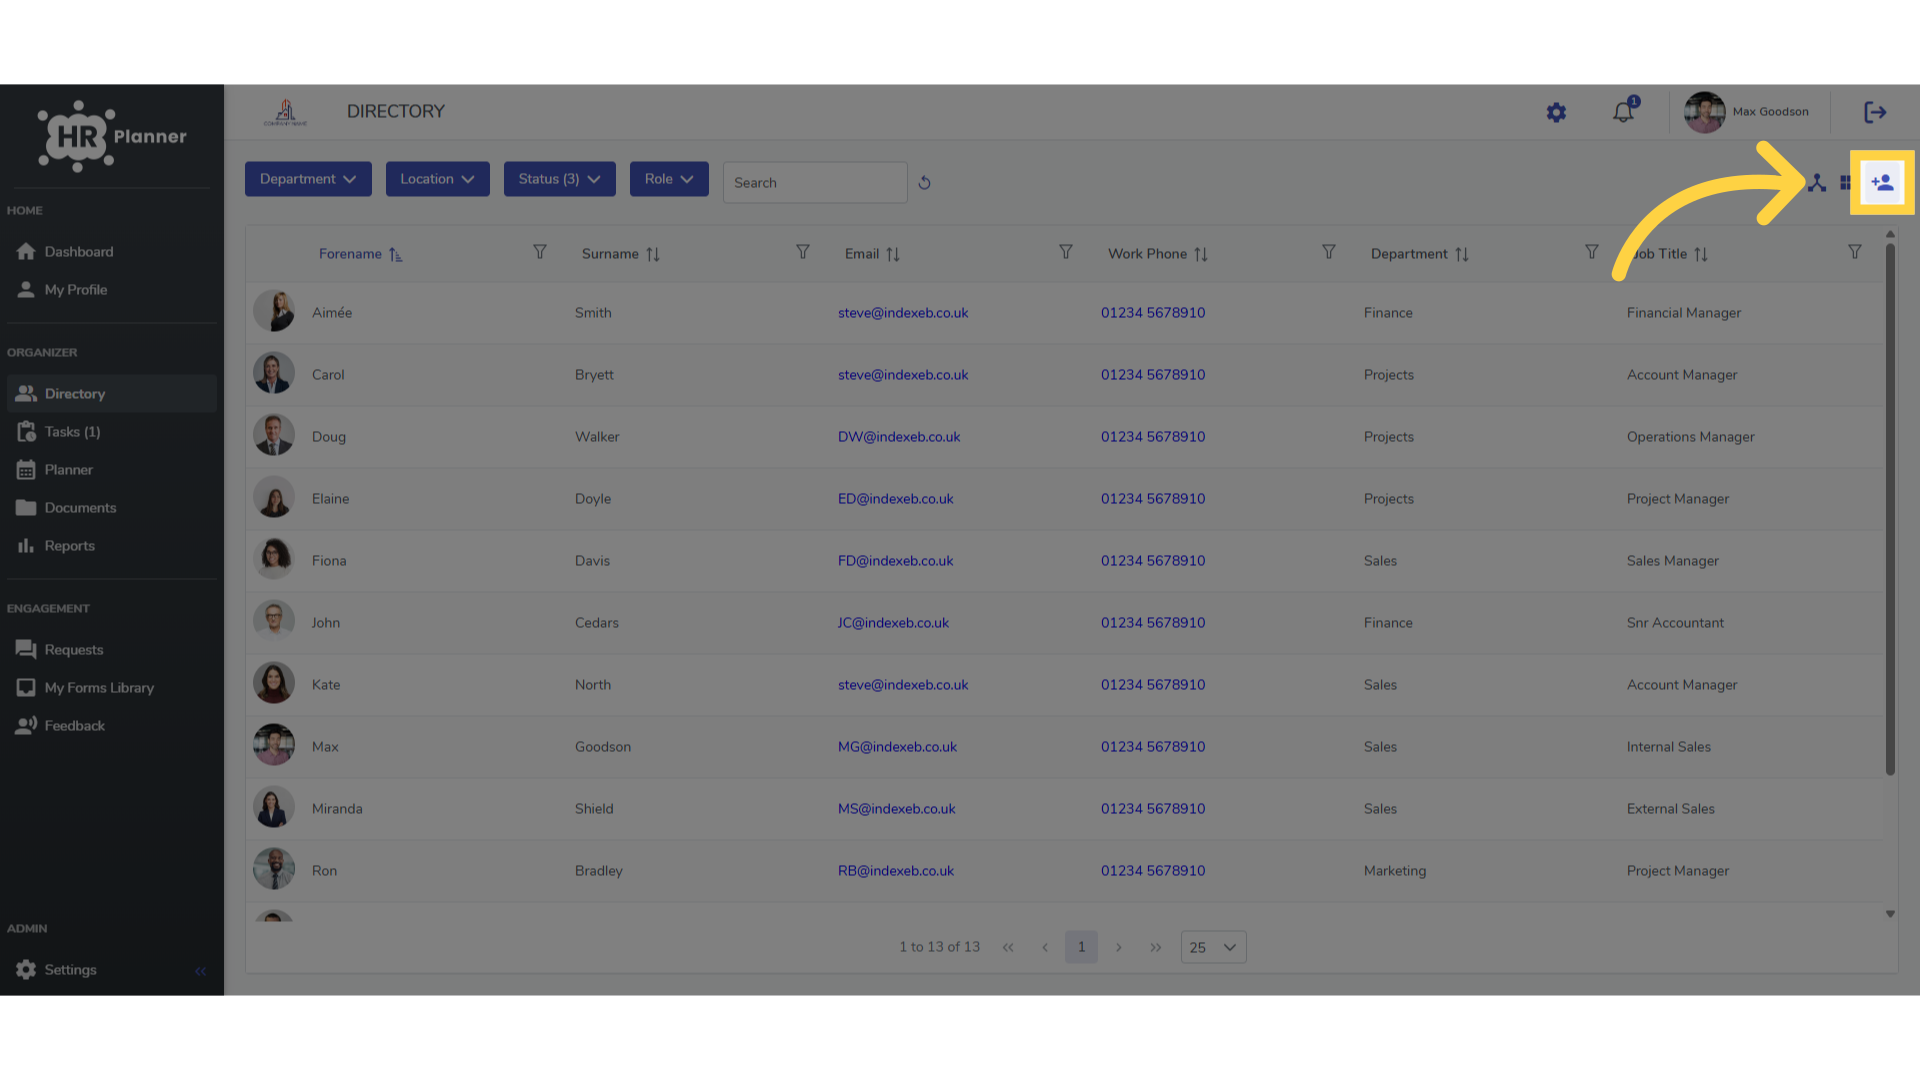
3. Click here
and click the Add User icon
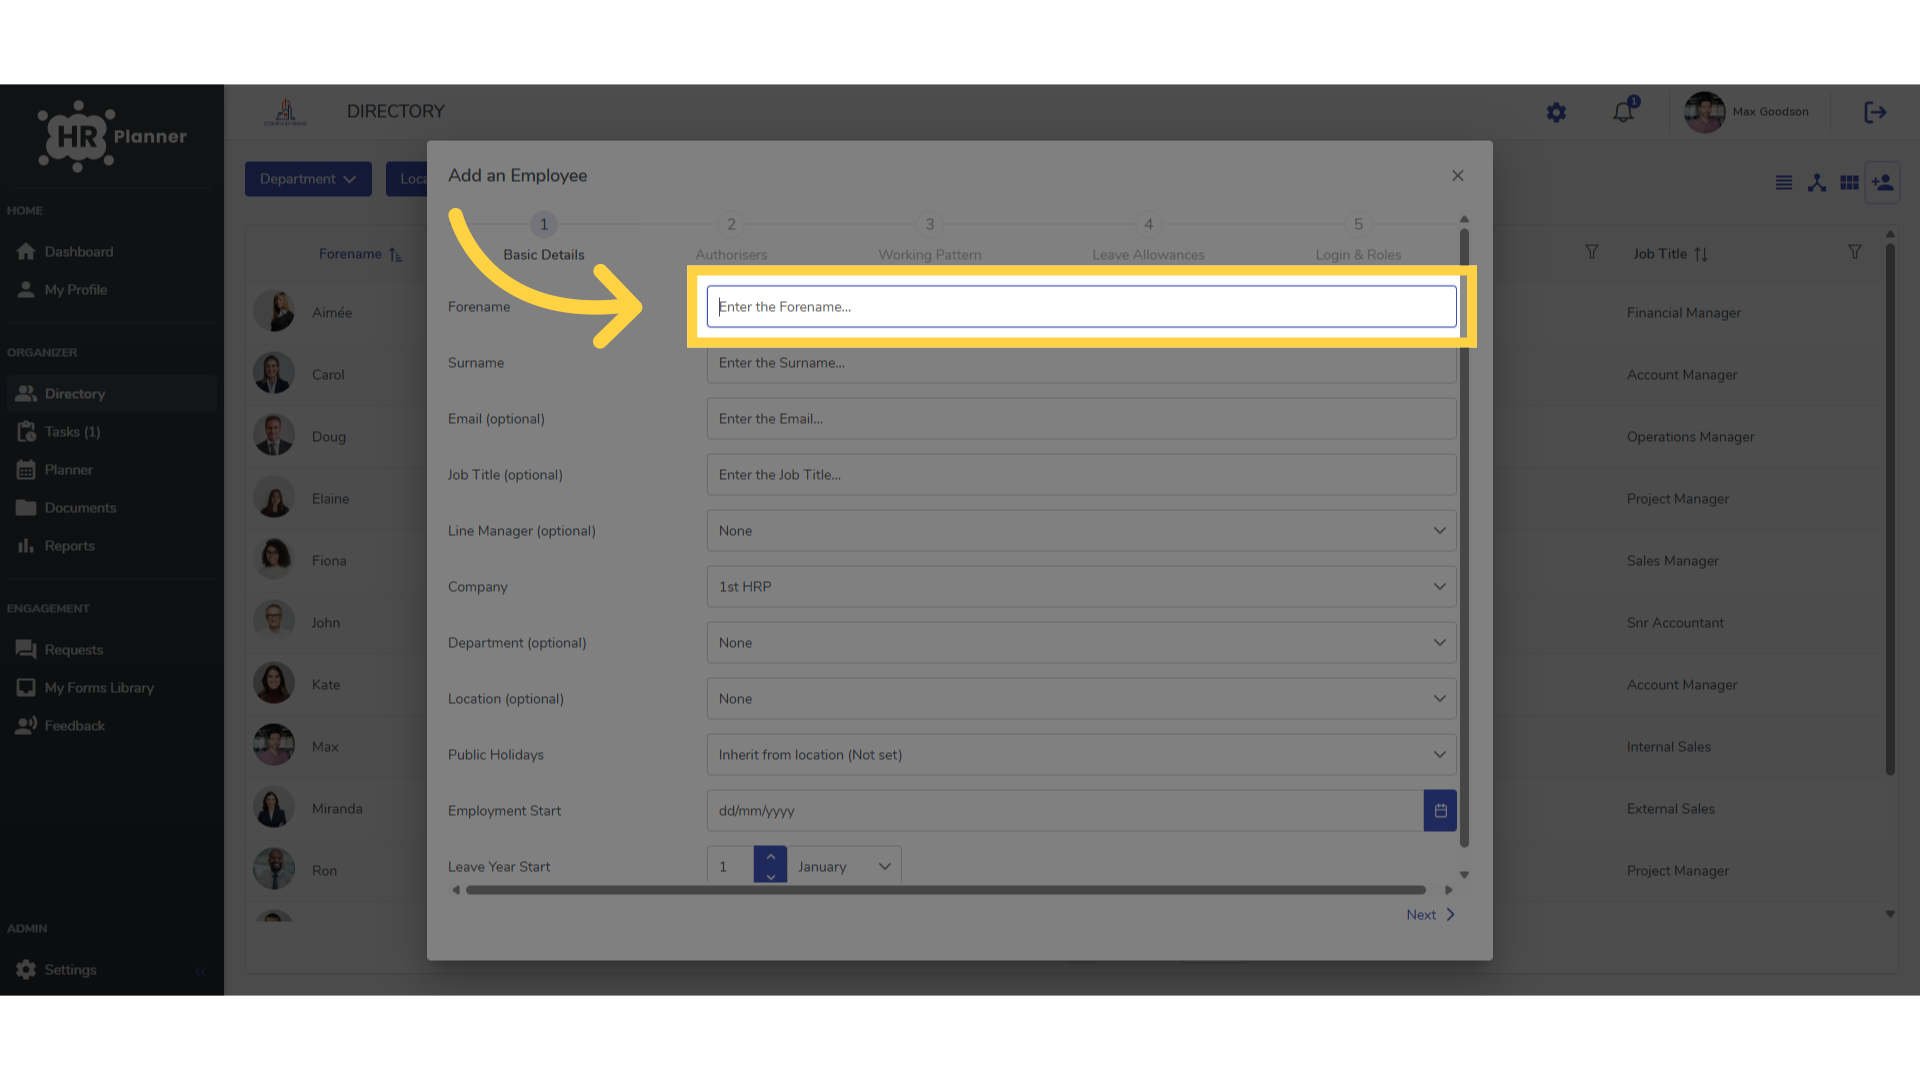
4. Complete the fields
There are five sections to complete.
5. Click “Next”
Not all fields are compulsory and all can be edited at a later stage. Section one is for the employees basic work contact information such as their email address, department and line manager. Click Next to move on to the next section.
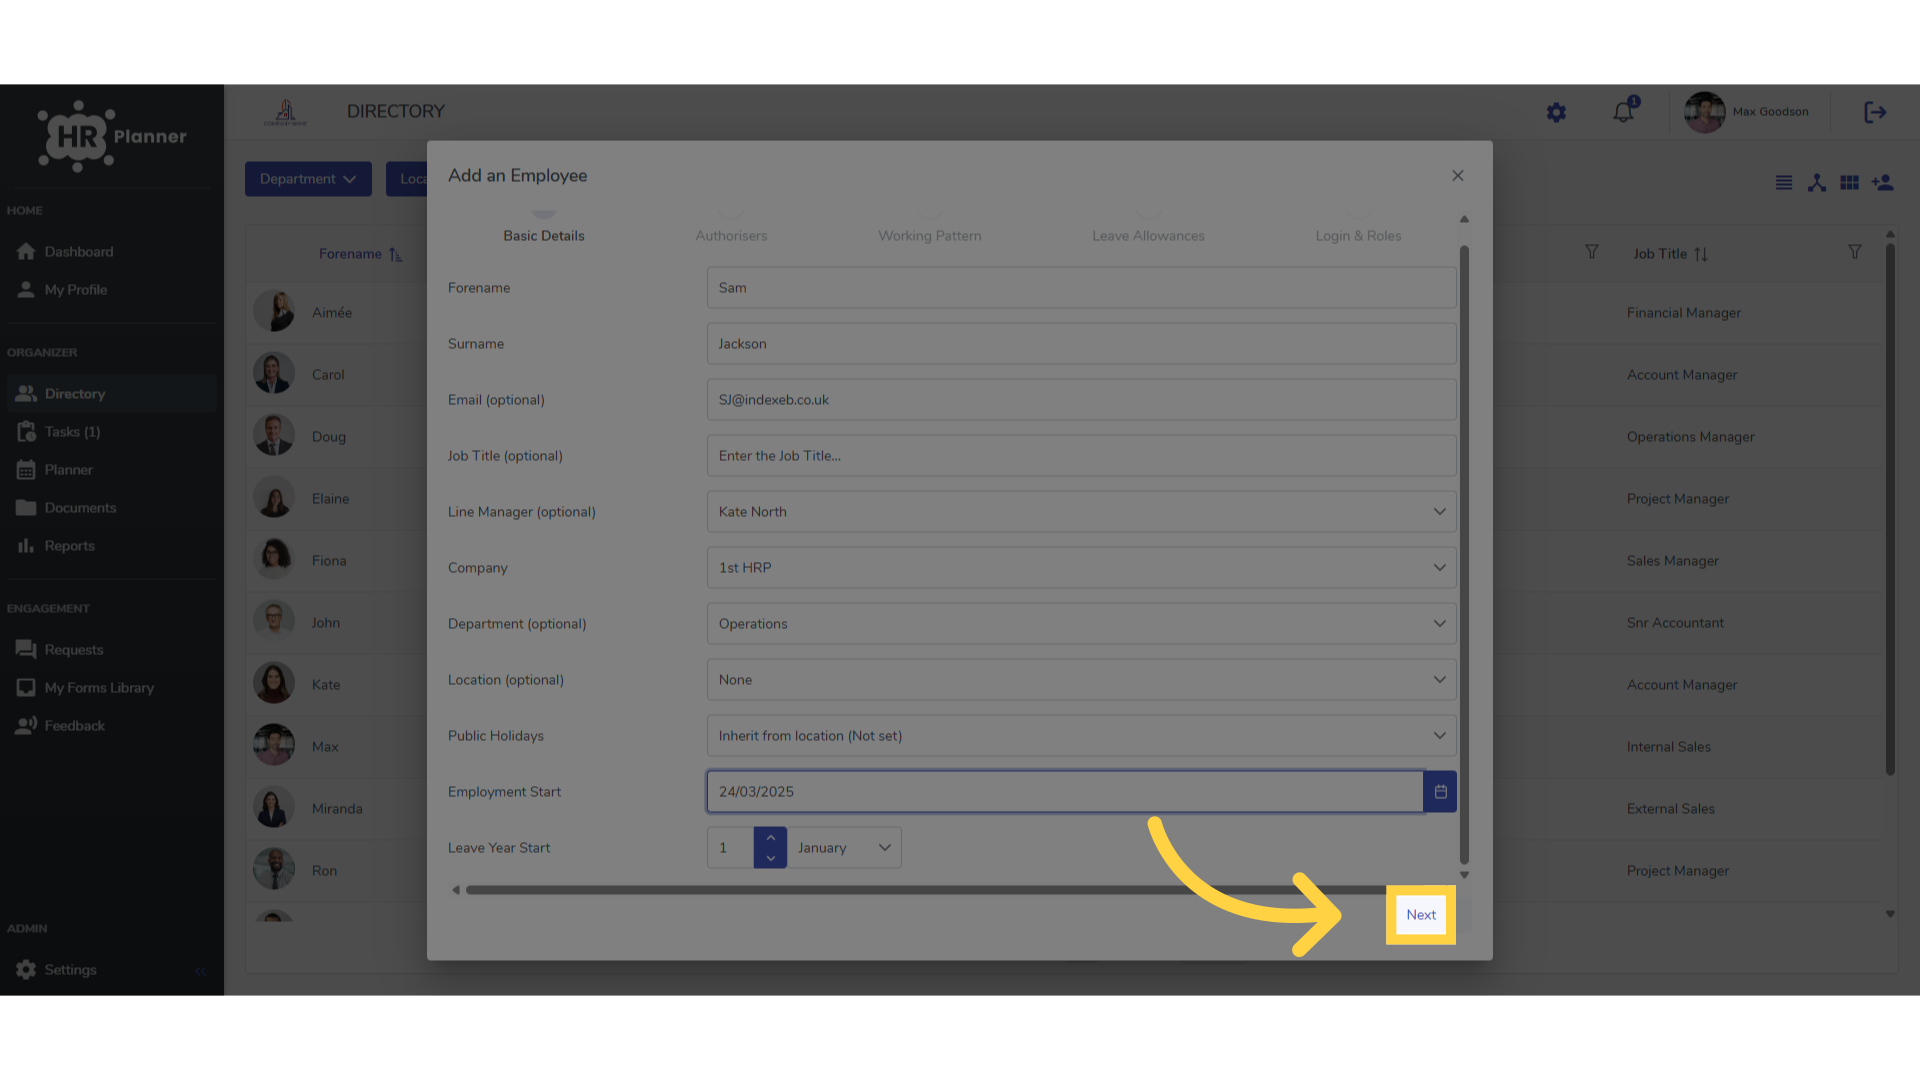
6. Click “Next”
In the second section you can allocate a person to authorise their requests.
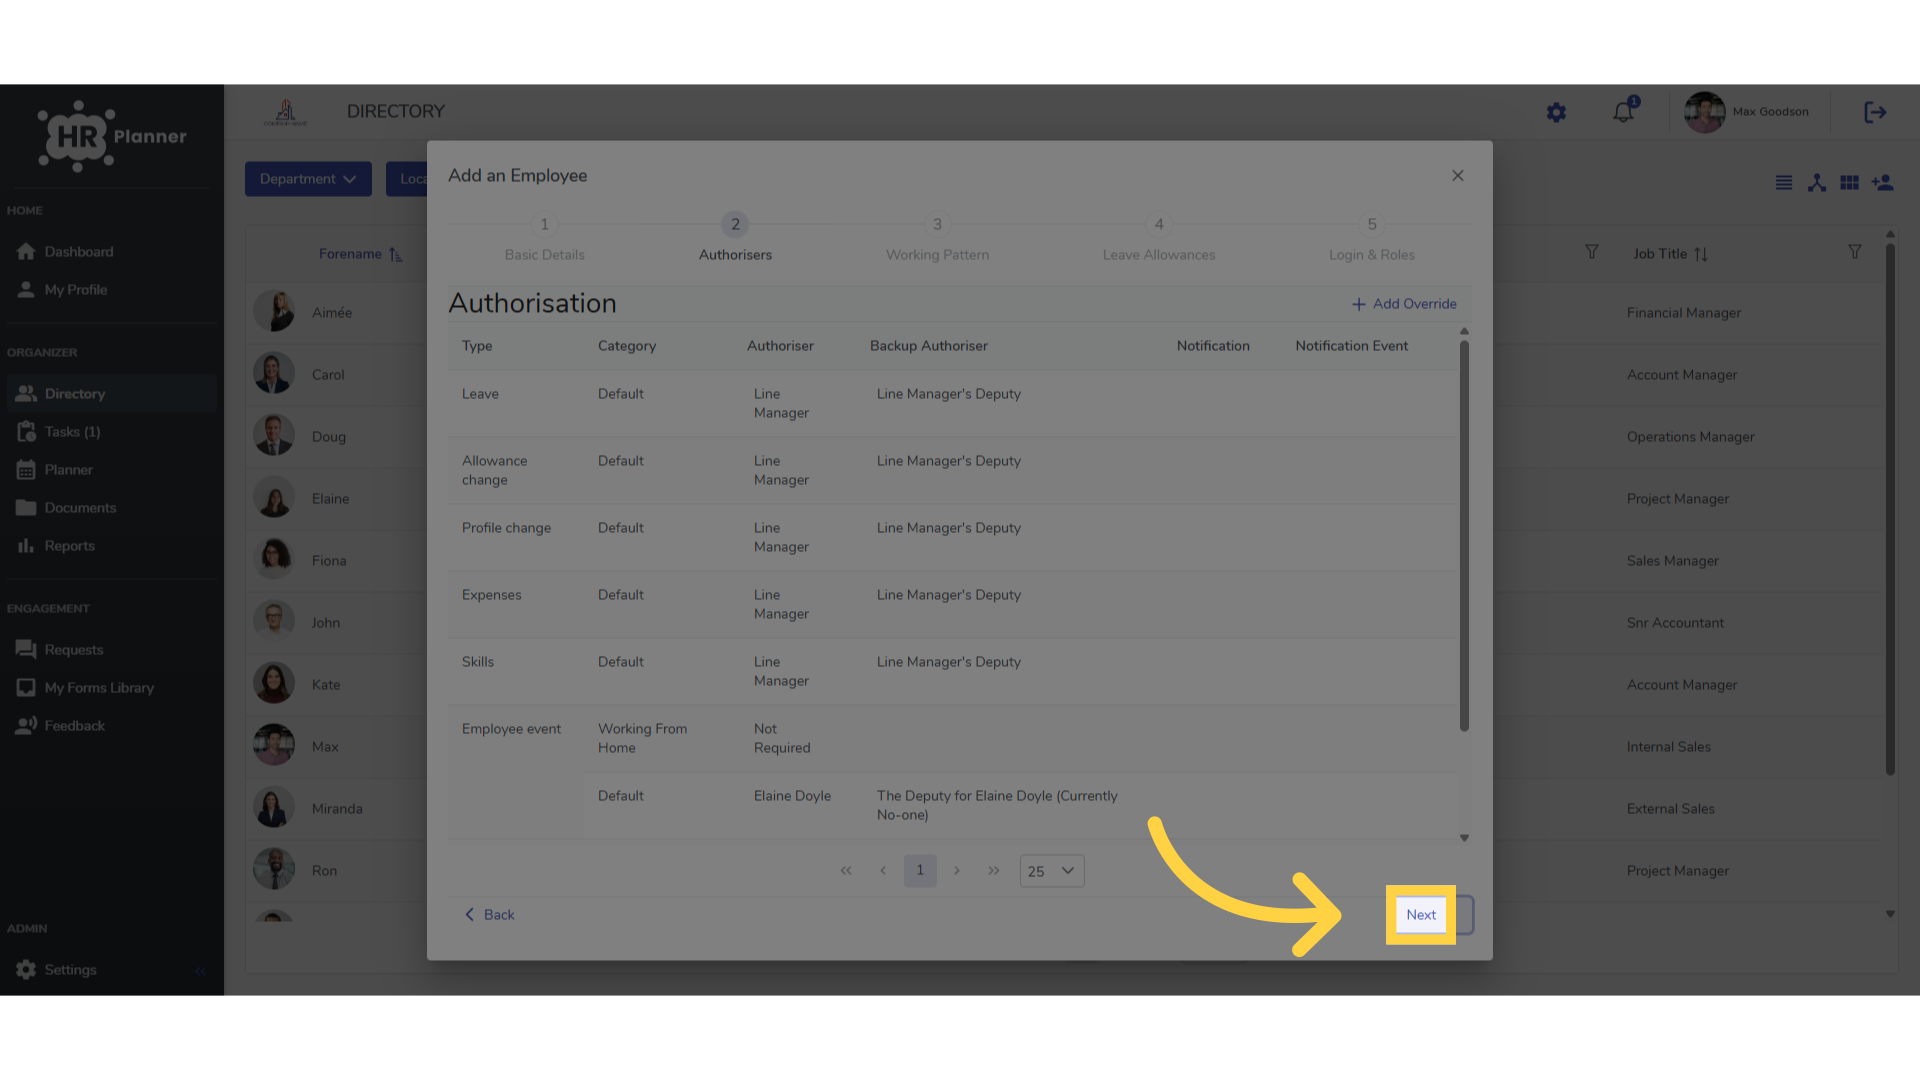
7. Click here
The third section allows you to set their working pattern. Either using the default full time pattern.
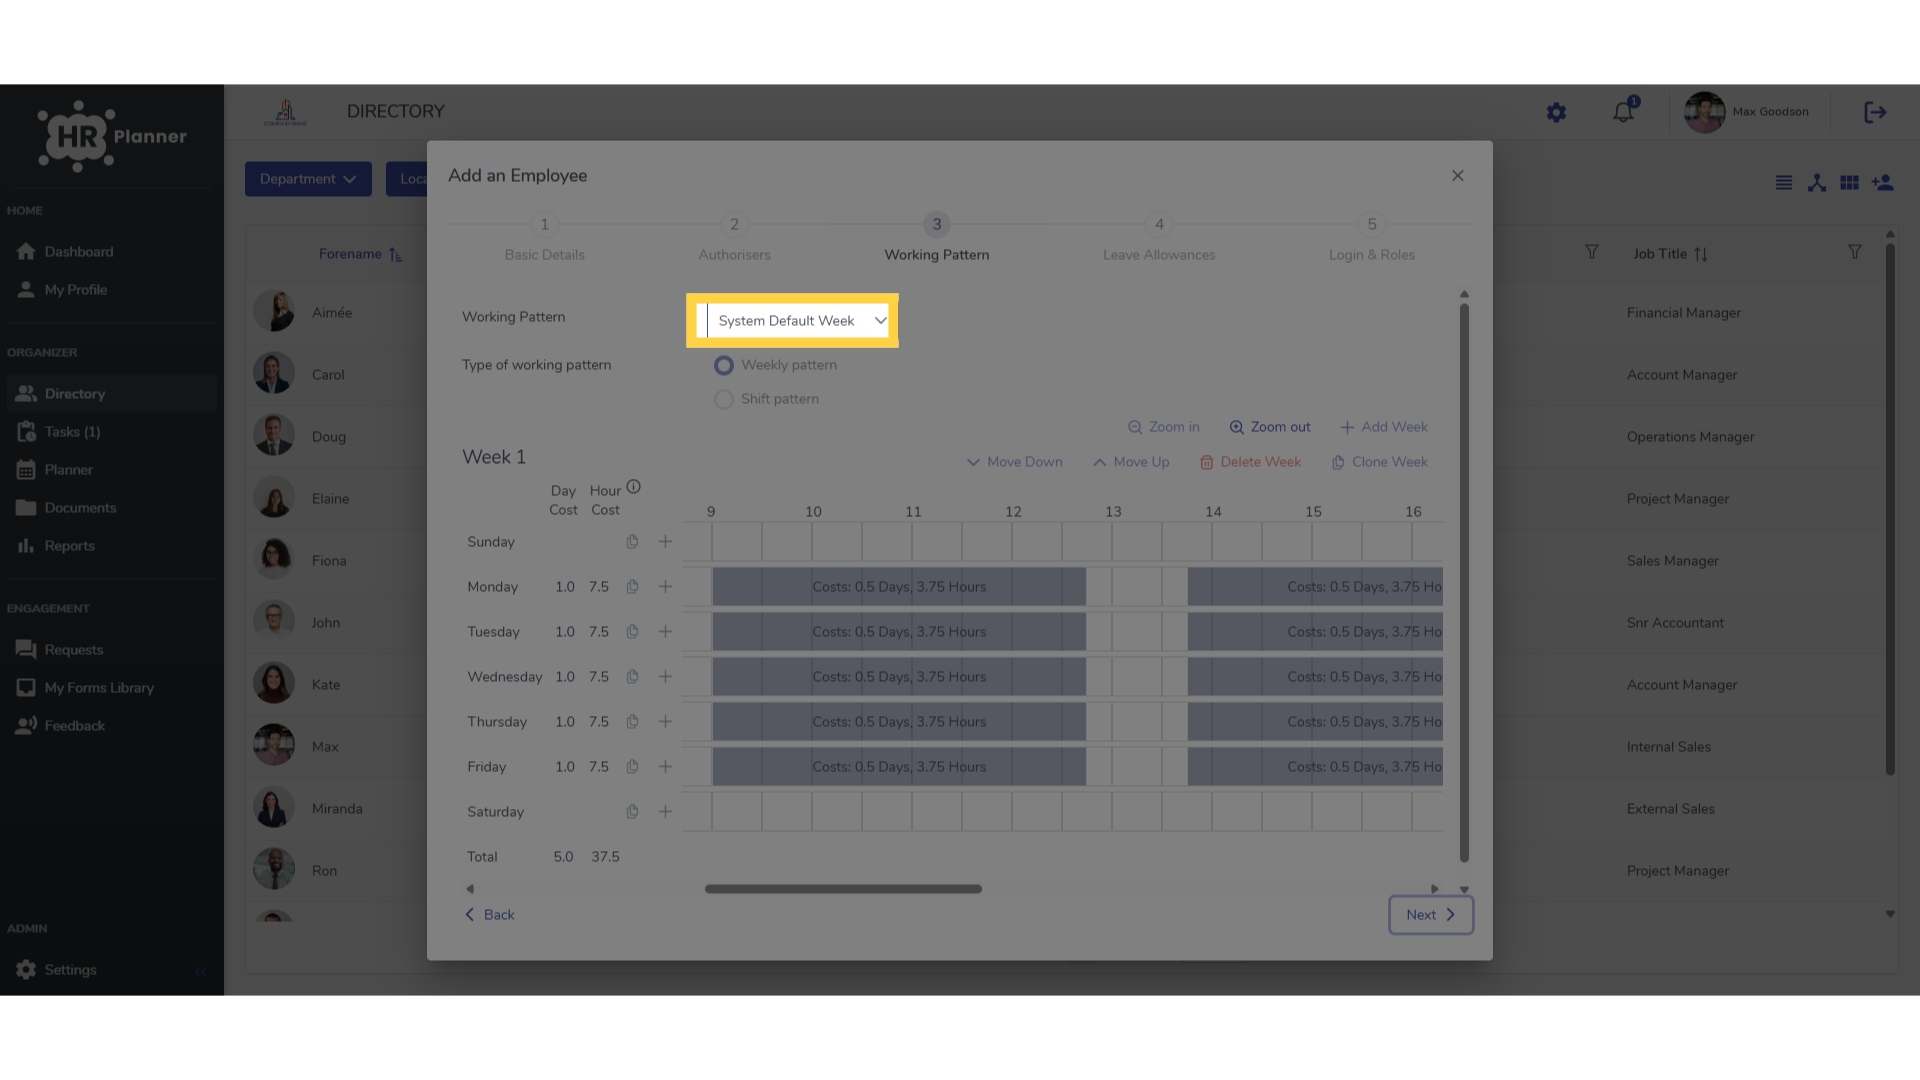
8. Click “Create new”
or creating a part-time pattern for them.
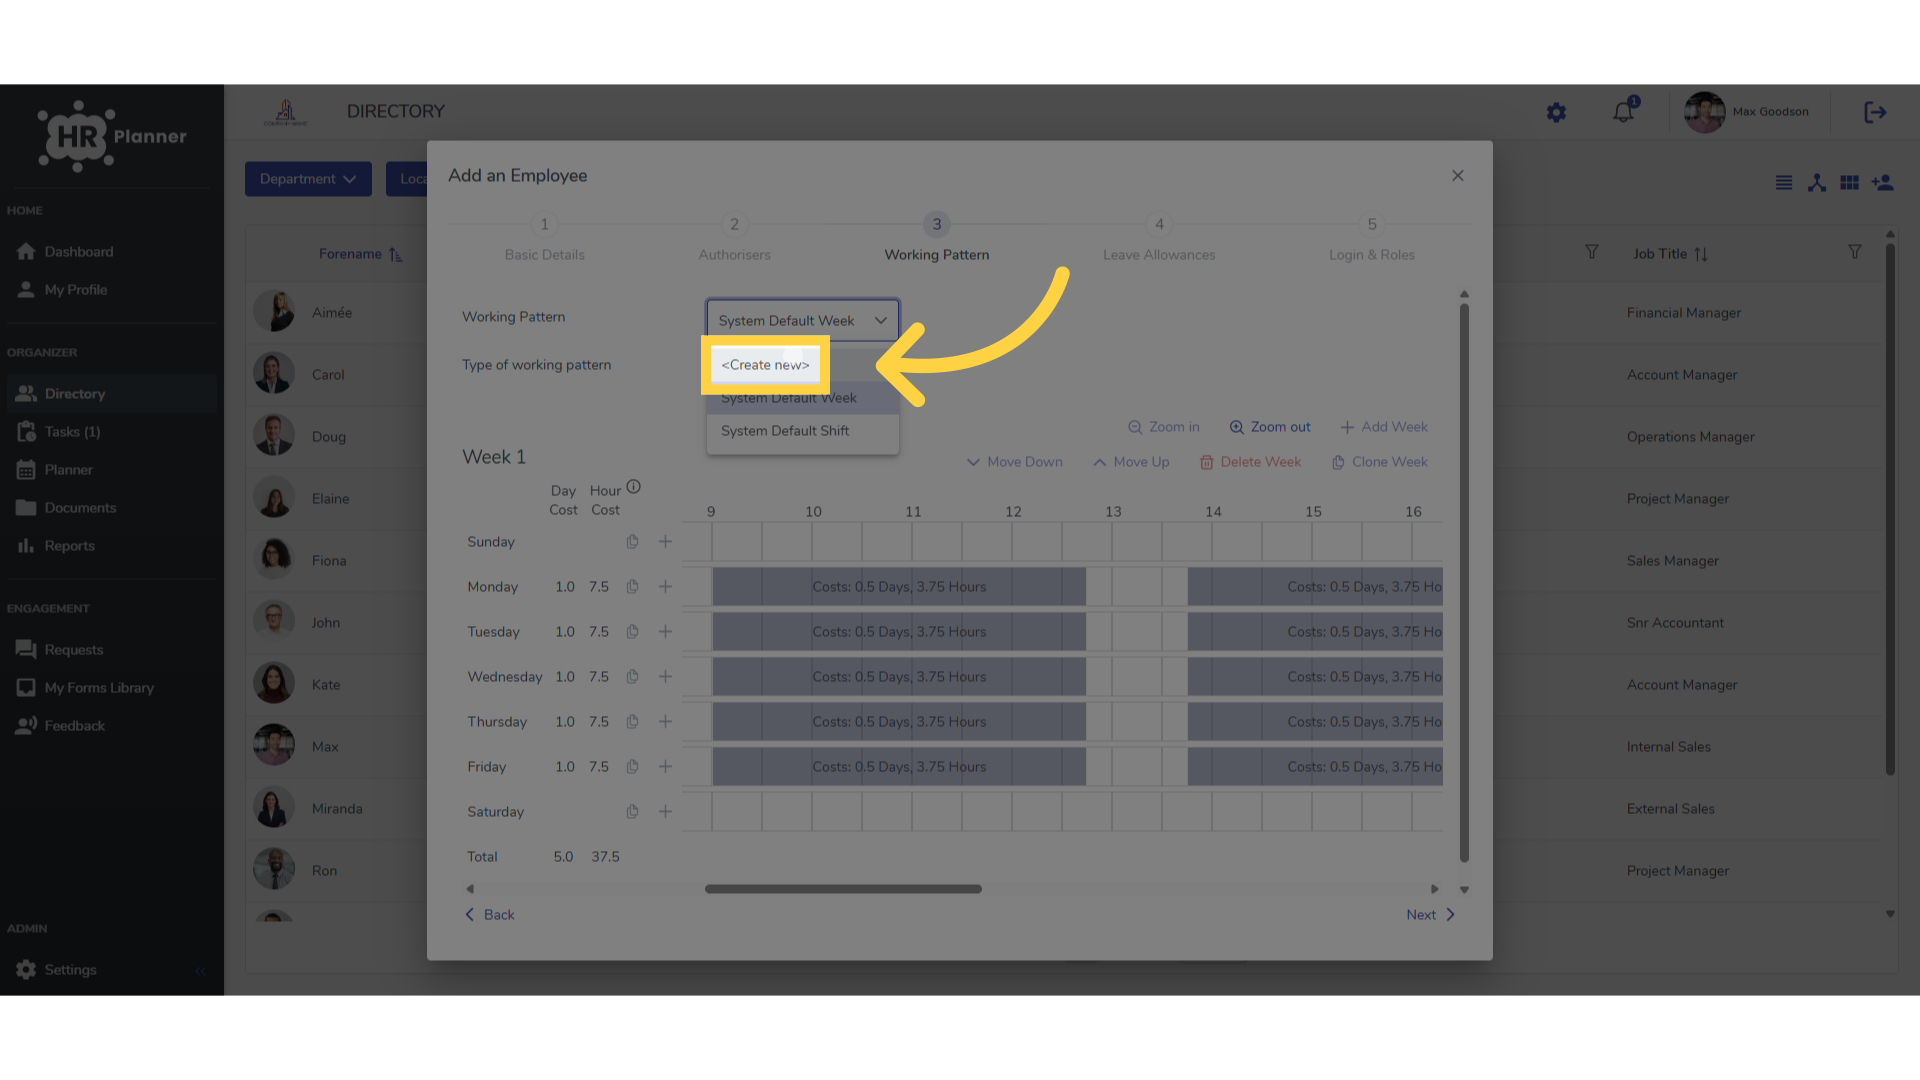
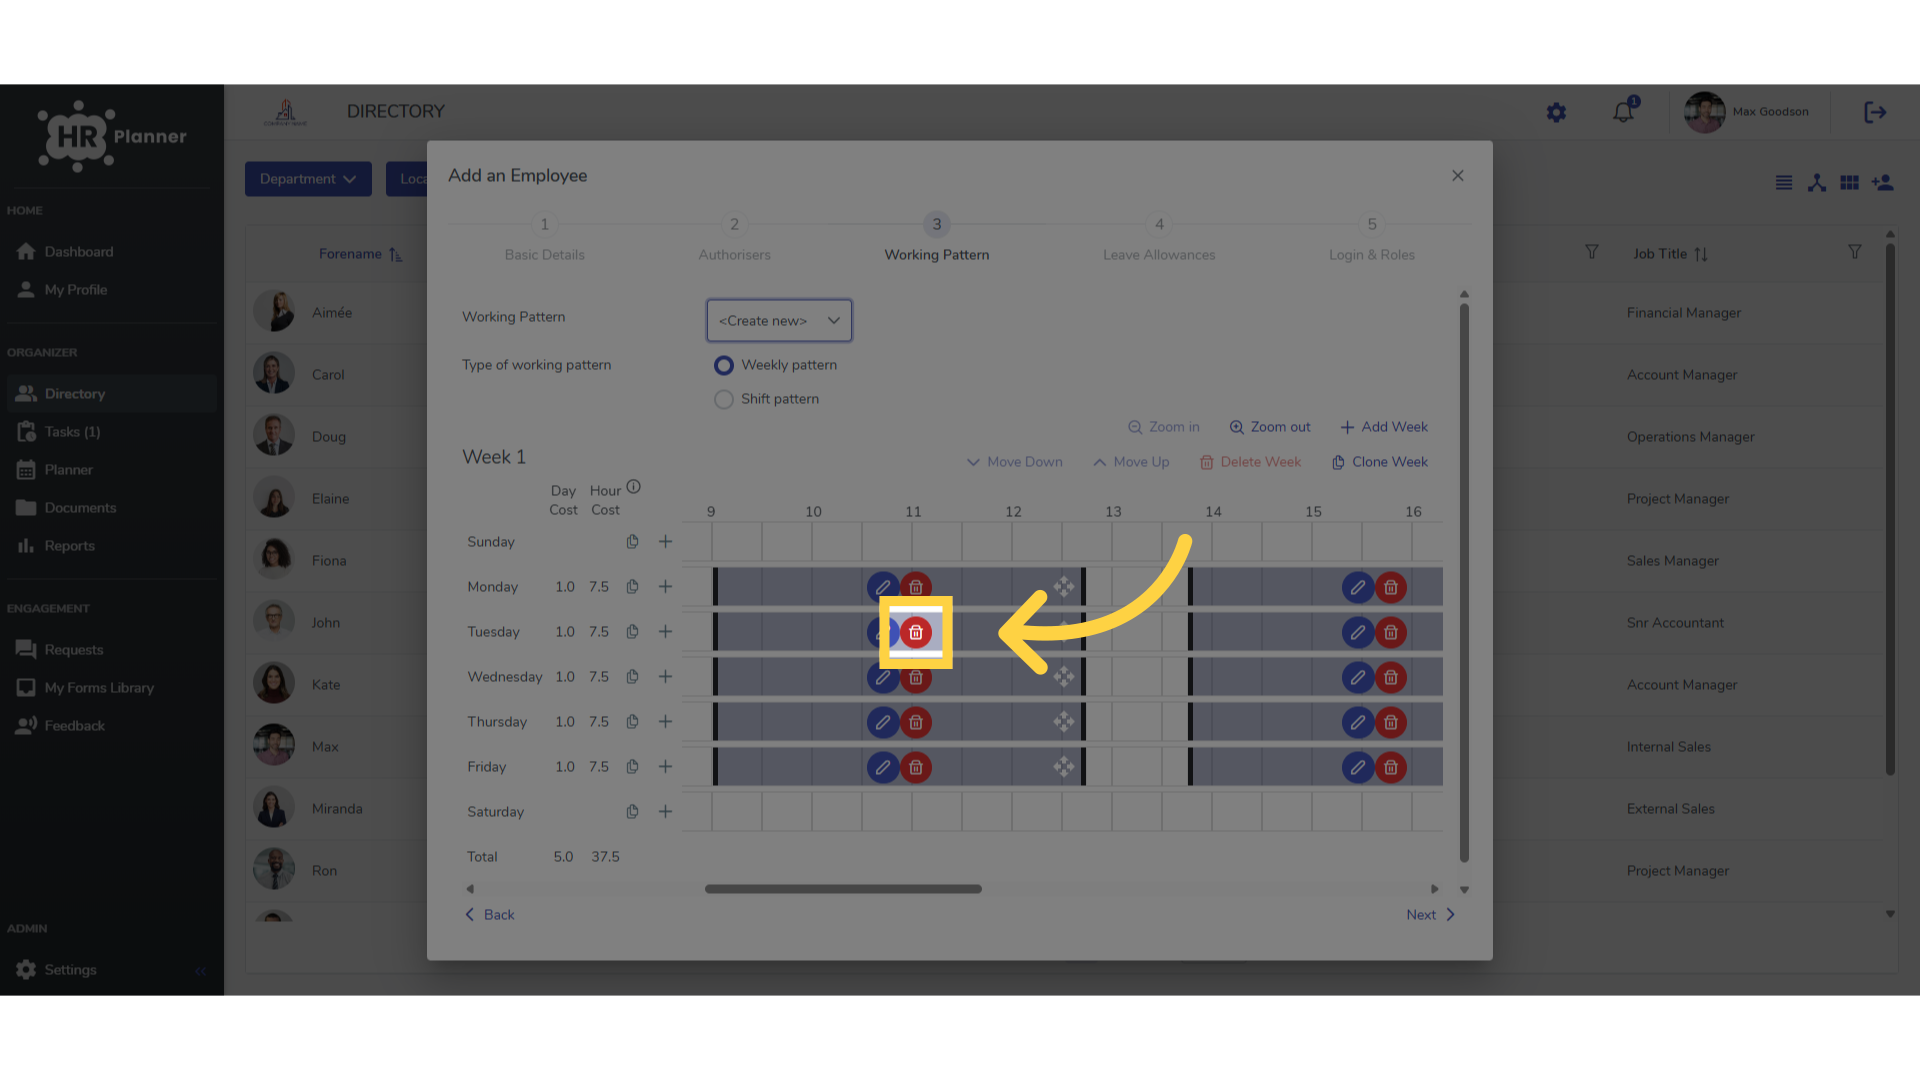
9. Click here
You can remove days
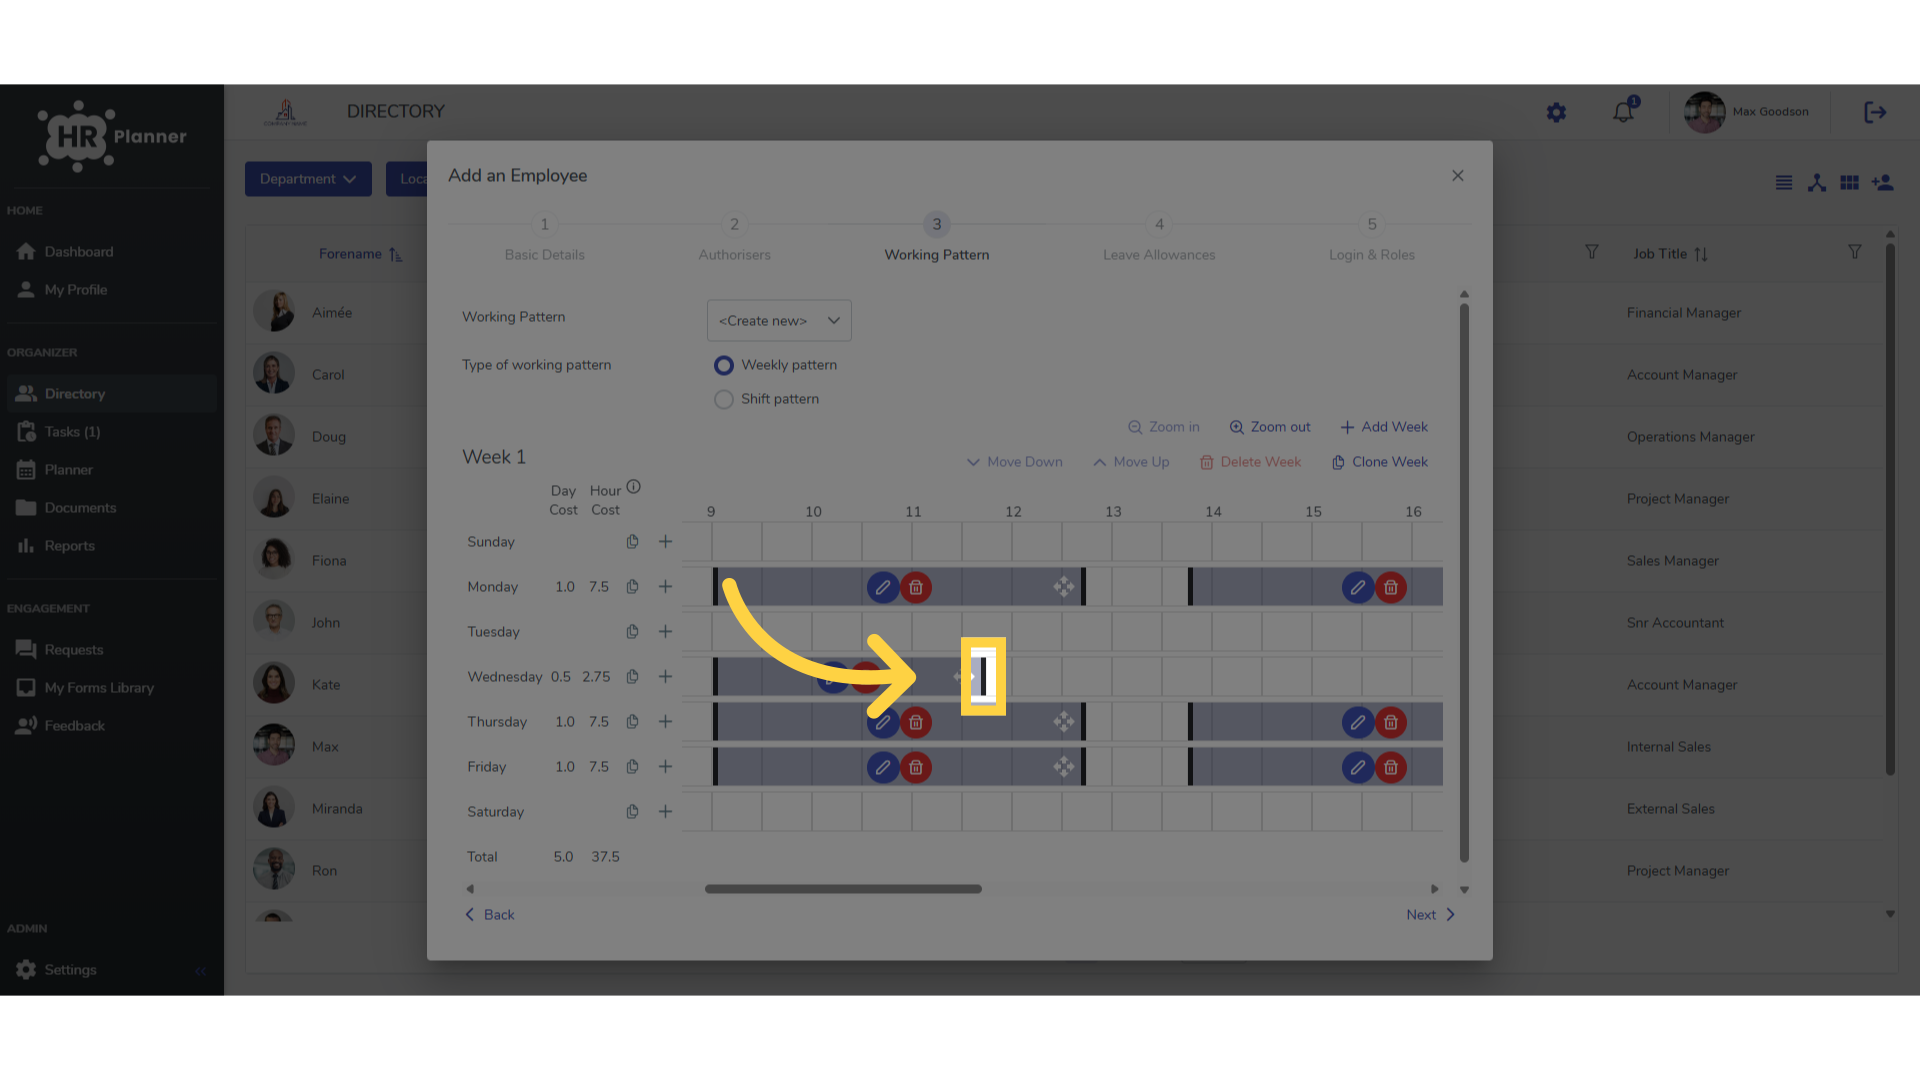
10. Click and slide
or adjust the hours worked with the slider.
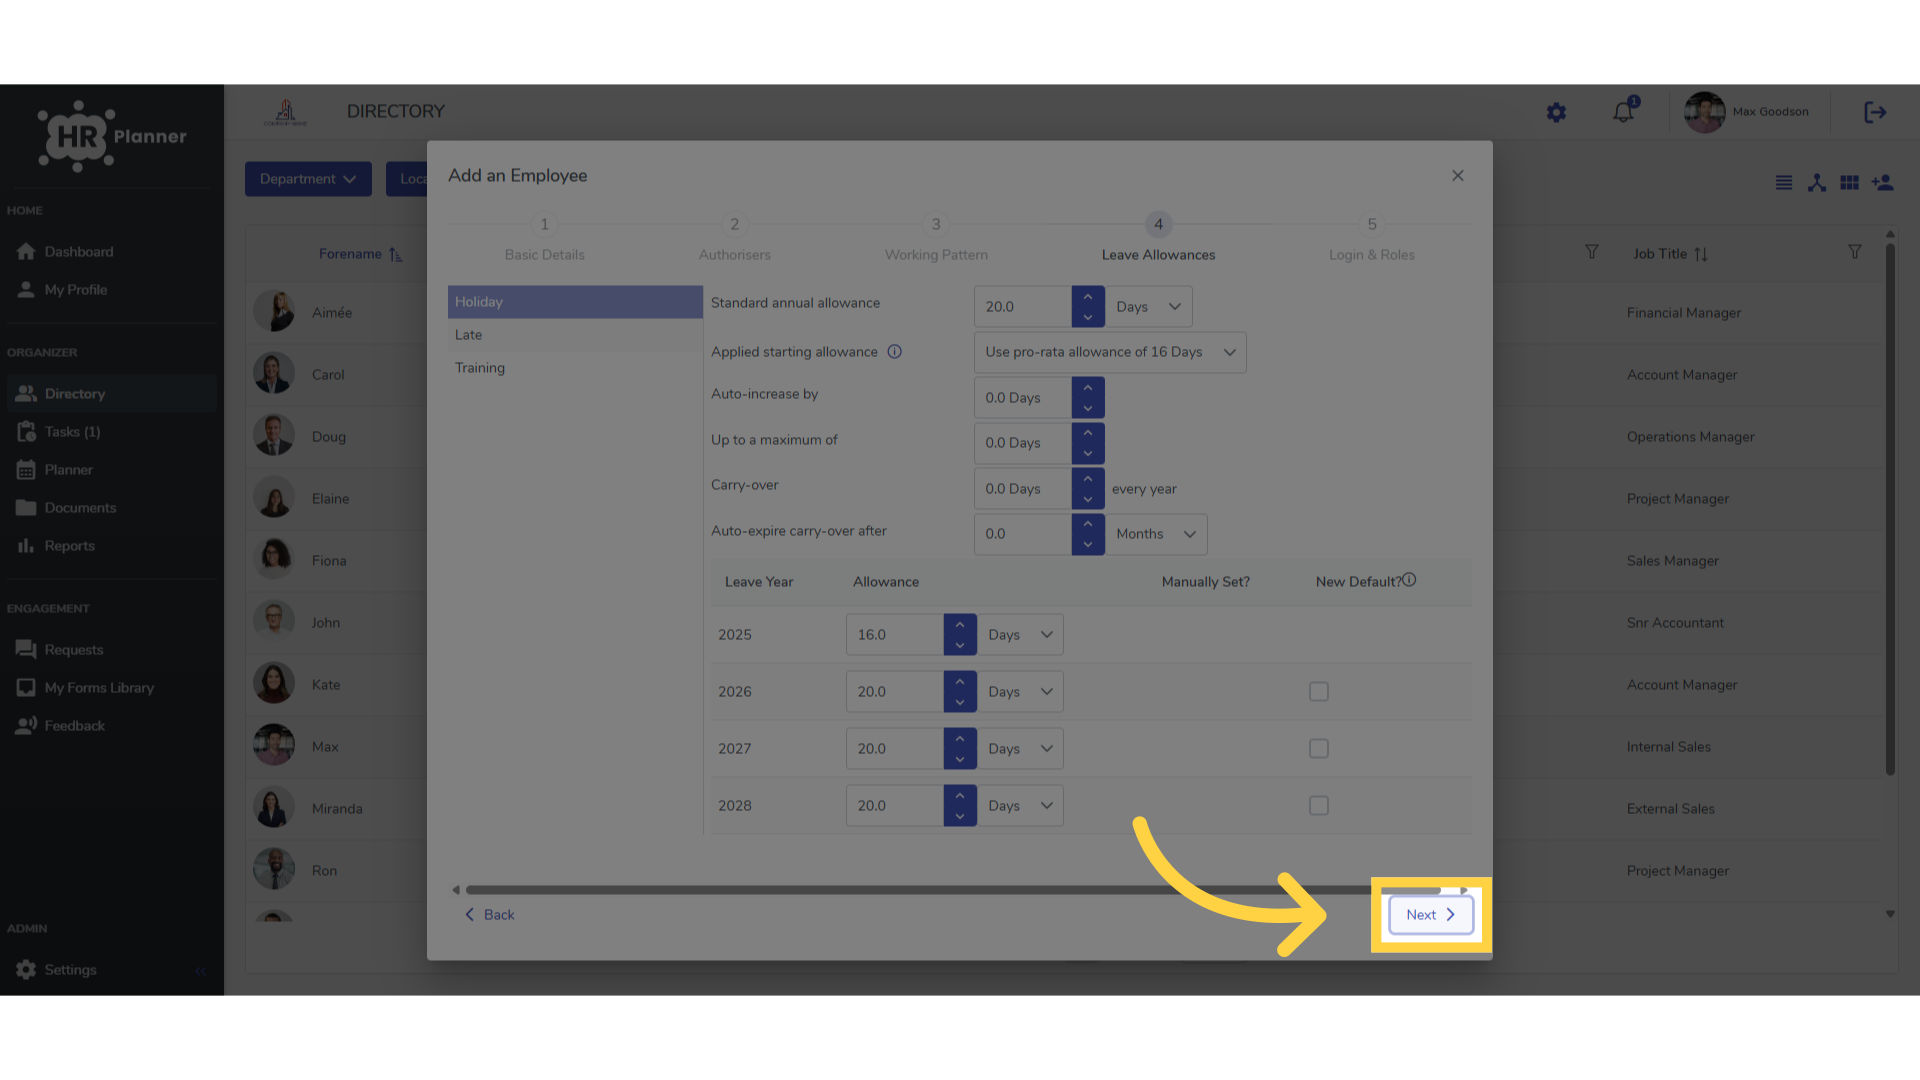
11. Click “Next”
The fourth section is where you can set the allowances for the employee. The system will calculate their allowance for you if they are joining part way through the year and/or have a part time working pattern.
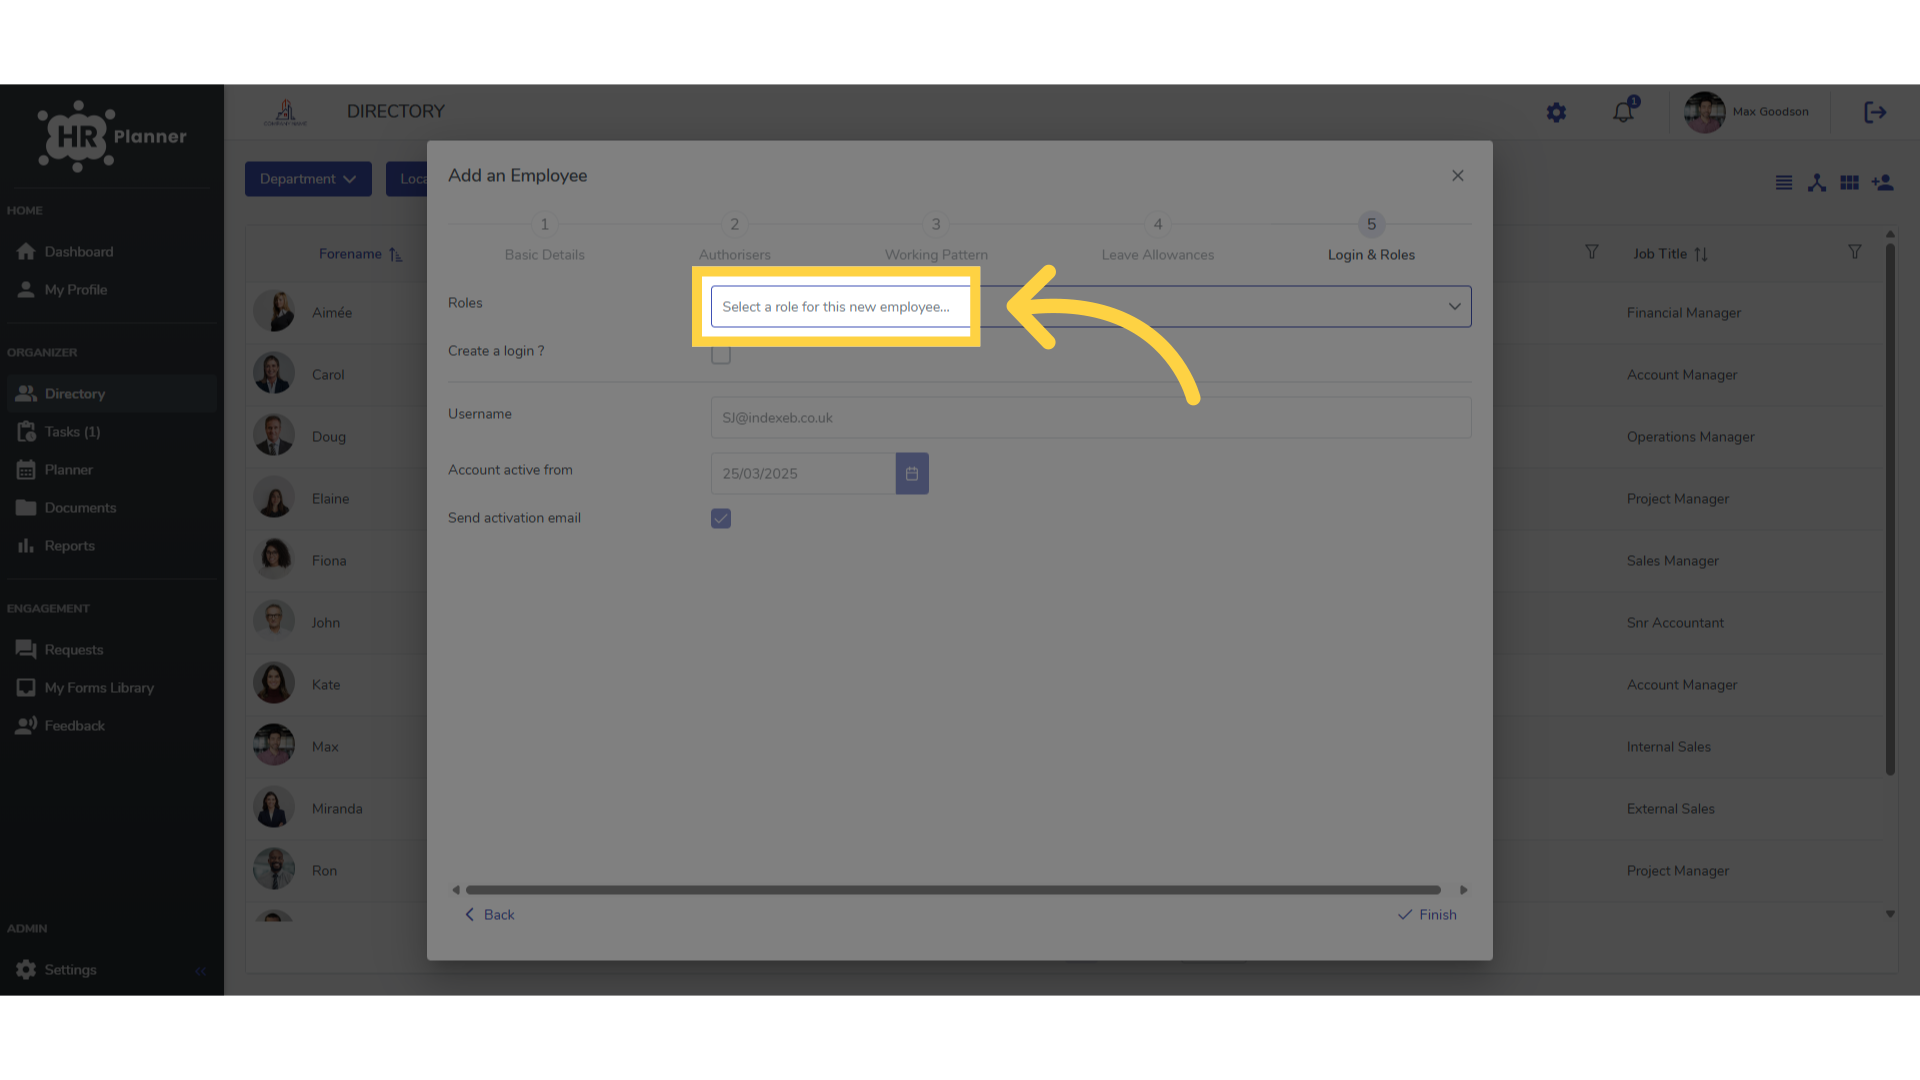
12. Click to allocate an access role
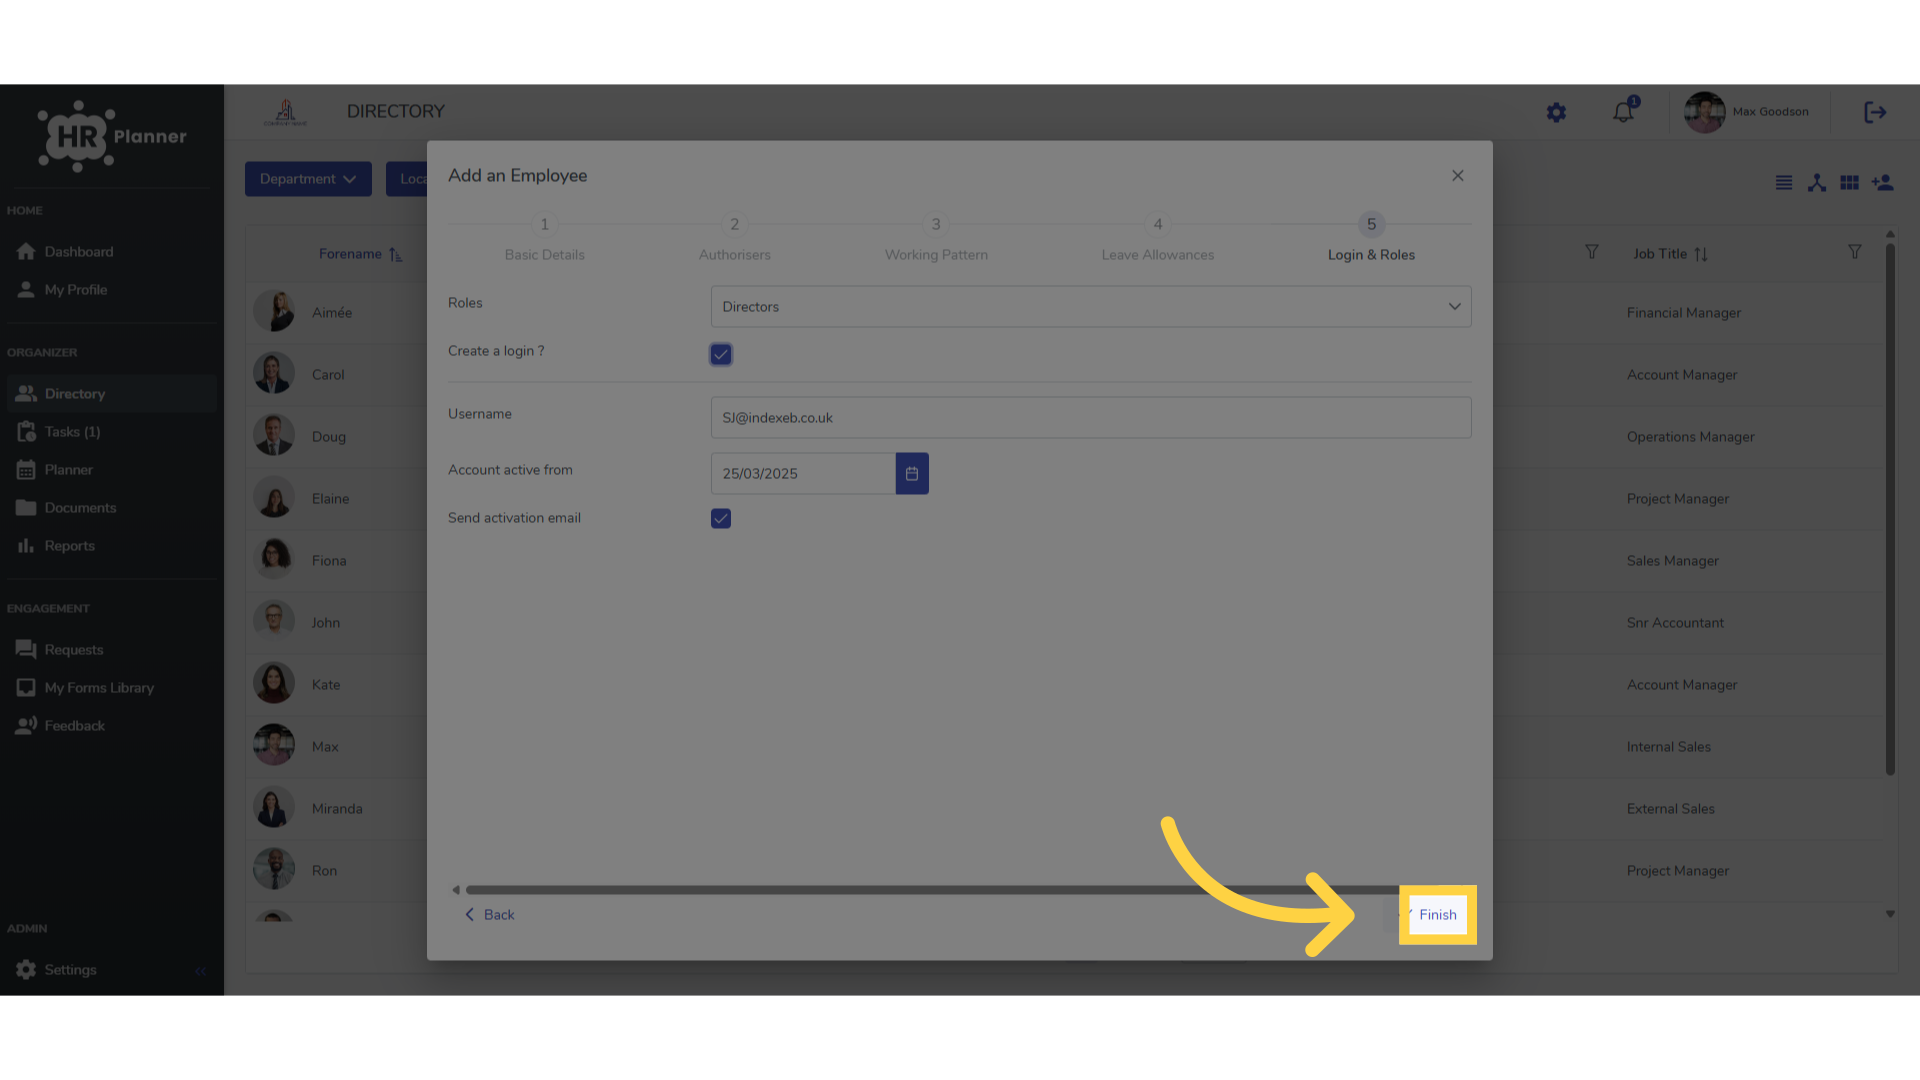
And finally, you can allocate a specific access role for them and create and send their log-in details.
13. Click “Finish”
Click Finish to complete
This guide covered the detailed process of adding a new user in hr planner, from entering user information to assigning roles and completing the setup. By following these steps, you can effectively onboard new employees for a seamless experience.