
Enhance your employee profile information in HR Planner by adding your own Attributes.
1. Introduction
This guide will walk you through the steps to create a new Attribute and how to populate it with information.
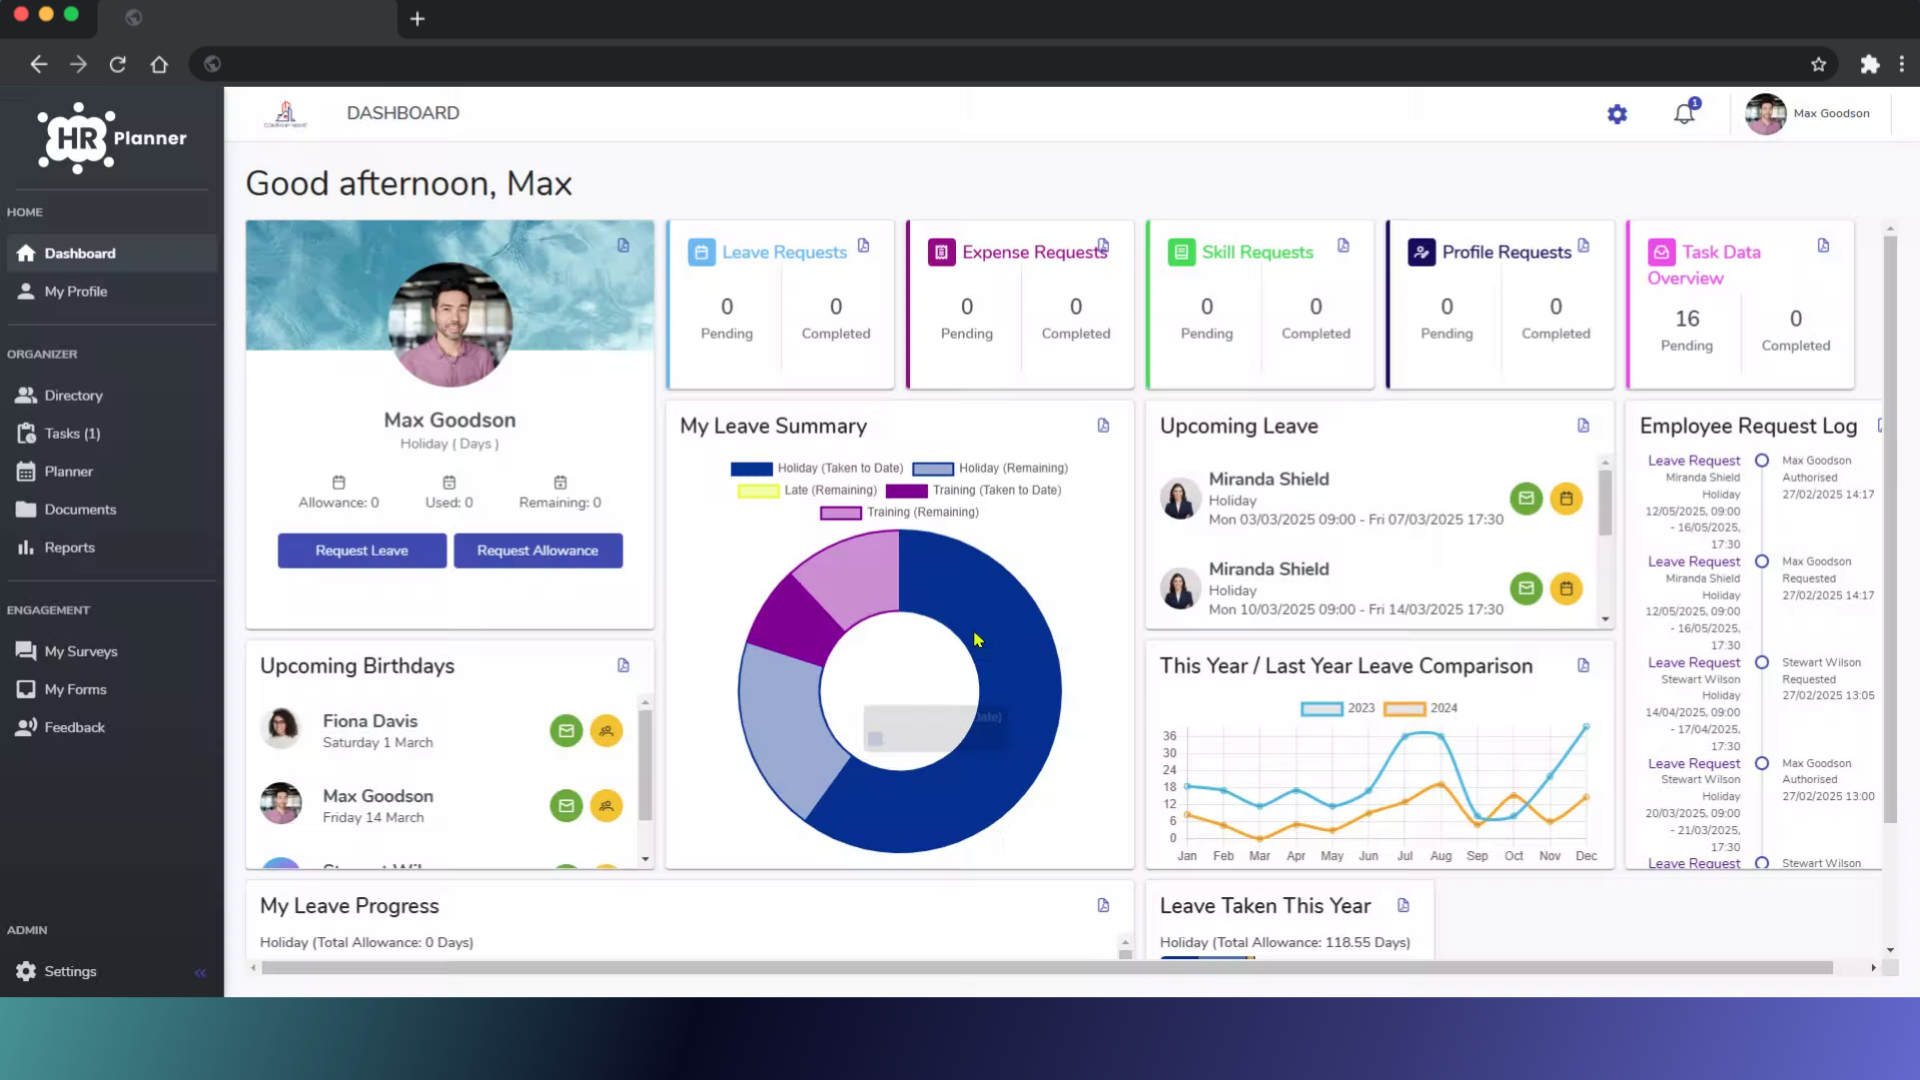
2. Click “Settings”
Access the settings menu.
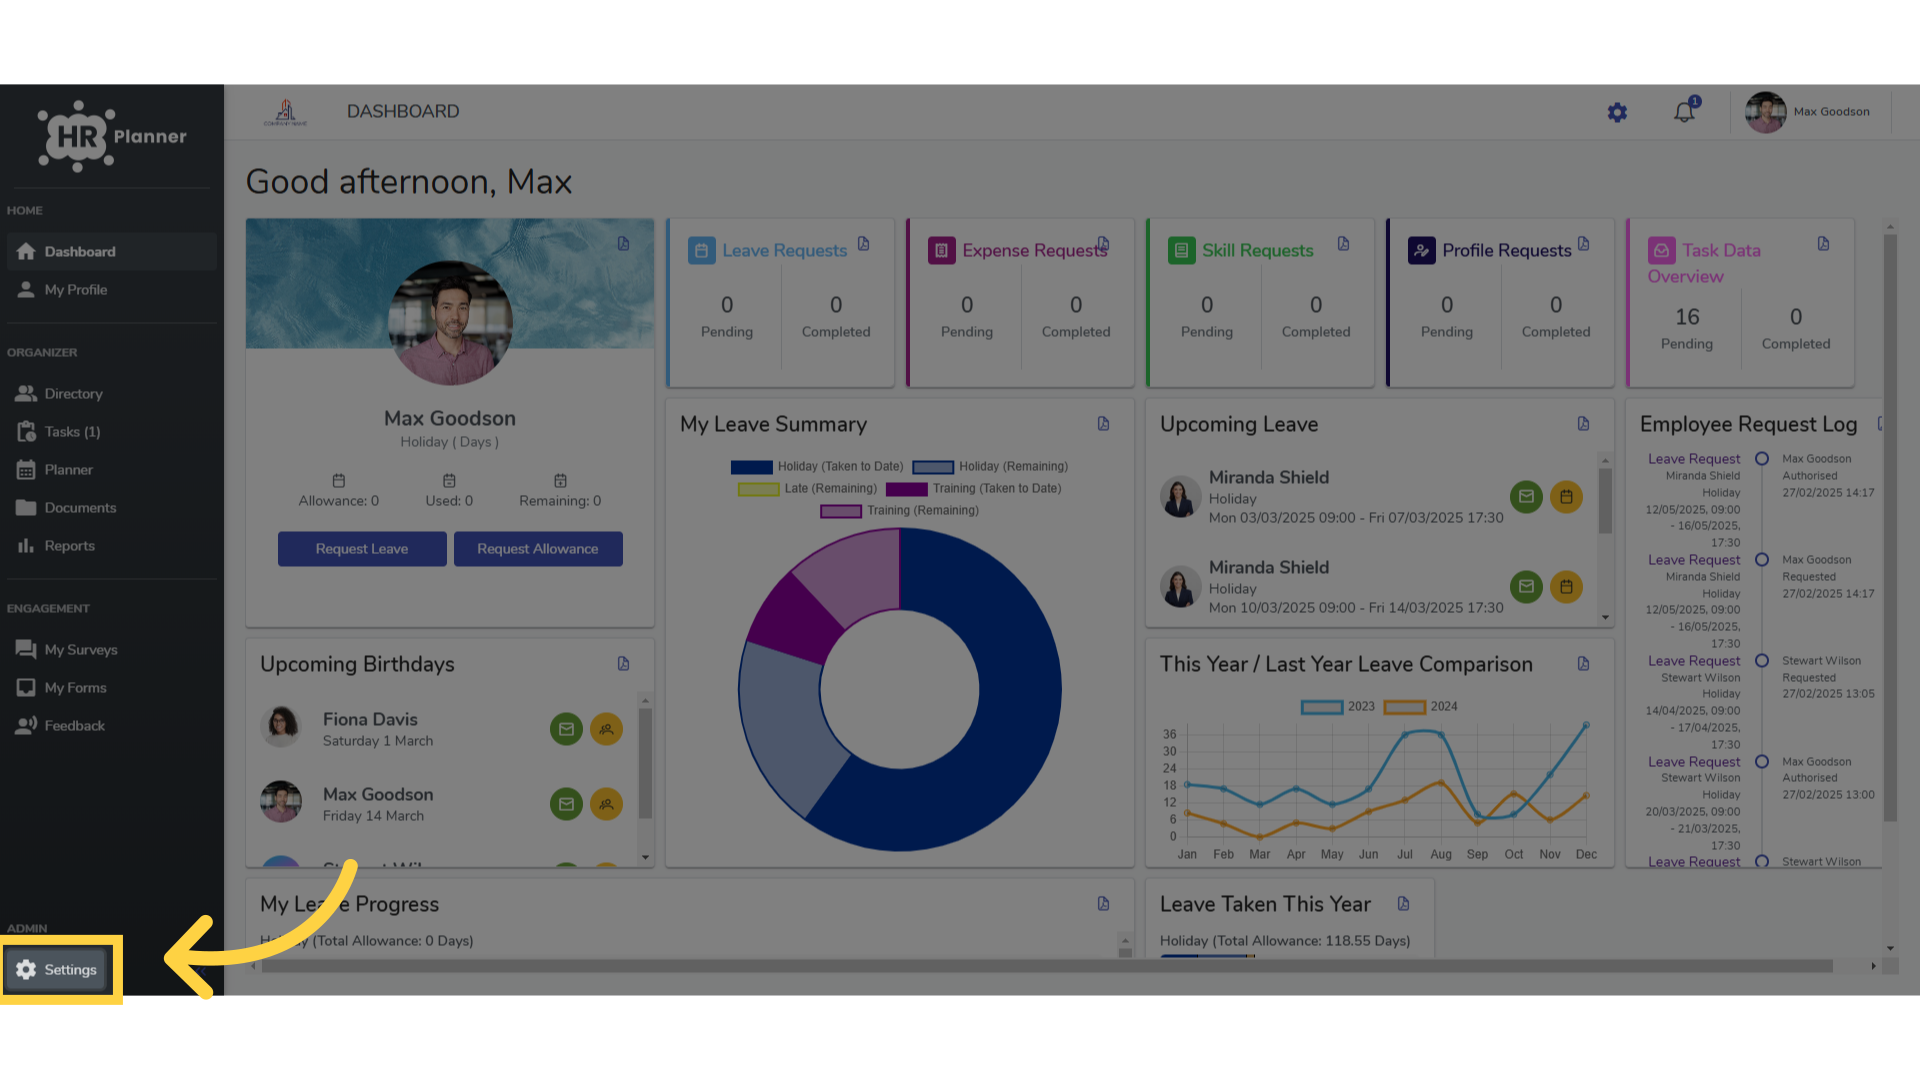
3. Click “Attributes”
Navigate to the attributes section.
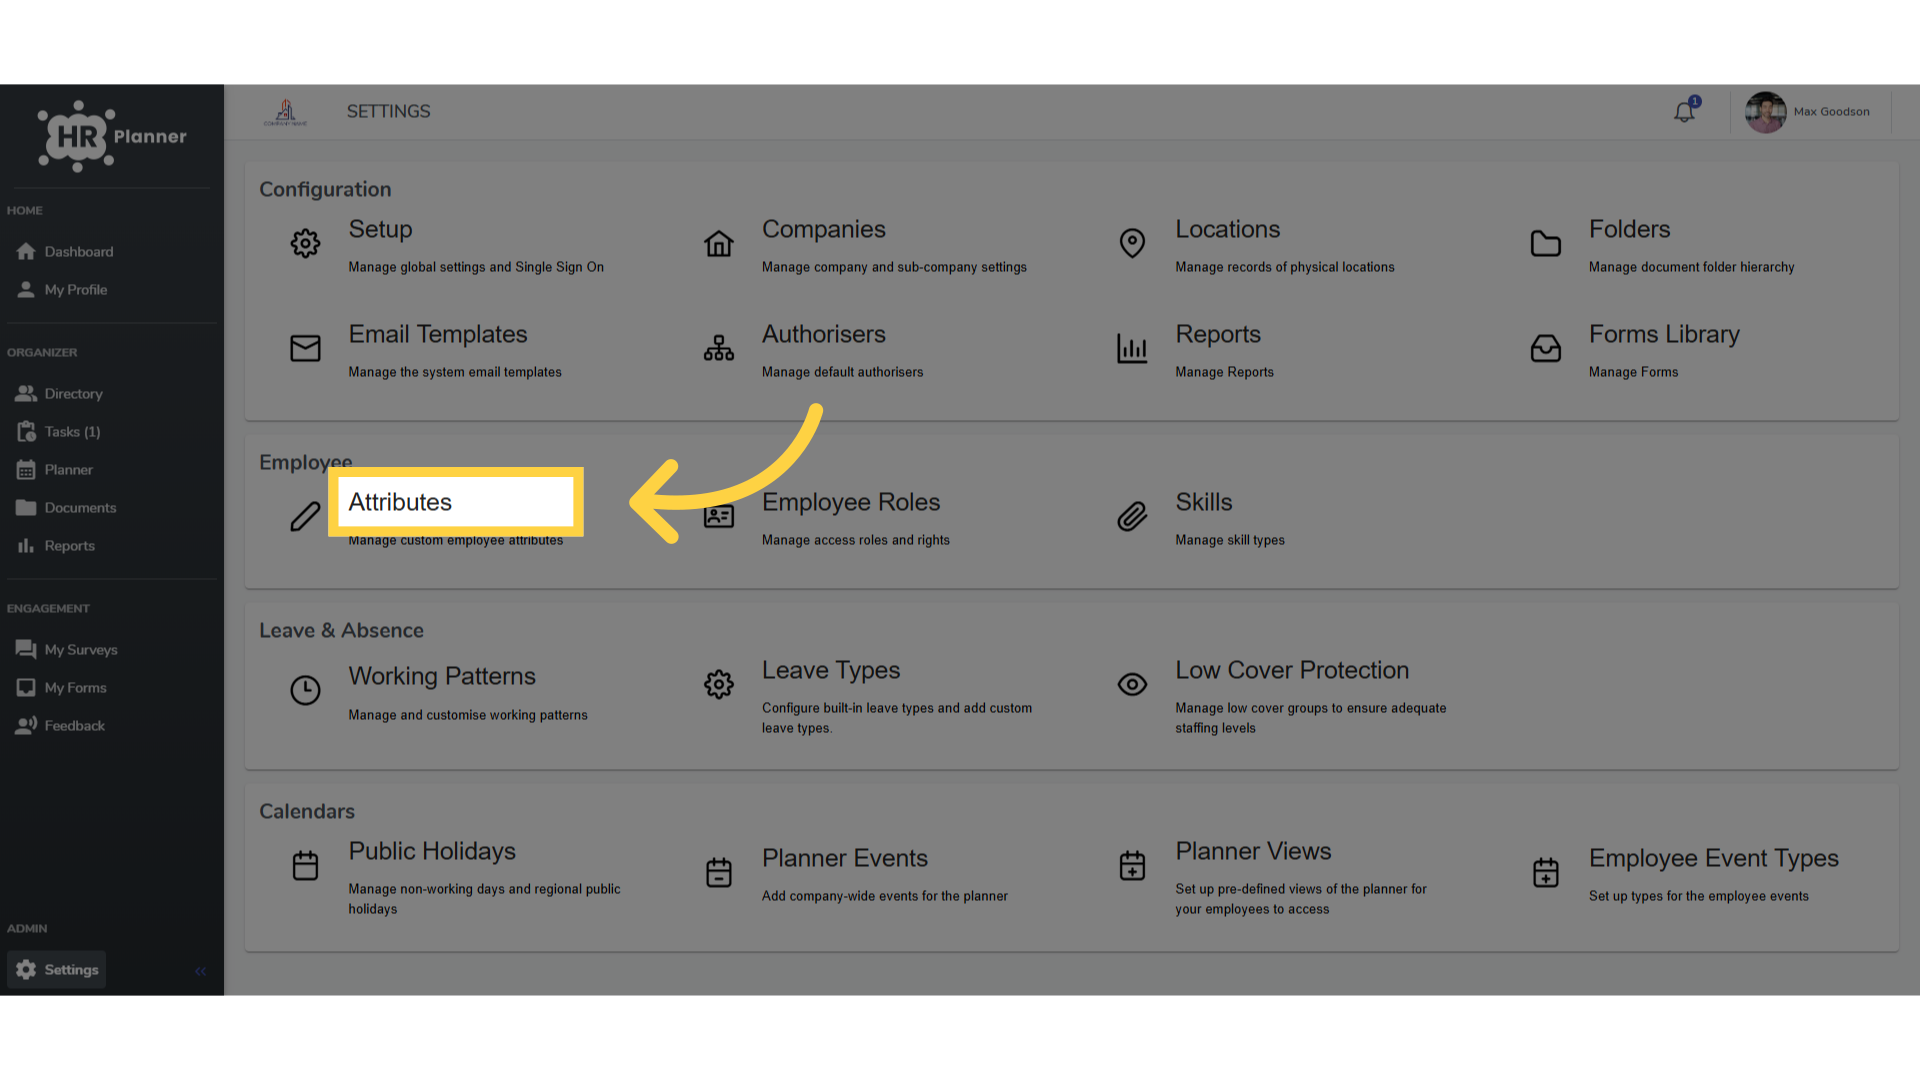
4. Choose a section
Select the section to add a new attribute to.
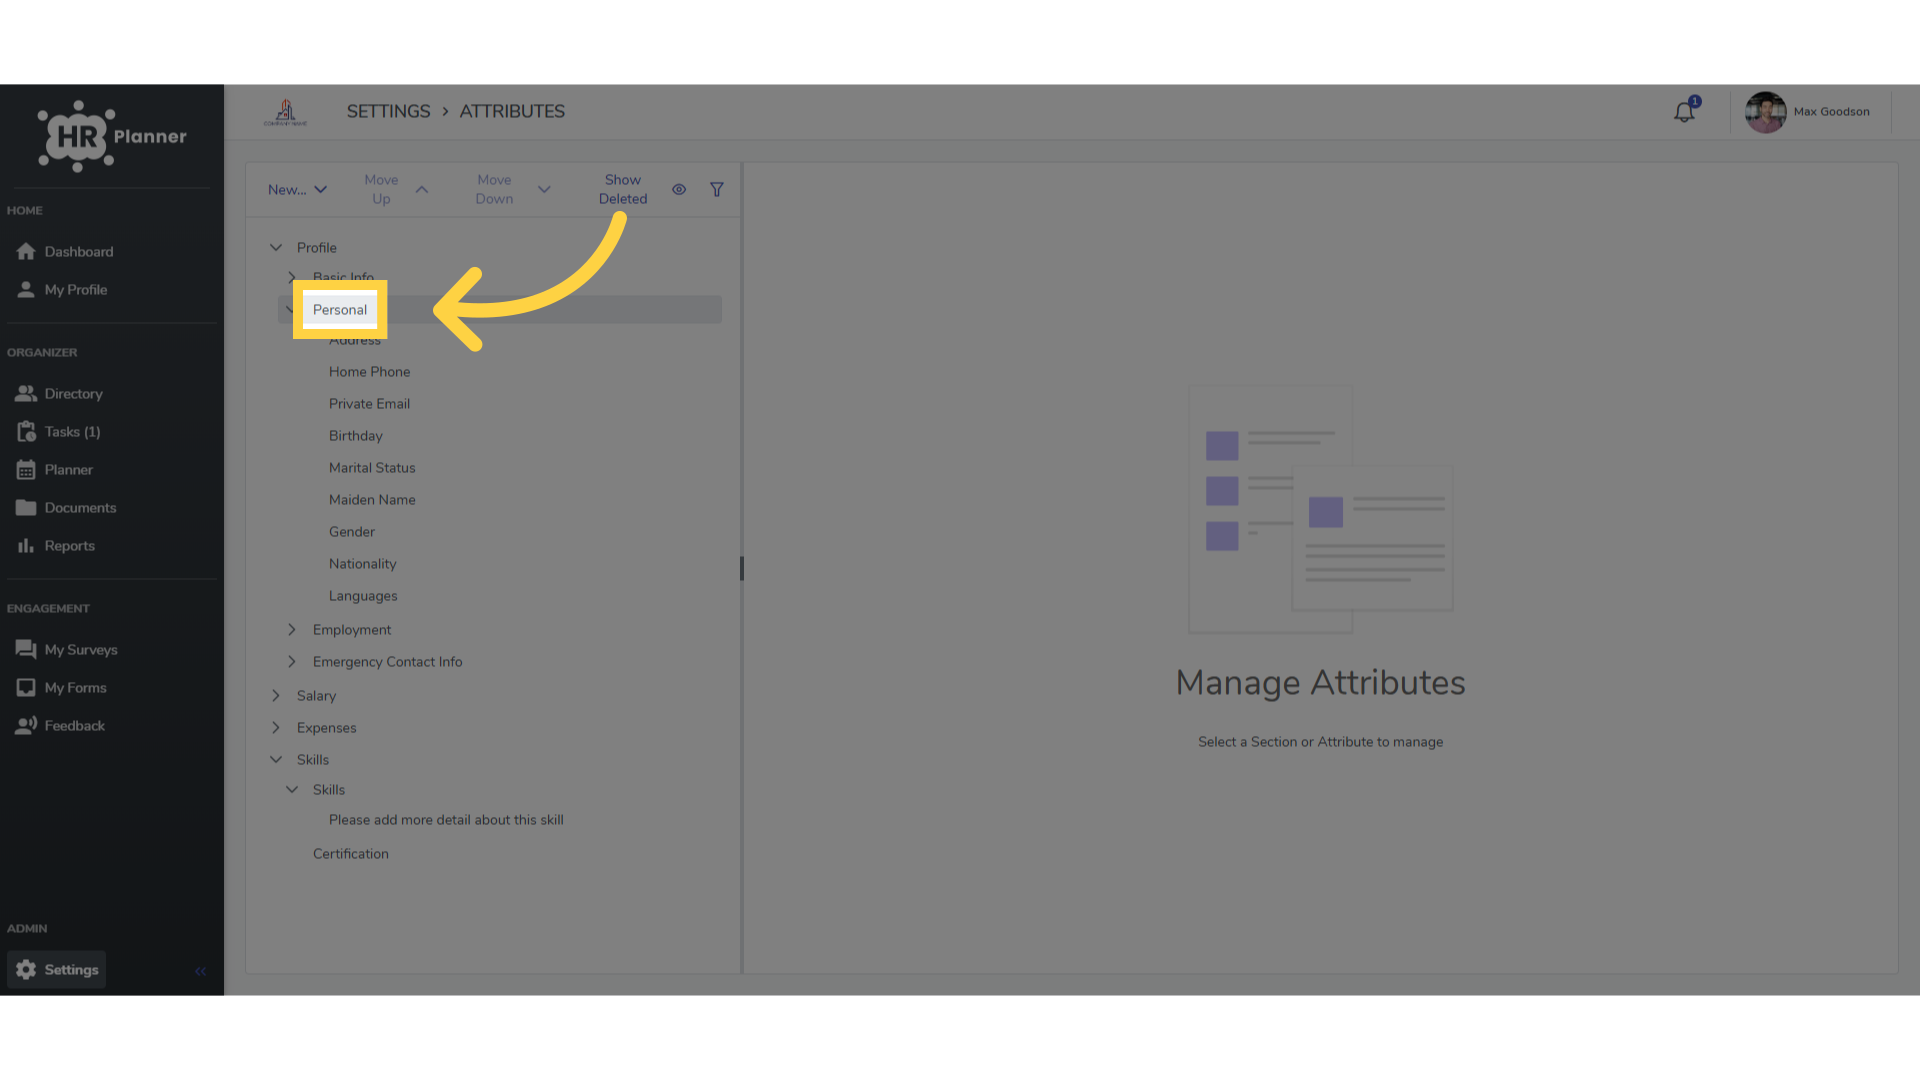
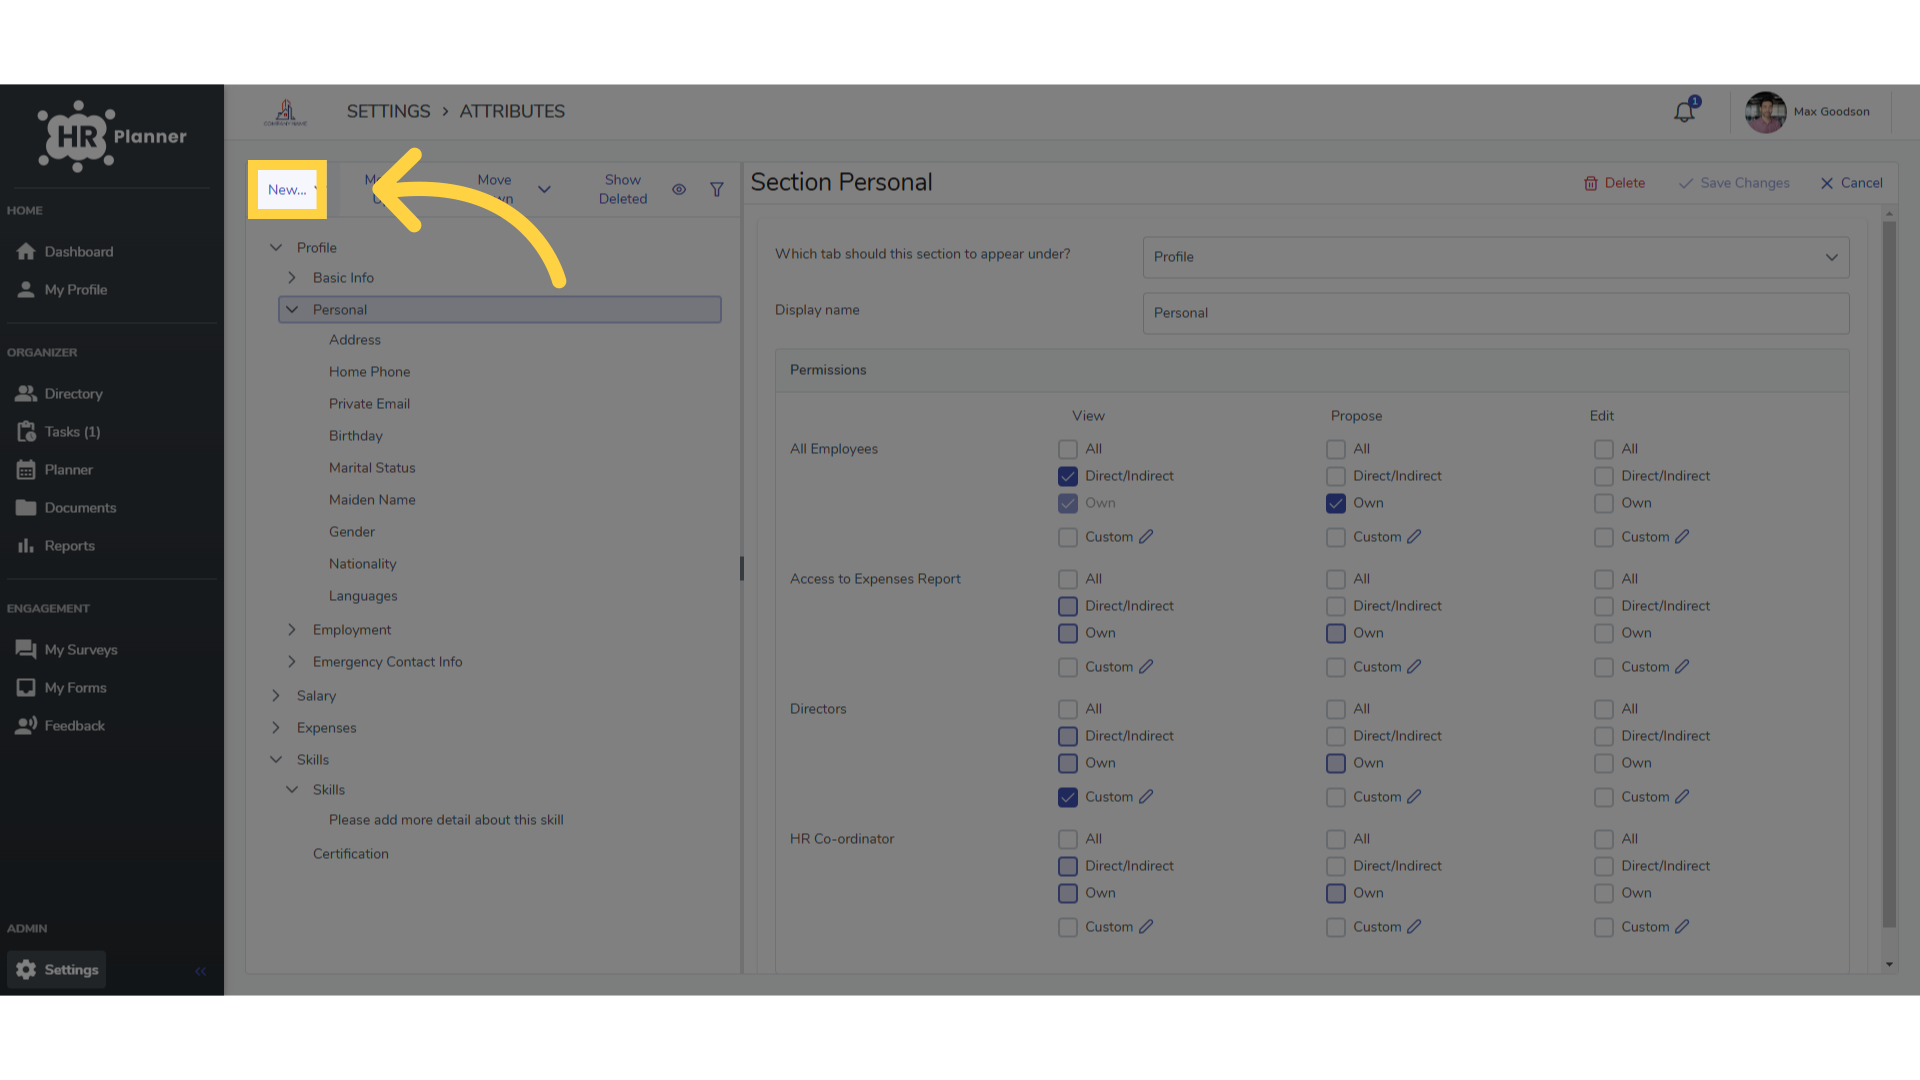
5. Click “New…”
Click Add New
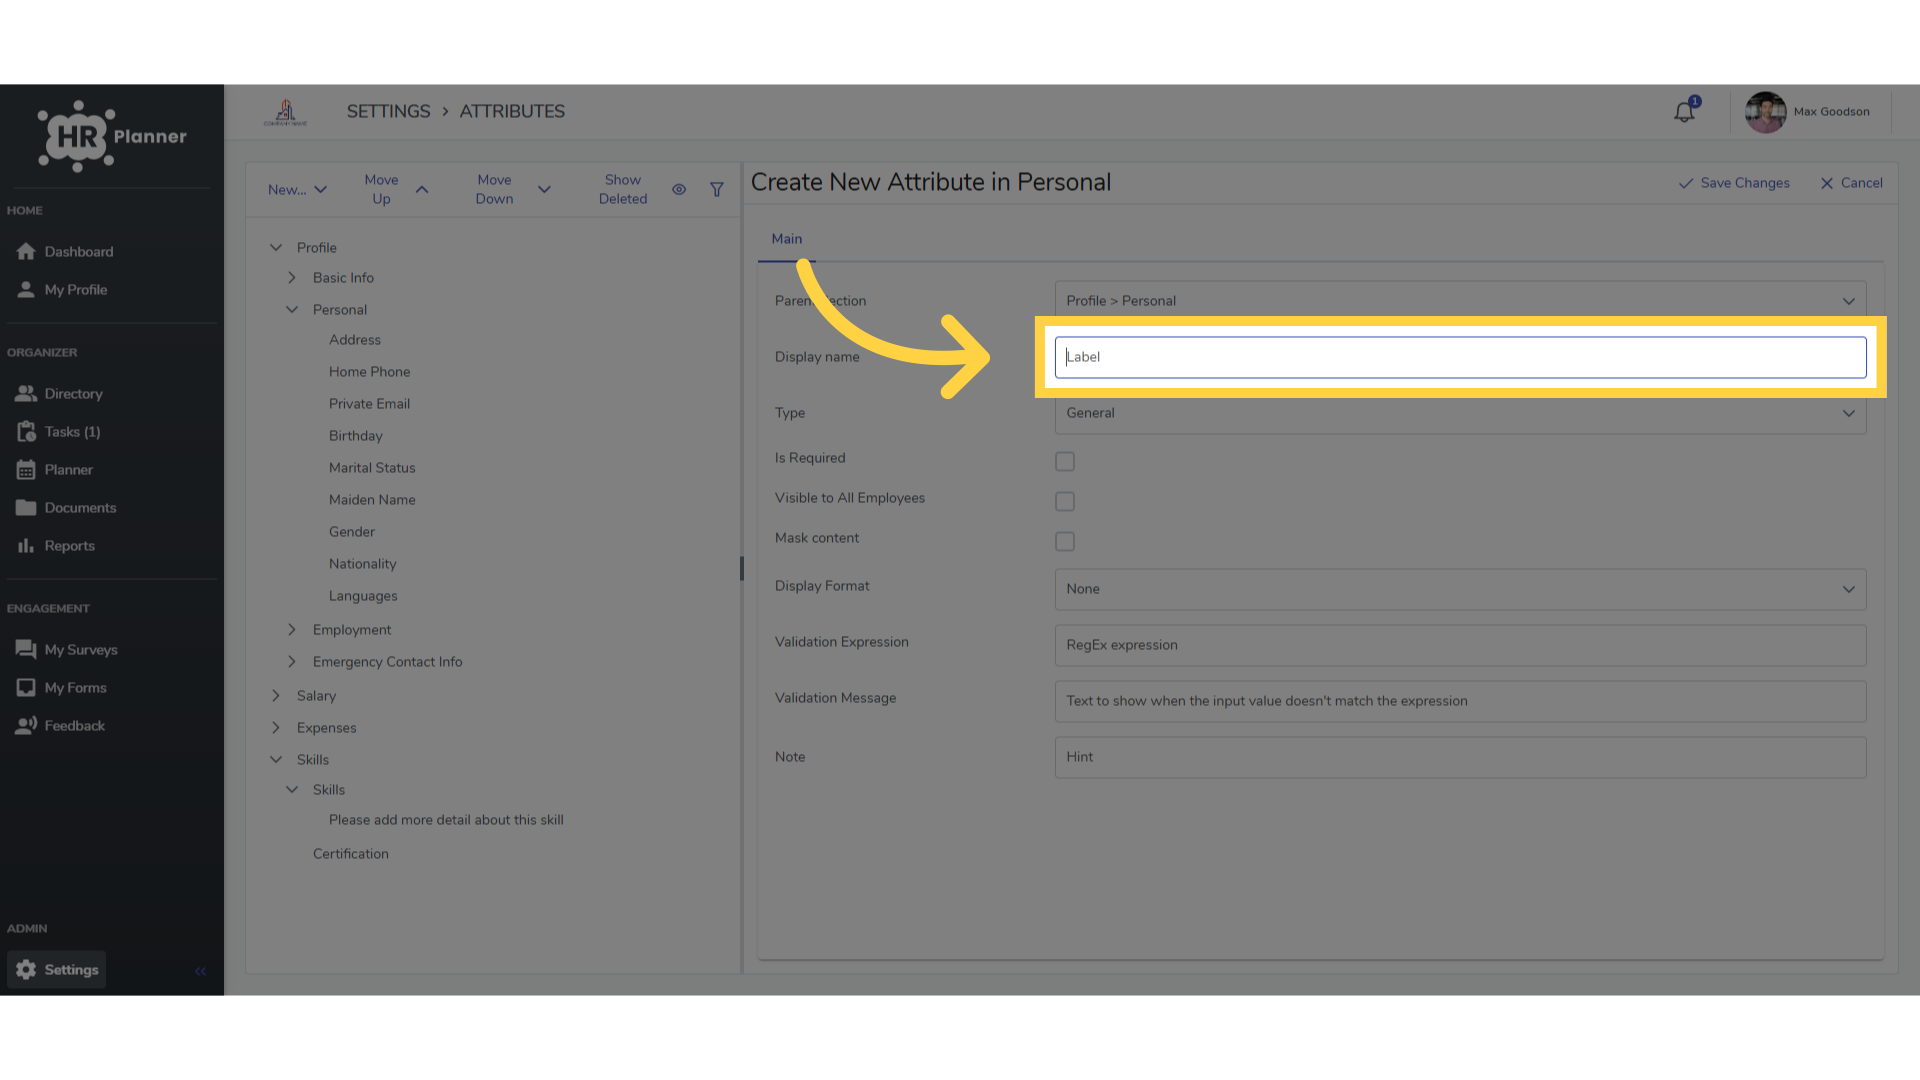
6. Click “Label”
Give your new attribute a name
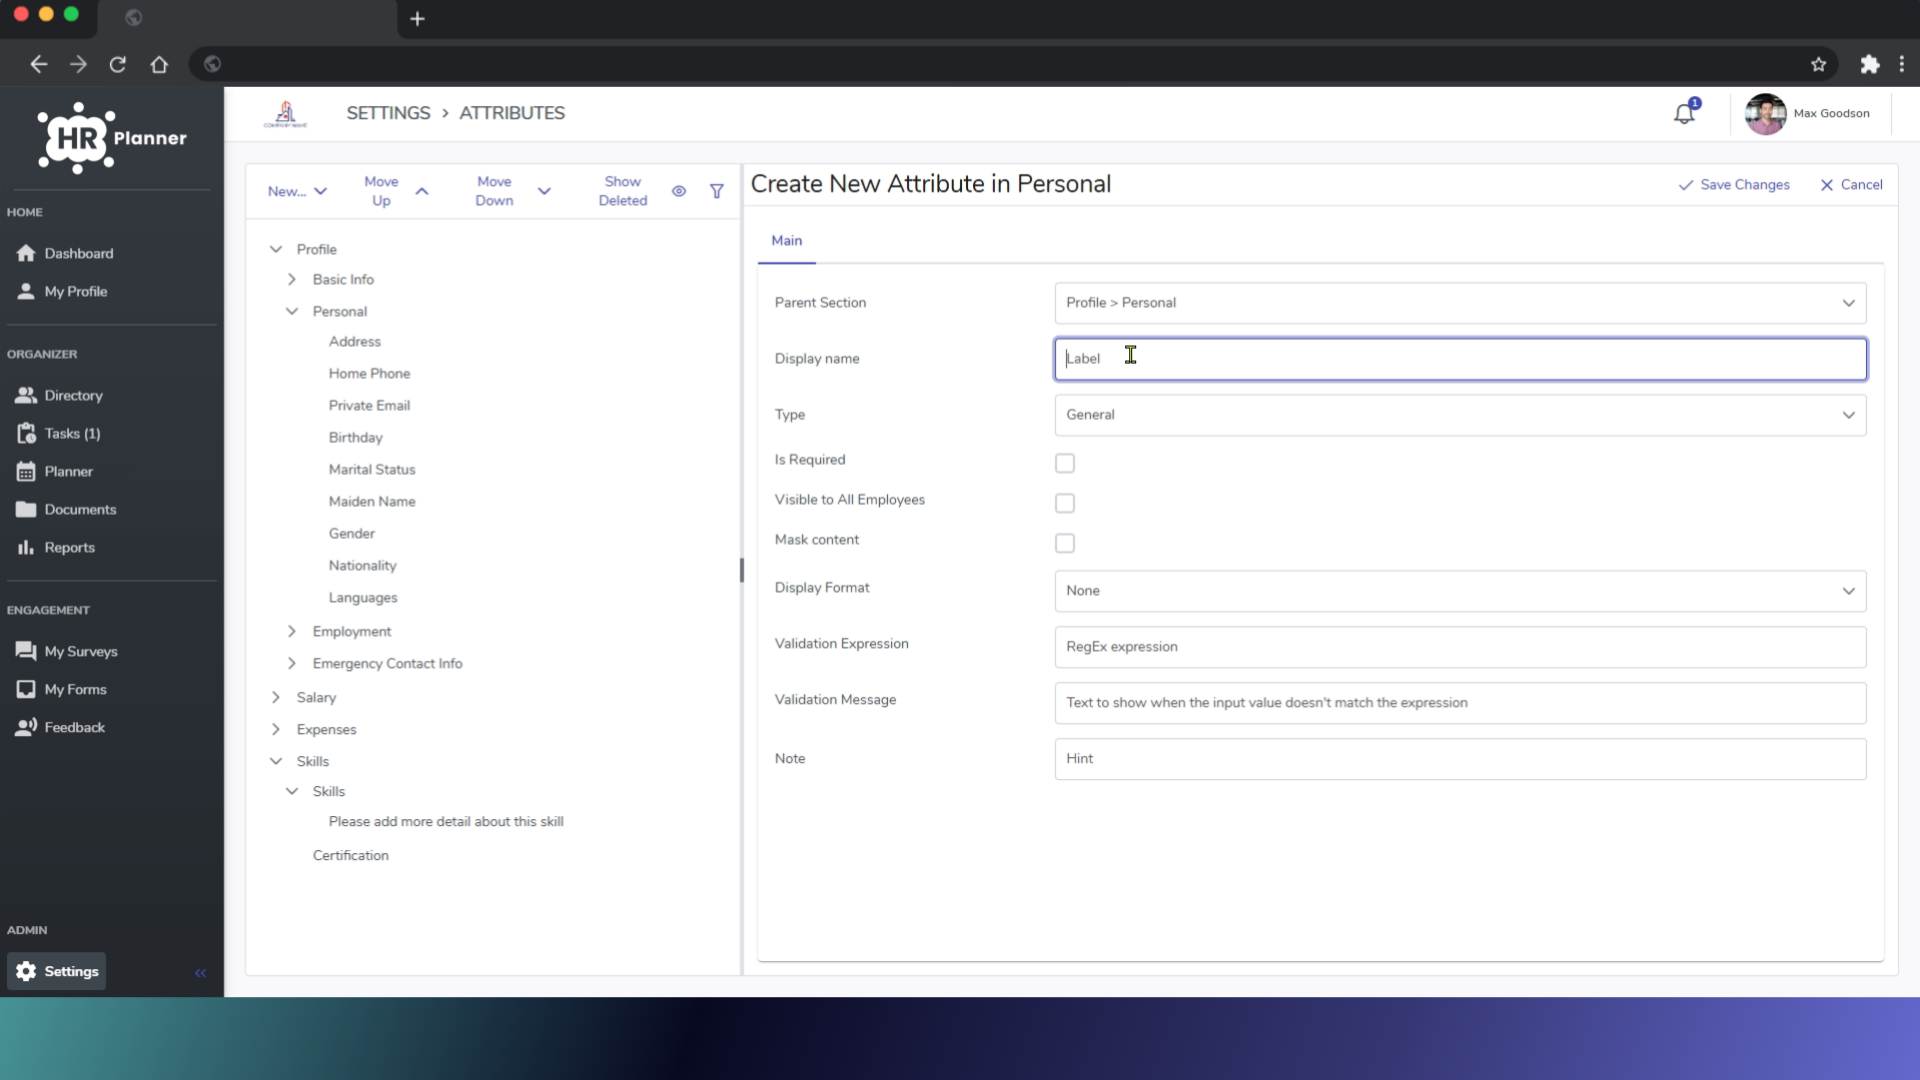
7. Fill “Car Registration”
Such as “Car Registration” for example
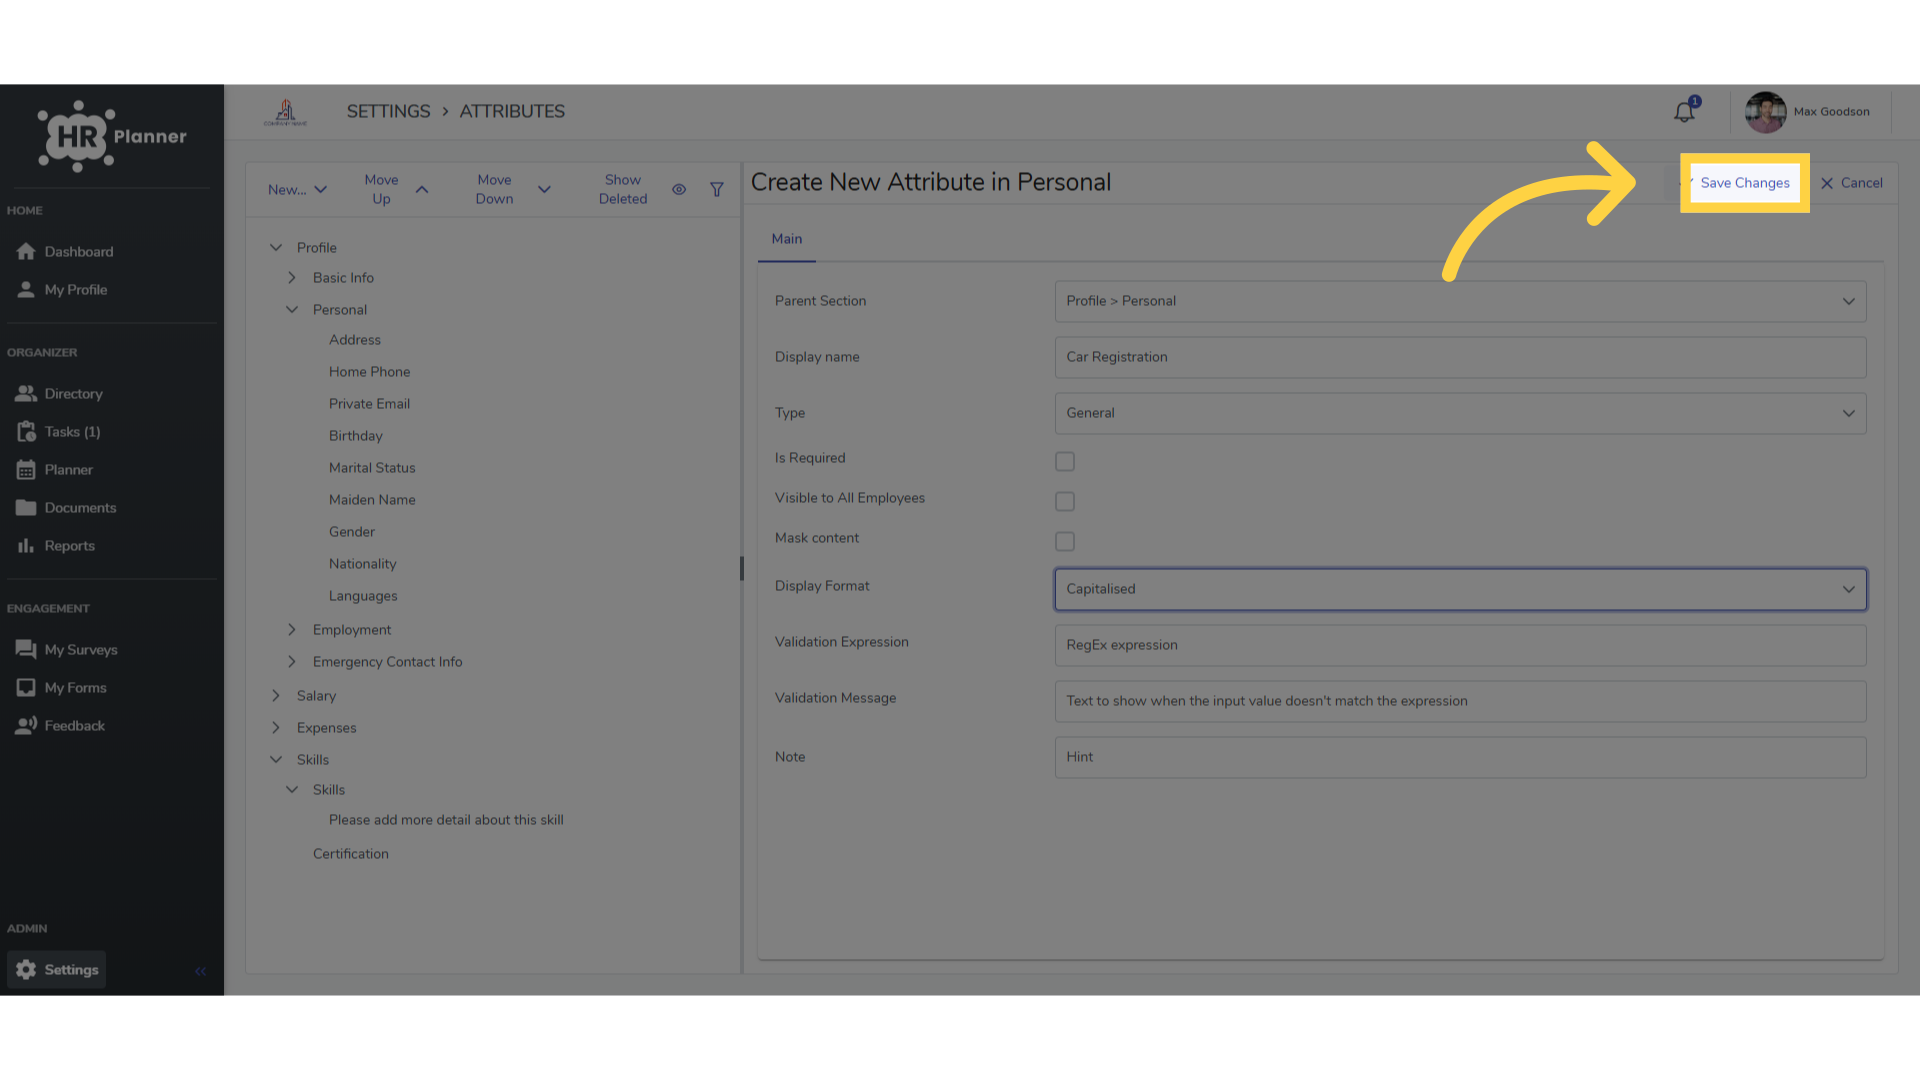
8. Click “Save Changes”
Save the changes made.
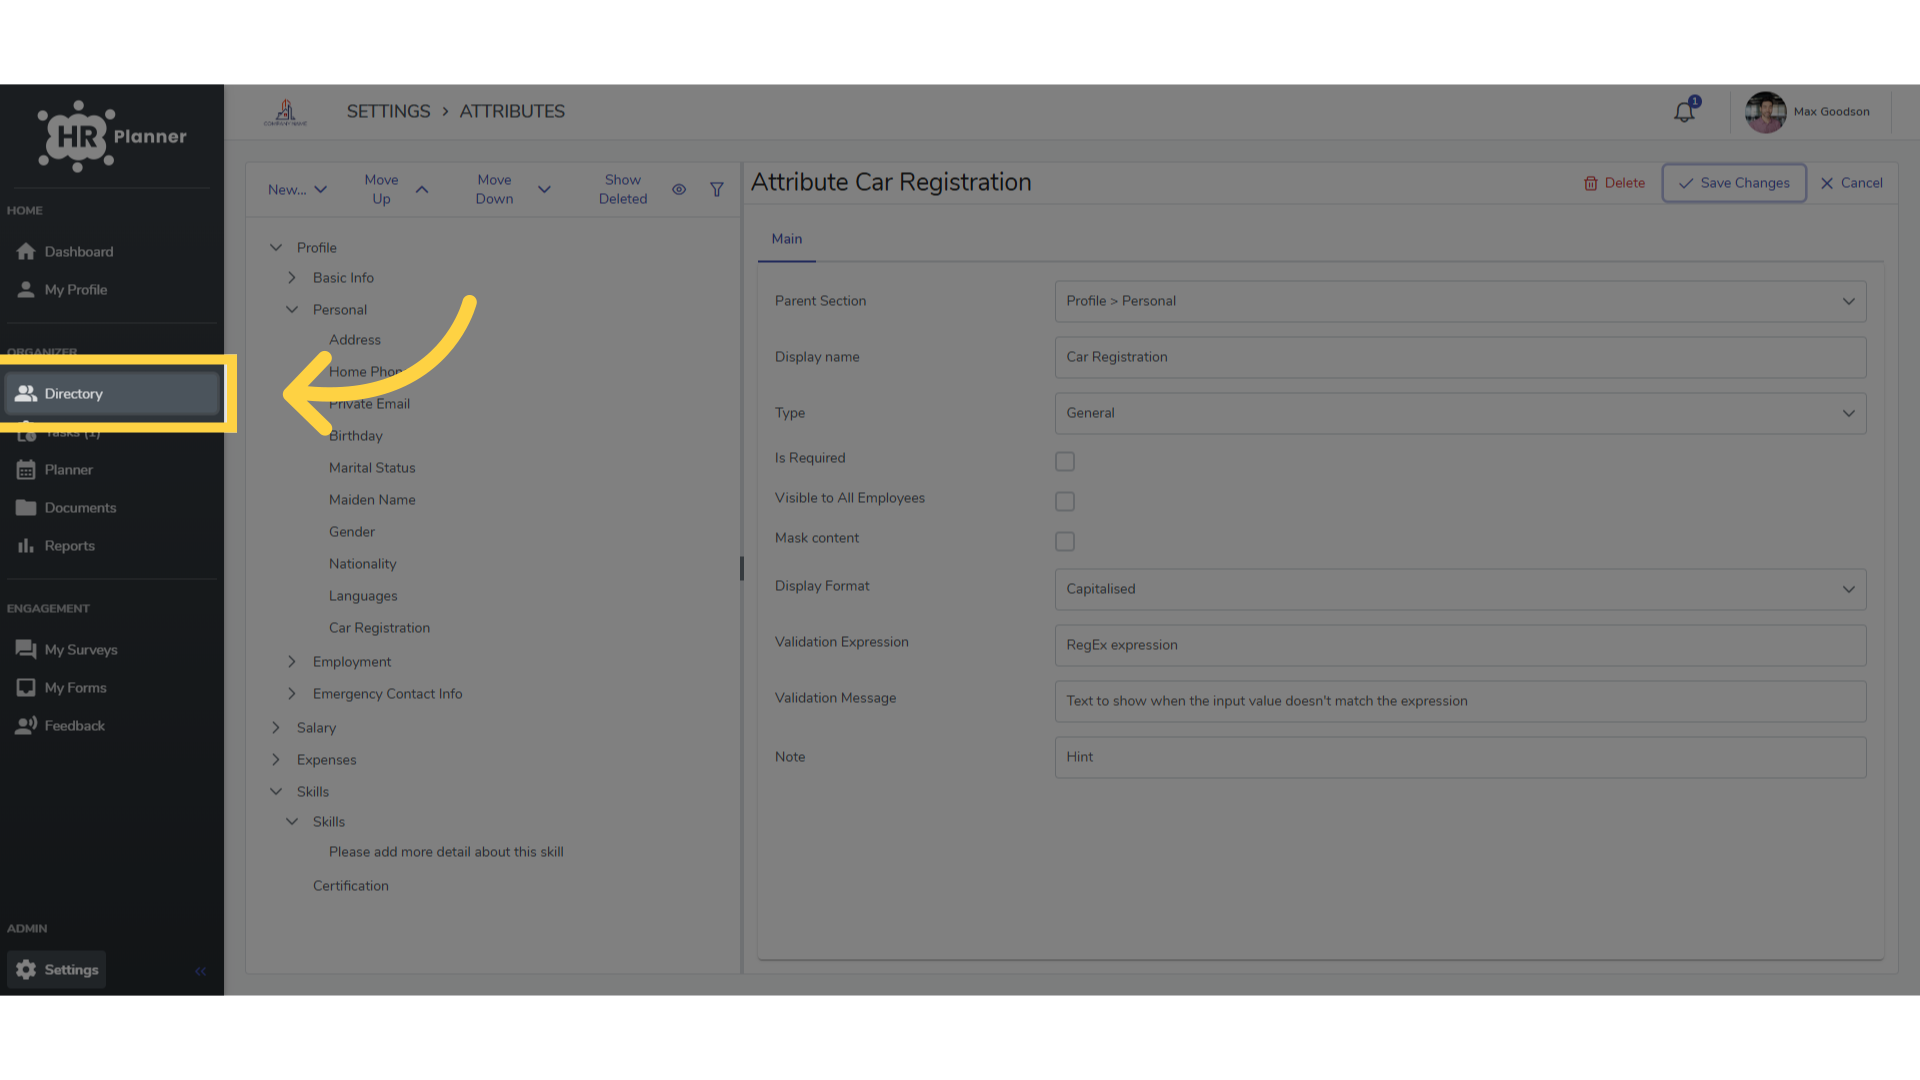
9. Click “Directory”
To view this new attribute Navigate to the directory section.
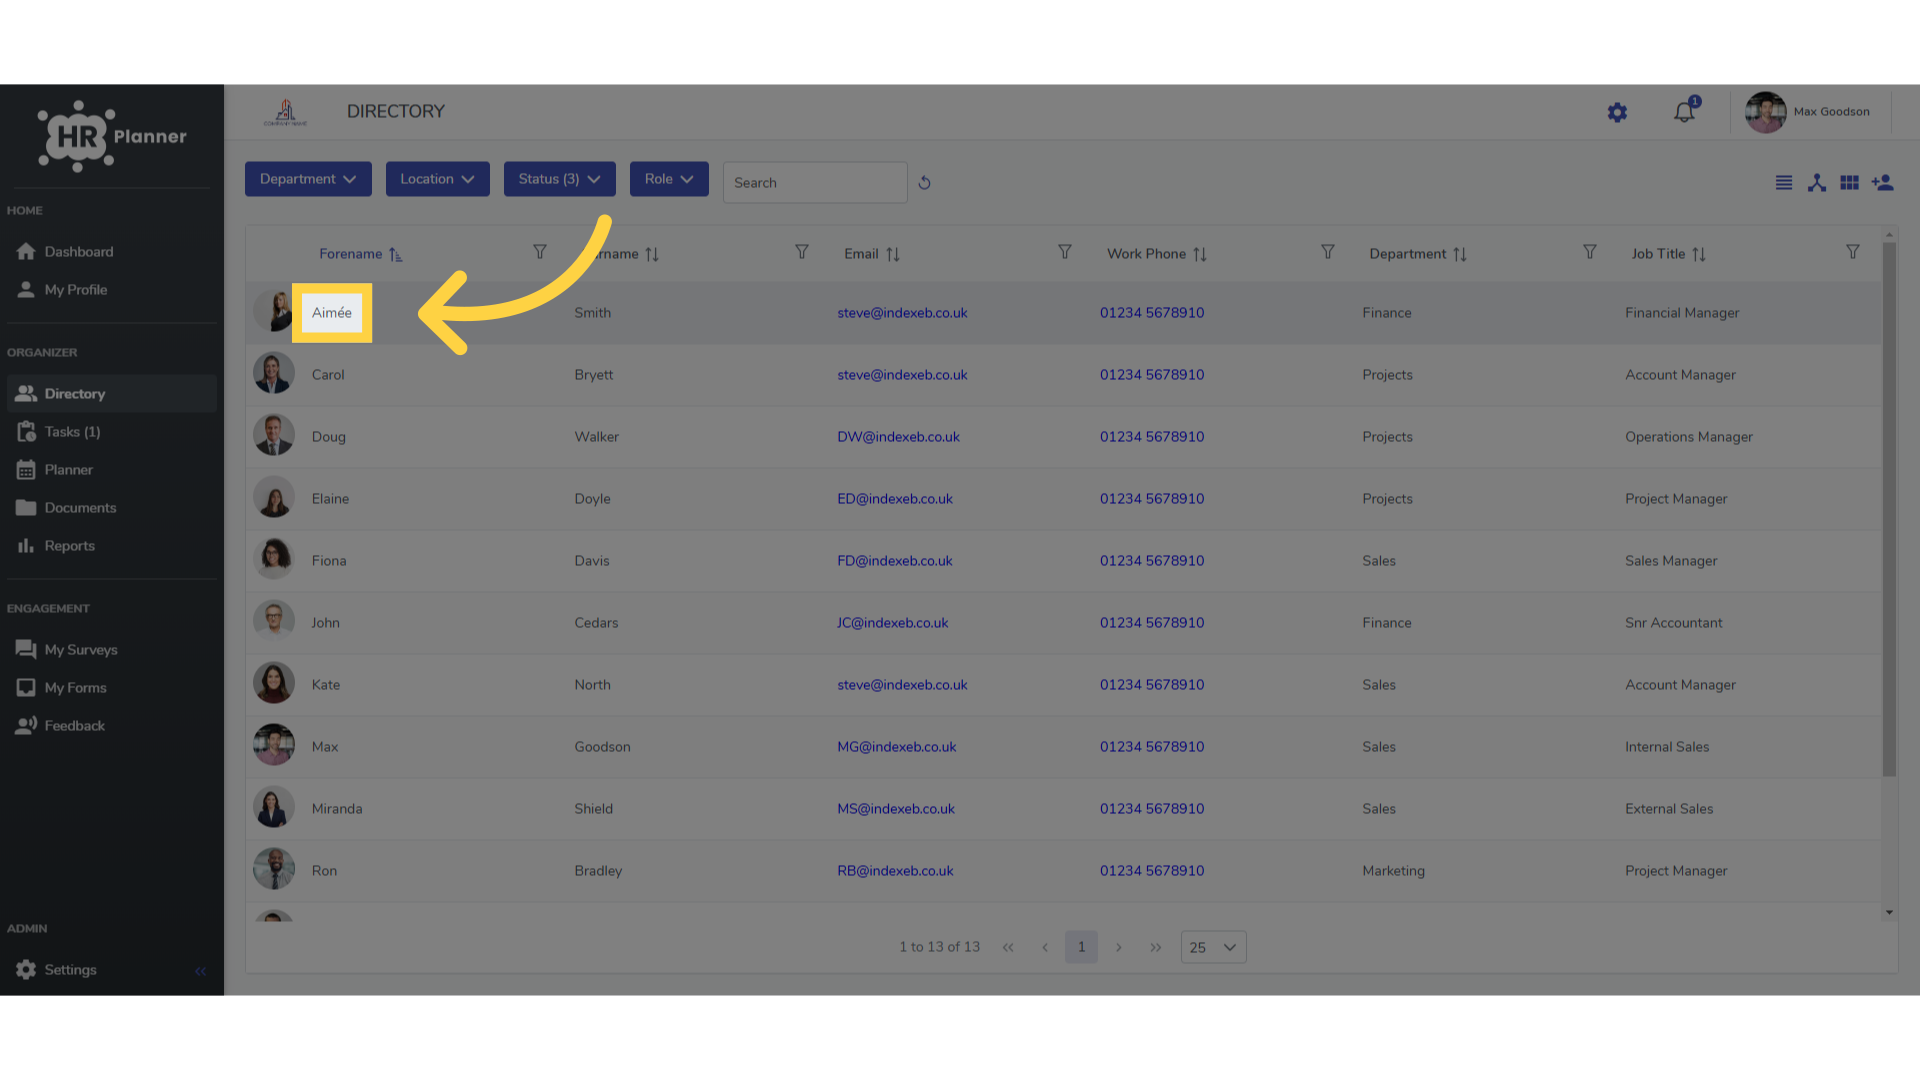
10. Select an Employee
Choose an employee.
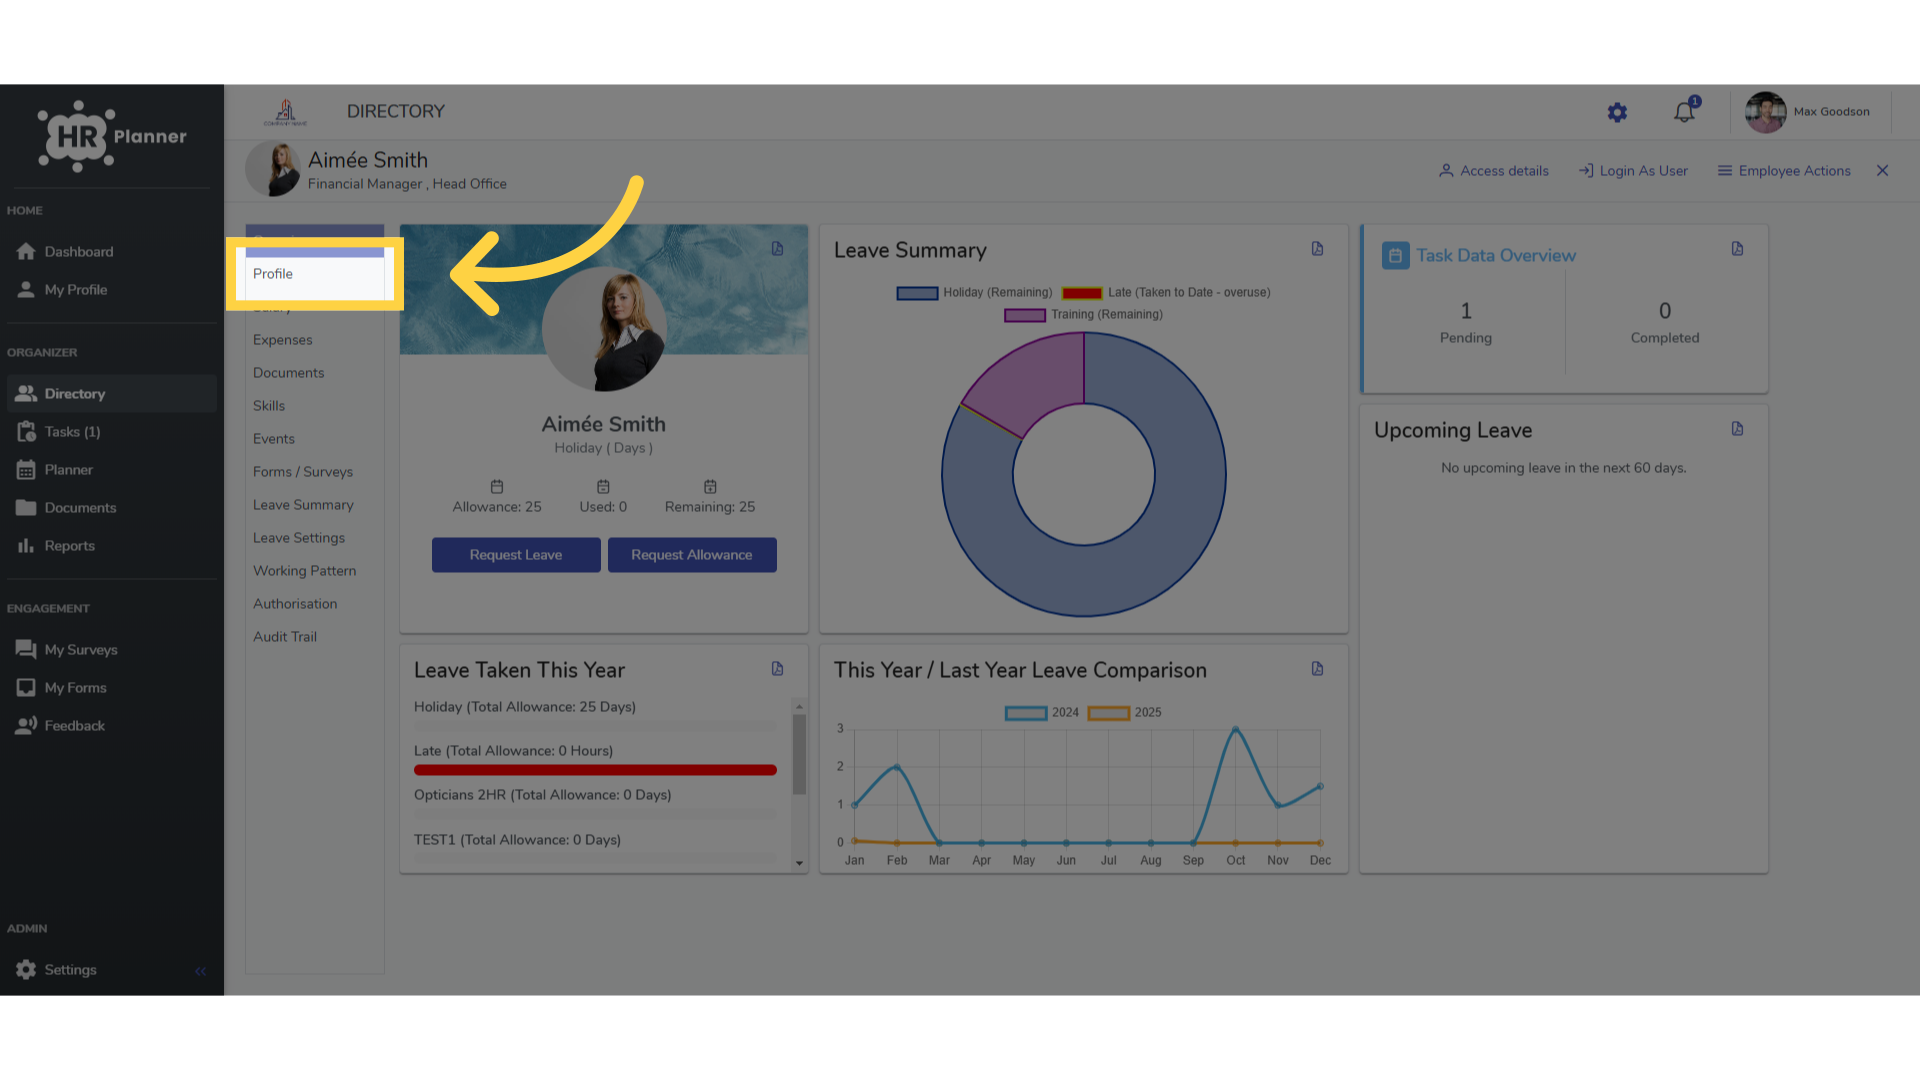
11. Click “Profile”
Access the employee’s profile.
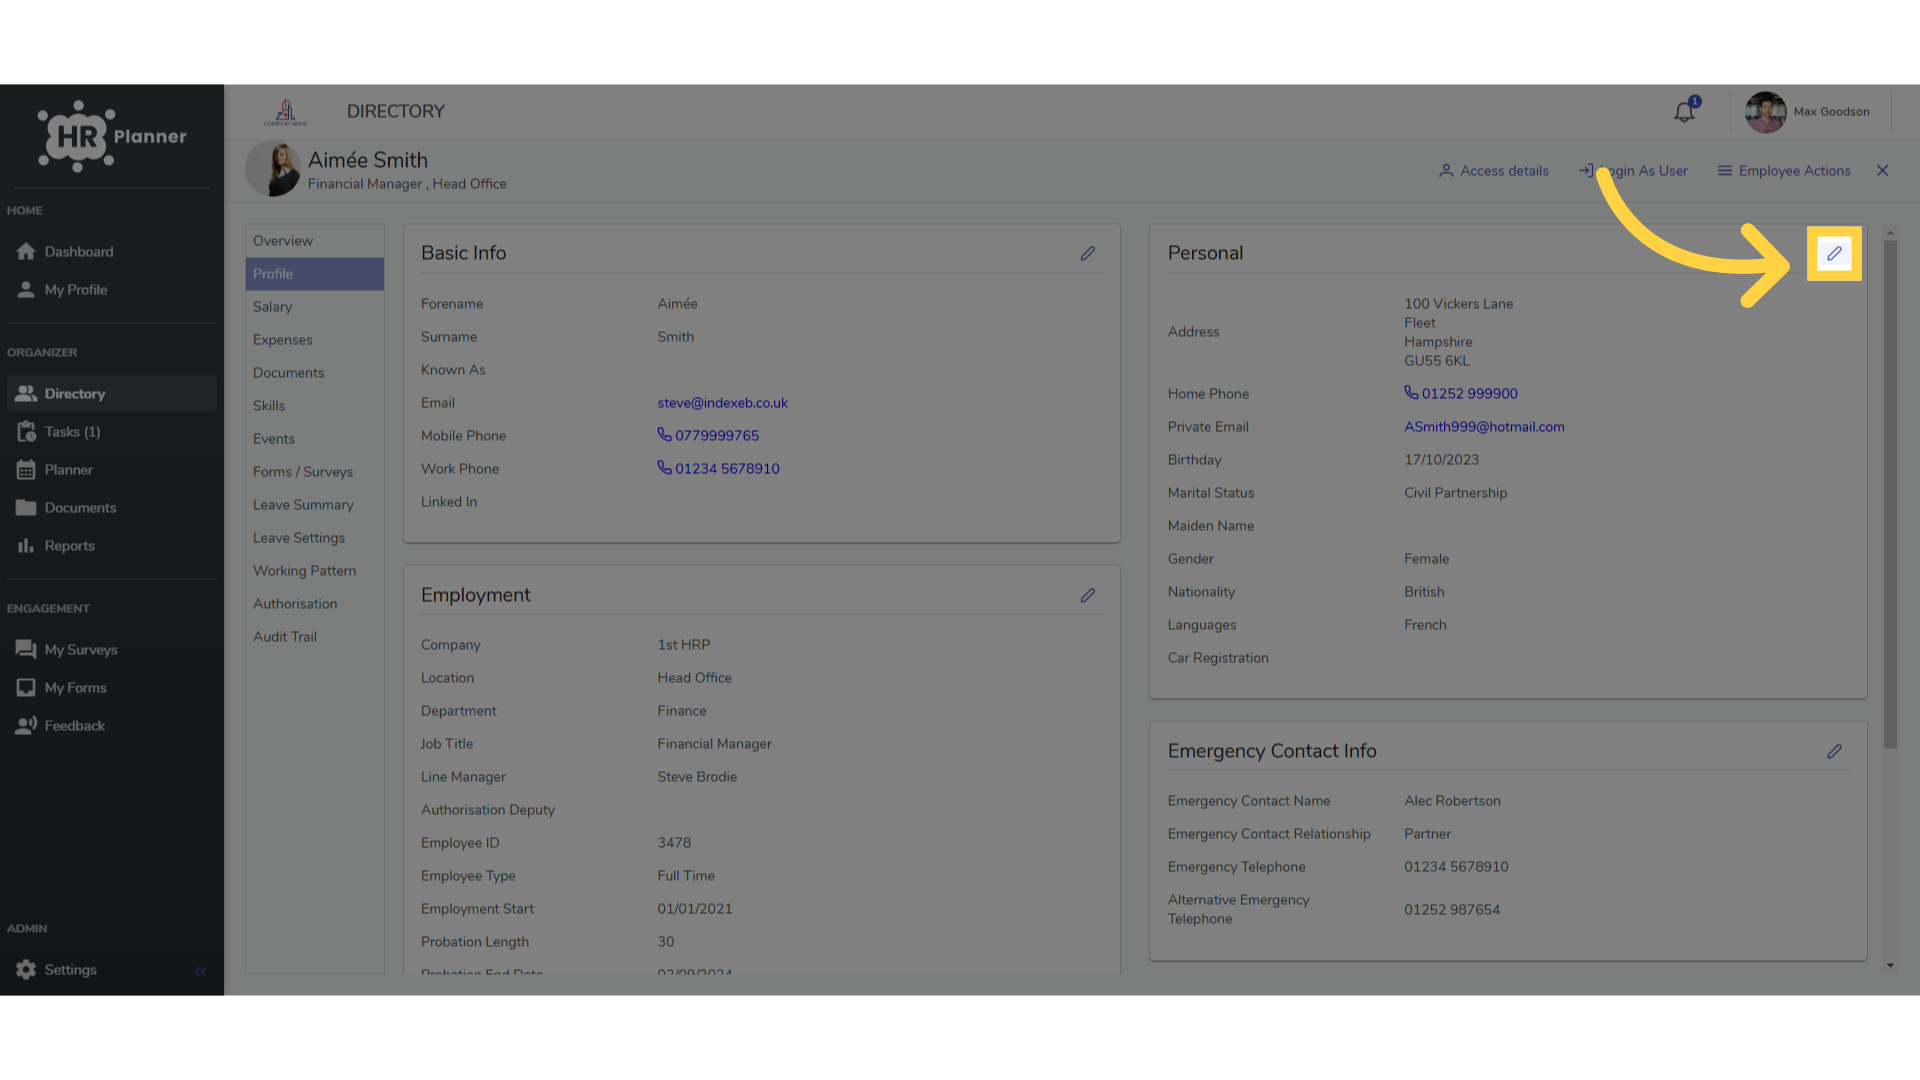
12. Click Edit
Click Edit
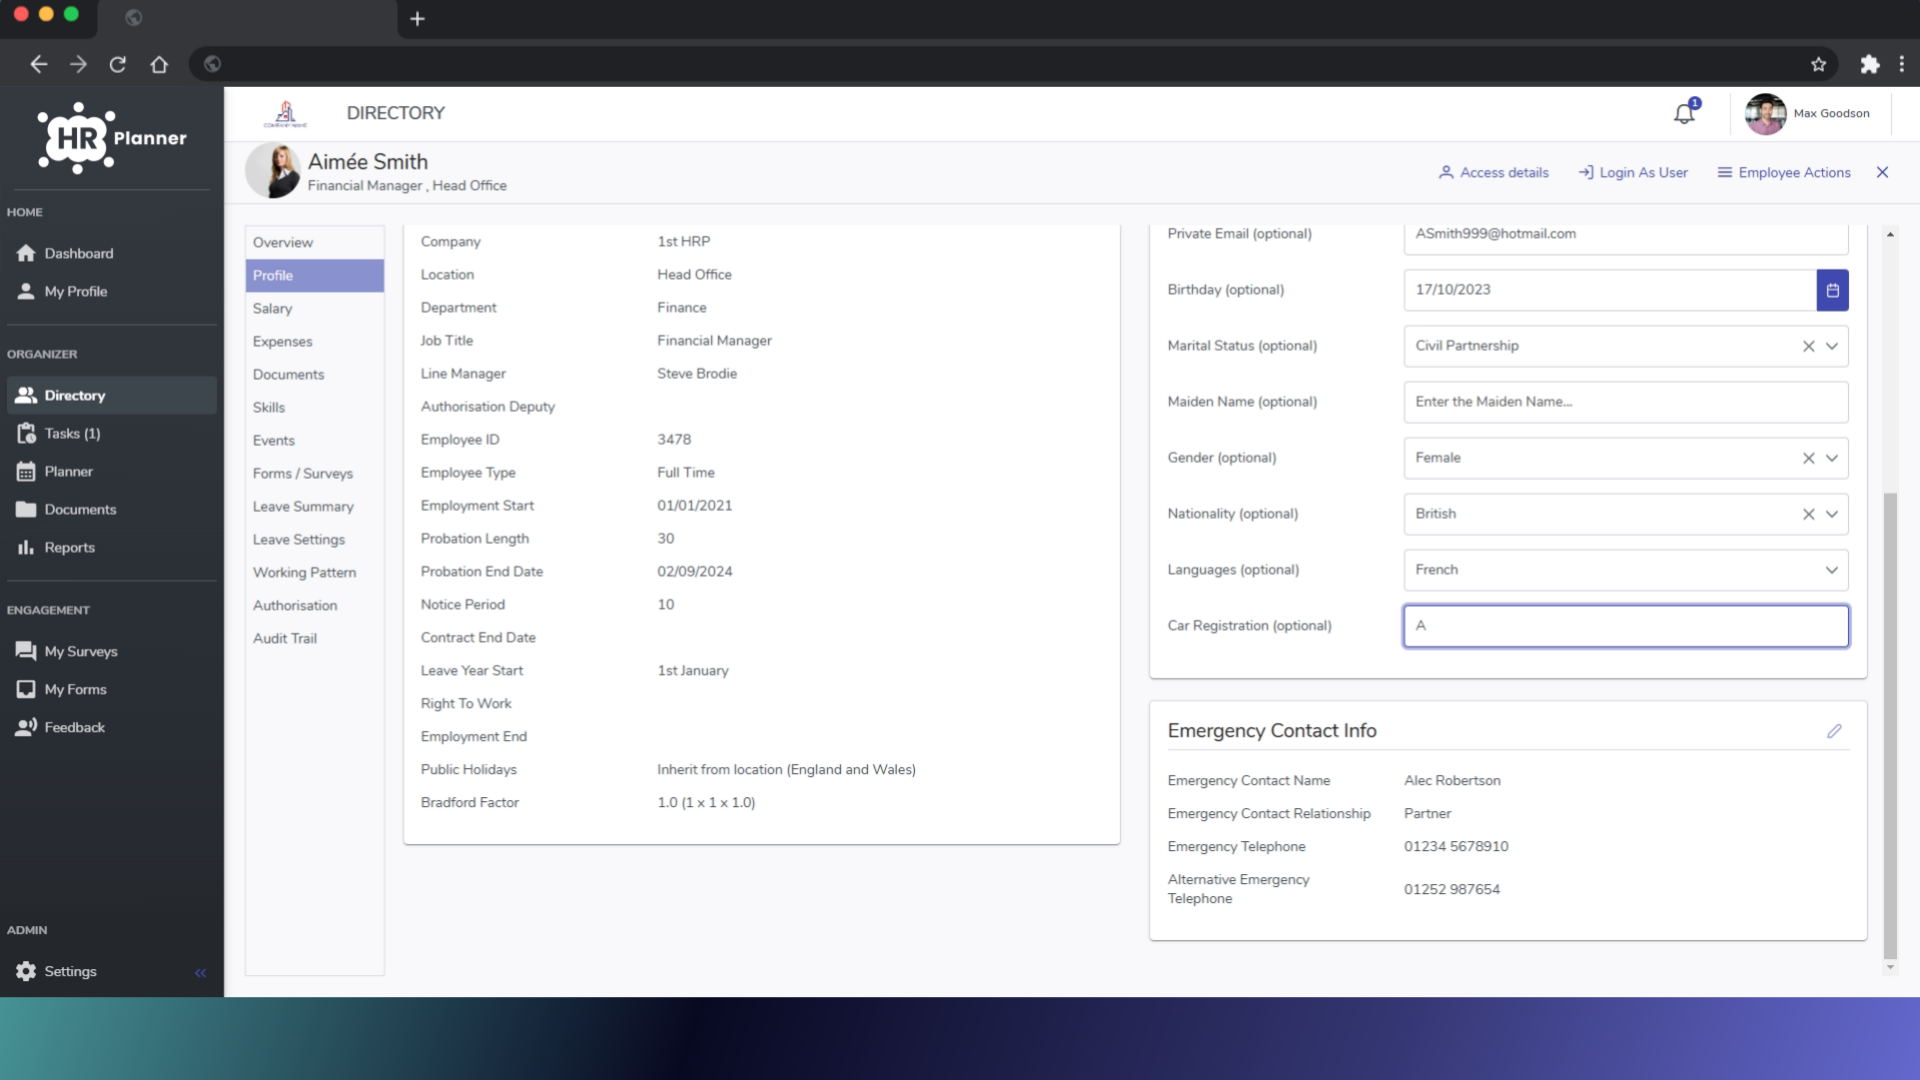
13. Click in the field
Click in the field and enter the details.
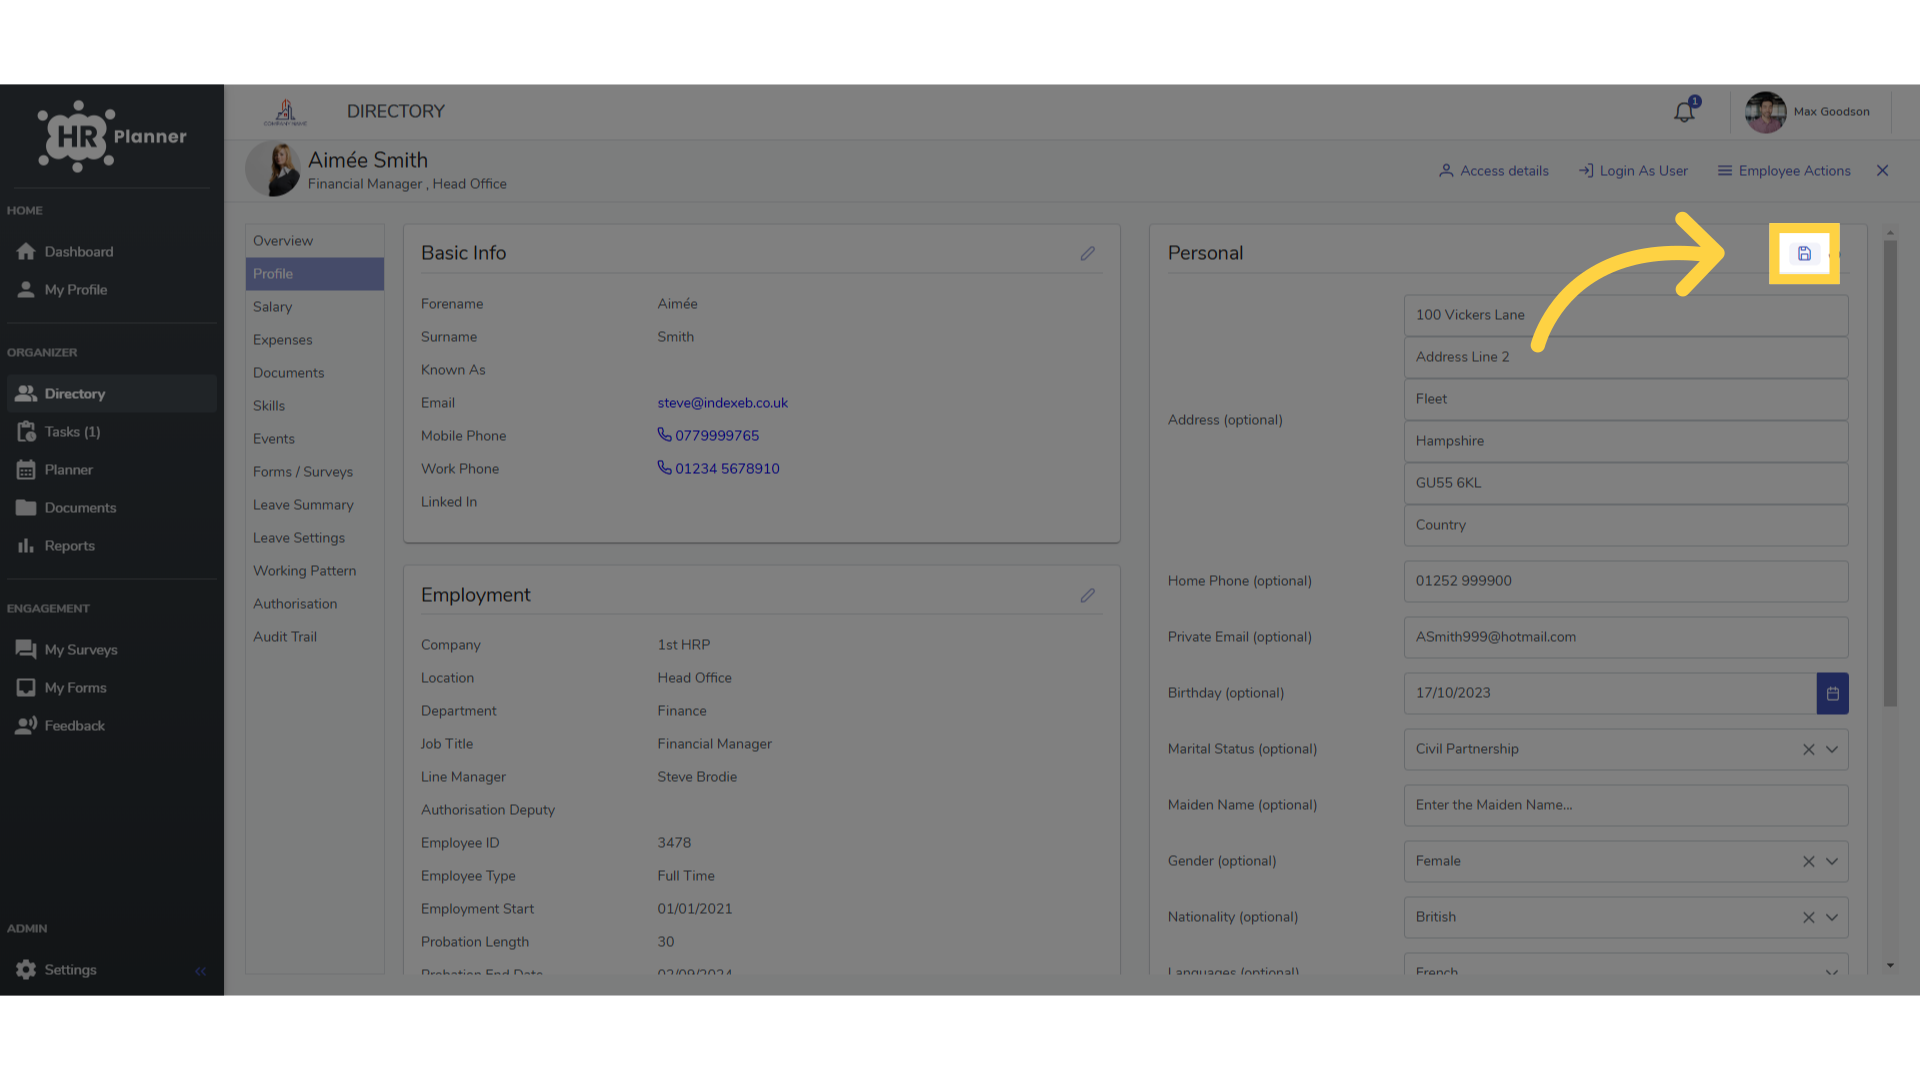
14. Click here
And Save to Finalize the process.
This guide covered adding a new attribute to an employee profile on Onhrplanner, ensuring a streamlined process for enhancing employee training and customization.