
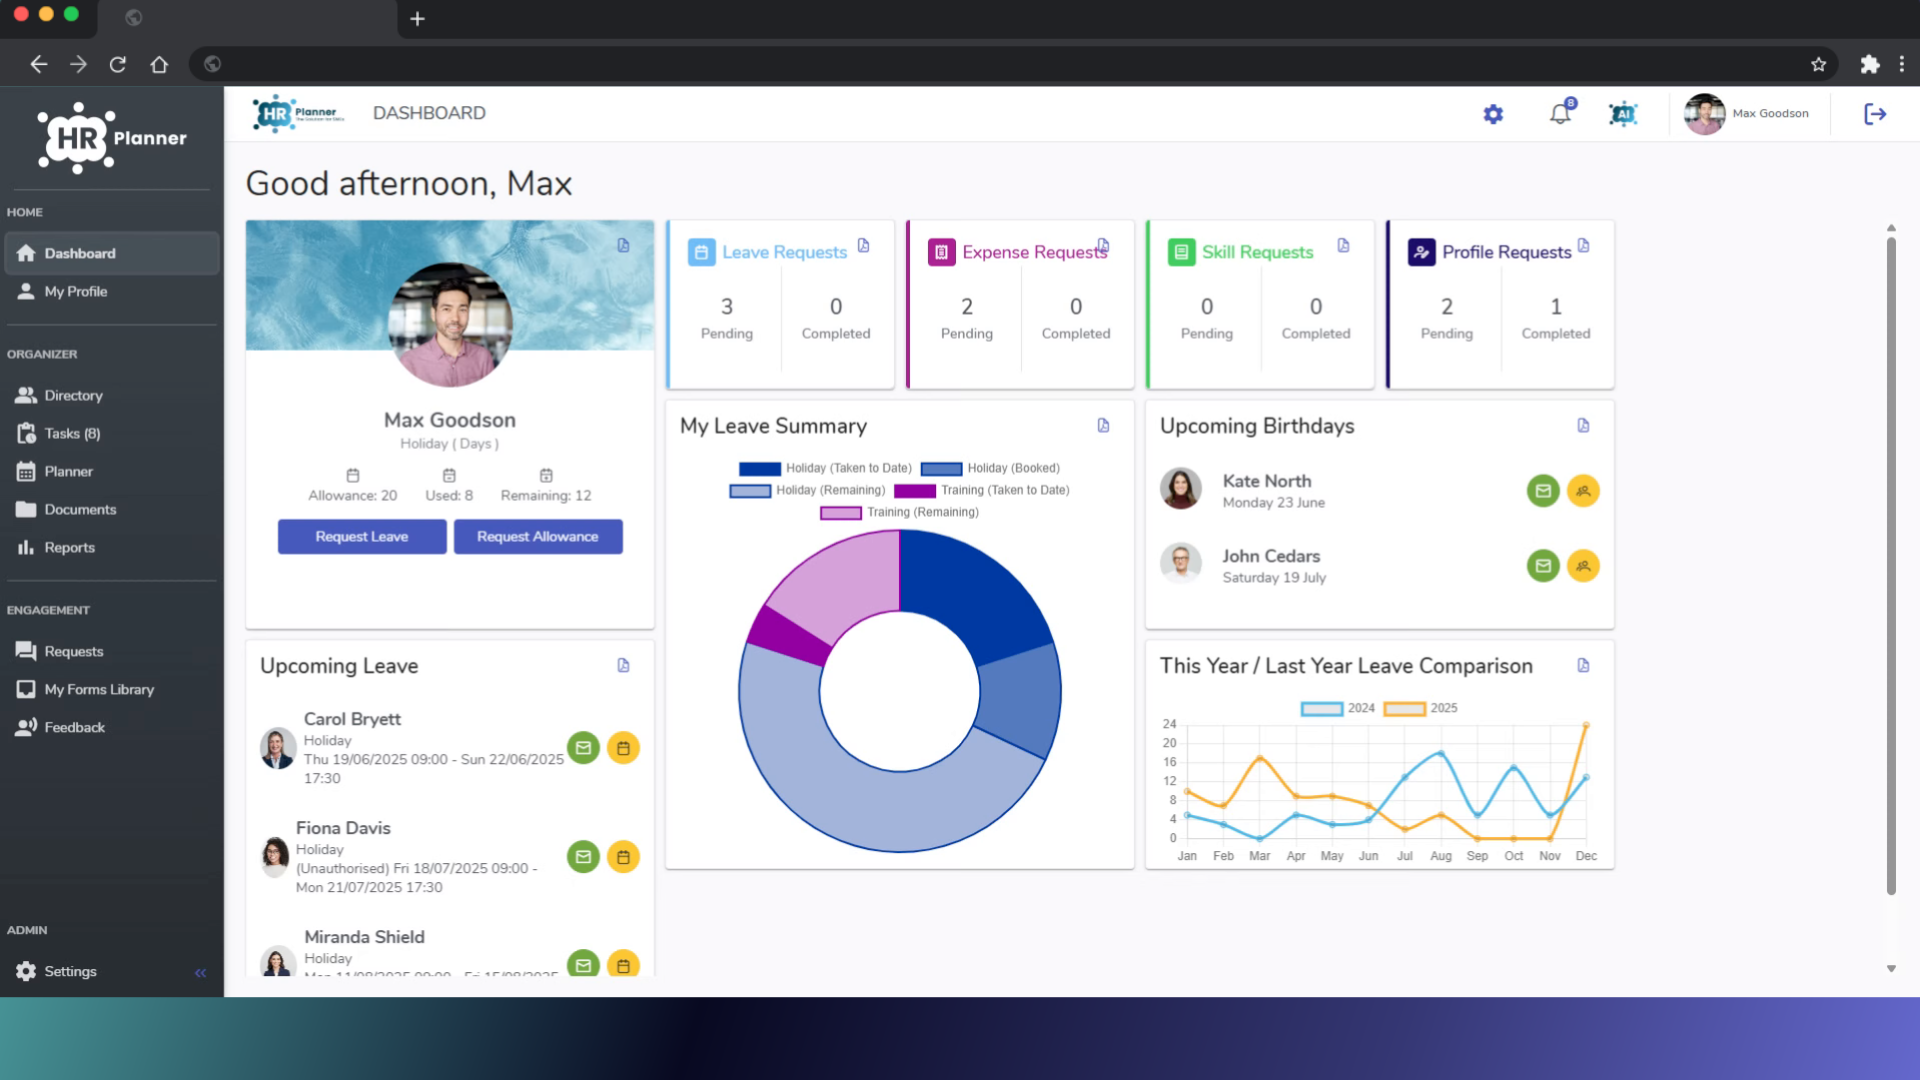
This guide will help you set up custom working patterns in hr planner.
1. Introduction
If your business has common part time working patterns, you can create and add them to your default list to apply to a new employee.
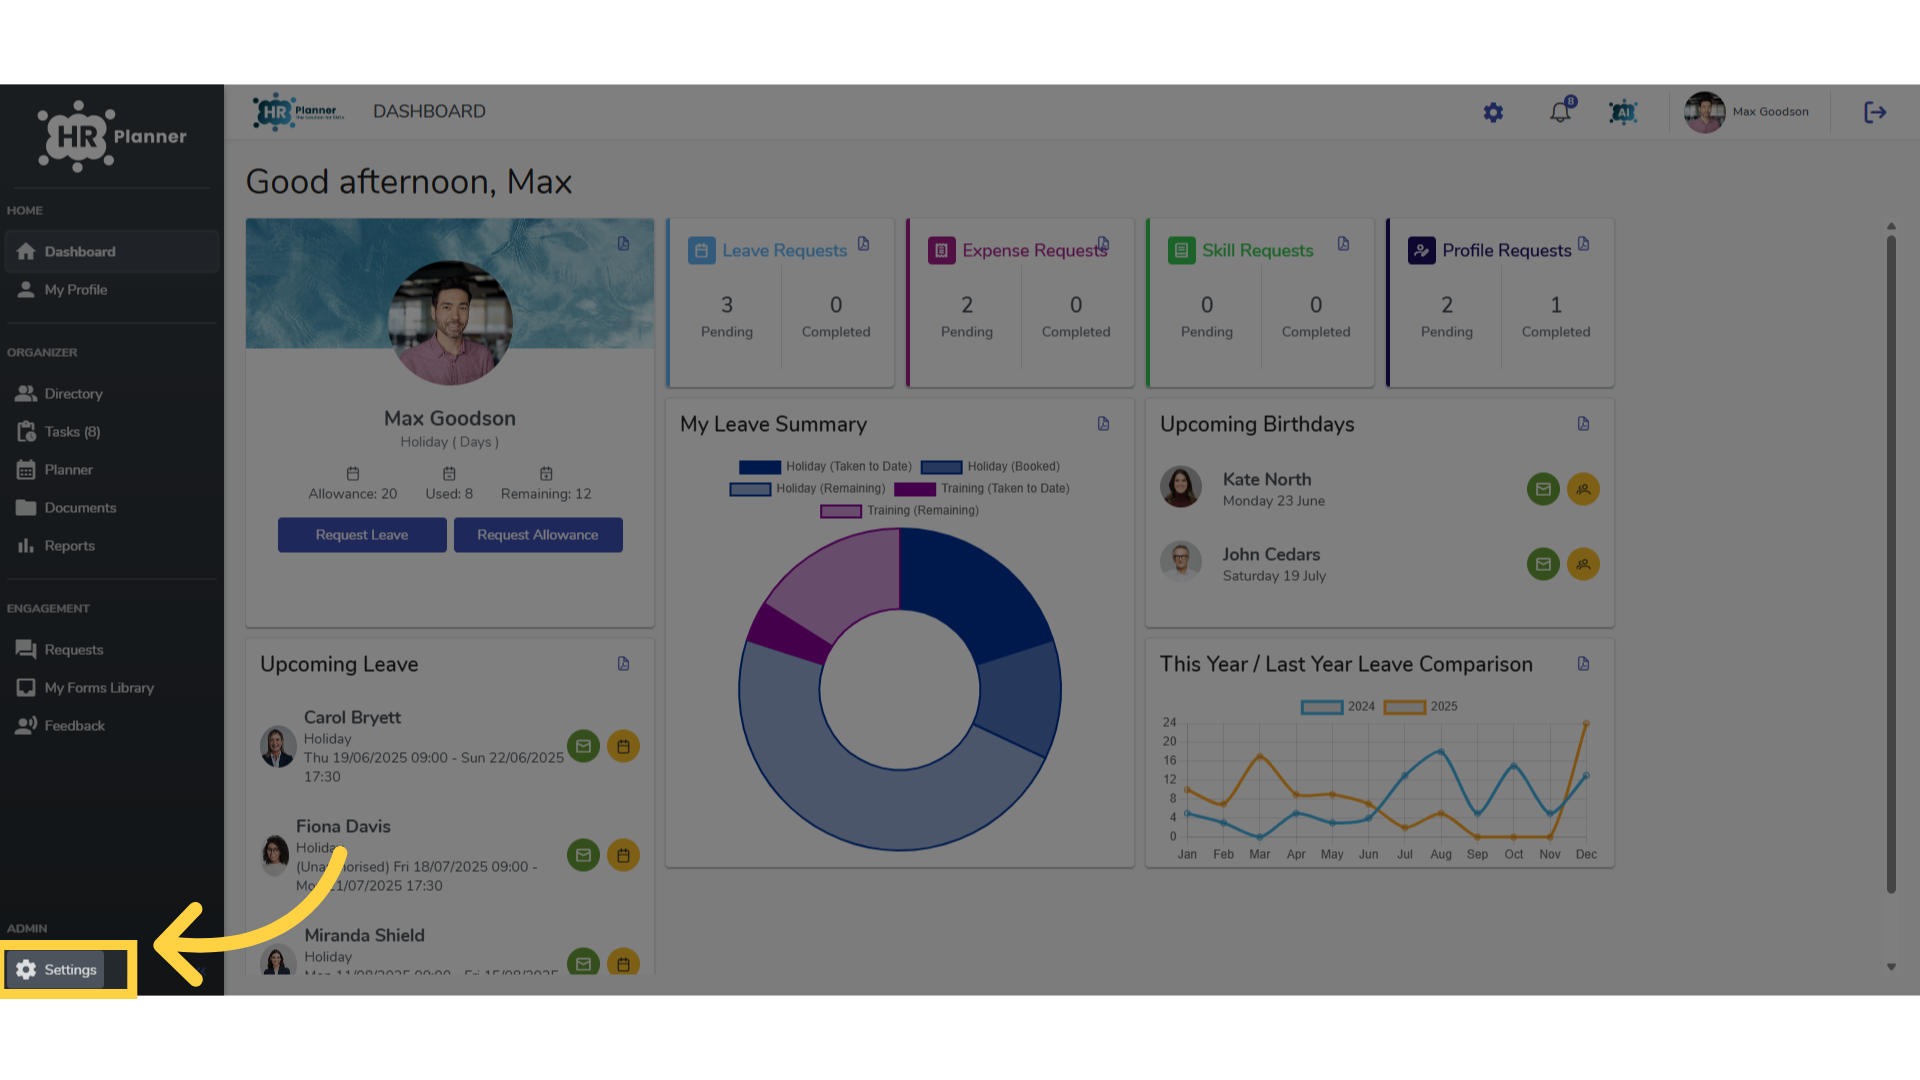
2. Click “Settings”
Access the settings menu.
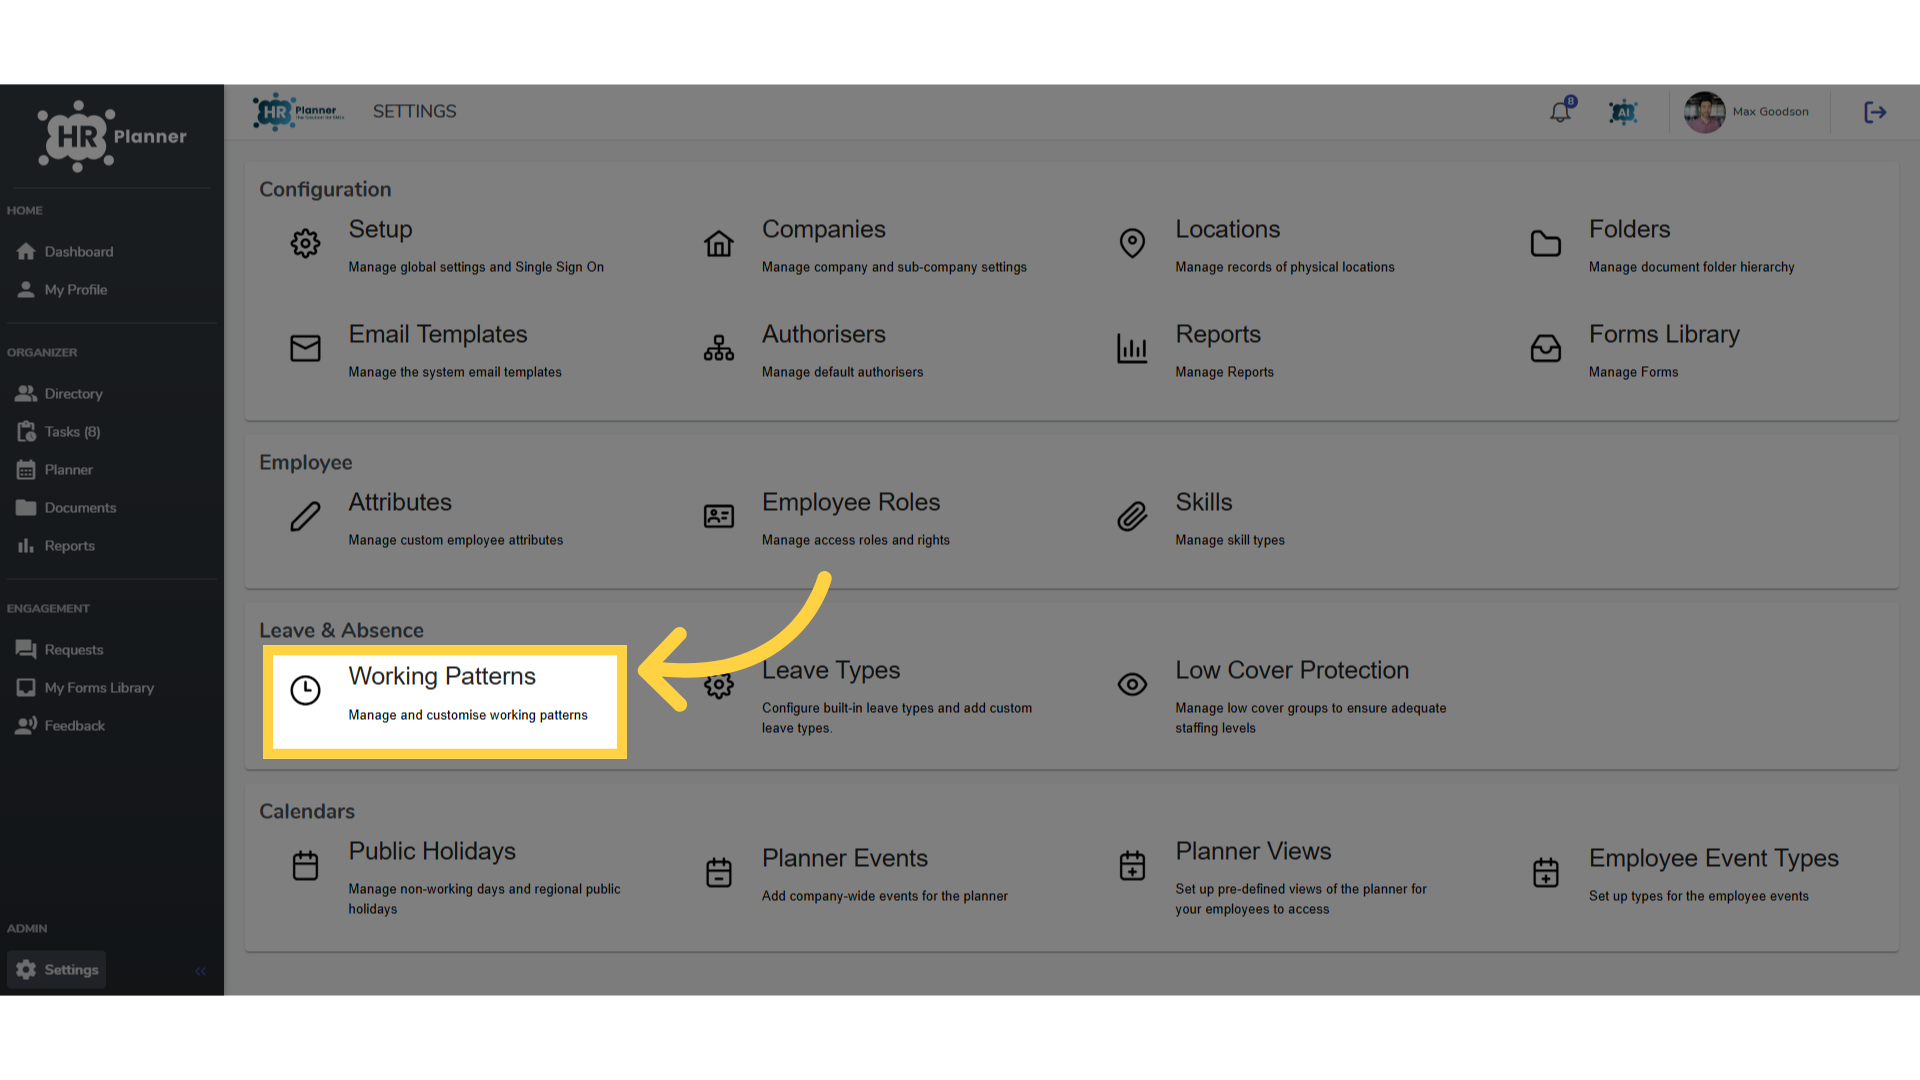
3. Click “Working Patterns”
and Navigate to the Working Patterns section.
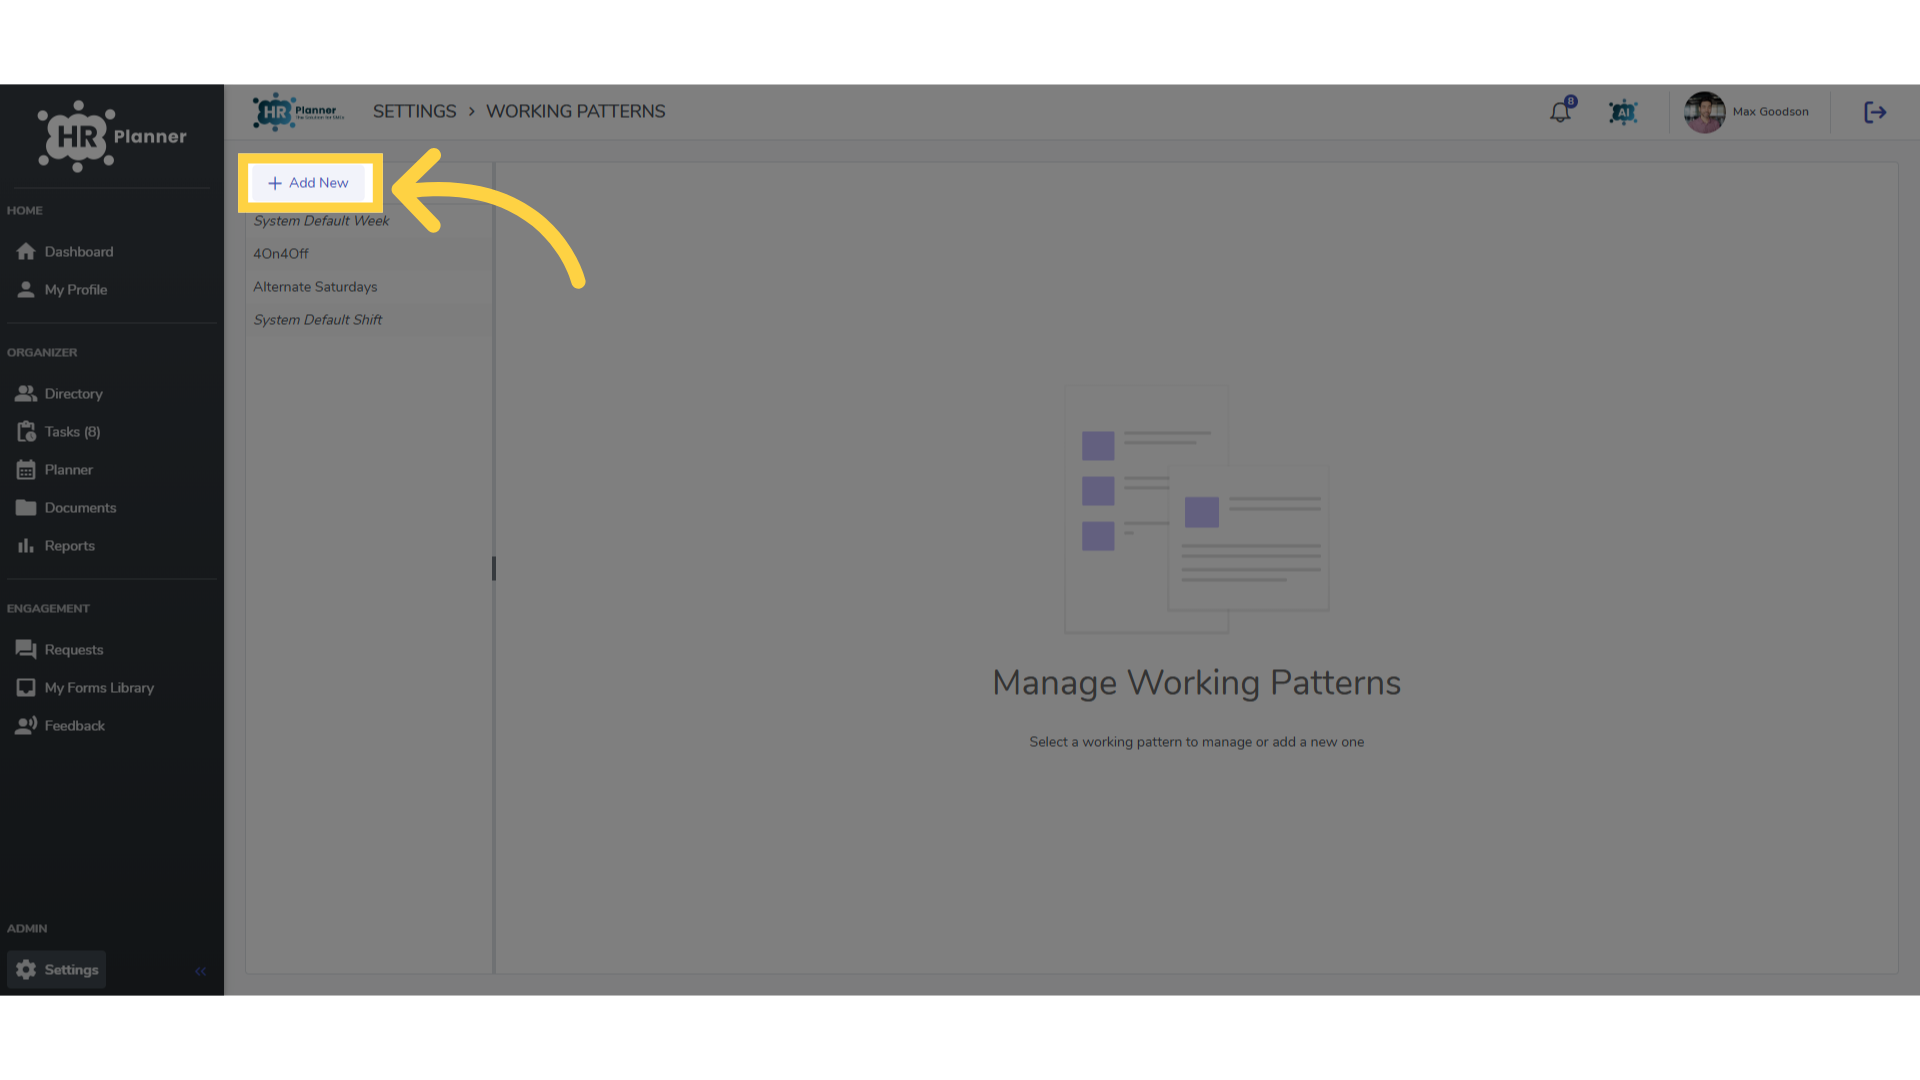
4. Click “Add New”
Begin creating a custom working pattern by clicking add new.
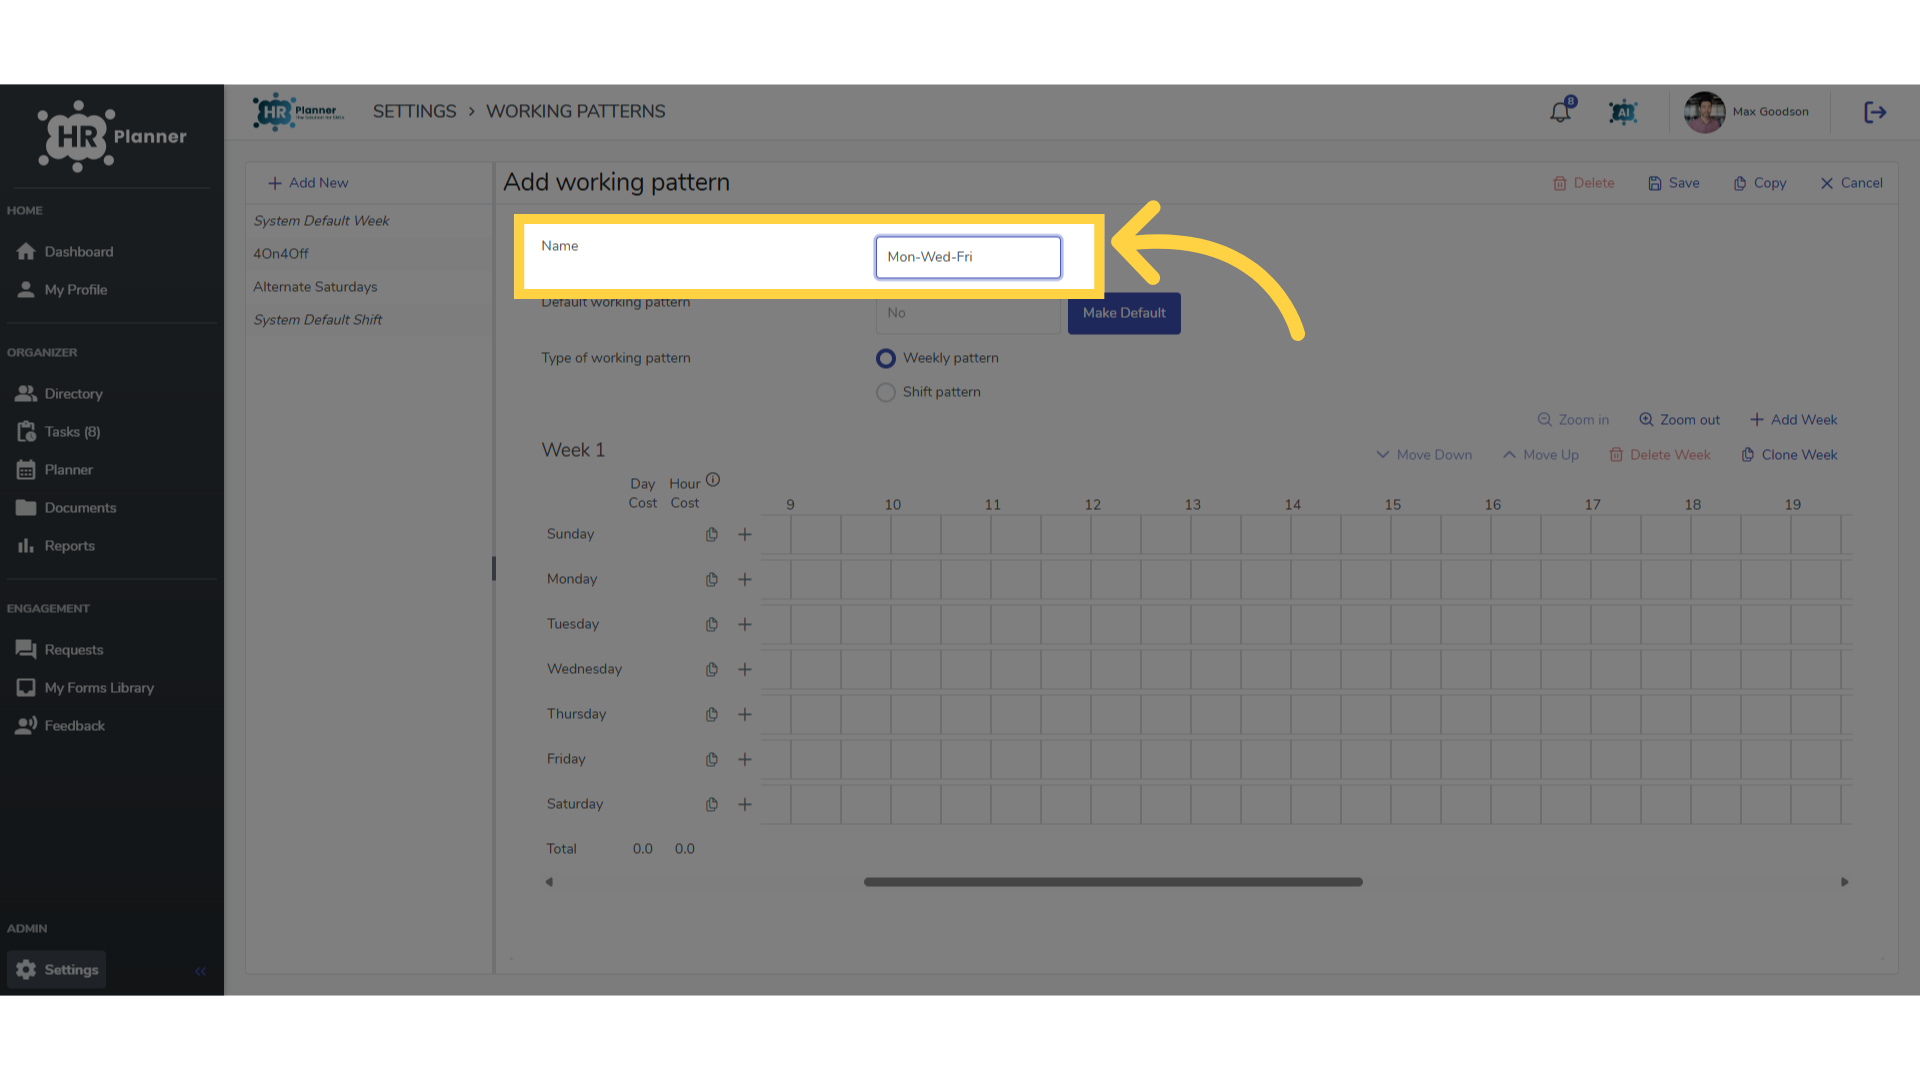
5. Name the pattern
Add a name for the pattern you are about to create.
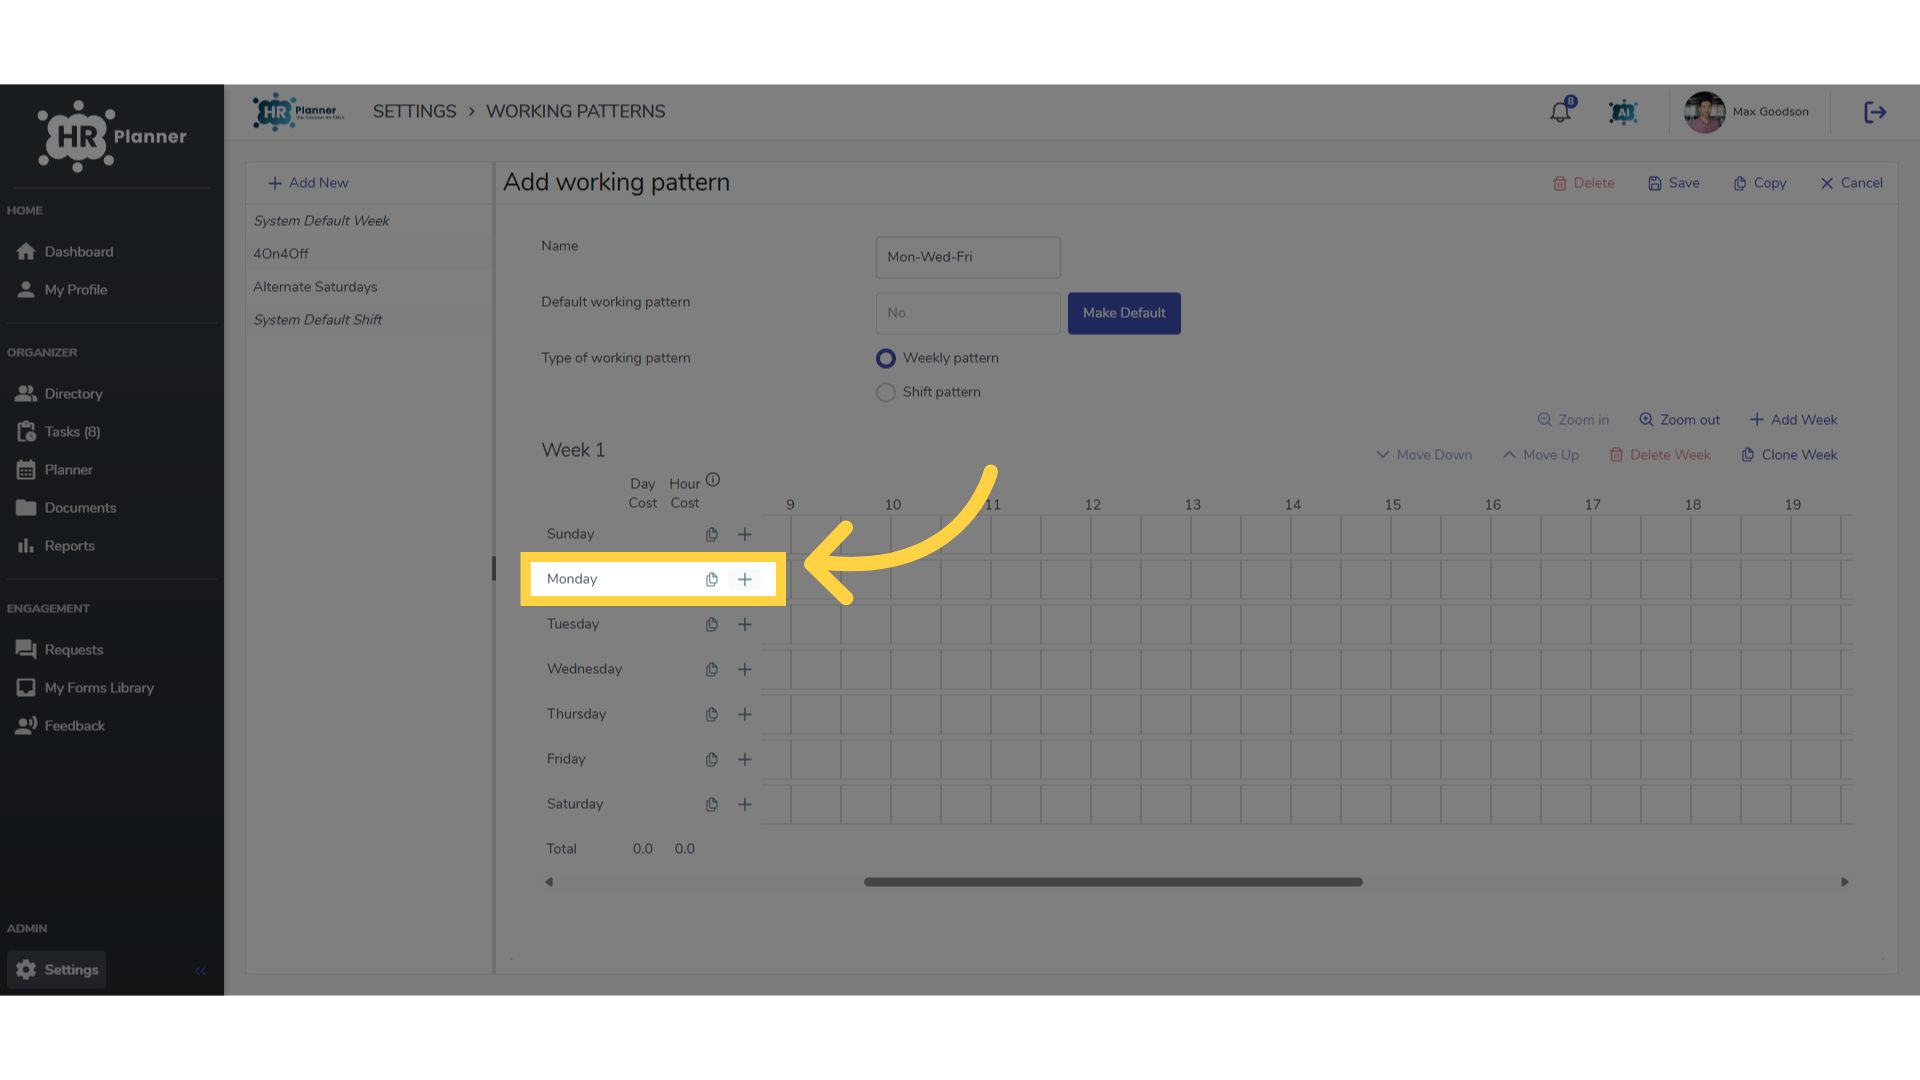
6. Add a session
Click the plus symbol to add a session to the first day.
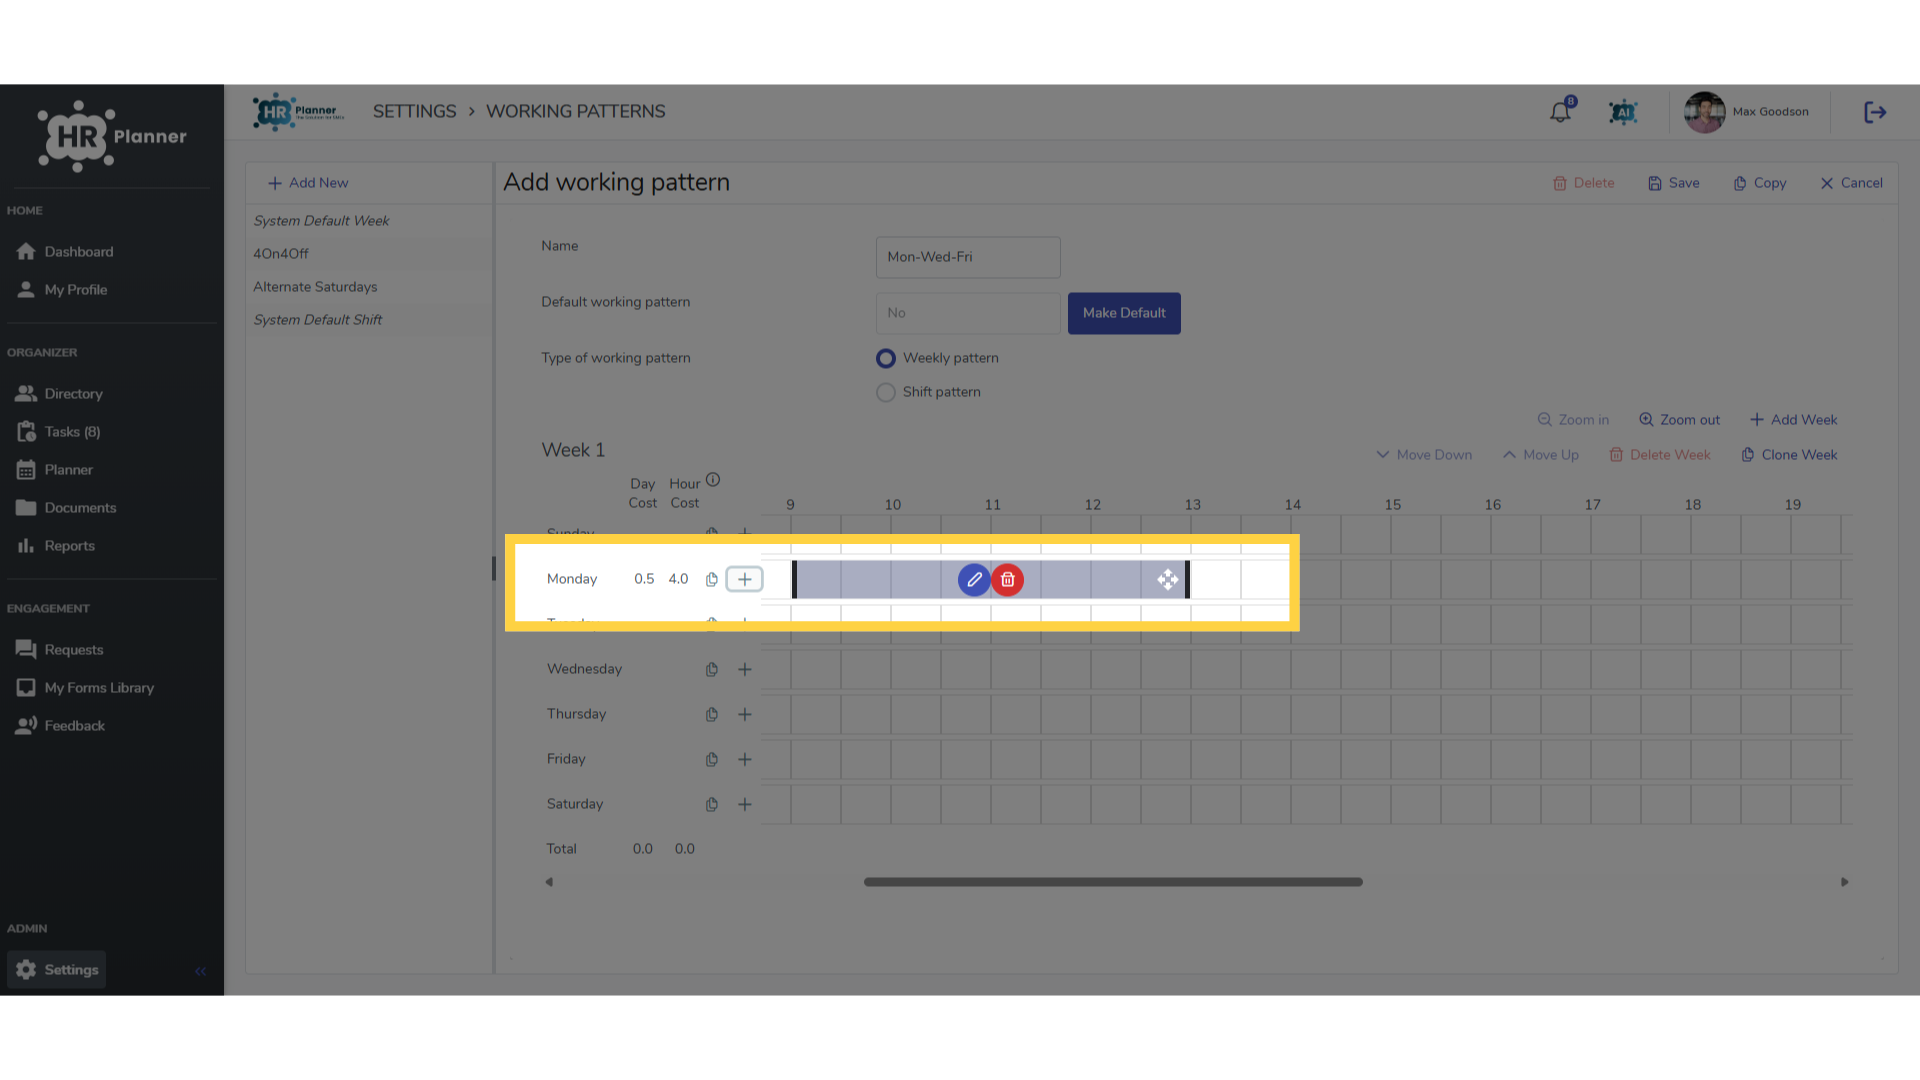
7. Adjust the time
You can slide the arrows to adjust the start and end time.
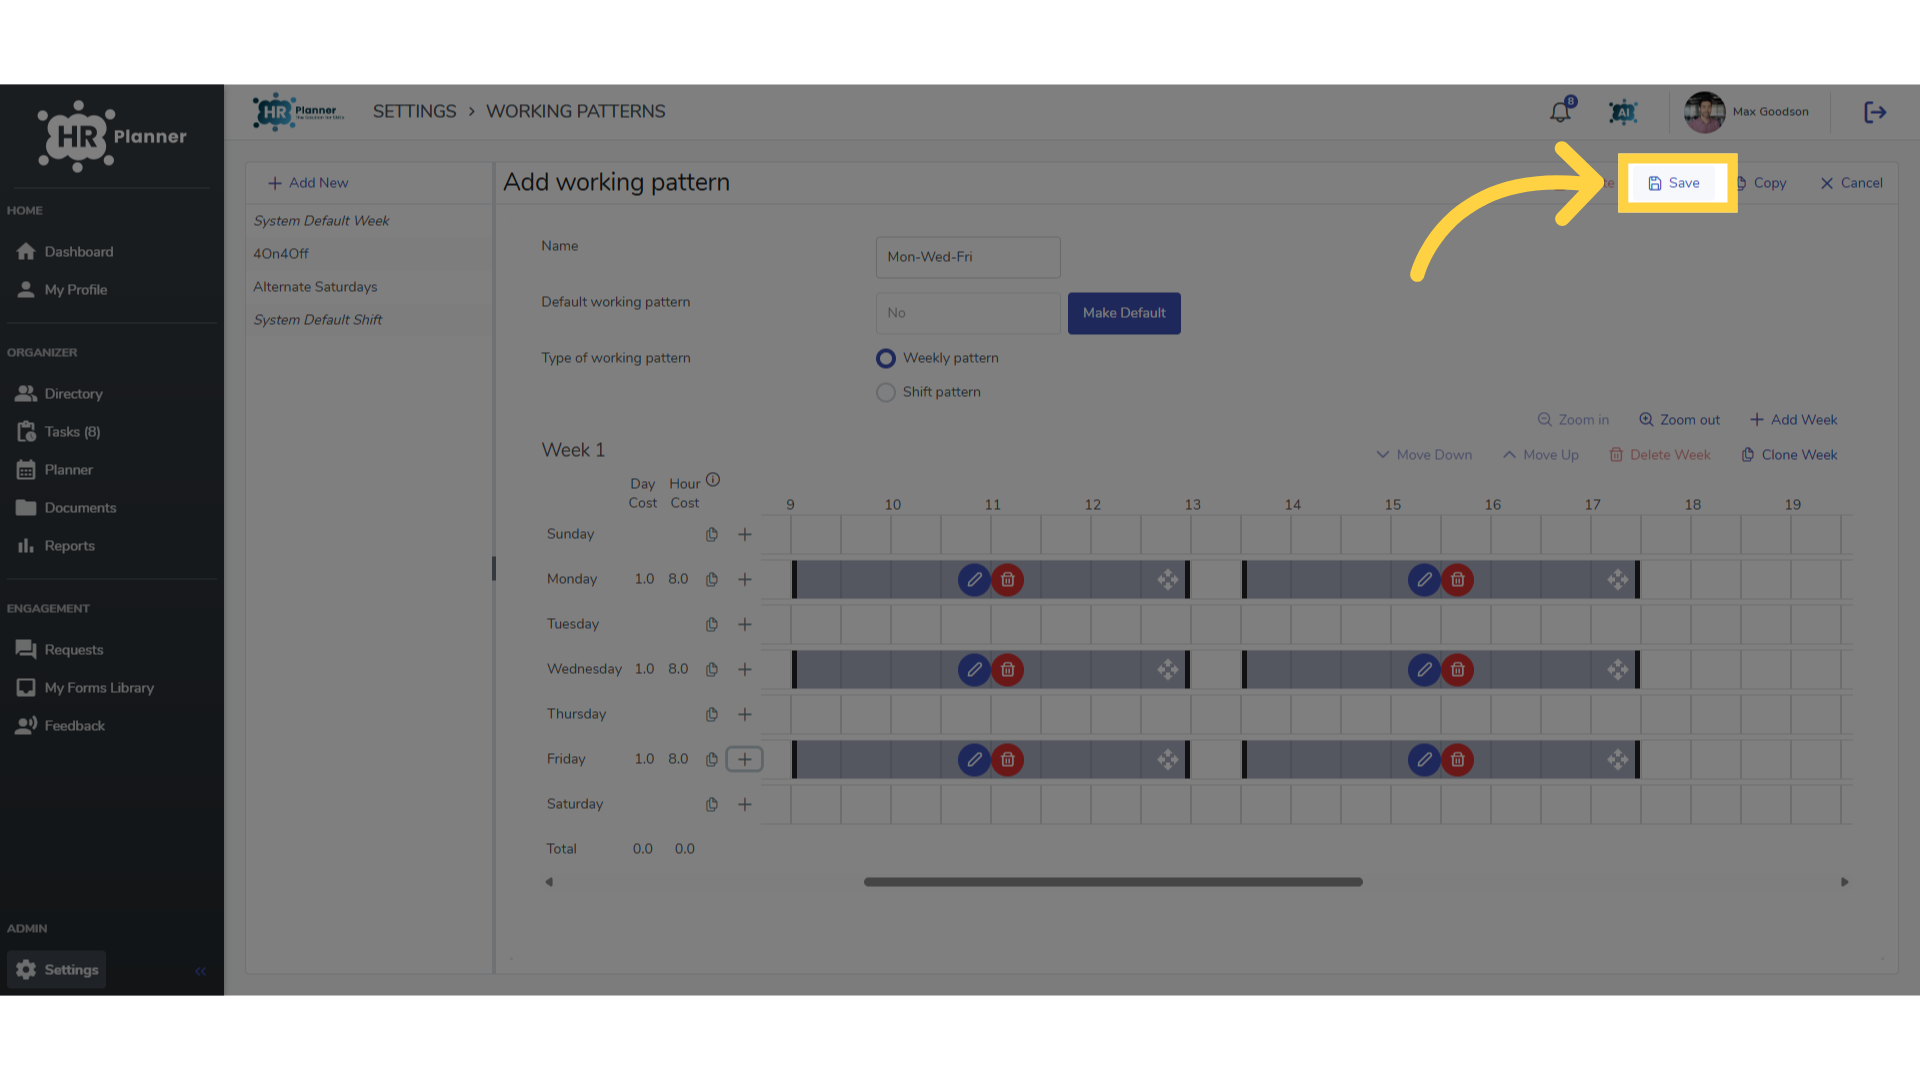
8. Click “Save”
Repeat for further days and on completion click Save.
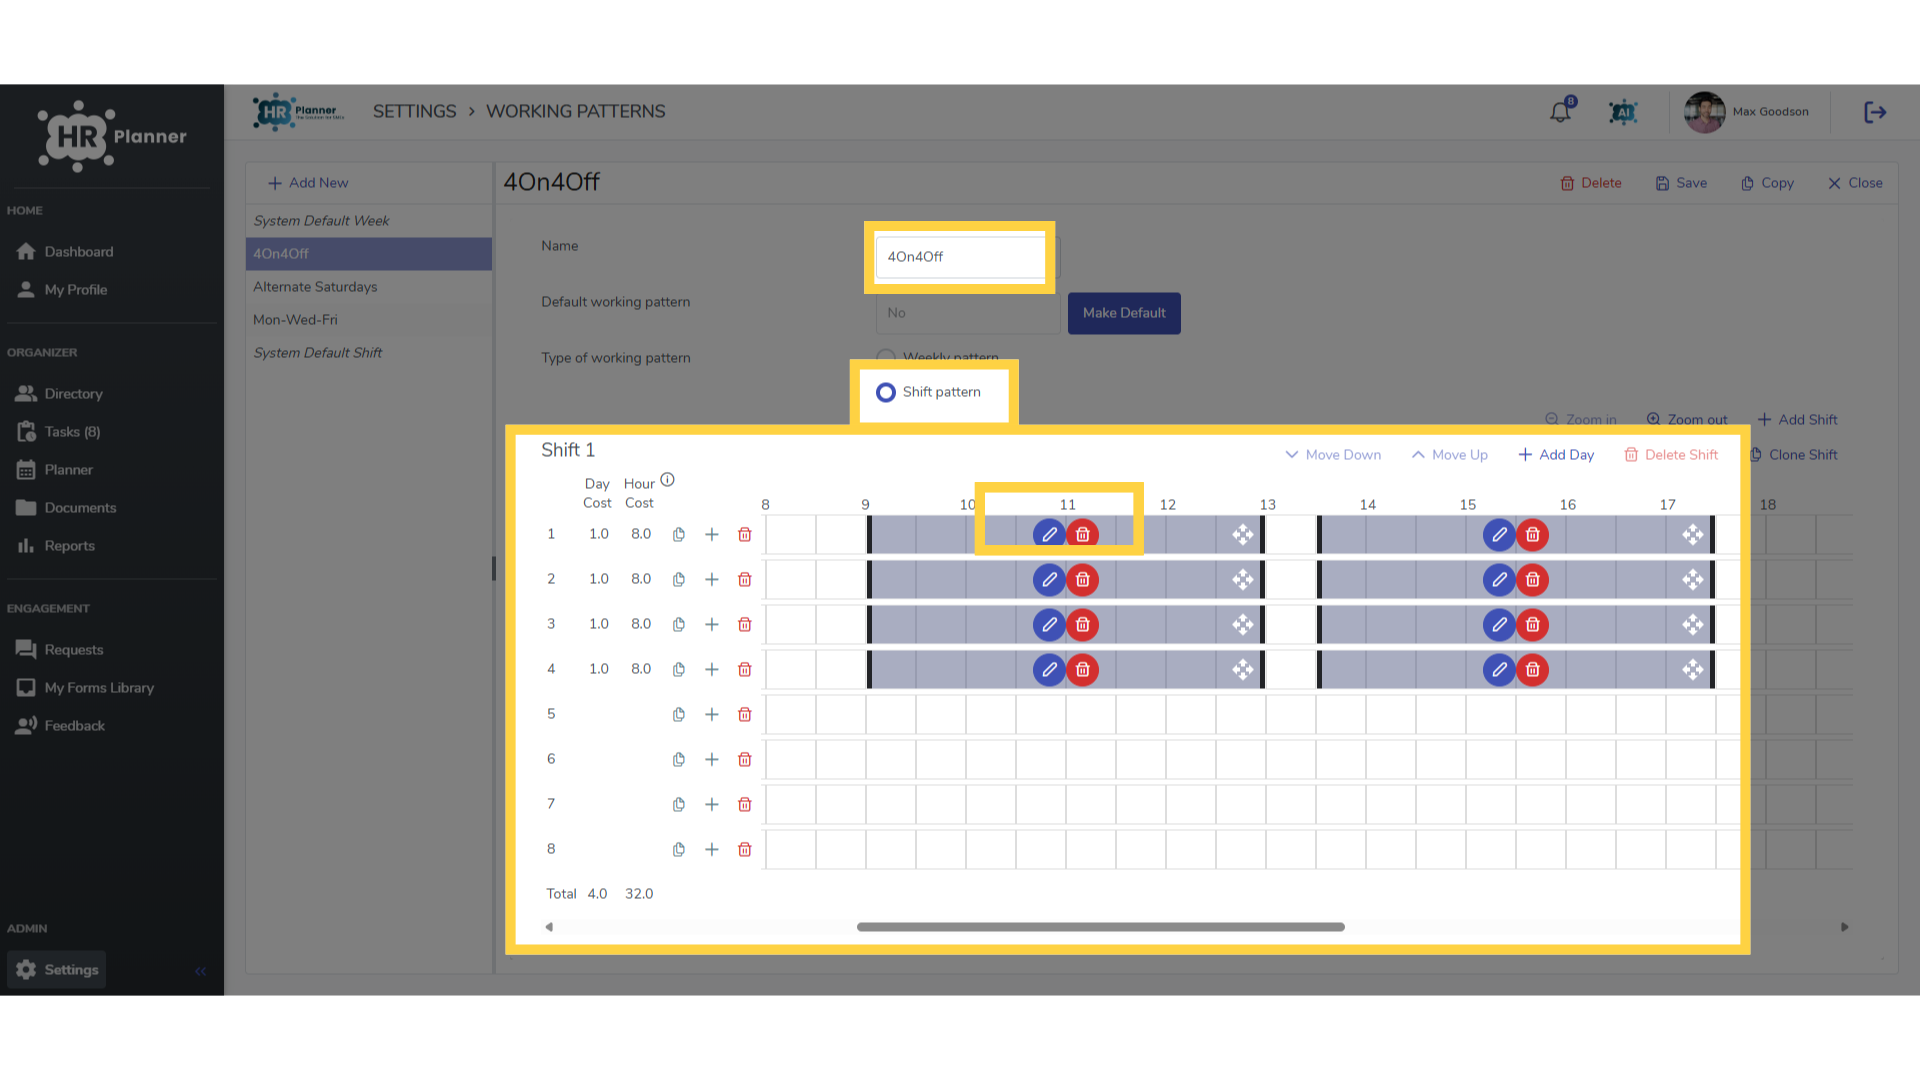
9. Adding a Rota
You can also create Rota patterns such as 4 Days on and 4 Days off
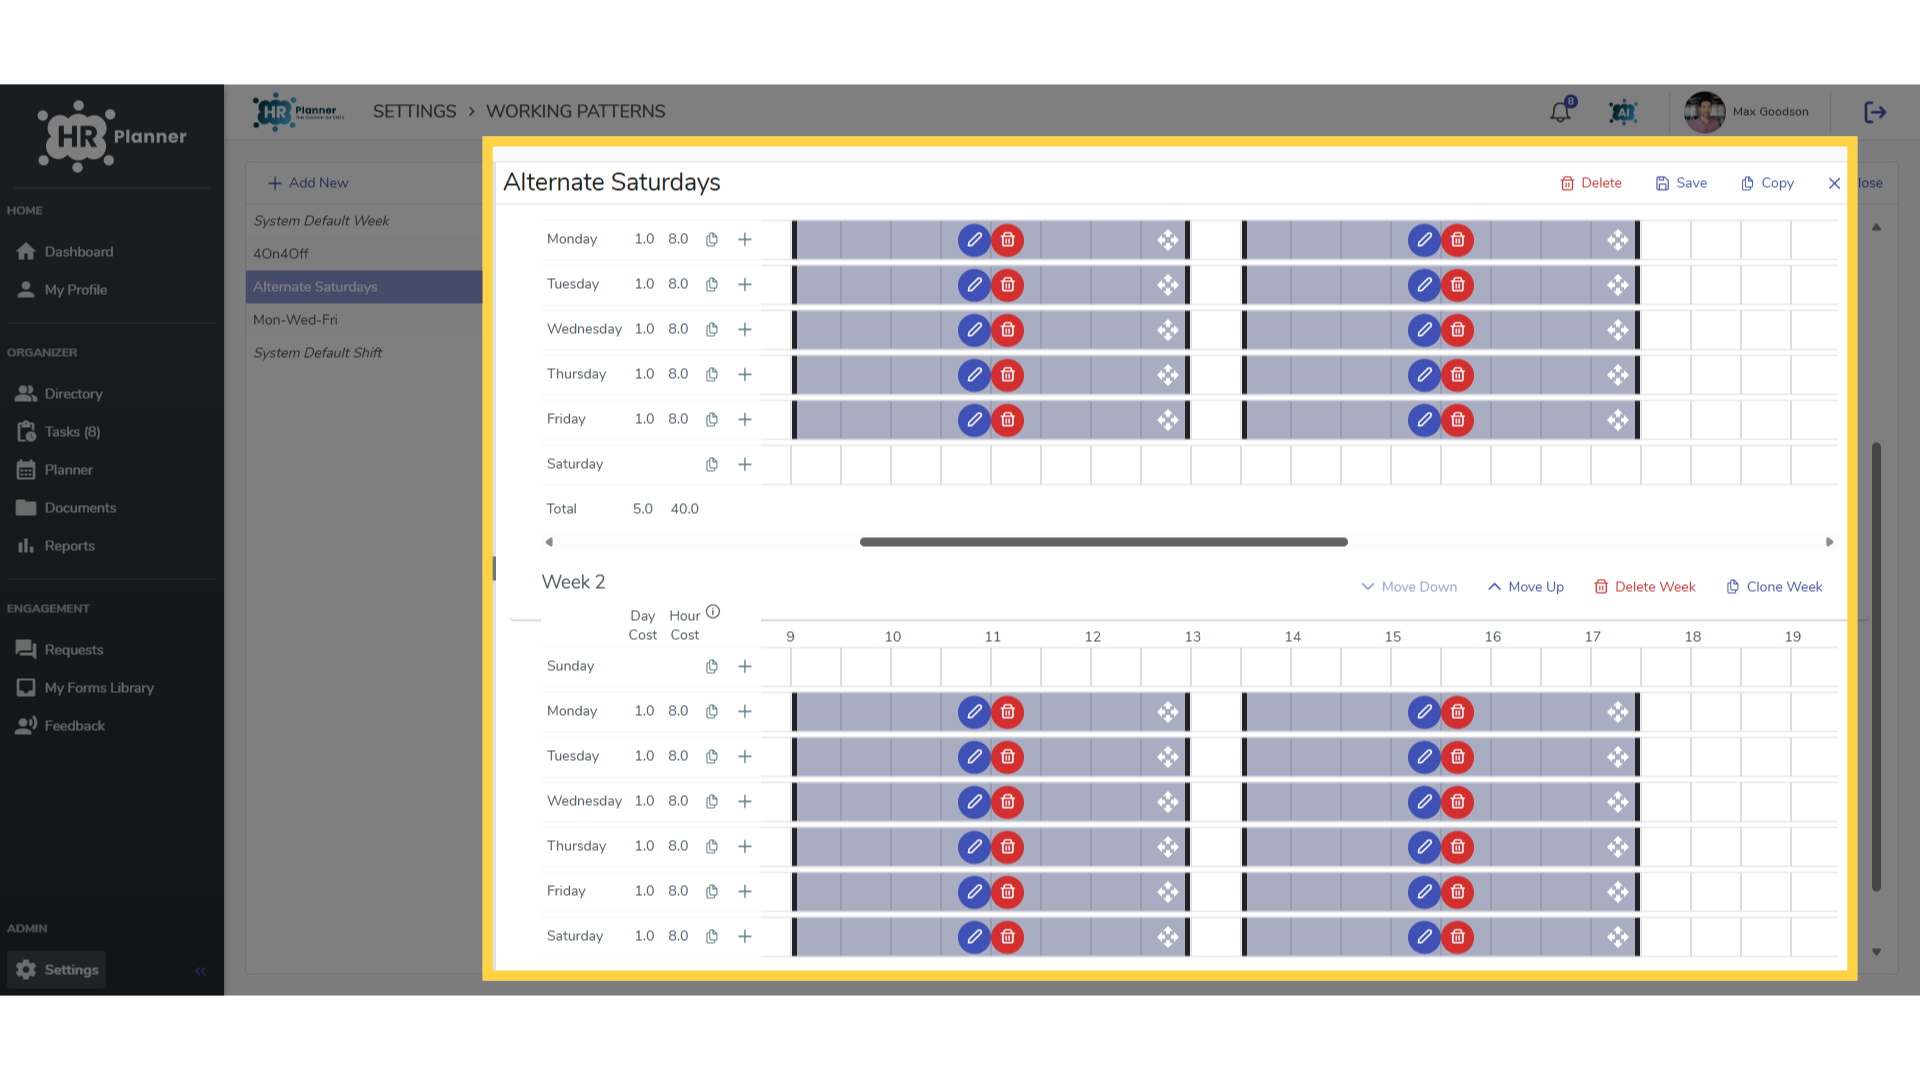
10. Adding a Rota
Or a pattern to work alternate Saturdays
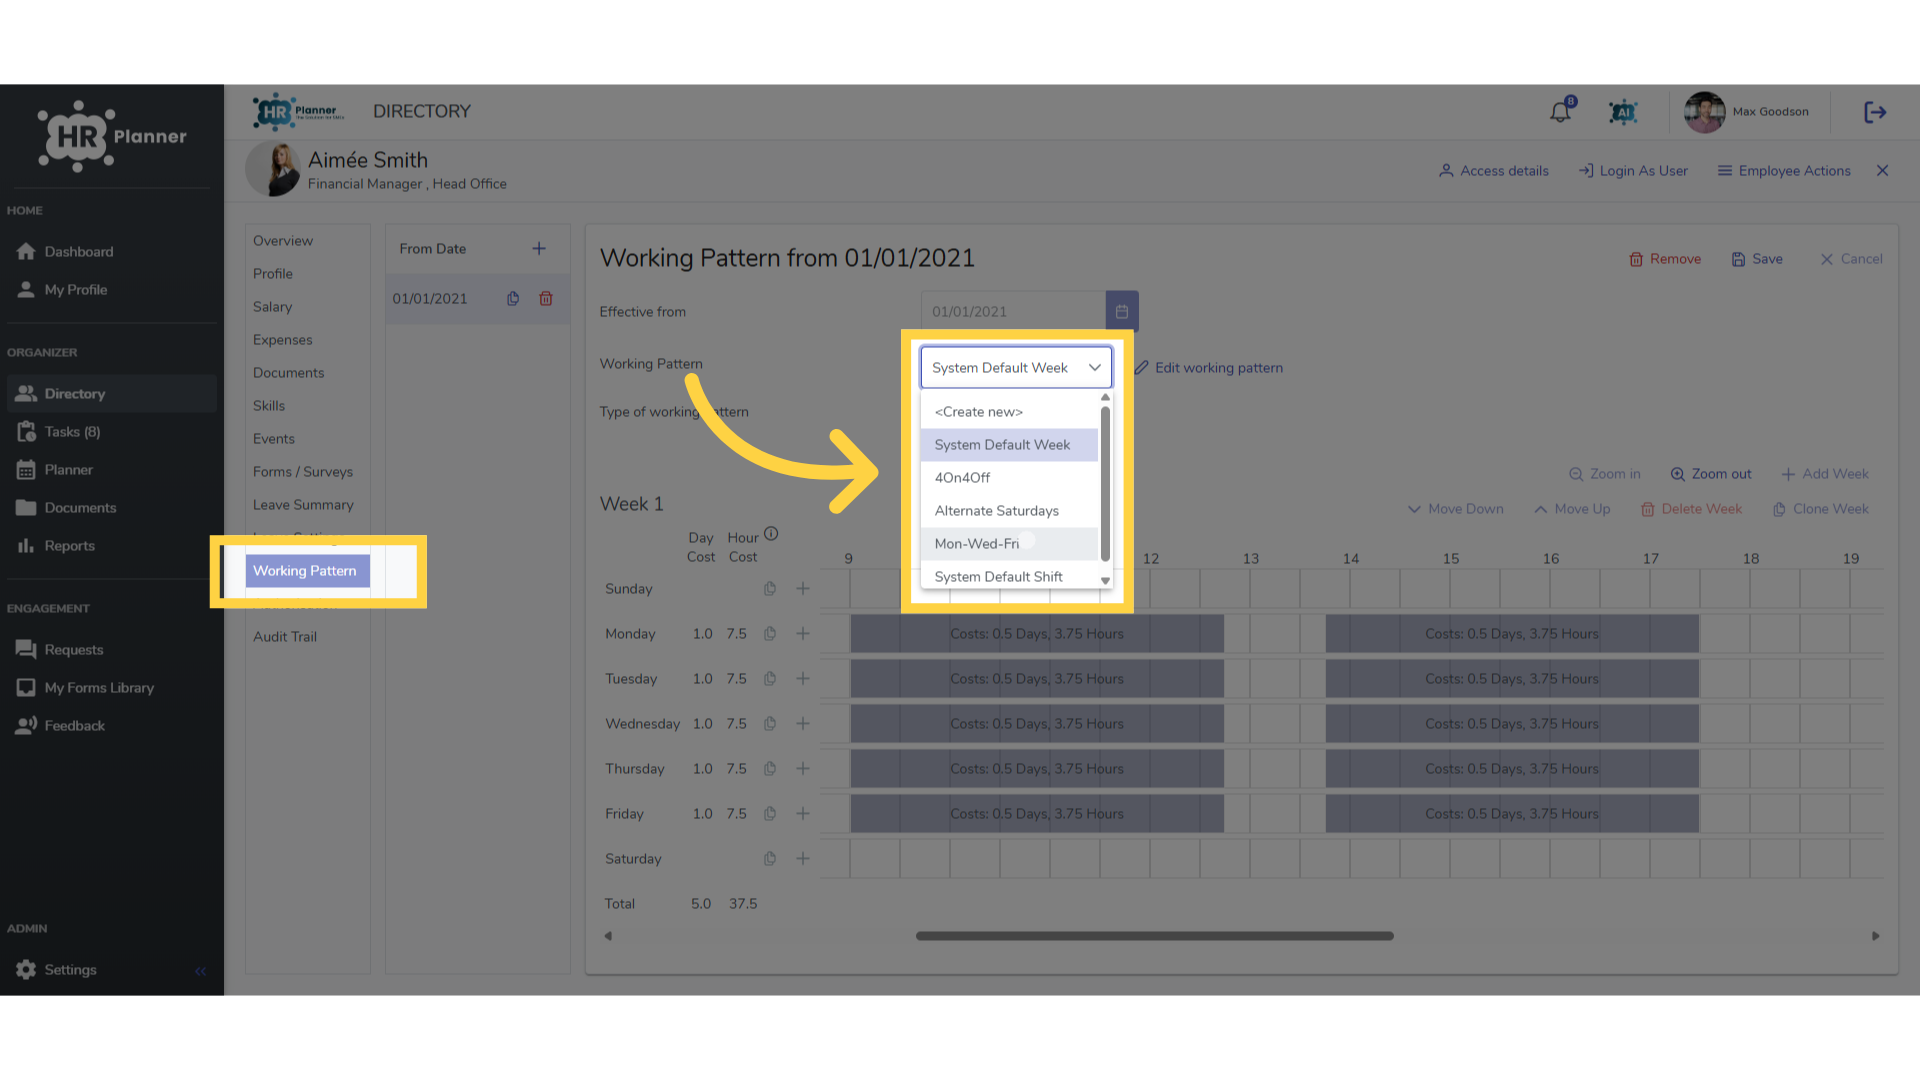
11. Apply to an employee
These common working patterns can be chosen from your list when adding a new employee.
The guide covered setting up custom working patterns in hr planner.